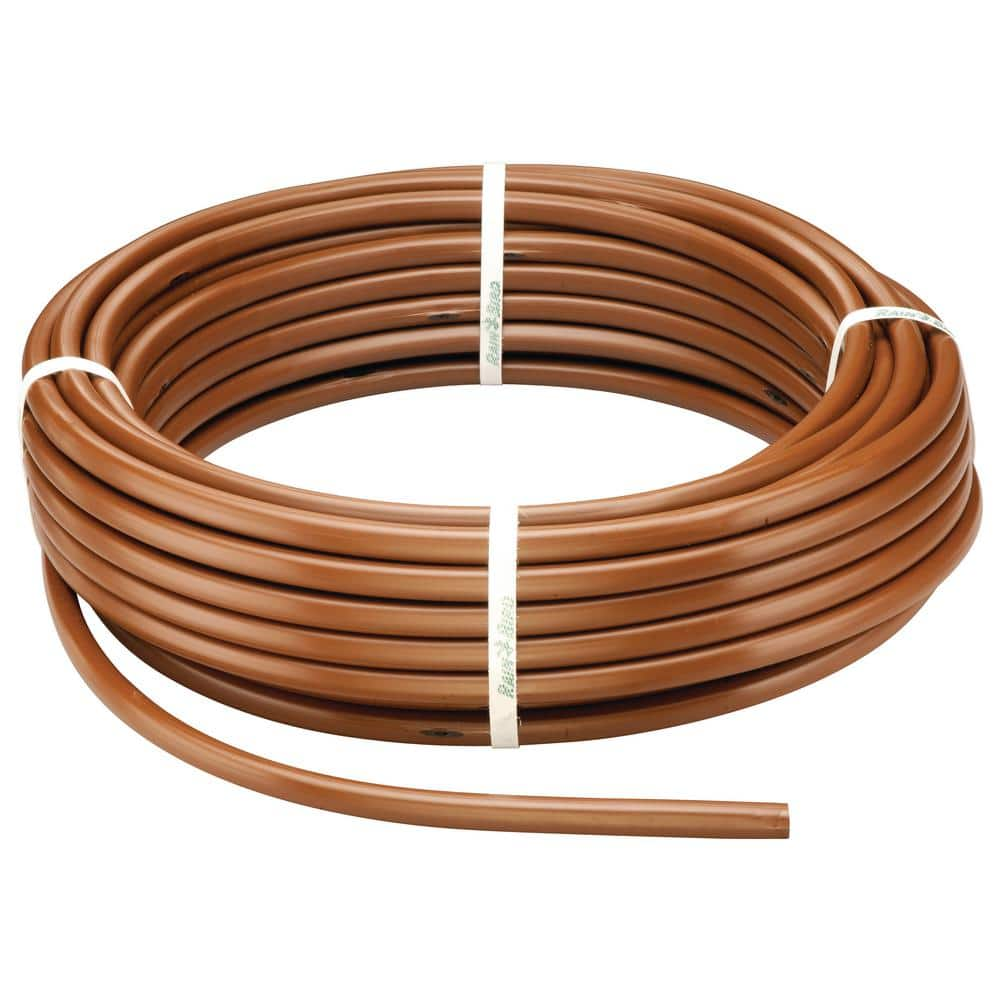
1 2 In X 100 Ft Drip Emitter Tubing Coil. Rain Bird XFD0912250 XF On Surface Dripline Hose Drip Irrigation Dual Layered Tubing Coil with 0. GPH and 12 Inch Spacing, 250 Feet, Brown. (100' ft Roll) -.
As a metallurgy teacher, it is important to understand the basics of how to install 1/2 in x 100 ft drip emitter tubing coils. This type of tubing is used in drip irrigation systems to water plants, shrubs, and other vegetation. Installing these types of tubing can be done in a few simple steps, and is a great way to reduce water waste and conserve resources.
The first step in installing a 1/2 in x 100 ft drip emitter tubing coil is to measure the area where the tubing will be installed. Make sure to keep in mind any bends or curves in the tubing that may be needed. Measure the area twice, to ensure accuracy.
Once the area has been measured, you can begin to install the tubing. Start by unrolling the tubing and placing it on the ground in the desired area. Make sure to leave extra tubing in case of any adjustments. Next, connect one end of the tubing to the water source. This can be done using a compression fitting or a barbed fitting. It is important to make sure the connection is secure.
Once the connection is secure, you can begin to lay out the tubing. This may require some trial and error to ensure the tubing is laid out in the desired area. Make sure to take into consideration any bends or curves that may be necessary. The tubing should be laid out in a way that ensures the water is evenly distributed.
Once the tubing is laid out, you can begin to attach the emitters. Emitters come in a variety of sizes and types and should be selected based on the type of vegetation being watered. Attach the emitters to the tubing by inserting them into the pre-cut holes. Make sure to use the correct size and type of emitter for the job.
Once all of the emitters are attached, you can test the system to make sure it is working properly. Turn on the water source and make sure each emitter is releasing water. If any emitters are not releasing water, check the connection and make sure it is secure. Also, make sure the emitter is the correct size and type.
Lastly, make sure the tubing is secure in the ground. This can be done by using stakes or secure the tubing with wire. Make sure to check the tubing regularly for any signs of damage or leaks. If a leak is found, replace the tubing immediately.
Installing a 1/2 in x 100 ft drip emitter tubing coil is a relatively straightforward process. Following the steps outlined in this article will ensure that the tubing is installed correctly and that the system is working properly. With proper maintenance and care, this type of tubing can provide years of reliable service.
Rain Bird Drip Irrigation Pressure 1/2 Emitter Tubing – Honest Review
Hello, this is my honest review of the Rain Bird ET63918-50 Drip Irrigation Pressure Compensating 1/2" Tubing, Emitter Spacing, 50' Roll. Recommended! Please Follow Link: amzn.to/3HKTWHD Please click link above for more details or to purchase the Rain Bird ET63918-50 Drip Irrigation Pressure Compensating 1/2" (0.634" OD) Emitter Tubing, 18" Emitter Spacing, 50' Roll in Brown. Thank you … cheers! Please read below… Please help support my…
, 1 2 In X 100 Ft Drip Emitter Tubing Coil.