12 In Sub Surface Drip Emitter Tubing. Rain Bird offers drip emitter tubing for on-surface, sub-surface and hill/slope applications. View as Grid List. Items 1-36 of 64. Sort By. Set Descending Direction. XFS-CV 0.6GPH.
Sub surface drip emitter tubing is a type of irrigation system that is becoming increasingly popular with gardeners and landscapers. It is a great way to conserve water while ensuring your plants get the moisture they need. This type of tubing is a great way to water areas where sprinklers may not be able to reach, such as beneath decks, overhangs, or in other hard-to-reach places. It also helps to keep water off of your walkways, patios, and other areas you don’t want to become wet. Here is a guide to help you install sub surface drip emitter tubing.
The first step is to plan the layout of your tubing. Determine where the water will be coming from and where it needs to go. It is important to make sure that your tubing will reach all of the areas you need it to. Once you have decided on the layout, you can start to install the tubing.
The next step is to install the backflow preventer. This is a device that prevents water from flowing in the wrong direction and is necessary for any type of irrigation system. Place the backflow preventer at the source of the water and then connect it to the tubing.
Next, you will need to connect the main line of the tubing to the backflow preventer. Use fittings to make sure that the connection is tight and secure. Once the main line has been connected, you can start to install the actual sub surface drip emitter tubing. Start at the furthest point from the backflow preventer and work your way back.
Once the tubing is laid out, you can then attach the emitters. Emitters are what dispense the water, and they come in a variety of shapes and sizes. Connect the emitters to the tubing and make sure they are secure. Then, turn the water on and check to make sure that the water is flowing correctly. If there are any issues, make sure to troubleshoot them before continuing.
Finally, you need to cover the tubing with mulch or soil. This will help protect the tubing and ensure that it won’t become damaged or clogged. After that, your sub surface drip emitter tubing is ready to go and your plants will receive all the water they need!
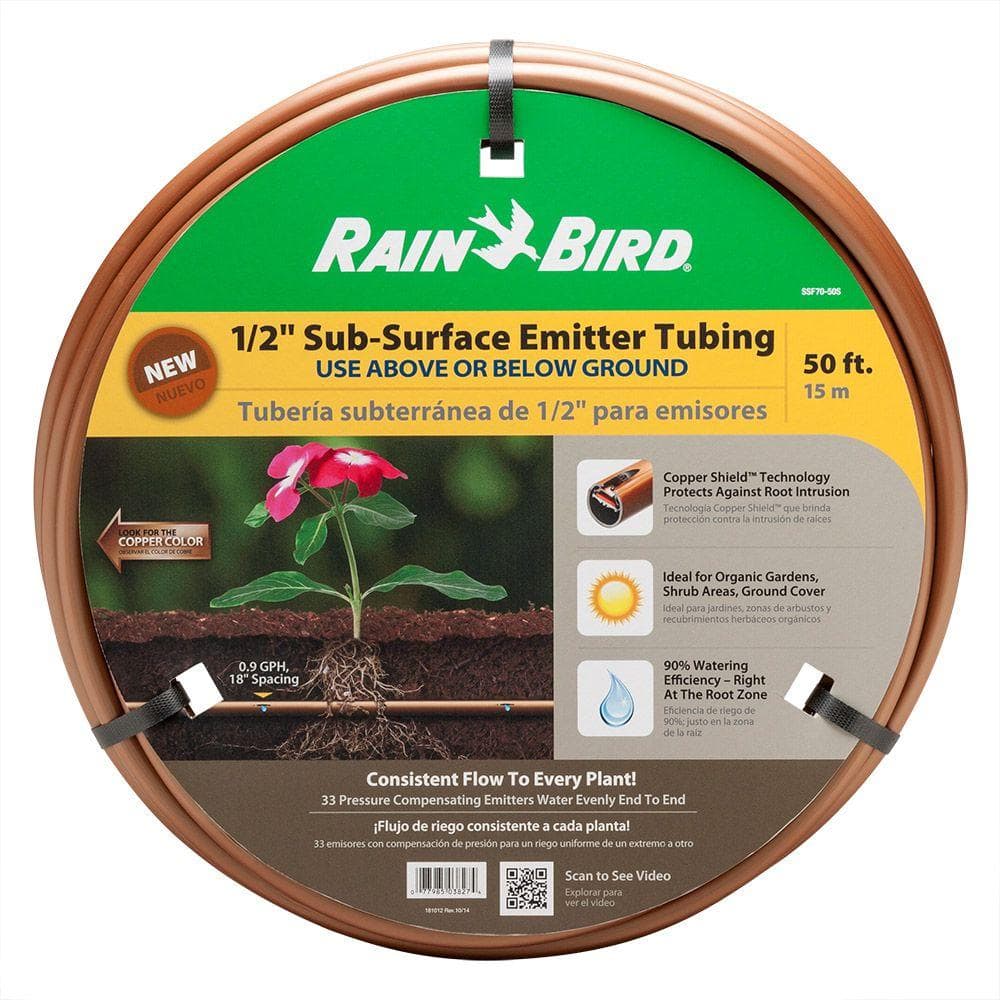
Rain Bird XFS Subsurface Dripline with Copper Shield™ Technology
Rain Bird® XFS Sub-Surface Copper-Colored Dripline with Copper Shield™ Technology is the latest innovation in the Rain Bird Landscape Drip Family. Rain Bird’s patent-pending Copper Shield Technology protects the emitter from root intrusion, creating a long-lasting, low maintenance sub-surface drip irrigation system for use under turf grass or shrub and groundcover areas. A proprietary tubing material makes the XFS Sub-Surface Dripline with…
, 12 In Sub Surface Drip Emitter Tubing.