Best Way To Insulate Metal Garage
Hey there, fellow garage warrior! So, you’ve got one of those shiny metal garages, huh? They’re pretty sweet, aren’t they? Sleek, modern, and honestly, a bit like a giant tin can. But let's be real, on a scorching summer day, it's less "sleek and modern" and more "personal sauna." And in the winter? Brrr, it's like living inside a giant ice cube. Don't even get me started on the noise the rain makes – sounds like a rock concert with tiny, angry drummers on your roof!
If you’ve ever found yourself sweating buckets just looking for a wrench, or shivering your way to grab your bike, then you know exactly why we’re here. We're talking about making your metal garage a much more habitable place. Think of it as giving your garage a cozy blanket. And trust me, it’s not as complicated as assembling IKEA furniture. Well, maybe slightly less frustrating, depending on your DIY skills.
Today, we’re diving into the wonderful world of insulating your metal garage. We’ll break down the best way to do it, keeping it super simple and even a little bit fun. No need for a PhD in thermodynamics, I promise. Just good old common sense and a few handy tips. Let's get this insulation party started!
Why Bother Insulating Your Metal Garage Anyway?
Okay, before we get our hands dirty (or maybe foamy), let's have a quick chat about why this is such a good idea. It's not just about comfort, though that's a huge part of it. Imagine your garage becoming a more versatile space. Think of it as a workshop where you don't feel like you’re melting or freezing. Or a place to store your precious belongings without worrying about extreme temperature fluctuations. Your car will thank you, your tools will thank you, and your sanity will definitely thank you.
Plus, it’s a surprisingly good investment. A well-insulated garage can actually increase the value of your home. Who knew a bit of fluffy stuff could be so financially savvy? It’s like giving your house a little upgrade that pays you back. And let’s not forget about energy efficiency. If your garage is attached to your house, insulating it can actually help keep your home warmer in the winter and cooler in the summer. So, you’re saving money and feeling more comfortable. It’s a win-win-win situation, folks!
So, in a nutshell, insulating your metal garage means:
- Comfort: No more extreme heat or cold.
- Versatility: Makes it a usable space year-round.
- Protection: Shields your car and belongings from temperature swings.
- Value: Boosts your home’s marketability.
- Savings: Potentially lowers your energy bills.
See? It’s practically a no-brainer. Now, let’s talk about how to achieve this magical transformation.
The "Best" Way to Insulate: It Depends, But Here’s the Top Pick!
Alright, confession time: there isn't one single "best" way for absolutely everyone. It depends on your budget, your DIY skills, and what you're aiming for. But if I had to pick the most popular, effective, and generally accessible method for most folks with metal garages, it would have to be spray foam insulation. Or, if spray foam seems a bit too advanced (or messy!), then rigid foam boards are a fantastic runner-up.
We’ll go into the nitty-gritty of both, but let's start with the star of the show: spray foam.
Spray Foam Insulation: The High-Tech Hero
Now, I know what you're thinking. "Spray foam? Isn't that something the pros do with those giant, intimidating machines?" And you're partly right! Professional spray foam installation is definitely an option, and it’s incredibly effective. It’s a two-part chemical mixture that expands and hardens on contact, creating an airtight seal and providing excellent insulation. It fills every nook and cranny, leaving no gaps for drafts to sneak through. It’s like giving your garage a superhero suit that repels the elements.
The biggest advantage of professional spray foam is its superior air sealing capabilities. This means it doesn't just insulate; it also stops air leaks. This is crucial for preventing moisture buildup and keeping those pesky drafts at bay. It’s the ultimate one-two punch against temperature extremes.
However, professional installation can be a bit pricey. And let’s be honest, the thought of mixing chemicals and spraying them everywhere might make some of us break out in a cold sweat. It's a job best left to the experts if you're not super comfortable with it.
DIY Spray Foam Kits: The Brave Adventurer’s Choice
But wait! There’s a more DIY-friendly option: DIY spray foam kits. These kits come in a can, much like spray paint, and are much easier to handle. They’re great for smaller areas or for filling in gaps and cracks. You can buy them at most home improvement stores. You just shake the can, aim, and spray. It expands rapidly, filling voids and creating a decent seal.
Pros of DIY Spray Foam:
- Easy to use: Generally user-friendly.
- Great for gaps: Excellent for sealing small holes and cracks.
- Relatively affordable: Cheaper than professional installation.
- Quick: Dries and cures relatively fast.
Cons of DIY Spray Foam:
- Coverage: Can be expensive for large areas.
- Consistency: May not be as uniform as professional application.
- Messy: It can get everywhere if you’re not careful. Think glitter bomb, but with foam.
- Ventilation: Requires good ventilation during application due to fumes.
If you decide to go the DIY spray foam route, my biggest piece of advice is to read the instructions meticulously. And maybe wear old clothes. Like, really old clothes. And a mask. And goggles. You get the picture.
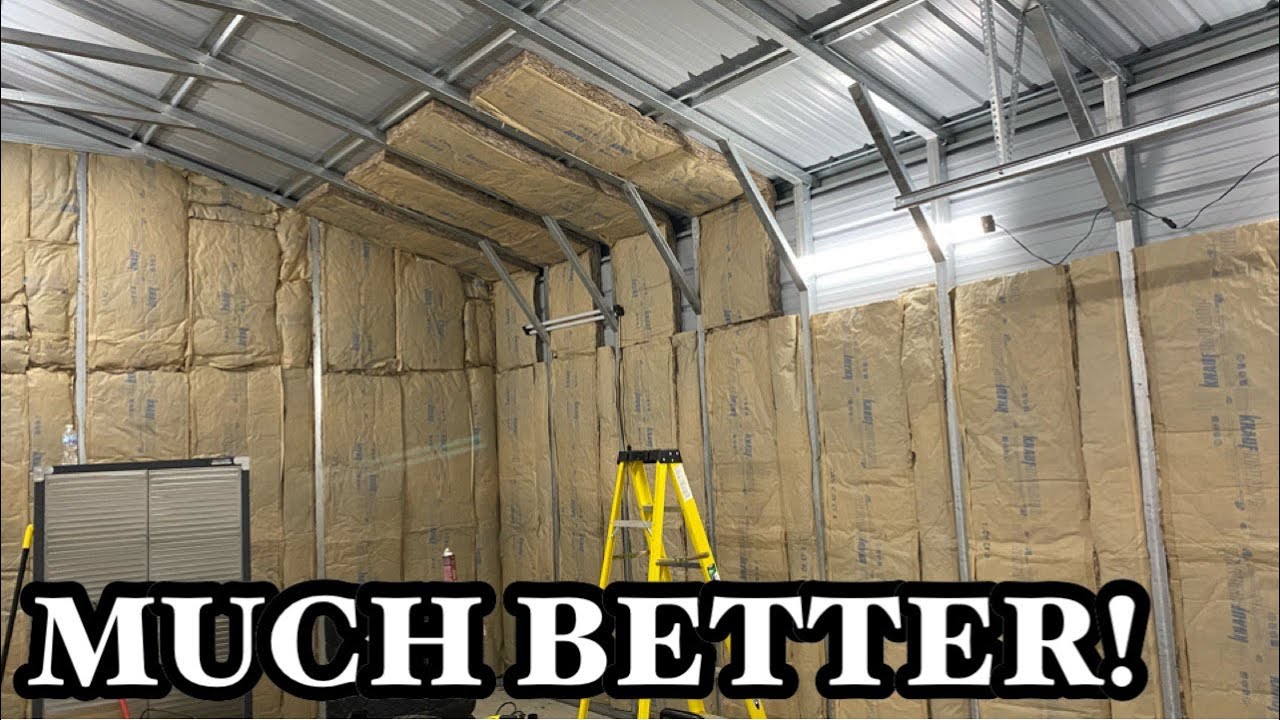
Rigid Foam Boards: The Reliable Workhorse
Now, let’s talk about the other champion: rigid foam boards, also known as foam insulation panels. These are typically made of polystyrene or polyisocyanurate and come in large, flat sheets. They’re incredibly effective at providing a solid layer of insulation and are a fantastic choice for metal garages.
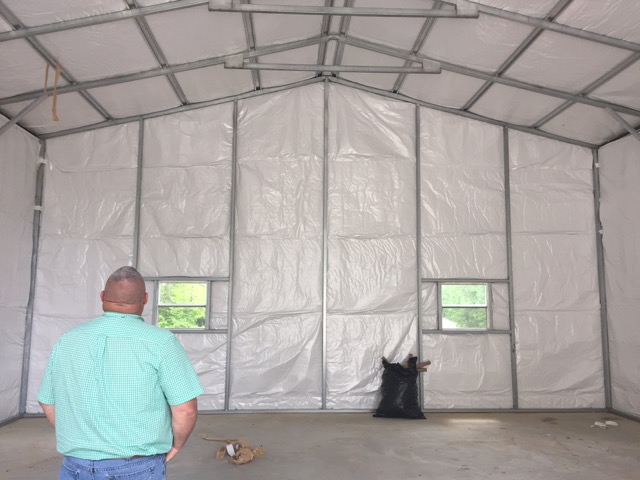
The beauty of rigid foam boards is their ease of installation. You basically cut them to size and attach them to your garage walls. Think of it like putting up oversized, super-efficient wallpaper. You can adhere them with construction adhesive, or sometimes even screw them in place if your metal walls have a frame.
You’ll want to get foil-faced rigid foam boards for the best results. The foil facing acts as a radiant barrier, reflecting heat away in the summer and keeping it inside in the winter. It’s like giving your garage a shiny, reflective, and warm hug.
Pros of Rigid Foam Boards:
- Excellent R-value: Offers great thermal resistance for their thickness.
- Easy to cut and fit: You can tailor them to your space.
- Relatively inexpensive: A budget-friendly option for larger areas.
- DIY friendly: No special tools or complicated processes required.
- Moisture resistant: Generally holds up well against moisture.
Cons of Rigid Foam Boards:
- Gaps: You need to be diligent about sealing the seams between boards to prevent air leaks. This is where that spray foam in a can can be your best friend for touching up!
- Not self-sealing: Doesn't automatically fill every tiny crevice like spray foam.
- Aesthetics: You’ll likely want to cover them with something else (like drywall) for a finished look.
For a metal garage, rigid foam boards are a fantastic option because they can be attached directly to the metal panels. You'll just need to make sure you seal up any gaps with caulk or that handy DIY spray foam. It’s like giving your metal walls a cozy, insulating hug.
Let’s Get Practical: How to Insulate Your Metal Garage (Rigid Foam Board Edition)
Since rigid foam boards are often the most accessible and cost-effective for DIYers tackling a whole metal garage, let’s walk through a simplified version of how you’d do it. Remember, always follow manufacturer instructions for specific products!
Step 1: The Great Prep Work
First things first, clean your garage. Yes, I know, the ultimate chore. But seriously, you don’t want to be insulating over cobwebs and dust bunnies. A clean surface will help your adhesive stick better. Then, inspect your metal walls. Are there any holes or dents? Patch them up. You want a smooth canvas.
Next, measure everything. Measure your walls, your ceiling (if you’re doing that too – highly recommended!), and plan out how you’ll cut your foam boards. It’s always better to measure twice, cut once. Unless you’re me, then it’s measure once, cut three times, and then stare blankly at the leftover scraps.
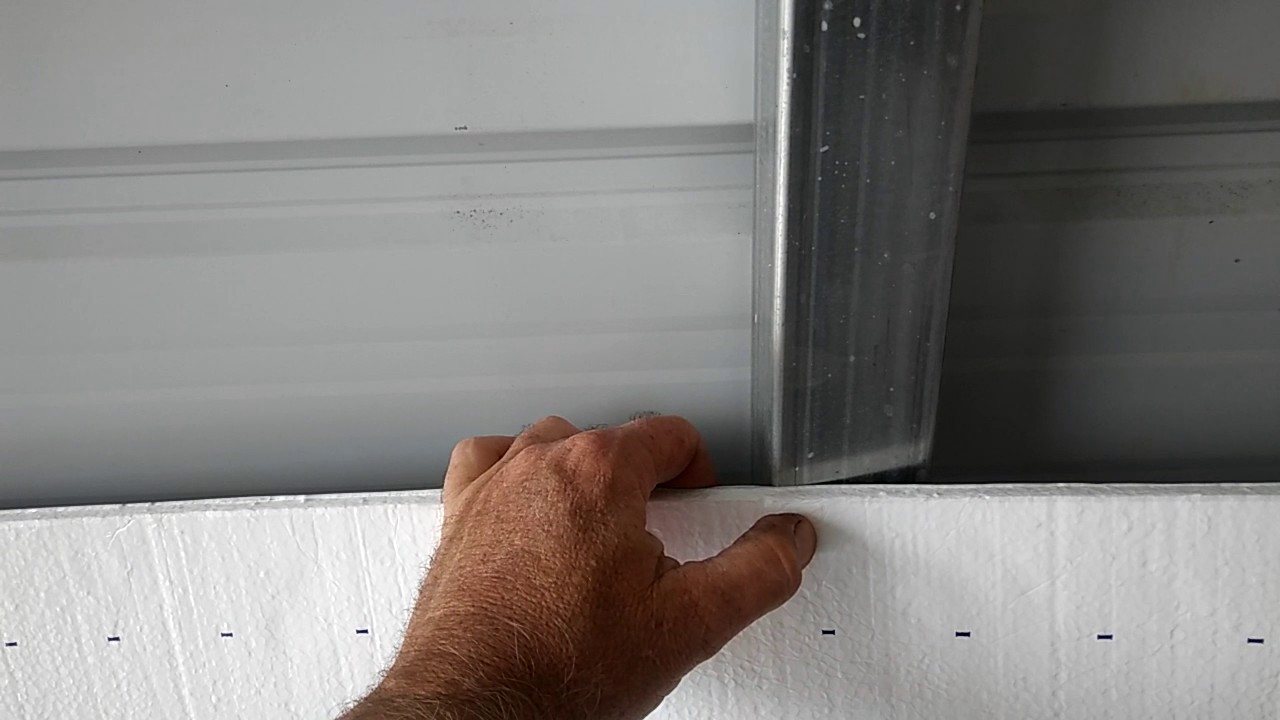
Step 2: Cutting and Fitting Your Foam Boards
Now for the fun part: cutting! You’ll need a sharp utility knife or a foam board cutter. A straight edge is your best friend here to get nice, clean cuts. Score the board and then snap it. Practice on a scrap piece first, just to get the feel of it.
Once you have your pieces, dry-fit them against the wall. See how they fit. You might need to trim a bit here and there. The goal is to get them as snug as possible against the metal, minimizing any gaps.
Step 3: The Adhesion Mission
Time to get sticky! Use a high-quality construction adhesive. Apply it in a serpentine pattern (that’s snake-like, folks!) to the back of the foam board. Don’t go too crazy with it, but make sure you have enough to create a good bond.
Now, carefully press the board firmly against the metal wall. Hold it in place for a few seconds. If you’re working on the ceiling, you might need some temporary bracing to hold the boards up while the adhesive sets. This is where a helper comes in handy, or a very patient friend who owes you a favor.
Step 4: Sealing the Deal (Literally!)
This is a super important step for metal garages. Once your boards are up, you’ll likely have small gaps between them, or between the boards and the edges of your walls. This is where caulk or foam sealant comes into play. Seal all the seams meticulously. You want an airtight barrier!
For a more robust seal, especially around edges and where boards meet, that DIY spray foam in a can is your secret weapon. It expands to fill those trickier gaps that caulk might miss.
Step 5: Finishing Touches (Optional but Recommended)
While rigid foam boards provide excellent insulation, they’re not the prettiest things to look at. Most people opt to cover them with drywall or another finished surface. This gives your garage a more polished look and provides an extra layer of protection.
If you're doing this, remember to factor in the thickness of your insulation when installing any framing for drywall. You're essentially building a new, insulated wall on top of your metal one.
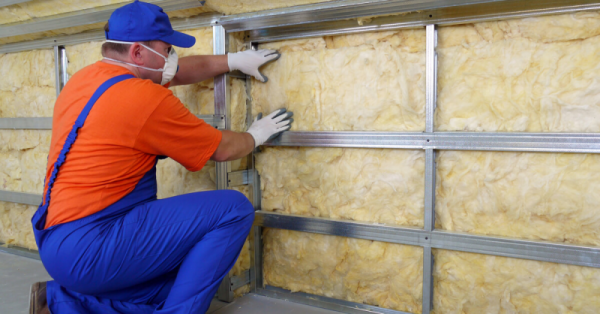
A Quick Word on Other Insulation Types
Just so you know, there are other types of insulation out there, like fiberglass batts and blown-in cellulose. While these are great for traditional stick-built homes, they're generally not the best choice for metal garages. Fiberglass can sag over time and is susceptible to moisture. Blown-in insulation requires a cavity to fill, which isn't typically present in a simple metal garage wall structure without significant modification.
So, stick with the rigid foam boards or spray foam for your metal garage project. They're designed for these types of applications and will give you the best bang for your buck in terms of performance and ease of installation.
Your Garage's Cozy Future Awaits!
There you have it! Insulating your metal garage doesn't have to be a monumental task. Whether you go with the convenience of DIY spray foam for small fixes or the robust reliability of rigid foam boards for a full transformation, you’re making a fantastic choice.
Imagine this: no more sweating profusely while trying to find your car keys. No more chattering teeth while tinkering with a project. Your garage becomes a comfortable extension of your home, a place where you can work, play, or just escape for a bit without feeling like you’re in a sauna or an icebox. It’s a space that’s truly yours, comfortable and ready for whatever you throw at it.
So go forth, brave DIYer! Grab your tools, put on your comfy clothes (and maybe some safety gear), and give your metal garage the cozy upgrade it deserves. You’ll be so glad you did. And who knows, you might even find yourself spending more time out there, enjoying your newly comfortable sanctuary. Happy insulating, and may your garage always be the perfect temperature!