
Best Way To Weld Aluminum

So, you wanna weld aluminum, huh? Awesome! It's like this whole other ballgame compared to steel, right? Not gonna lie, it can be a bit of a diva. Aluminum, I mean. It gets fussy. But hey, with a little know-how, you can totally tame that shiny beast. Think of me as your friendly neighborhood welding guru, spilling the beans over a virtual cup of coffee. Grab your mug!
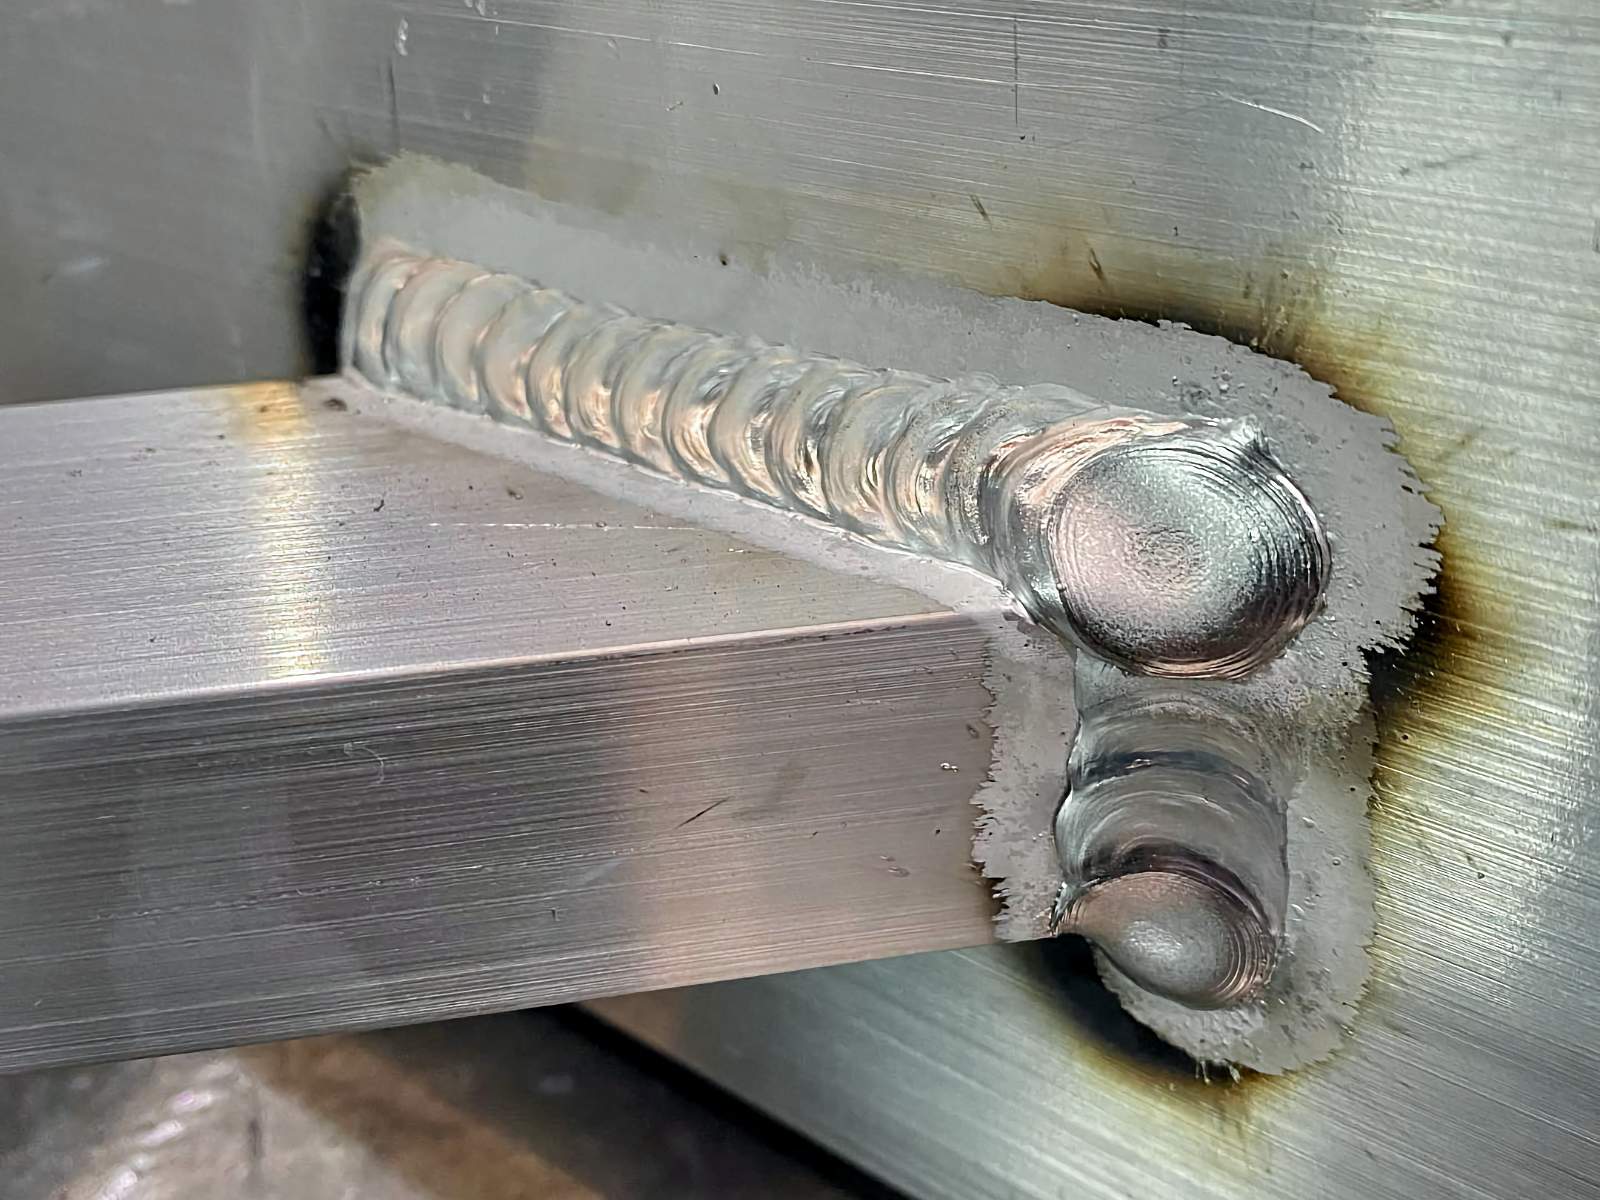
First off, let's talk about the big kahuna of aluminum welding: TIG welding. Yup, that’s the golden ticket, the crème de la crème. Why TIG, you ask? Well, it’s all about that precision, that control. You get to feed the filler rod in nice and steady, and your torch is like a little magic wand. You're practically painting with metal! It’s way less messy than MIG, and you can get some seriously beautiful welds. Like, gallery-worthy stuff. Though, maybe don’t quit your day job just yet. Gotta practice!
Now, with TIG, you've got a couple of options for your machine. You can go DC TIG, which is great for steel and stainless. But for aluminum? You absolutely need AC TIG. Why AC, you might wonder? It's all about that cleaning action. Aluminum has this crazy oxide layer that forms super fast. It's like a tiny, invisible shield that’s trying to mess with your weld. AC current actually helps to break down that stubborn oxide layer as you go. It’s like giving your aluminum a little scrub-a-dub-dub before you melt it. Pretty neat, huh?
And don't even get me started on the amperages. You'll be dialing those numbers up, way up. Aluminum needs more juice than steel to get hot enough to melt. So, crank it up, buttercup! But, you know, within reason. We don't want a molten puddle the size of Texas. Just enough to get that beautiful, fluid puddle going. It's a delicate dance, really. Like a tango with your welding torch.
The Mighty MIG: Can It Be Done?
Okay, okay, I hear you. "But what about MIG?" you're probably thinking. And yeah, MIG welding aluminum is totally a thing. It's definitely faster than TIG, which is a big win if you’ve got a lot of pieces to zap. But. And this is a big "but." It’s also a lot more challenging to get those perfect, shiny welds. It’s like trying to thread a needle in a hurricane.
The main culprit here? Wire feeding. Aluminum wire is soft. Like, squishy soft. It bends, it kinks, it noodles its way out of the gun. It’s like trying to push spaghetti through a straw. You’ll end up with bird's nests of wire and welds that look like they were made by a toddler with a glue gun. Not exactly the look we’re going for, right?
To make MIG work for aluminum, you need a few special tools. First up, a spool gun. This little beauty has the wire spool mounted right on the gun. It reduces the distance the wire has to travel, which means less chance for kinks and tangles. It’s like giving the wire a direct express route to the action. Genius, I tell you!
You also need a U-groove drive roller. Those standard V-groove rollers for steel? They’ll just chew up that soft aluminum wire. U-grooves are like little cupped hands that gently guide the wire along. See? They really thought of everything!
And the right liner in your gun is crucial too. A Teflon or nylon liner is a must. It’s super slippery, letting that soft wire glide through like it’s on an ice rink. No friction, no fuss. Mostly.
Oh, and don't forget the argon gas. Lots and lots of argon gas. You'll need a higher flow rate than you do for steel to create that protective bubble. Think of it as giving your weld a nice, big hug from the gas. Keeps all the nasties out.
Prep Work: The Unsung Hero
Now, no matter which method you choose, the most important part, the absolutely critical part, is the prep work. Seriously, I cannot stress this enough. If you skip this, you’re basically setting yourself up for failure. It’s like trying to bake a cake without preheating the oven. Disaster waiting to happen!
Aluminum oxide. We talked about it. That pesky, invisible layer. You gotta get rid of it. And you gotta do it right before you weld. Why? Because it reforms super fast. Like, blink and you'll miss it fast. So, don't go cleaning it and then taking a leisurely stroll around the block before you start welding.
The best way to clean it? A stainless steel wire brush dedicated only to aluminum. Seriously, don't use the same brush you used on your rusty old lawnmower. You'll just be transferring all that gunk onto your clean aluminum. Think of it as a spa treatment for your metal. A one-time-use, highly exclusive spa treatment.
Scrub, scrub, scrub! Get all that dull gray stuff off. You want to see shiny, bright metal. That's your goal. Then, to really be sure, give it a good wipe-down with some acetone. This stuff is great for removing any grease, oil, or general grime. Just a clean rag, a little acetone, and a good wipe. It evaporates quickly, so you can get right to welding.
And for goodness sake, wear clean gloves. You don't want to be smudging your perfectly prepped aluminum with fingerprints. Those oils from your skin? They're the enemy. The sworn enemy of a beautiful aluminum weld. So, clean metal, clean tools, clean gloves. You get the picture.
Filler Rods: The Secret Sauce
Choosing the right filler rod is also a big deal. It’s not a one-size-fits-all situation. You've got different types of aluminum alloys, and they play nicely with different filler metals. It’s like a dating service for metals!
For general-purpose aluminum welding, like on common items you might find around the house or workshop, the 4043 filler rod is usually your go-to. It’s like the friendly neighborhood plumber of filler rods. Easy to use, reliable, and it flows nicely. It’s got a bit of silicon in it, which helps with fluidity. But, it can be a bit prone to cracking on certain high-strength alloys. So, keep that in mind.
Then there's the 5356 filler rod. This one is like the strong, silent type. It’s got more magnesium, which makes it a bit stronger and more resistant to cracking. It’s a good choice for thicker sections or when you need a bit more grunt. It’s also generally a bit brighter after anodizing. So, if appearance matters, 5356 might be your man.
And hey, there are even more specialized rods out there for specific jobs. But for us weekend warriors and DIY enthusiasts, 4043 and 5356 are going to cover 90% of what you need. Just read the label on your aluminum. It’ll often tell you what filler rod is recommended. It’s like getting a cheat sheet!
The Nitty-Gritty of the Weld Itself
Alright, you've prepped, you've got your machine humming, your filler rod is ready. Time to lay down that bead! With TIG, you're going to be using a tungsten electrode. For AC welding aluminum, you’ll want a cerium oxide (gray) or lanthanum oxide (blue) doped tungsten. These guys handle AC current like a champ. Avoid pure tungsten (green) or thoriated tungsten (red) for AC – they’ll just ball up and make a mess. Been there, done that. Not pretty.
Keep that arc length nice and short. Like, really short. We’re talking the width of a hair short. A long arc is your enemy. It’s like trying to whisper across a crowded room. You’re gonna lose detail, you’re gonna get porosity, and your weld will look rough. Short and sweet is the name of the game.
Dip that filler rod into the puddle with every little rock of your torch. It’s like a gentle kiss between the filler and the molten aluminum. Don’t just jam it in there. Little taps, consistent rhythm. You want to create a smooth, continuous bead. No lumps, no bumps. Just a beautiful, flowing river of molten metal.

And watch that puddle! It's your best friend. It'll tell you if you're too hot, too cold, or if you've got contamination. A nice, consistent puddle that spreads and solidifies evenly is what you're aiming for. If it starts looking like a shiny, bubbly mess, something's not right. Time to pause, assess, and maybe do some more cleaning!
With MIG, you're going to be doing a push technique. Yup, push it. Unlike steel, where you often drag, pushing with aluminum helps to keep that shielding gas from getting blown away. You want that gas to hug your weld and protect it from the air. Think of it like a gentle nudge forward, keeping everything safe and sound.
And keep your travel speed consistent. If you go too fast, you'll get a thin, weak weld with lots of undercut. Too slow? You'll end up with a big, ugly blob. Find that sweet spot where the puddle is just right and the bead is laying down beautifully. It takes practice, but you’ll get there.
Troubleshooting Time!
Even with all the best intentions, things can go wrong. It happens to the best of us. So, let’s talk about some common aluminum welding gremlins.
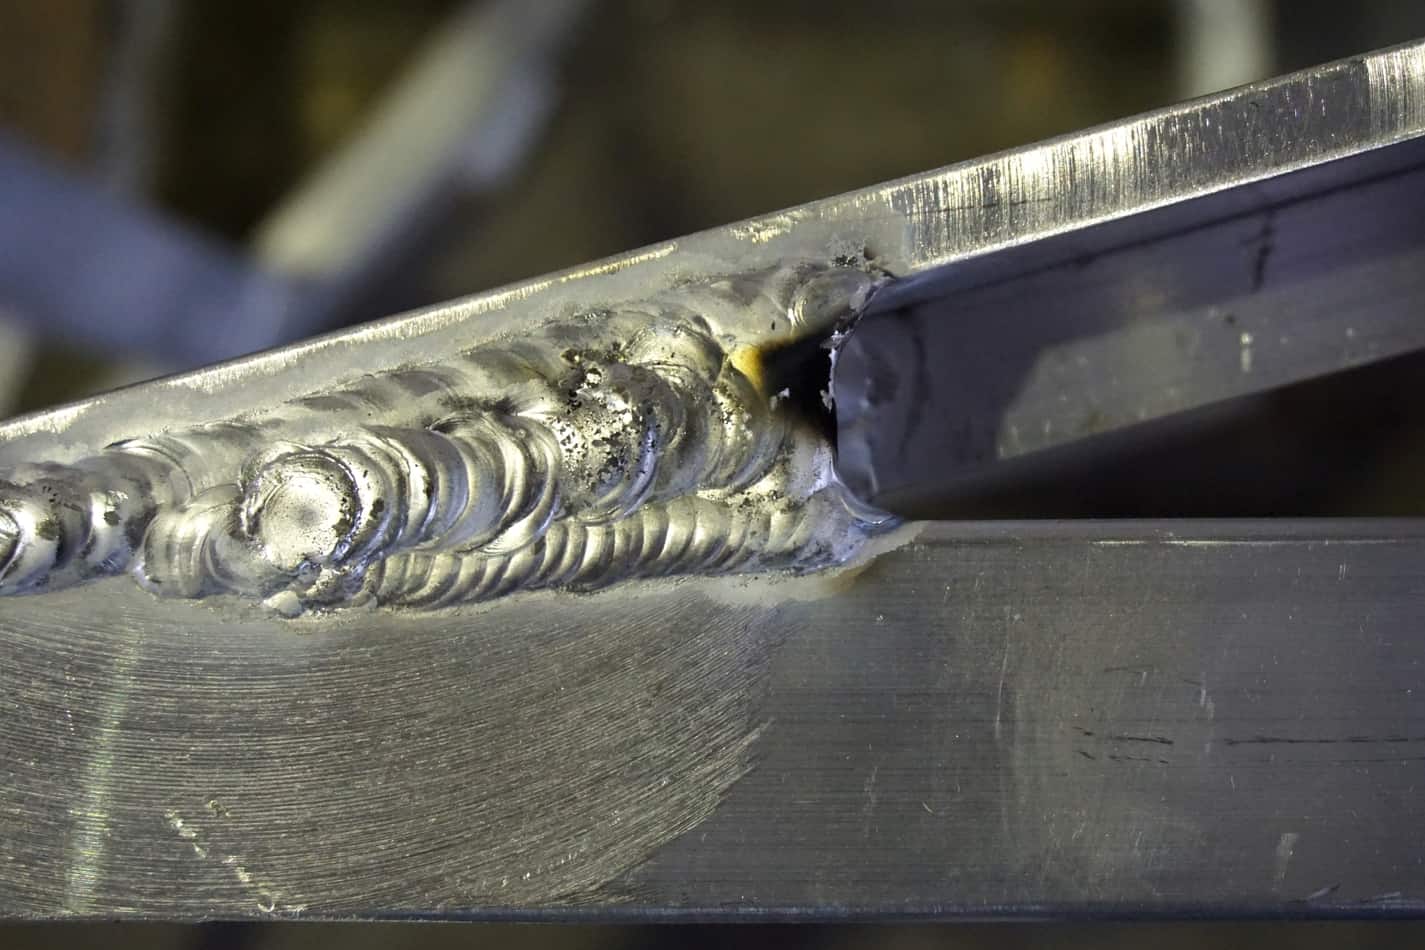
Porosity. That’s those tiny little holes in your weld. It's usually caused by contamination. We're talking dirt, oil, grease, or the dreaded oxide layer not being fully removed. Or, your shielding gas coverage is lousy. Make sure your gas flow is right, your bottle isn't running on empty, and your torch isn't leaking. And for the love of all that is holy, clean your metal!
Cracking. Oh boy, cracking. This is a real pain in the aluminum backside. It often happens after the weld cools. It's usually a sign that you've used the wrong filler rod for the aluminum alloy, or you've got too much heat input. Sometimes, preheating the aluminum can help reduce stress and prevent cracking, especially on thicker pieces. But, be careful with preheating; too much heat can also cause other problems. It’s a fine line, isn’t it?

Undercut. That’s when the weld metal pulls away from the base metal, leaving a little groove. It’s often caused by welding too hot or moving too fast. You’re basically burning away the edges of your base metal. Back off the heat a bit, slow down, and focus on filling that groove. You’ve got this!
Poor fusion. This means your weld metal isn’t properly melting into the base metal. Again, could be contamination, too little heat, or moving too fast. You want that molten puddle to be a nice, consistent blend of filler and base metal. If it looks like the filler is just sitting on top, you’ve got a fusion problem.
Practice Makes… Well, Less Bad Welds!
Look, nobody – and I mean nobody – is going to lay down perfect aluminum welds on their first try. It takes patience. It takes practice. It takes a willingness to embrace the occasional spectacular failure. Think of those failures as learning opportunities. Expensive, sometimes messy, learning opportunities, but learning opportunities nonetheless!
Start with some scrap pieces. Get a feel for the heat. Get a feel for how the puddle moves. Try different settings on your machine. See what works for your setup. It’s all about building that muscle memory and that intuition. Soon, you'll be able to look at a piece of aluminum and just know what it needs. It’s almost magical.
And don't be afraid to watch tutorials. YouTube is your friend! There are tons of awesome welders out there sharing their tips and tricks. See how they move their torch, how they feed the rod. You can learn a lot just by observing.
So, there you have it. The not-so-secret secrets to welding aluminum. It's a bit of a learning curve, a bit of a challenge, but when you nail it? Oh man, the satisfaction is immense. You'll be looking at your shiny, strong aluminum welds, and you'll be like, "Yeah, I did that!" And that, my friend, is pretty darn cool.
Now go forth, grab that welding gear, and make some sparks fly! Or, you know, just make some nice, clean welds. Whatever floats your boat. Happy welding!