
Fix Scratches In Stainless Steel
Alright, gather 'round, you stainless steel warriors! We've all been there, haven't we? You’ve just invested in that gleaming, futuristic appliance that makes you feel like you’re living in the year 3000, and then BAM! A tiny, rogue fork attack. Or maybe you were just trying to enjoy a spirited spatula ballet, and oops, you’ve introduced a new, unwanted design element to your beloved fridge door. Yes, my friends, I'm talking about the bane of our modern existence: stainless steel scratches.
It’s like finding a tiny, existential dread-inducing grey hair on your otherwise perfect self. You stare at it, and suddenly, your entire kitchen feels… less shiny. Less… you. And the internet? Oh, the internet offers a labyrinth of conflicting advice. Some people tell you to use toothpaste, others a potato, and I swear I once saw a forum suggesting you whisper sweet nothings to it. While I appreciate the poetic sentiment, I'm here to tell you there are actually some real solutions that don't involve horticultural experiments or romantic serenades.
Let’s be honest, stainless steel is awesome. It’s strong, it doesn't rust (usually, unless you’ve somehow managed to summon the spirit of a thousand rainy days to your kitchen), and it makes everything look like it belongs in a Bond film. But it’s also a bit like a drama queen – it looks fantastic, but it’s easily bruised. And those bruises? Scratches. They’re the little etchings of our culinary adventures, the battle scars of our daily grind. But don't despair! We can fight back!
The Great Scratch Detective Agency: Identifying the Culprit
Before we grab our metaphorical magnifying glasses, we need to understand our enemy. Are we dealing with a superficial swipe, like a cat’s disgruntled greeting? Or is this a deep gouge, a betrayal by a rogue cheese grater? Generally, scratches on stainless steel fall into two categories: light surface scratches and deeper scratches.
Light scratches are usually just in the protective coating or the very top layer of the steel. These are your everyday annoyances, the ones you can often buff out with a little elbow grease and the right strategy. Deeper scratches? Well, those are a bit more… involved. Think of them as the dramatic plot twists in your kitchen’s story. They go deeper into the metal and require a more robust approach.

The "Toothpaste Trick" - Myth or Miracle?
Ah, the toothpaste. The internet’s go-to for everything from polishing silver to curing hiccups. So, does it work for stainless steel scratches? The answer is… sometimes. If you’re talking about those very, very fine surface scuffs, a non-gel white toothpaste (and I stress, non-gel – we're not trying to exfoliate our appliances here) can act as a very mild abrasive. Think of it as a gentle exfoliant for your fridge. You’ll want to rub it in with the grain of the steel, using a soft cloth, and then buff it off.
However, let’s be clear: this is like trying to fill a pothole with a single grain of sand. For anything more substantial, you’ll be disappointed. It’s more of a “maybe it’ll help a little bit” kind of fix, not a miracle cure. Don’t go using your minty fresh Crest and expecting your microwave to suddenly look brand new. You’ll just end up with a minty-smelling scratch, which is arguably worse.
The Power of the Pad: Tackling Superficial Scratches
Now, let's get serious about those minor abrasions. For light scratches, your best friend is a non-abrasive scrub pad. Forget steel wool, that’s like bringing a tank to a water gun fight – it’ll just make things worse. We’re talking about those soft, blue or white ones you use for delicate dishes.
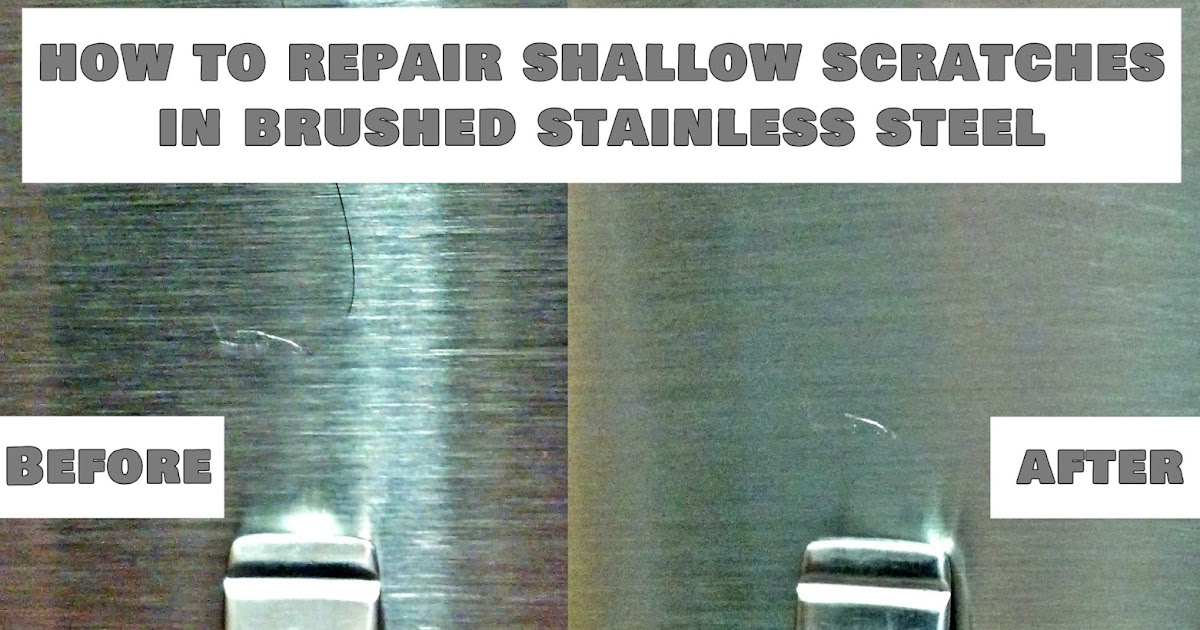
Here’s the golden rule, and I want you to tattoo this on your forehead: always rub in the direction of the grain. Stainless steel has a grain, just like wood. If you rub against it, you’ll create more scratches, and nobody wants that. Imagine you’re petting a very well-behaved metal cat. Gentle strokes, following its natural fur direction. You can find the grain by looking closely; it usually runs horizontally or vertically.
You can combine this with a bit of dish soap and water, or a specialized stainless steel cleaner. Gently rub the affected area, following the grain, and then wipe clean with a soft cloth. It’s like giving your appliance a little spa treatment. Ah, tranquility.
When the Grain Gets Gritty: Specialty Scratch Removers
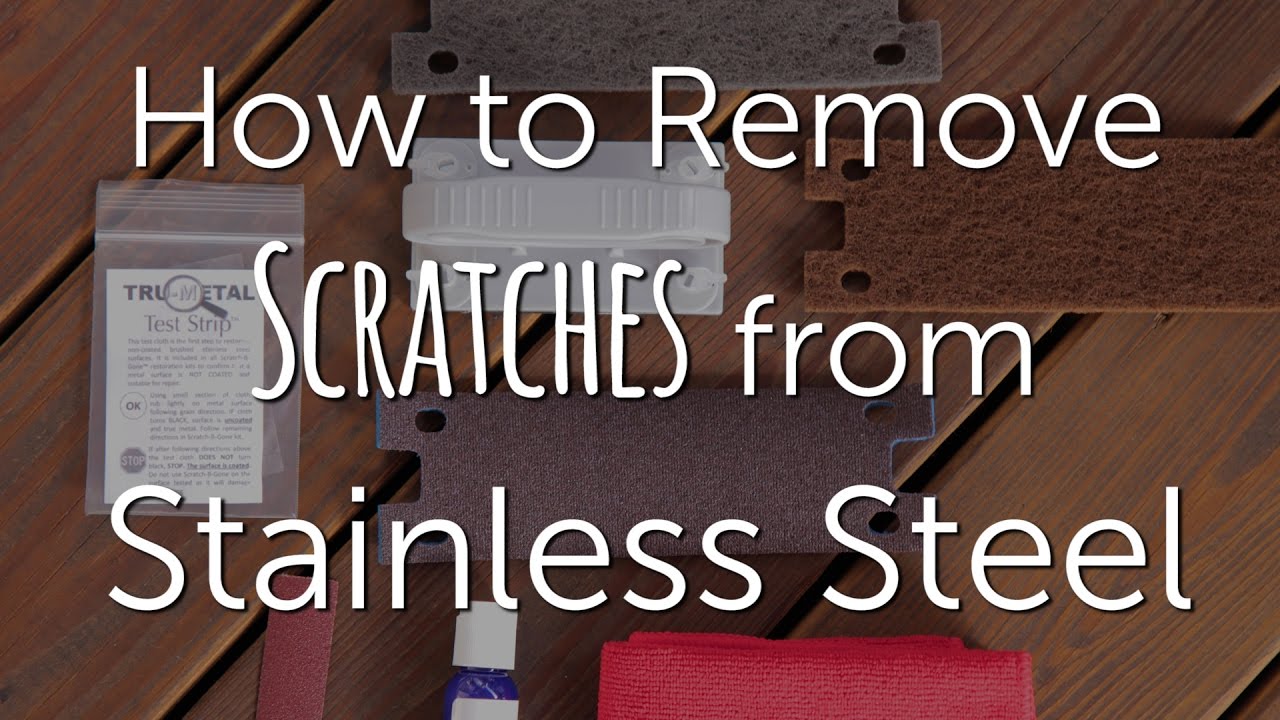
For those scratches that are a little more than a whisper but not quite a roar, you might need to bring out the heavy artillery – but the nice heavy artillery. There are commercial stainless steel scratch removal kits. These often come with a series of increasingly fine abrasive pads and sometimes a polishing compound. They’re designed to work with the grain and essentially blend the scratch into the surrounding finish.

Think of it like sanding down a tiny imperfection on a piece of furniture. You start with a slightly coarser grit and move to finer ones to make the repair invisible. The key here is to follow the kit’s instructions meticulously. Don’t get overzealous. It’s better to do a little less and have a faint, nearly invisible imperfection than to go all Rambo on your toaster and create a disaster zone.
A word of caution: these kits can sometimes alter the sheen of the stainless steel. So, it’s a good idea to test it on an inconspicuous area first, maybe the back of your dishwasher where no one will ever see it, unless you’re planning a surprise kitchen inspection by the Queen. If the repaired area looks noticeably different, you might want to reconsider or focus on making the scratch less noticeable rather than disappearing entirely.
The Art of Buffing: The Final Flourish
Once you’ve tackled the scratch, it’s time for the grand finale: buffing. This is where you bring back the shine. Use a clean, soft, lint-free cloth (microfiber is your friend here – it’s like the superhero cape of cleaning cloths). Gently buff the area you worked on, and then buff the entire surface to ensure a uniform sheen. It’s like polishing a trophy after a hard-won battle.

For an extra touch, you can use a tiny bit of specialized stainless steel polish. Apply it sparingly to your cloth, not directly to the appliance, and then buff in the direction of the grain. This not only adds shine but can also provide a protective layer, making future scratches a little less likely to stick.
Prevention is Key: The Stainless Steel Samurai’s Motto
Now that you’ve nursed your stainless steel back to health, let’s talk about preventing future boo-boos. It’s all about mindful kitchen living. Here are a few:
- Use cutting boards: This seems obvious, but you'd be surprised. Don’t chop directly on your stainless steel countertops or appliance doors.
- Gentle cleaning: Avoid abrasive cleaners and scrubbers. Stick to soft cloths and mild detergents.
- Be mindful of magnets: Some decorative magnets can have sharp edges that scratch.
- Watch out for sand and grit: If you bring in groceries that might have dirt or sand on them, wipe them down before placing them on your stainless steel surfaces. Sand is basically tiny, angry shards of glass to your appliances.
- The "Spatula Tango" Etiquette: When cooking, try to be graceful. Avoid scraping pots and pans across the surface.
So there you have it! Stainless steel scratches are not the end of the world, or your kitchen’s reign of shiny glory. With a little knowledge, the right tools, and a healthy dose of patience, you can keep your appliances looking as good as the day you brought them home. Now go forth and conquer those scratches, you magnificent kitchen crusaders!