
Home Built Sheet Metal Brake
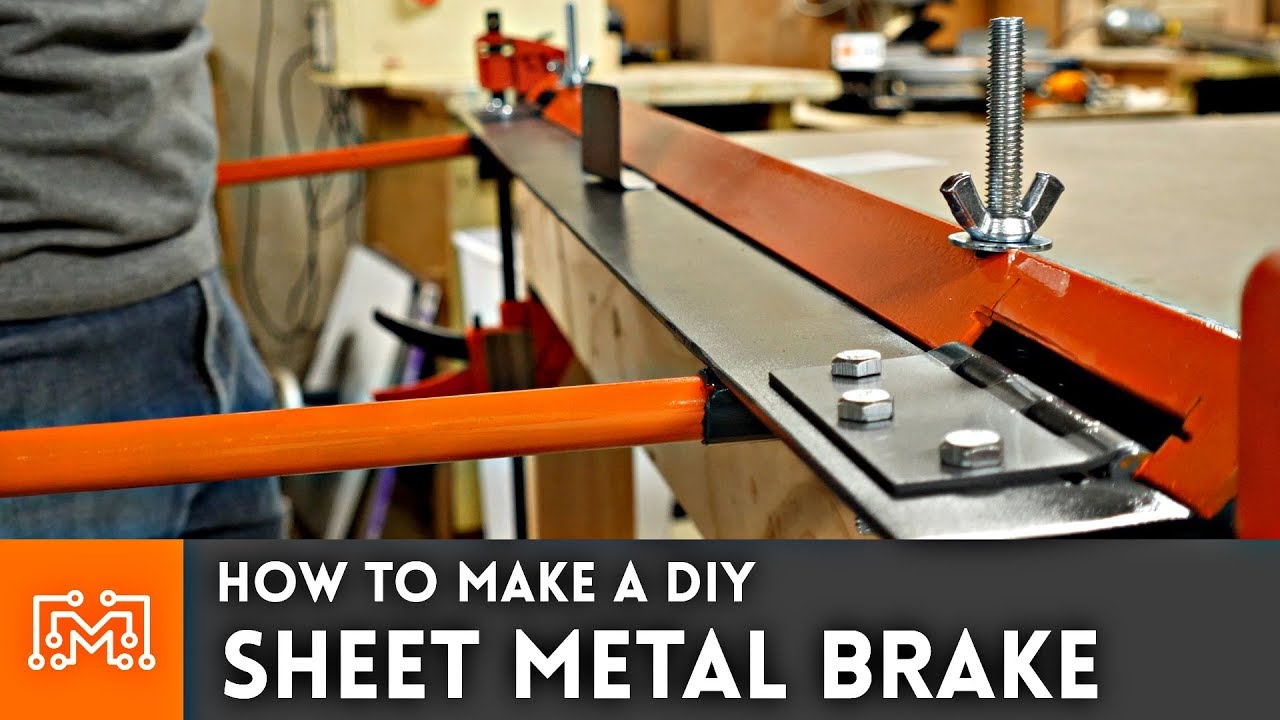
So, there I was, staring at this piece of sheet metal. Shiny, promising, and utterly useless in its current flat state. I needed a crisp ninety-degree bend, you know, for a little project I had in mind. Something to hold… well, let’s just say it involved keeping things tidy and looking a bit more professional than just slapping some duct tape on it. And then it hit me, a wave of sheer DIY desperation mixed with a healthy dose of optimism. I didn't have a fancy metal brake. Not even a slightly-less-fancy-but-still-expensive one. My options? Either spend a small fortune on a tool I’d probably use twice, or… well, build one. Cue the dramatic music and the slightly maniacal grin.
It’s funny, isn’t it? We see these amazing, intricate things created by skilled craftspeople, and we think, "Wow, that’s incredible!" And it is. But sometimes, the most satisfying creations are the ones born out of a stubborn refusal to be inconvenienced. Or, you know, a severe lack of funds. That’s where the home-built sheet metal brake comes in. It’s not going to win any beauty contests, and it might make a few alarming noises during operation, but gosh darn it, it can get the job done. And that, my friends, is the beauty of it.
The Genesis of the DIY Bender
I’d been wrestling with this particular metal-bending challenge for a while. I’d tried the hammer-and-anvil method (let’s just say my anvil was a repurposed car rim, and the results were… rustic). I’d even contemplated using a couple of sturdy pieces of wood and a whole lot of hope. Neither approach yielded the clean, precise bend I was after. The metal just kept… buckling. It had a mind of its own, that metal. A rather uncooperative mind.
Then I stumbled down the rabbit hole of online forums and YouTube videos. And there it was, a glimmer of hope in the form of countless tutorials and build logs. People, just like me, armed with little more than scrap wood, bolts, and a healthy dose of ingenuity, were crafting their own sheet metal brakes. It was like discovering a secret society. A society of people who believe that if you can’t buy it, you build it. Or, at the very least, you try to build it, with varying degrees of success.
Why Bother When You Can Buy One?
Okay, I see you there, tapping your foot and thinking, "But surely, it’s easier to just buy one?" And yes, for a professional workshop with a constant stream of metal-bending needs, that’s absolutely the way to go. You get precision, durability, and a warranty. But let’s be honest, for most of us hobbyists, those professional brakes are eye-wateringly expensive. We’re talking hundreds, sometimes thousands, of dollars. And if you’re like me, and you only need to bend a few pieces of sheet metal a year for, say, a birdhouse roof or a custom enclosure for your Arduino project, that’s a tough pill to swallow.
Plus, there’s the inherent satisfaction, isn’t there? The feeling of accomplishment when you’ve taken raw materials and transformed them into a functional tool. It’s a different kind of satisfaction than just unboxing something. It's earned. It’s a testament to your ability to problem-solve and your willingness to get your hands dirty. It’s the antidote to our modern throwaway culture. You made this. It works. You made it work.
The Anatomy of a Simple Brake
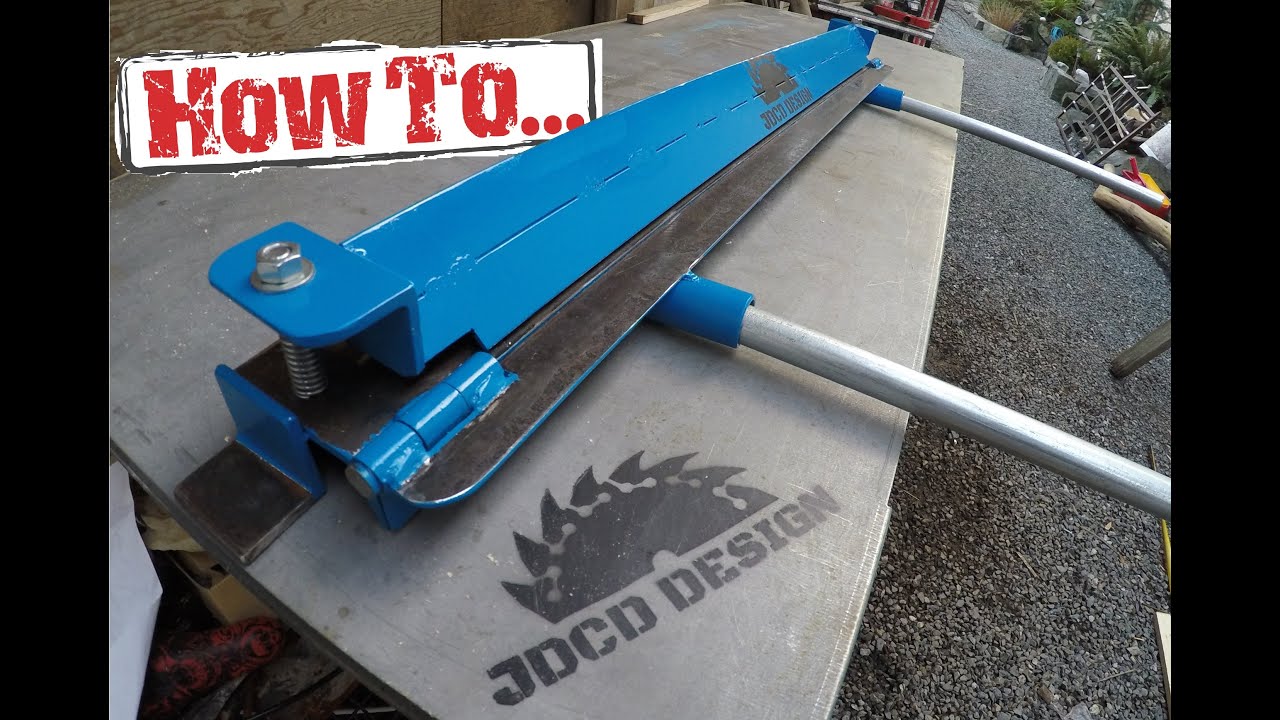
So, what exactly is a sheet metal brake, and how can you replicate its magic at home? At its core, a brake uses leverage to bend a piece of sheet metal over a precisely shaped edge. Think of it like opening a book, but with metal. You have a stationary edge (the die), and a movable edge (the punch or finger) that pivots to create the bend.
For our home-built version, we’re going to simplify things considerably. We’ll be creating a hinged mechanism that allows you to clamp the metal down and then pivot a heavy beam to force the bend. It’s robust, it’s relatively straightforward, and it’s surprisingly effective for lighter gauge metals like aluminum or thin steel. We’re not bending battleship plating here, folks, but for most DIY applications, this will be more than enough.

Gathering Your Arsenal: The "Shopping List" (Mostly Scrounging)
Now, let’s talk about what you’ll need. The beauty of a home-built brake is its flexibility. You can often scrounge a lot of these materials. Raid your scrap wood pile, check out the local lumber yard’s offcuts bin, or even see if a friend has some spare lumber lying around.
- Sturdy Wood: Think 2x4s, 2x6s, or even thicker if you can find them. You'll need enough to build a solid frame and a bending beam. The thicker and more solid, the better it will hold up.
- Hardware: Bolts, nuts, washers, and some heavy-duty hinges. You’ll want bolts that are long enough to go through your wood and allow for a good clamping action. Lag bolts can also be useful.
- Sheet Metal (of course!): This is what you'll be bending. Start with something manageable like 20 or 22 gauge aluminum or steel.
- Clamps: You'll need some strong clamps to hold the sheet metal in place while you bend it. C-clamps or bar clamps will work.
- Tools: A saw (hand saw or power saw), a drill and drill bits, a measuring tape, a pencil, and some sandpaper. A wrench or socket set will be needed for the bolts.
Don’t get too hung up on exact dimensions at this stage. We’re building a functional tool, not a museum piece. The key is to make it sturdy and to ensure the pivot point is solid.
Building the Beast: Step-by-Step (Ish)
Alright, time to get our hands dirty. Don’t worry if you’re not a master carpenter. This is more about brute force and common sense than delicate joinery.
The Base Frame: The Foundation of Your Bending Empire
First, we need a sturdy base. This will house the die, the edge over which the metal will bend. Think of it as a strong, stable table. You'll want to build a rectangular frame using your 2x material. Make it wide enough to accommodate the largest piece of sheet metal you anticipate bending. Then, you'll need to create a lip or edge on one side. This is where the magic happens. You can achieve this by screwing another piece of wood onto the top edge of your frame. This will be your die edge. Ensure this edge is as straight and square as possible. A sharp, clean edge is crucial for a good bend.
Now, let’s talk about the die edge itself. Some people use a single piece of wood. Others prefer to laminate several pieces together to create a more robust and precisely shaped edge. You can even bevel the edge slightly to help the metal bend more smoothly. Experimentation is key here. Sand down any rough edges to prevent scratching your precious sheet metal. You’re aiming for a smooth, consistent surface.

The Bending Beam: Your Lever of Power
Next up, the bending beam. This is the part that pivots and forces the bend. You’ll want a sturdy piece of wood, again, a 2x6 or something similar. This beam will be attached to your base frame with heavy-duty hinges. The hinges need to be strong enough to withstand the forces involved in bending metal.
The length of this beam is important. It needs to be long enough to give you decent leverage but not so long that it becomes unwieldy. You’ll likely need to drill a hole near one end of the beam to act as the pivot point. This hole will align with a corresponding hole drilled in your base frame. This is where your main pivot bolt will go. Make sure this pivot is tight and secure. Any wobble here will translate into an imprecise bend.
Here’s a little trick I learned the hard way: consider reinforcing the bending beam. You can do this by adding metal plates on either side of the pivot point or along the edges where the beam will come into contact with the metal. This will prevent the wood from splitting under pressure. Trust me, you don’t want that happening mid-bend. It’s a messy business.
Clamping It All Down: The Crucial Hold
This is arguably the most critical part for achieving a clean bend. You need to clamp the sheet metal firmly against the die edge. How you do this will depend on your design. One common method is to use a secondary piece of wood, often called a "clamping bar," that runs parallel to the die edge. You then use bolts or screws to cinch this clamping bar down onto the sheet metal, holding it firmly in place.
Alternatively, you can position your clamps strategically. You’ll want to place clamps on either side of where your bend will be, ensuring the metal doesn’t shift or lift during the bending process. The stronger and more numerous your clamps, the better the result. Think of it as giving the metal a firm handshake before you ask it to bend. And you want a really firm handshake.

Some designs even incorporate a way to screw down the clamping bar directly into the base frame, creating a very solid hold. This often involves drilling and tapping holes in the base or using threaded inserts. If you’re feeling ambitious, this is a great way to improve the rigidity of your brake.
Putting It to the Test: The Moment of Truth
You’ve built it. It’s standing there, looking a bit rough around the edges, but full of potential. Now it’s time to see if all your hard work has paid off.
Take a piece of your sheet metal. Place it on the die edge of your brake. Position it so the bend line is exactly where you want it. Now, firmly clamp it down. This is where those clamps earn their keep. Make sure the metal is flush against the die edge and isn't going anywhere.
Now, carefully lower the bending beam. Apply steady pressure. You might need to push down with your body weight, or if you’ve made it robust enough, you might be able to use a foot pedal or even a simple lever system. The key is to apply consistent, even pressure. You’re looking for a smooth, controlled bend, not a sudden, violent creak.
Troubleshooting: When Metal Refuses to Cooperate
What if it doesn’t work perfectly the first time? Don’t despair! This is part of the learning process.
- Uneven Bend: This is often due to inconsistent clamping or an uneven die edge. Double-check your clamps and ensure the die edge is perfectly straight and smooth.
- Metal Buckling: This can happen if you’re trying to bend metal that’s too thick for your brake, or if the clamping isn’t strong enough. Try a thinner gauge metal, or reinforce your clamping mechanism.
- Rough Edges: Ensure your die edge is smooth and free of burrs. Also, be mindful of where the bending beam contacts the metal.
Don’t be afraid to make adjustments. Add more bracing, sand down surfaces, or even re-engineer parts. That’s the beauty of a home-built project. You have the freedom to iterate and improve.
Beyond the Basic Bend: Enhancements and Variations
Once you’ve got the basic brake working, you might find yourself wanting more. This is where the real fun begins!
Adjustable Bending Edge
One common upgrade is to make the bending edge adjustable. This can be done by using a series of wooden blocks that can be stacked or shimmed to create different bend angles. This allows you to achieve more than just a 90-degree bend. Think of it as adding a protractor to your brake.
Finger Brakes
For more intricate work, you can create a "finger brake." This involves creating a series of movable "fingers" that can be lowered to form specific shapes. This is a more complex build, but it opens up a whole new world of possibilities for creating custom brackets and enclosures.
Material Considerations
Remember, your home-built brake will have limitations. It’s best suited for thinner gauge metals. For thicker steel or aluminum, you'll need a more substantial machine. However, for most hobbyist needs, this DIY solution is incredibly effective.
The Joy of the Homemade
Building a home-built sheet metal brake is more than just a practical project. It’s an act of defiance against the disposable culture, a celebration of ingenuity, and a tangible reminder that we are capable of creating the tools we need. It’s about the satisfaction of a job well done, even if that job involved a bit of sawdust, a few questionable noises, and the occasional scraped knuckle. So, go ahead, grab some wood, find some bolts, and build yourself a bender. You might be surprised at what you can create.