
How Copper Tube Is Made

You know, I was rummaging through my dad’s old toolbox the other day, trying to find that one specific wrench that mysteriously disappears every time you need it (seriously, where do they GO?). Anyway, I stumbled upon this coiled-up length of copper tubing. It was a bit tarnished, probably been there since the Reagan administration, but it got me thinking. This stuff is everywhere, right? In our plumbing, in our air conditioners, even in some fancy kitchenware. It’s just… there. So, how on earth does this humble, bendy metal tube actually become a tube? It’s not like someone just… blows into a lump of copper, is it? (Though, wouldn't that be a sight? Imagine a giant, red-faced metalworker trying to inflate a copper pipe with sheer lung power!) It’s a lot more complex, and honestly, pretty darn cool.
So, let’s dive into the fascinating, and surprisingly intricate, world of copper tube manufacturing. Forget your DIY fantasies; this is industrial-level magic.
From Earth to Essential: The Copper's Journey
Before we even think about tubes, we’ve got to talk about where copper comes from. It’s not like it pops out of a vending machine. Copper is a metal, mined from the earth. Think huge open-pit mines, or deep, dark tunnels. It's a whole production. These raw copper ores are then processed, smelted, and refined to get to the pure, shiny stuff we know and love (or at least, appreciate for its conductivity).
This isn’t just a quick dig and a polish. It’s a multi-stage process that can involve crushing rocks, using massive furnaces, and employing some pretty intense chemistry. The goal is to get copper that’s highly pure, because impurities can seriously mess with its properties, like its ability to conduct heat and electricity, or its resistance to corrosion. And nobody wants leaky pipes made from dodgy copper, right? That’s a plumbing nightmare waiting to happen.
Melting Pot Madness: Creating the Billet
Okay, so we’ve got our pure copper. What’s next? We melt it down! Imagine a cauldron, but on a truly epic scale. This molten copper is then cast into large, cylindrical molds. These are called billets. Think of them as the raw, unshaped foundation of our future copper tubes.
This melting and casting process needs to be controlled really carefully. You want to avoid any air bubbles or slag inclusions in the molten copper. These imperfections would weaken the final product. It’s a bit like making perfect chocolate; you don’t want any grainy bits or air pockets, do you? Except, you know, on an industrial scale with molten metal.
The Mighty Extrusion: Pushing Through the Mold
Now, this is where things start to get tube-like. The most common method for making seamless copper tubing is called extrusion. And let me tell you, it sounds as forceful as it is.

The copper billet, which has cooled and solidified but is still plenty hot, is placed into a very strong press. Think of a giant hydraulic ram. Then, with immense pressure, this ram forces the hot copper through a die. This die has a hole in it that’s the exact shape and size of the outer diameter of the tube we want. But what about the inside? Aha!
This is the clever bit. Inside the die, there's also a mandrel. This is a long, rod-like tool that sits perfectly in the center of the die hole. As the copper is pushed through, it flows around the mandrel, creating the hollow center of the tube. So, the billet is essentially being squeezed into a long, hollow cylinder.
Imagine pushing a marshmallow through a donut hole. Kind of. Except, you know, with molten metal and tons of force. It’s pretty incredible to think about the engineering involved to achieve such precision at such high temperatures and pressures.
A Long, Winding Road: The Drawing Process
The extruded tube is often quite thick-walled and might not be exactly the dimensions we need for, say, your bathroom faucet. So, it goes through another process called drawing. This is where we really refine the tube’s dimensions and surface finish.
The tube is pulled through a series of dies. Each die has a slightly smaller opening than the last. As the tube is pulled through, it’s stretched and thinned, and its diameter gets smaller. This also makes the tube longer. And just like with extrusion, a mandrel is often used during the drawing process to control the inner diameter and wall thickness.
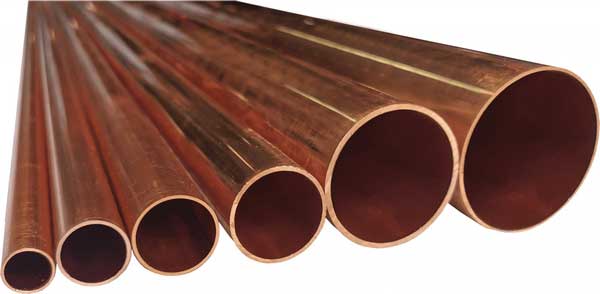
This drawing process can be done multiple times, with each pass making the tube thinner and longer. It’s like stretching out a piece of chewing gum, but again, with metal. You can control how much it’s stretched, and in doing so, you control the final size and wall thickness of the tube. It's a remarkably precise way to get the exact specifications needed for different applications.
Annealing: Softening Up for Success
Now, all that squeezing and stretching? It hardens the copper. Think of it like working out at the gym; your muscles get stronger, but they also get a bit stiff. If we tried to bend or shape this hardened copper tube, it would likely crack or kink. Not ideal for plumbing, where you need to make turns!
So, before we can do any bending or coiling, the copper tube needs to be annealed. This is a heat treatment process where the copper is heated to a specific temperature and then cooled in a controlled way. This process softens the metal, relieving the stresses that were introduced during extrusion and drawing. It makes the copper pliable and ready to be manipulated.
It’s a bit like giving the copper a spa day. It gets heated up, relaxed, and comes out all bendy and ready to go. This annealing step is crucial for the tube's ductility, which is its ability to be bent without breaking. You wouldn't want your pipes to snap every time you needed to navigate a tricky corner, would you?
Surface Finishes: Looking Good and Doing Good
After annealing, the tube might have a bit of a dull or scaled surface. For many applications, especially where aesthetics matter or where it’s in contact with fluids, a smooth, clean surface is important. So, it might go through further cleaning processes, like pickling (using an acid solution to remove scale) or bright annealing (heating in a controlled atmosphere to prevent oxidation and produce a bright finish).
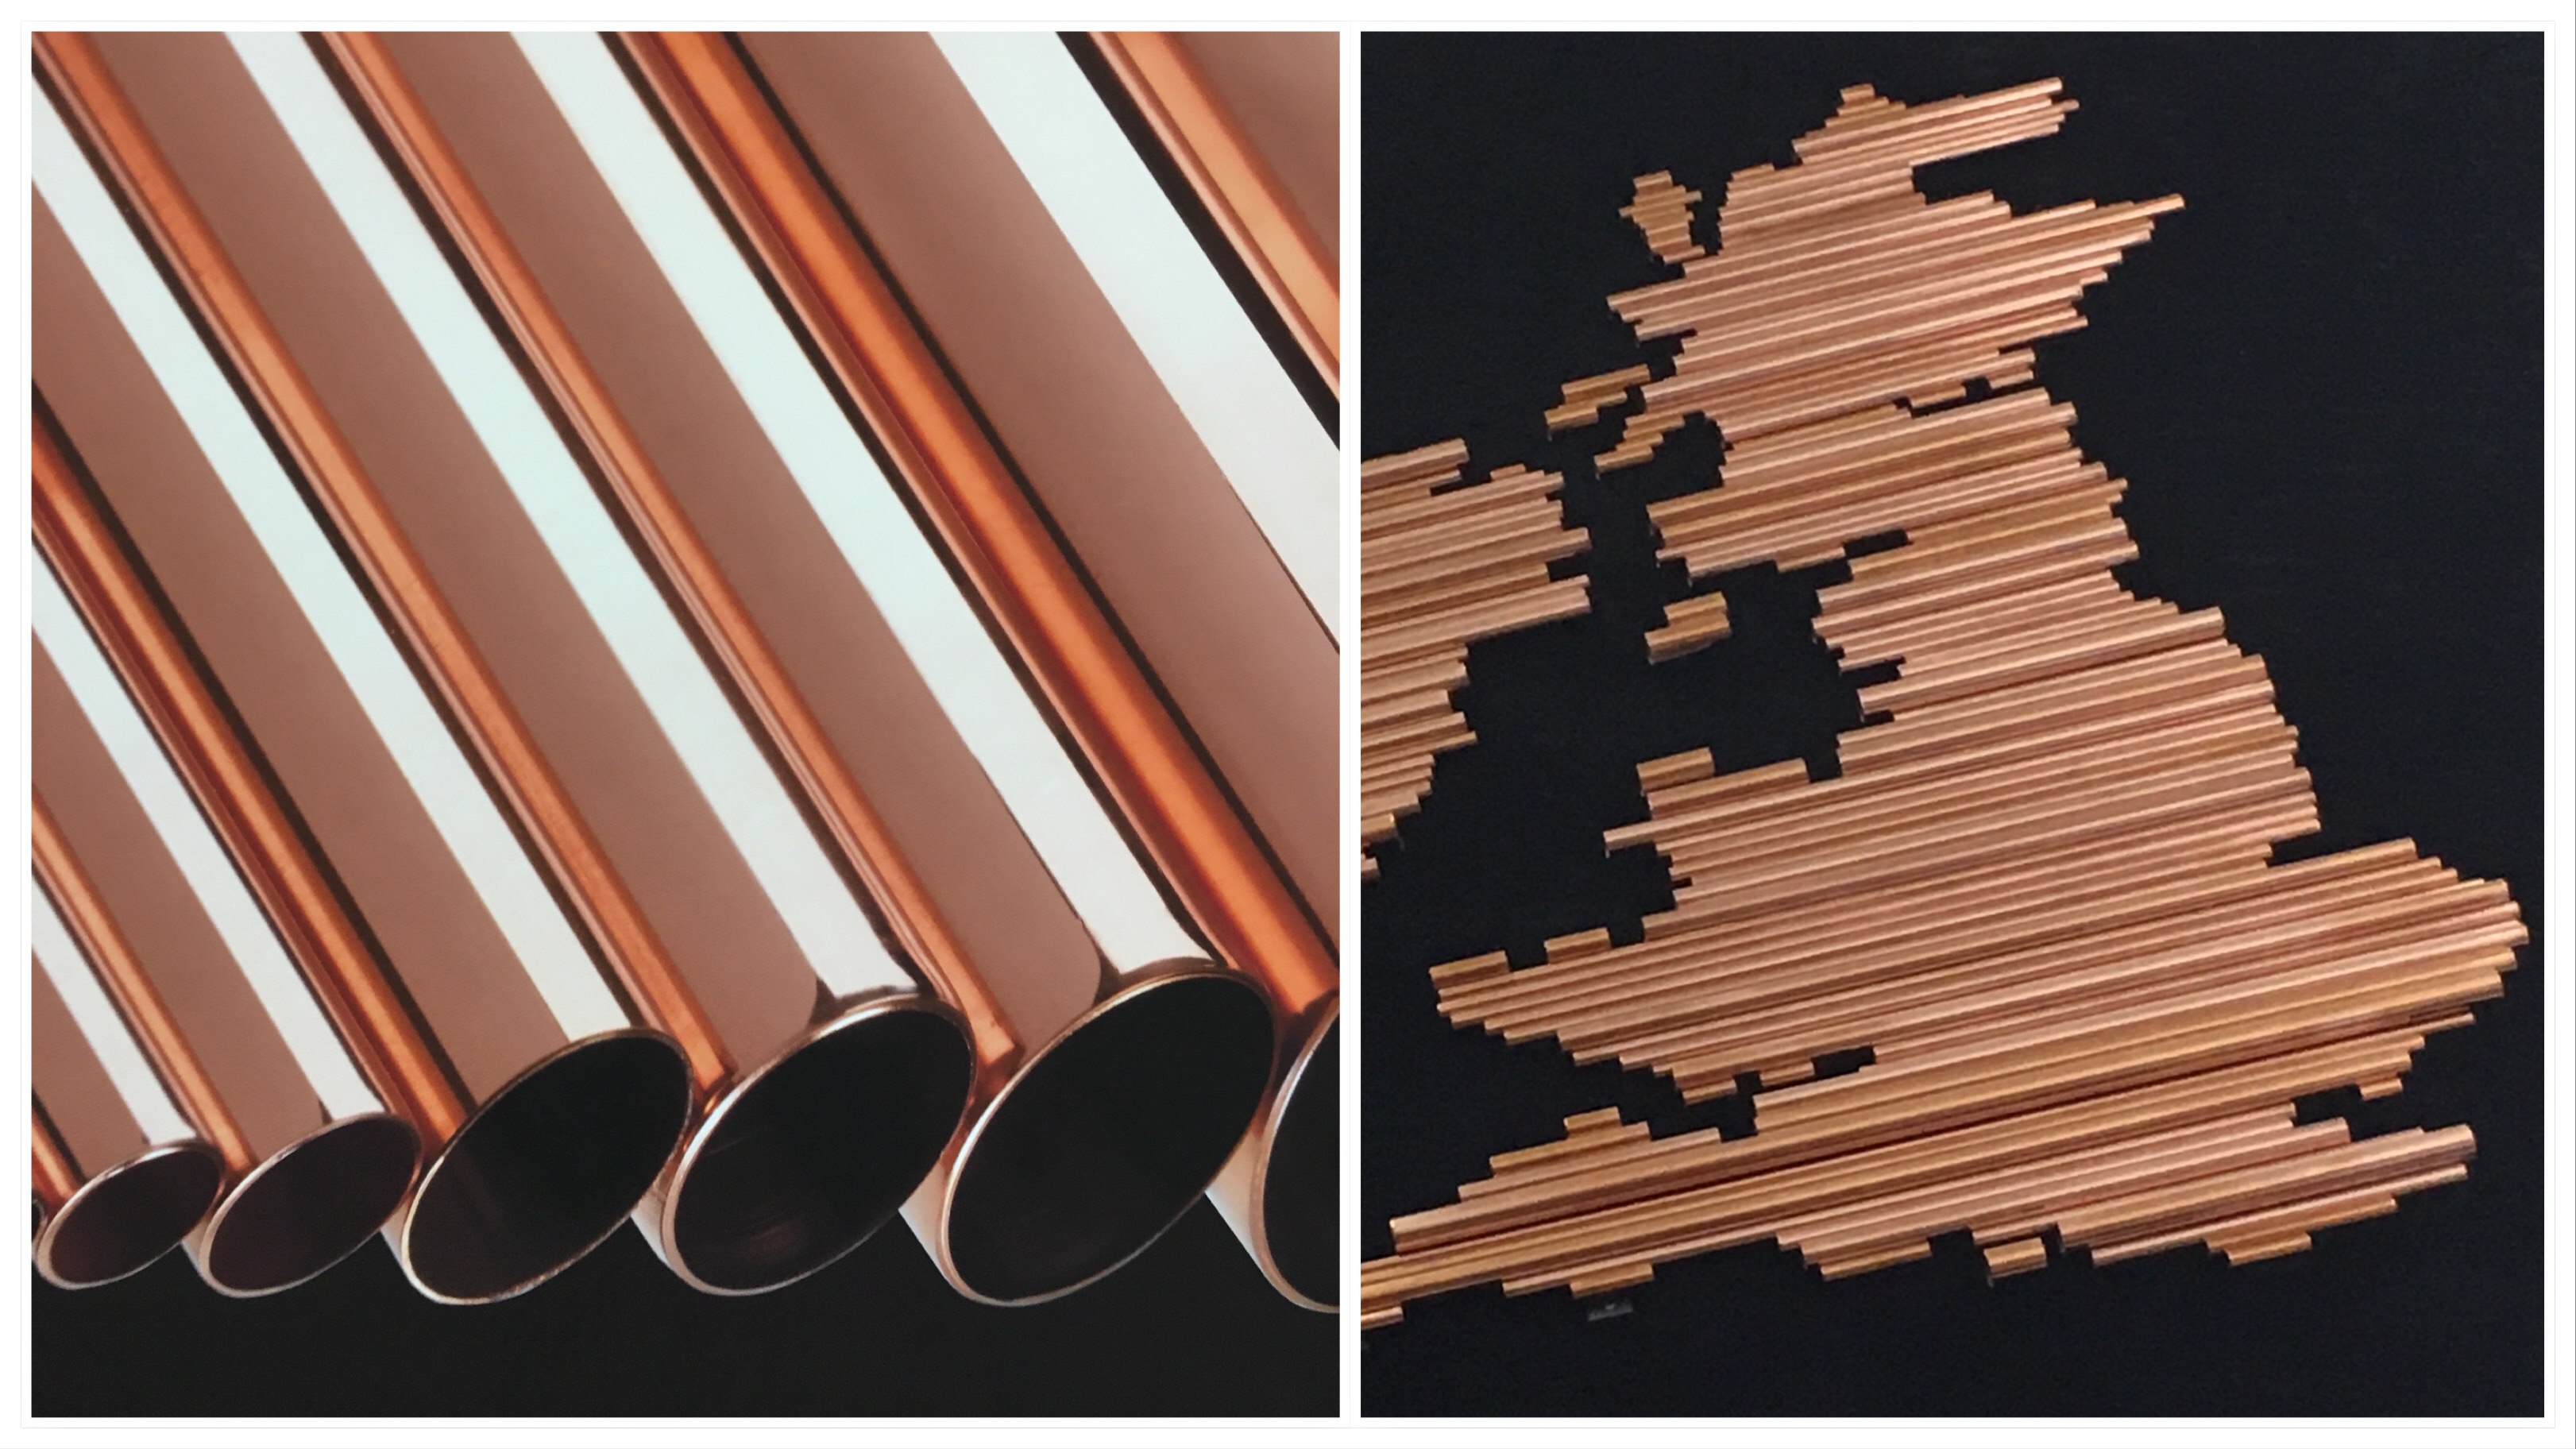
This is where the copper tube goes from looking like it's just come out of a furnace to that familiar, often shiny, look we associate with new plumbing or electrical wiring. The smoothness isn’t just for looks, though. A clean surface can help prevent corrosion and ensure smooth flow of liquids or gases.
Cutting and Coiling: Ready for Action
Once the tube has been drawn to the desired dimensions, annealed, and cleaned, it's time to get it into the form that customers need. This usually involves cutting it to specific lengths or coiling it.
For straight lengths, automated cutting machines slice the long tubes into the required sizes. Think of them as super-efficient metal scissors. For applications that require flexibility, like in refrigeration lines or for running through walls, the copper is coiled.
This coiling process is done on specialized machines that carefully wind the annealed copper into neat, manageable coils. You’ve seen these coils, right? They’re that characteristic spiral of copper that’s easy to transport and unroll on site. The annealing is what makes this coiling possible without damaging the tube.
Quality Control: Because Nobody Likes a Dud
Throughout this entire process, there are rigorous quality control checks. No manufacturer wants to send out faulty products. Samples are taken and tested for dimensional accuracy, wall thickness, material properties (like strength and ductility), and surface finish. Eddy current testing might be used to detect any flaws or cracks in the tube wall. It’s all about ensuring the copper tube will perform as expected in its intended application.

Imagine if your plumbing started leaking because of a hidden flaw from the factory. Nightmare fuel! So, these checks are super important. They’re the unsung heroes of reliable plumbing and efficient HVAC systems.
Different Strokes for Different Folks: Types of Copper Tube
It’s worth noting that there isn't just one type of copper tube. Depending on the intended use, the manufacturing process might have slight variations, and the final product will have different designations. For instance, in plumbing, you'll often hear about Type K, Type L, and Type M copper tubes. These primarily differ in their wall thickness, with Type K being the thickest and strongest, followed by Type L, and then Type M being the thinnest.
Each type is suited for different pressures and applications. So, while the fundamental manufacturing process is similar, the specifics of extrusion, drawing, and annealing might be adjusted to achieve these different wall thicknesses and strengths. It’s like having different sizes of nails for different jobs; you wouldn’t use a tiny tack to hang a heavy mirror, would you?
The End Result: A Ubiquitous Marvel
So, the next time you turn on your tap, or feel that cool air from your AC, spare a thought for the journey that humble copper tube has taken. From a raw ore dug out of the ground, melted, squeezed, drawn, softened, and coiled, it’s a testament to human ingenuity and industrial prowess.
It’s a material that’s both ancient and modern, used in everything from the earliest plumbing systems to the most sophisticated electronic components. And all thanks to a surprisingly complex manufacturing process that transforms a lump of metal into an indispensable part of our daily lives. Pretty neat, huh? Makes you appreciate that dusty old coil in your dad’s toolbox a little bit more.