
How Do I Clean A Burnt Stainless Steel Pan

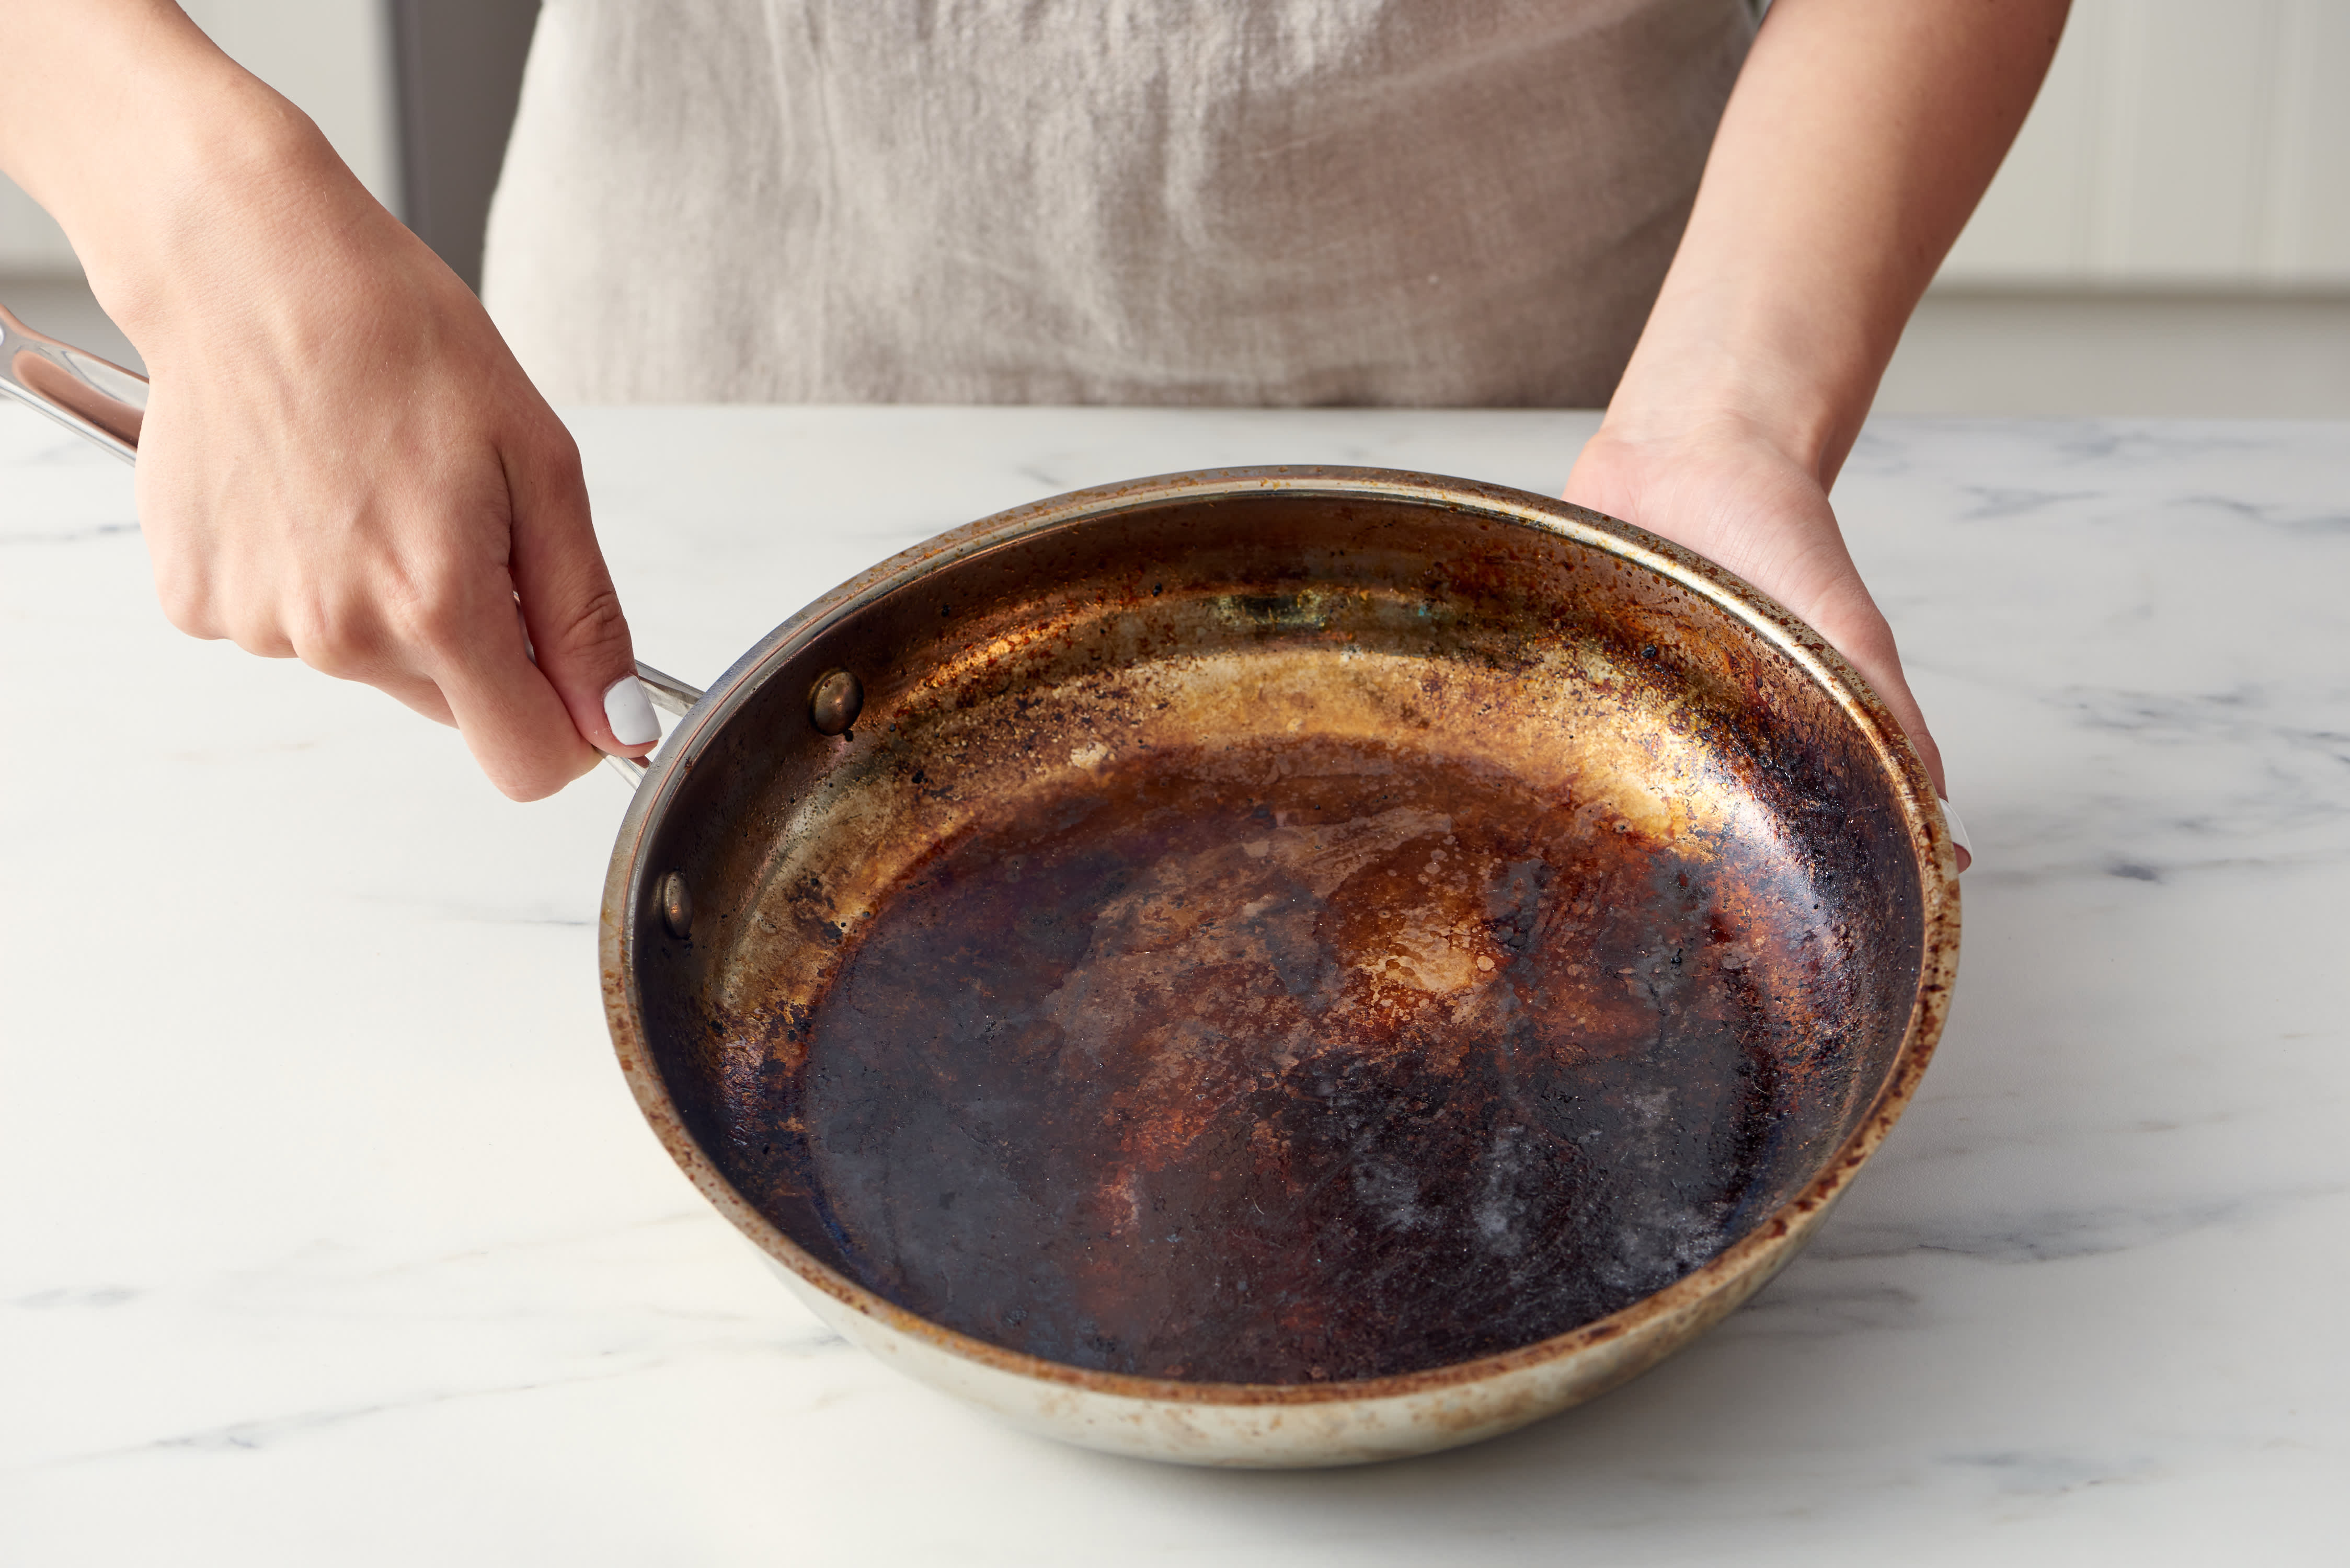
Okay, let's talk about a kitchen crisis. You know the one. You're mid-cooking, maybe a little too engrossed in your culinary masterpiece, and then... disaster strikes. That smell. The unmistakable aroma of something going terribly, horribly wrong. You look down. Oh. Oh no.
Your beloved stainless steel pan. It looks like a modern art installation. A charcoal abstract. A testament to your passion... or perhaps your brief lapse in attention. Don't panic. We've all been there. It's practically a rite of passage for home cooks. Think of it as your pan's little war wound.
So, How Do I Clean A Burnt Stainless Steel Pan? Let's Make it Fun!
Honestly, cleaning a burnt stainless steel pan can be a surprisingly satisfying little project. It's like a puzzle. A greasy, blackened puzzle. And when you win? Oh, the triumph! You get to stare at your gleaming pan and whisper, "I defeated you, burnt bits." It's a power trip, really.
And why is this topic so fun? Because it involves a little bit of chemistry, a dash of elbow grease, and a whole lot of common household ingredients that you probably already have. No need for fancy, expensive, single-use cleaning potions. We're going DIY, baby! Think of yourself as a kitchen alchemist.
The Usual Suspects: Baking Soda to the Rescue
Our first hero is a humble staple: baking soda. This stuff is amazing. It's like the Swiss Army knife of the kitchen cleaning world. Got a burnt pan? Baking soda. Smelly fridge? Baking soda. Need to deodorize your sneakers? You guessed it.
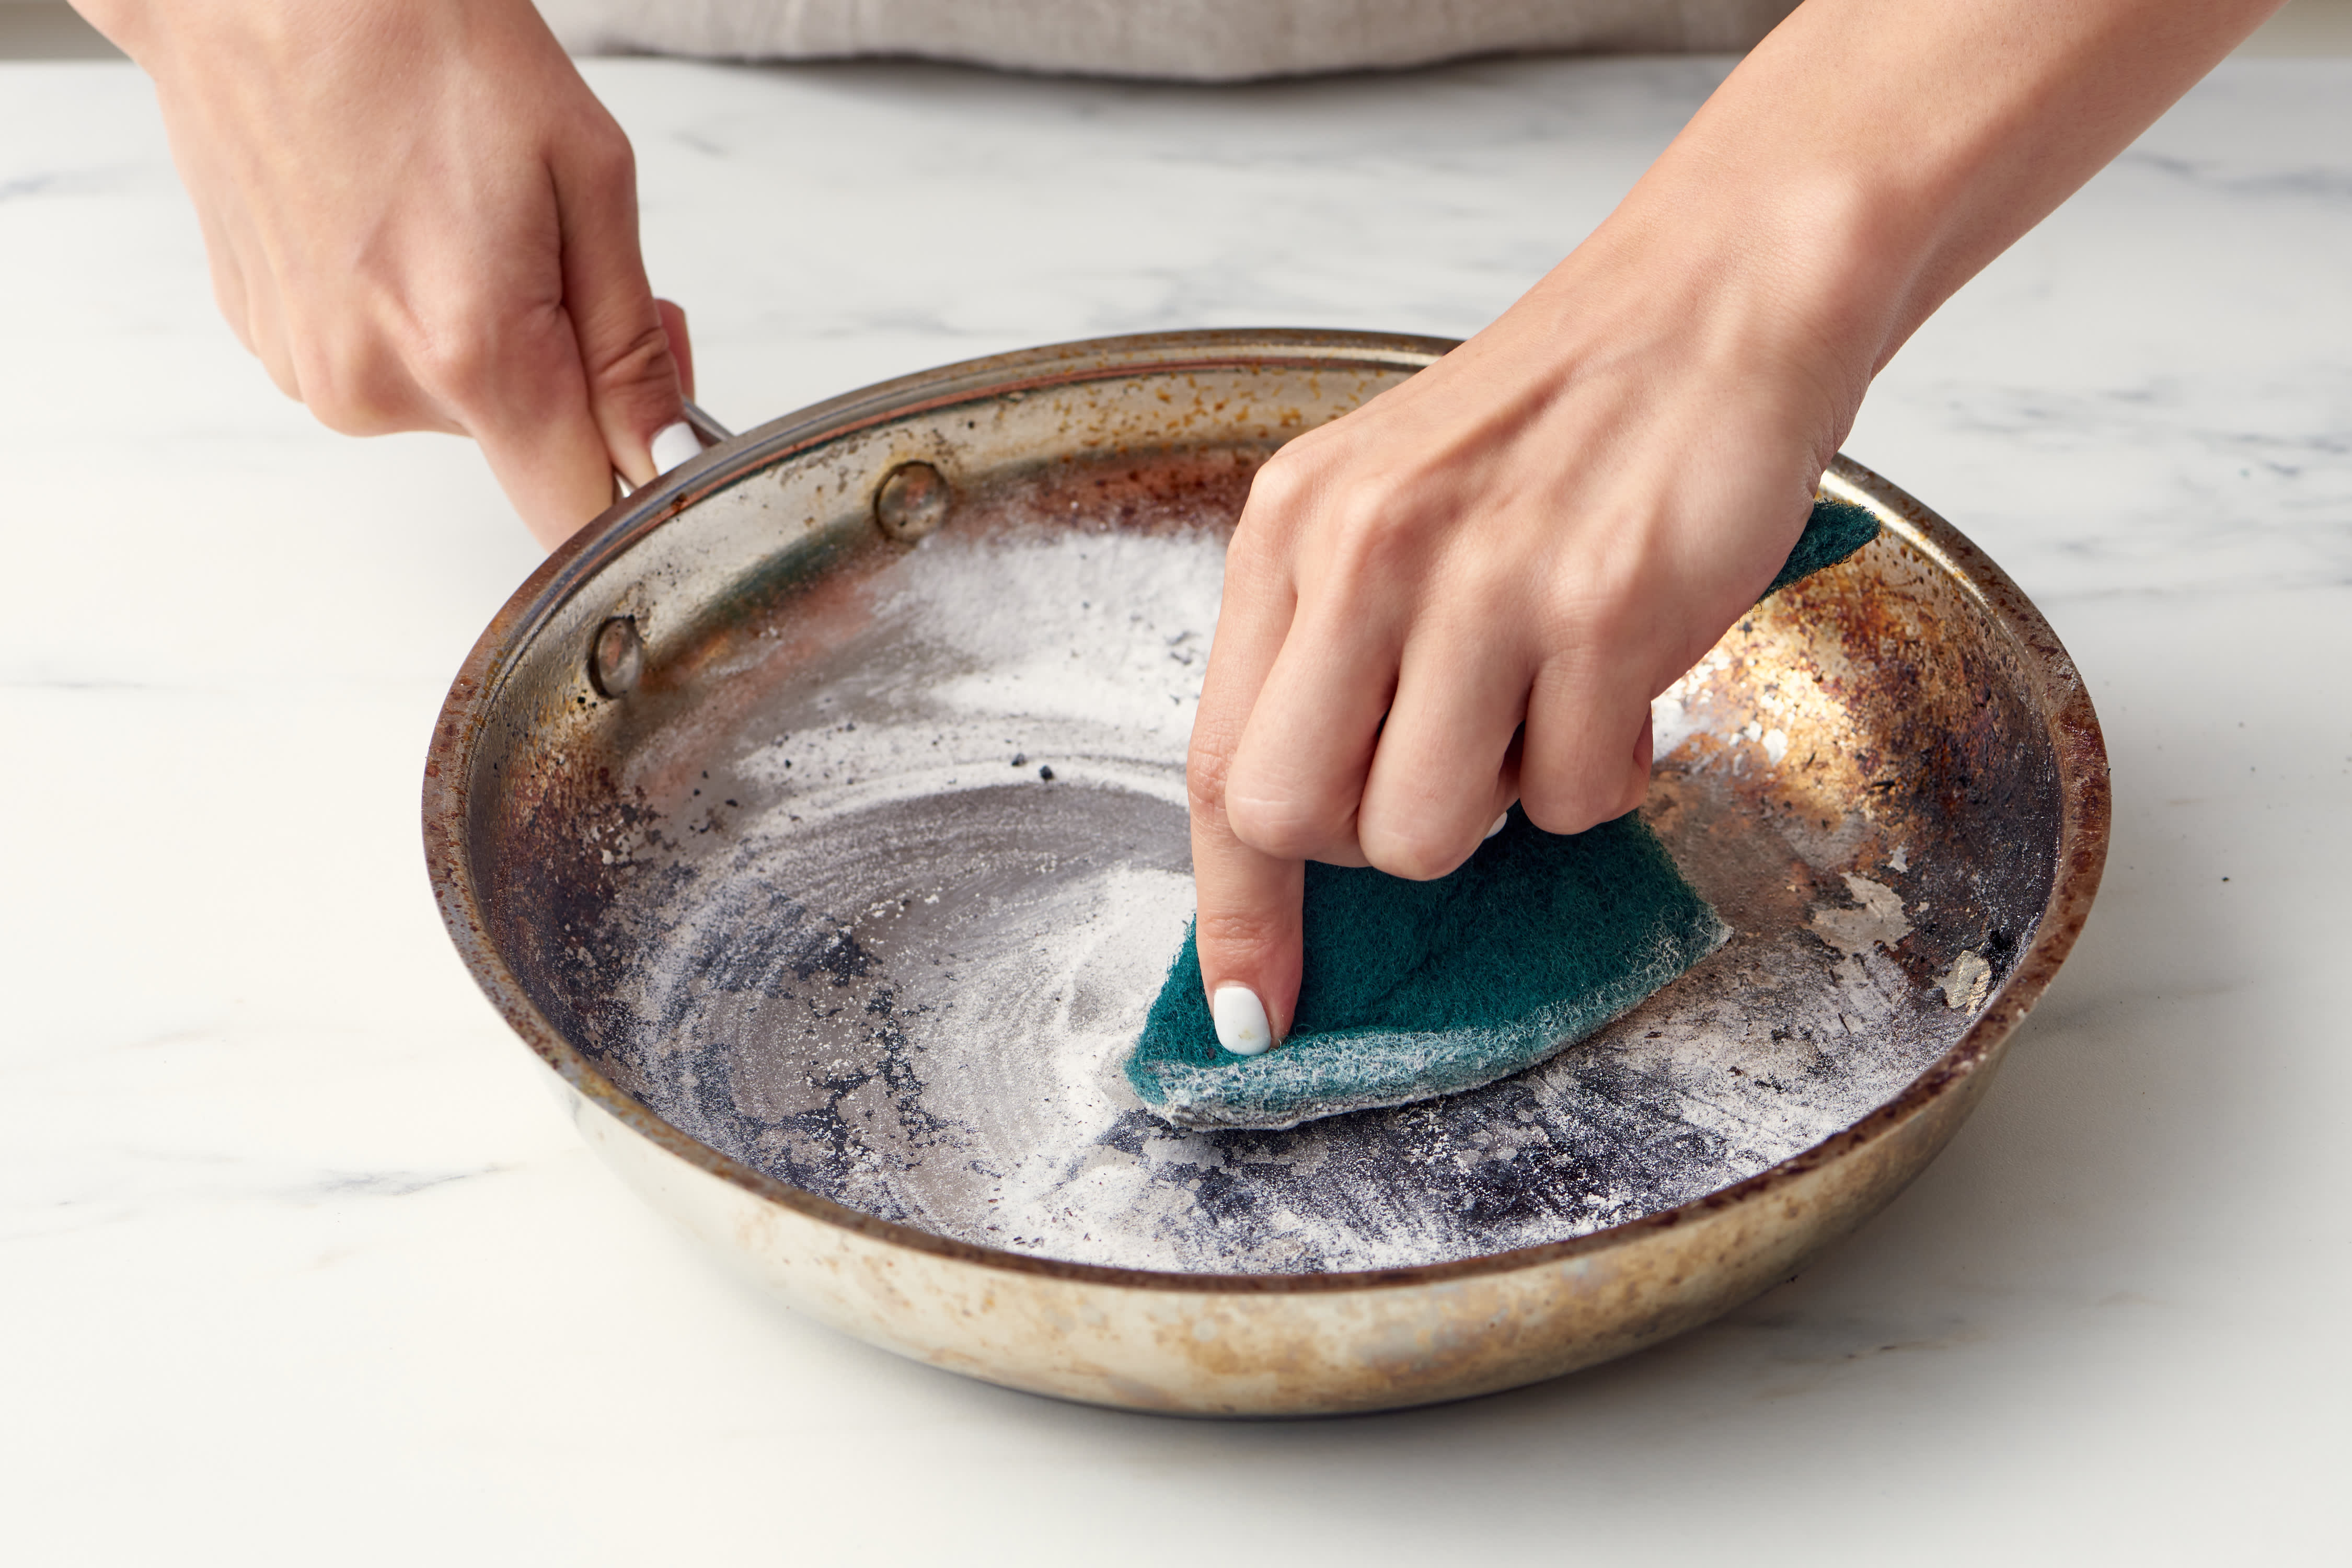
Here's the deal. Sprinkle a generous amount of baking soda directly onto the burnt areas. Don't be shy. Think of it as a delicious, gritty blanket for your pan's boo-boos. Then, add just enough hot water to make a paste. It shouldn't be soupy, just thick enough to cling.
Now, let it sit. Give it some time to work its magic. Think of it as a spa treatment for your pan. Maybe 15-30 minutes. While it's soaking, you can admire your cooking skills from earlier. Or, you know, start planning your next less-burnt culinary adventure.
After its little soak, grab a non-abrasive sponge or a soft cloth. Gently start scrubbing. You'll be amazed at how much this paste lifts away. It's like magic, but with more science. If some bits are still clinging stubbornly, don't force it. We're not trying to win a wrestling match with your pan.
When Baking Soda Needs a Buddy: Vinegar Power!
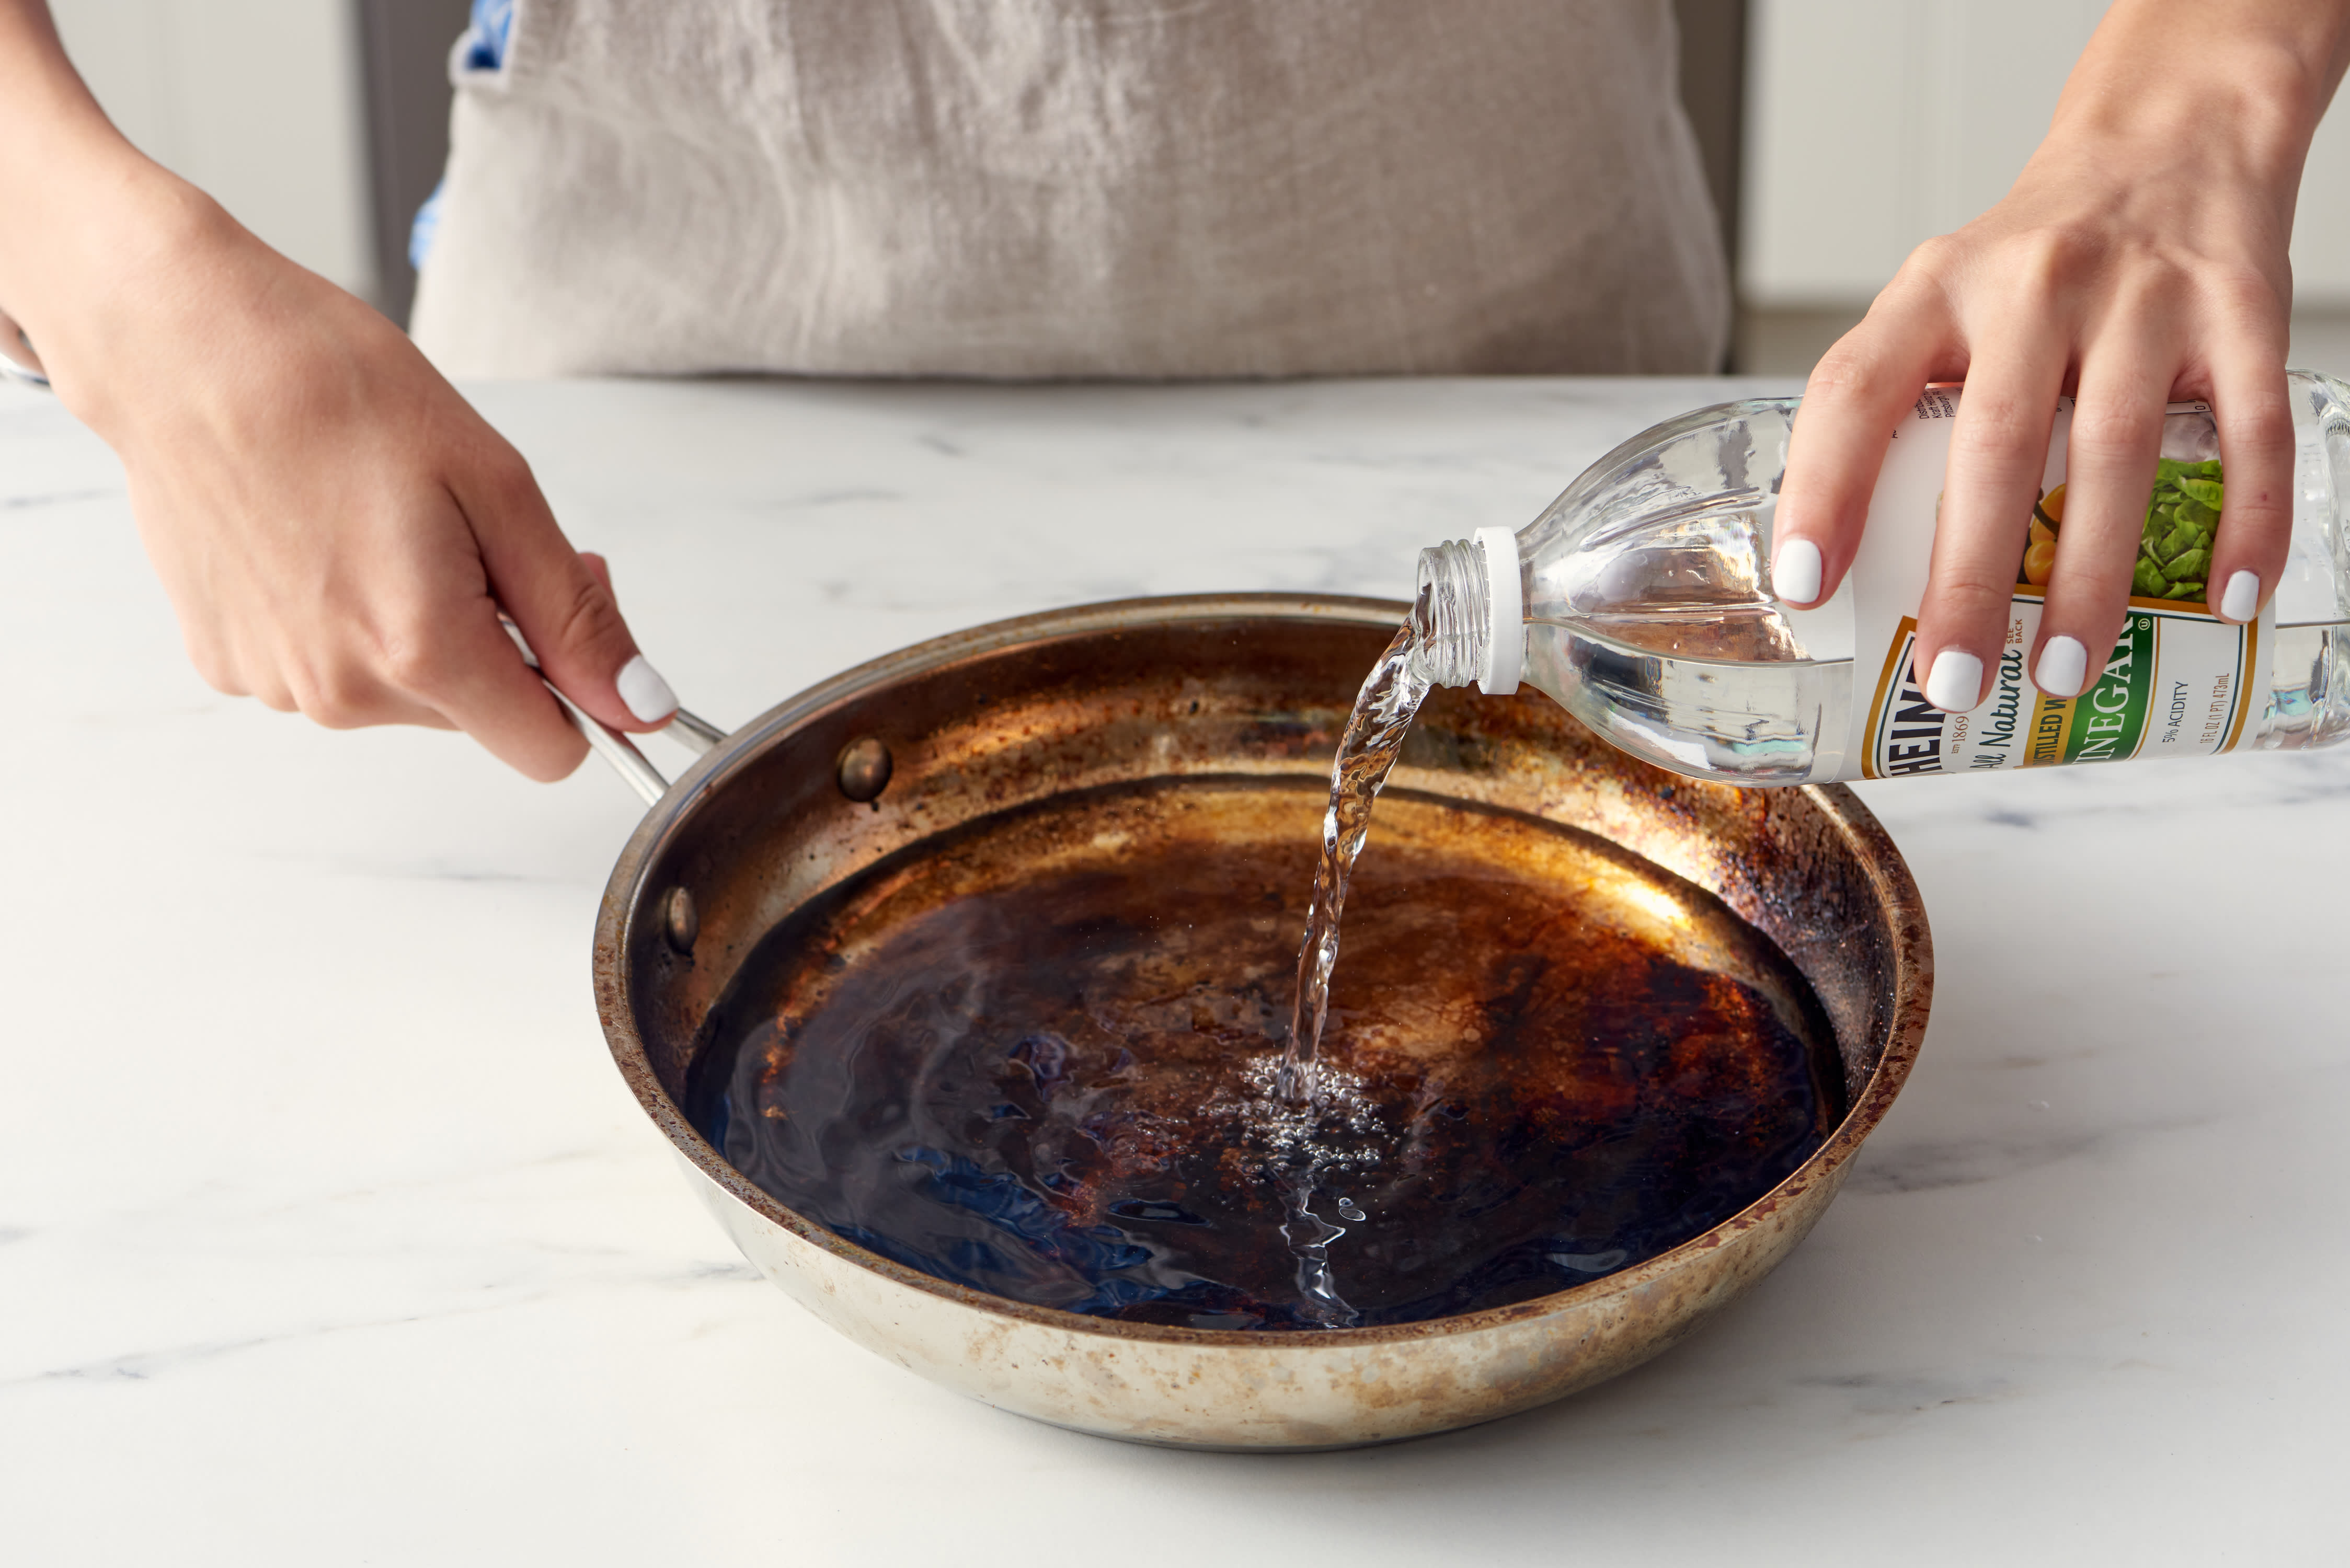
Sometimes, even baking soda needs a little help. It's like the lead singer of a band who needs their backup singer. Enter: white vinegar. This stuff is acidic. Acids are great at breaking down stubborn gunk. Think of it as a gentle dissolver.
You have a couple of options here. You can make a paste with baking soda and a splash of vinegar. It'll fizz like a science experiment. That's the good stuff happening! Let it fizz, then scrub. It's a dynamic duo.
Alternatively, you can boil water and vinegar in the pan. Fill the pan with about an inch of water and add a cup or two of white vinegar. Bring it to a boil and let it simmer for about 10-15 minutes. The steam and acidity will work wonders.
Once it's simmered, carefully pour out the hot liquid. Be careful! This stuff is hot. Then, go back to your scrubbing. You should find that the burnt bits are much looser and easier to remove. It’s like they’ve surrendered.
The Really Stubborn Stuff: Cream of Tartar to the Rescue
Okay, so you've tried baking soda. You've tried vinegar. And there are still a few little rebels hanging on for dear life. Don't despair! We have another weapon in our arsenal: cream of tartar.
This is another baking aisle gem. It's a powdered acid, and it's brilliant for cleaning and polishing. Similar to baking soda, you'll make a paste. Mix a few tablespoons of cream of tartar with a little bit of water. You want that thick, spreadable consistency.
Smear this paste all over the burnt areas. Let it sit for a while, just like the baking soda. Then, get scrubbing. Cream of tartar is a bit more abrasive than baking soda, so it can tackle those really tenacious burnt-on bits. It also has a lovely polishing effect, leaving your pan extra shiny.
Why is cream of tartar so cool? It's a byproduct of winemaking! How's that for a quirky fact? Every time you clean your pan with it, you're basically channeling your inner vintner. Cheers to that!
A Little Elbow Grease is Key (But Not Too Much!)
Let's be honest. Sometimes, a bit of good old-fashioned scrubbing is necessary. But here's the trick: gentle scrubbing. Stainless steel is durable, but you don't want to scratch it. Those scratches are like wrinkles on your pan's face. Nobody wants that.
Use a non-abrasive sponge, a soft cloth, or even a nylon scrub brush. Avoid steel wool or harsh abrasive pads. They'll do more harm than good. Think of it as a massage for your pan, not an exfoliation gone wrong.
Rub in a circular motion. You'll feel the burnt bits start to loosen. Sometimes, you can just wipe them away. Other times, you'll need to apply a little more pressure. Listen to your pan. It'll tell you when it's had enough.
The Hot Water Soak: Patience is a Virtue
Sometimes, the simplest solutions are the best. If the burnt bits aren't too extreme, a good soak in hot water can work wonders. Fill the pan with hot water and let it sit for several hours, or even overnight.
The heat and prolonged exposure to water will help to loosen the burnt-on food. You'll often find that when you come back to it, a lot of the gunk will simply wipe away. It's like giving your pan a long, relaxing bath.
You can add a squirt of dish soap to the hot water. That’ll help break down any grease and make the cleaning process even more effective. It’s a little bit of self-care for your cookware.
What NOT to Do: The Don'ts of Pan Rescue
Just as important as knowing what to do is knowing what not to do. This is crucial for the longevity of your beloved stainless steel.
First off, NEVER use harsh chemicals like oven cleaner or bleach. These are too aggressive and can damage the protective layer of your stainless steel. You'll end up with a dull, discolored pan, and nobody wants that.
Secondly, avoid abrasive scrubbers like steel wool or scouring pads. As mentioned before, these will scratch your pan. Scratches aren't just unsightly; they can trap food particles and make cleaning even harder in the future.
And finally, don't put a very hot pan into cold water. This sudden temperature change can cause the metal to warp or even crack. Let your pan cool down a bit before you introduce it to water. Think of it as a gradual transition.
The Final Polish: A Gleaming Victory
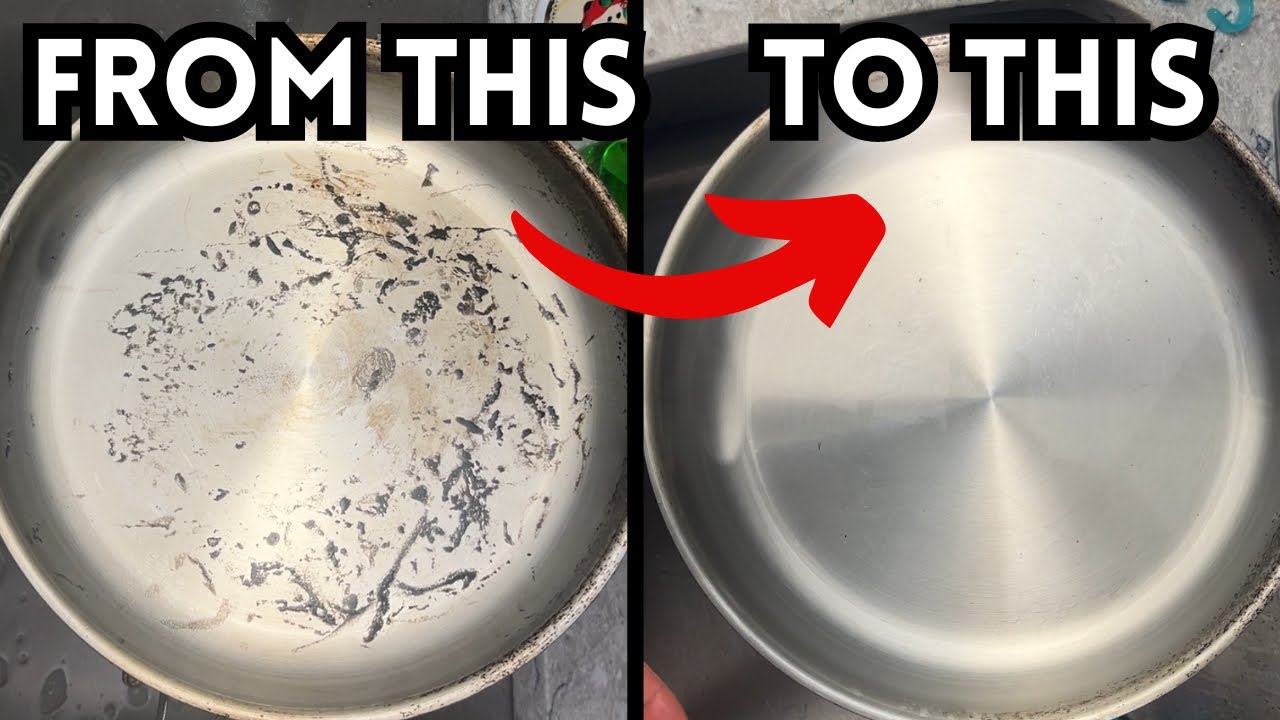
Once you've scrubbed away all the burnt bits, give your pan a good rinse. You'll likely be left with a beautifully clean, and hopefully, gleaming pan.
For an extra shine, you can use a bit of stainless steel polish. Or, a surprisingly effective trick is to rub a little bit of olive oil on the clean pan with a soft cloth. It’ll leave it looking super shiny and ready for its next culinary adventure.
So there you have it! Cleaning a burnt stainless steel pan doesn't have to be a chore. It can be a fun, rewarding little project that leaves you with a sparkling clean pan and a sense of accomplishment. Now go forth and cook! Just, you know, maybe keep an eye on the heat this time. Happy cooking!