
How Do I Clean A Burnt Stainless Steel Pot
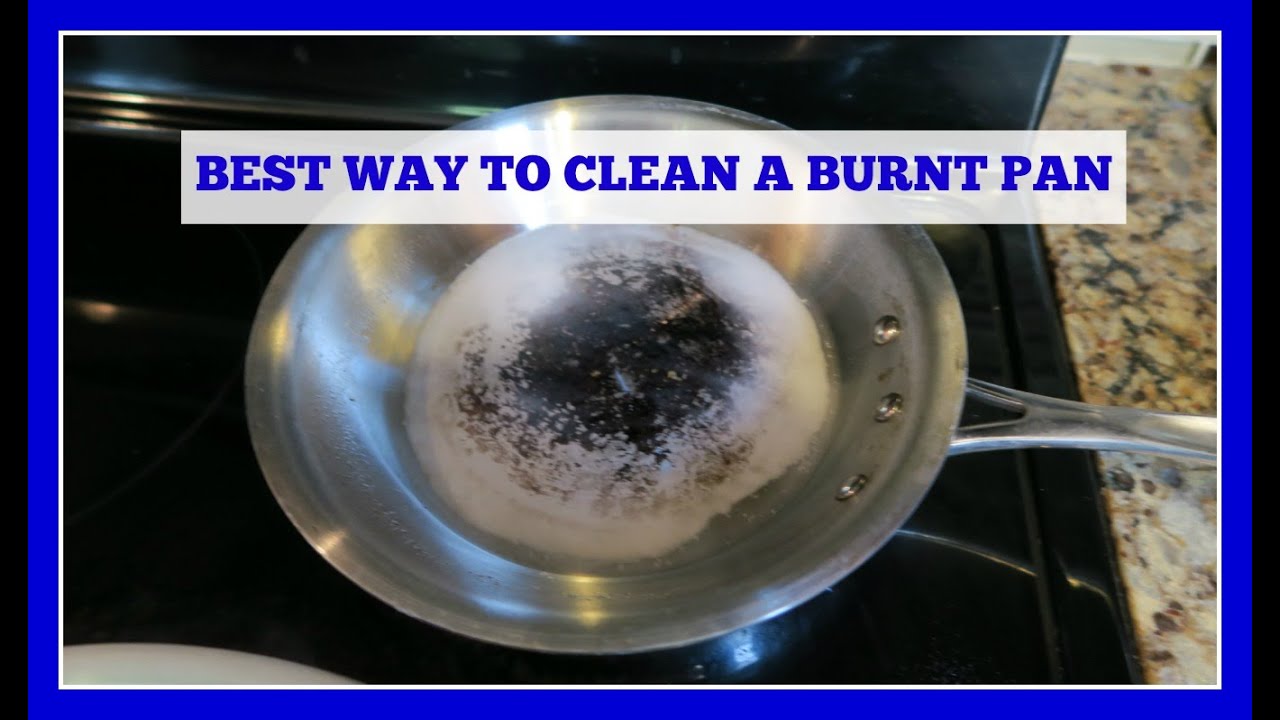
Ah, the dreaded burnt stainless steel pot. It's a culinary battlefield scar that many of us have faced. But fear not, fellow home cooks! Today, we're embarking on a mission, a treasure hunt for sparkling clean, like-new pots, and it's surprisingly… fun! Think of it as a little detective work in your own kitchen, uncovering the secrets to banishing those stubborn black marks and restoring your beloved cookware to its former glory. This isn't just about cleaning; it's about reclaiming your kitchen confidence and extending the life of your trusty pots. Who knew a little bit of scrubbing could feel so… victorious?
The purpose of learning how to clean a burnt stainless steel pot is beautifully simple: to save your cookware and your sanity. Instead of tossing out a perfectly good pot because of some unsightly char, you can revive it. The benefits are immense! Firstly, it's incredibly economical. Why buy a new pot when you can fix the one you have? Secondly, it's environmentally friendly. Less waste, more happy planet. Thirdly, and perhaps most importantly, it’s incredibly satisfying. There’s a unique sense of accomplishment that comes from transforming a disaster zone into a gleaming masterpiece. Plus, a clean pot cooks better, ensuring your next culinary creation is a success, not a sticky, burnt mess.
The Gentle Giant: Baking Soda and Water
When your stainless steel pot decides to stage a minor rebellion and burn your dinner, don't panic! The first hero in our cleaning arsenal is a true kitchen staple: baking soda. It’s like the Swiss Army knife of your pantry, and it's exceptionally effective at tackling burnt-on food without being overly harsh on your precious cookware.
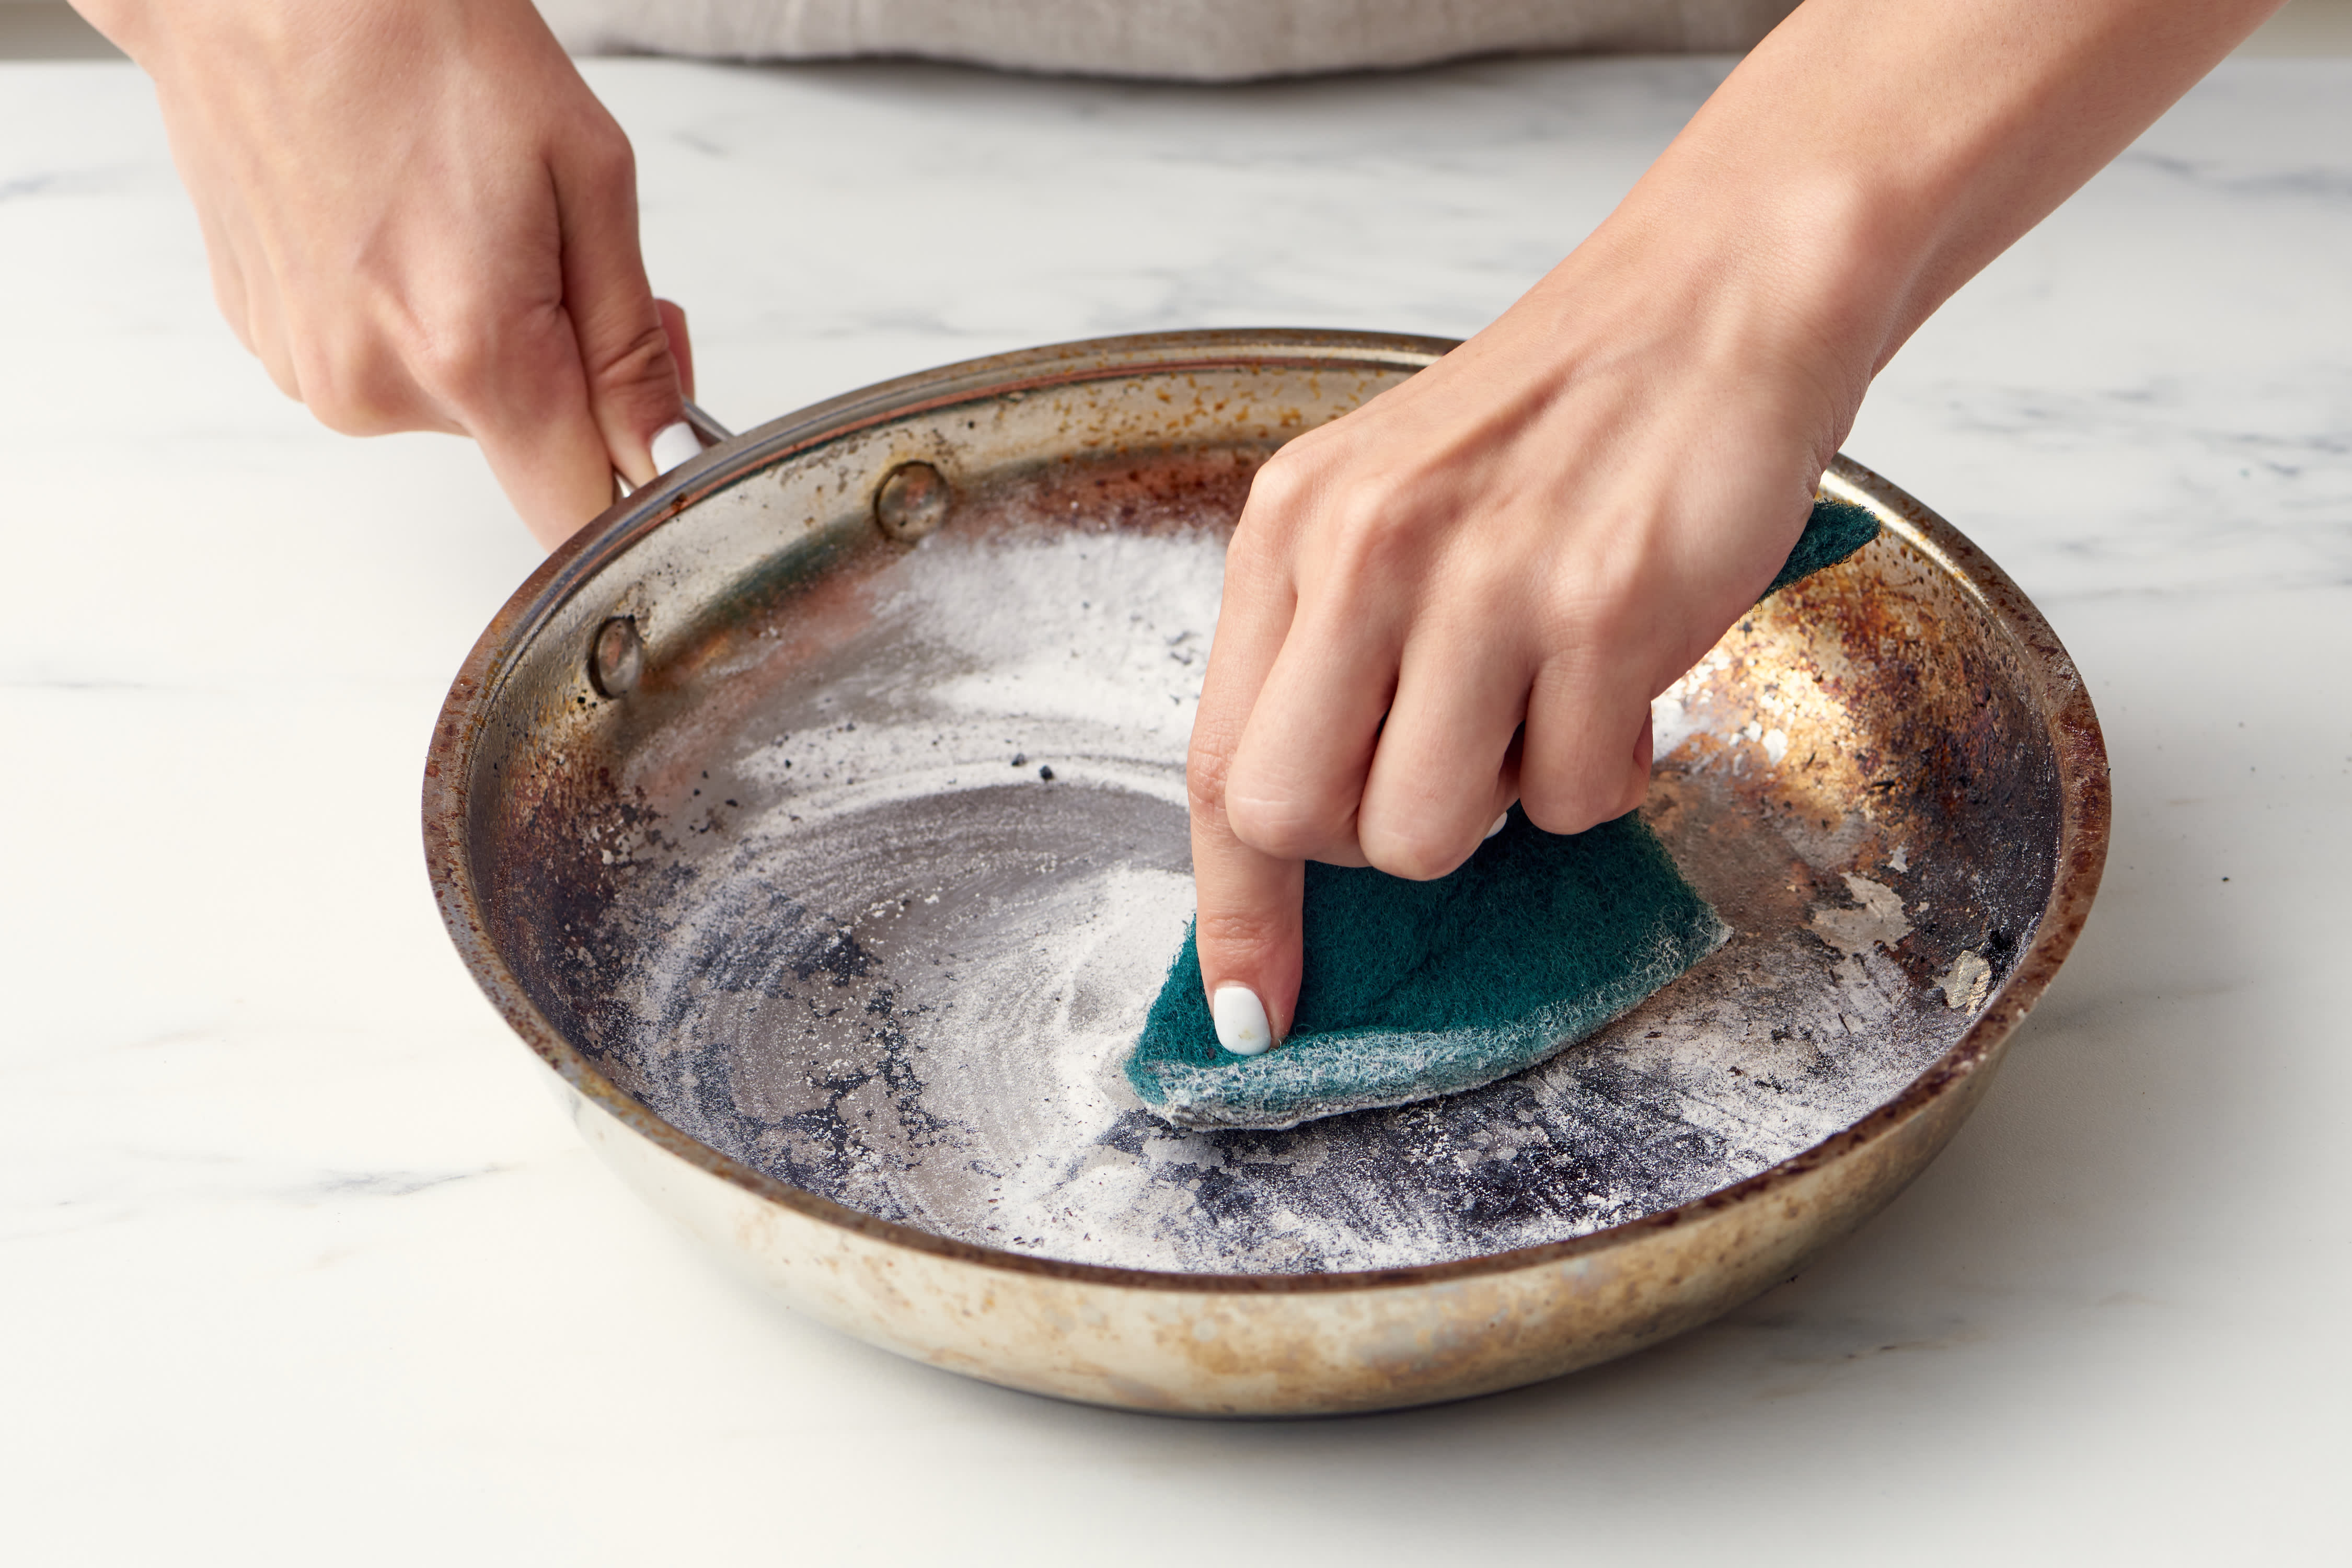
Here’s the magic. You’ll want to start by scraping away any loose bits with a wooden spoon or a plastic spatula. We're not trying to win a wrestling match here; just get rid of the easy stuff. Then, sprinkle a generous amount of baking soda directly onto the burnt areas. Now, add just enough warm water to create a paste. Think of it like making a thick batter. Once you have your paste, let it sit. This is where the magic starts to happen. The baking soda works its wonders, gently lifting and breaking down those stubborn burnt-on particles. You can let it sit for anywhere from 15 minutes to a few hours, depending on the severity of the burn. The longer you let it soak, the less elbow grease you'll have to exert later.
Pro-tip: For really stubborn burns, you can gently heat the baking soda and water paste in the pot for a few minutes before letting it cool and sit. This extra warmth can help loosen those tenacious bits even further.
After its soaking period, grab a non-abrasive sponge or a soft cloth. Gently scrub the burnt areas with the baking soda paste. You should find that the burnt bits are much easier to remove now. Rinse thoroughly and marvel at your progress! If there are still a few lingering marks, don't fret. This method might require a second round, or we can move on to our next powerful, yet still gentle, ally.
The Acidic Avenger: Vinegar Power!
When baking soda needs a sidekick, who do we call? None other than the tangy titan of your pantry: white vinegar! This humble household staple is a fantastic natural cleaner and degreaser, and when combined with heat, it becomes a formidable foe against burnt-on food. Using vinegar is a classic method for a reason – it works!
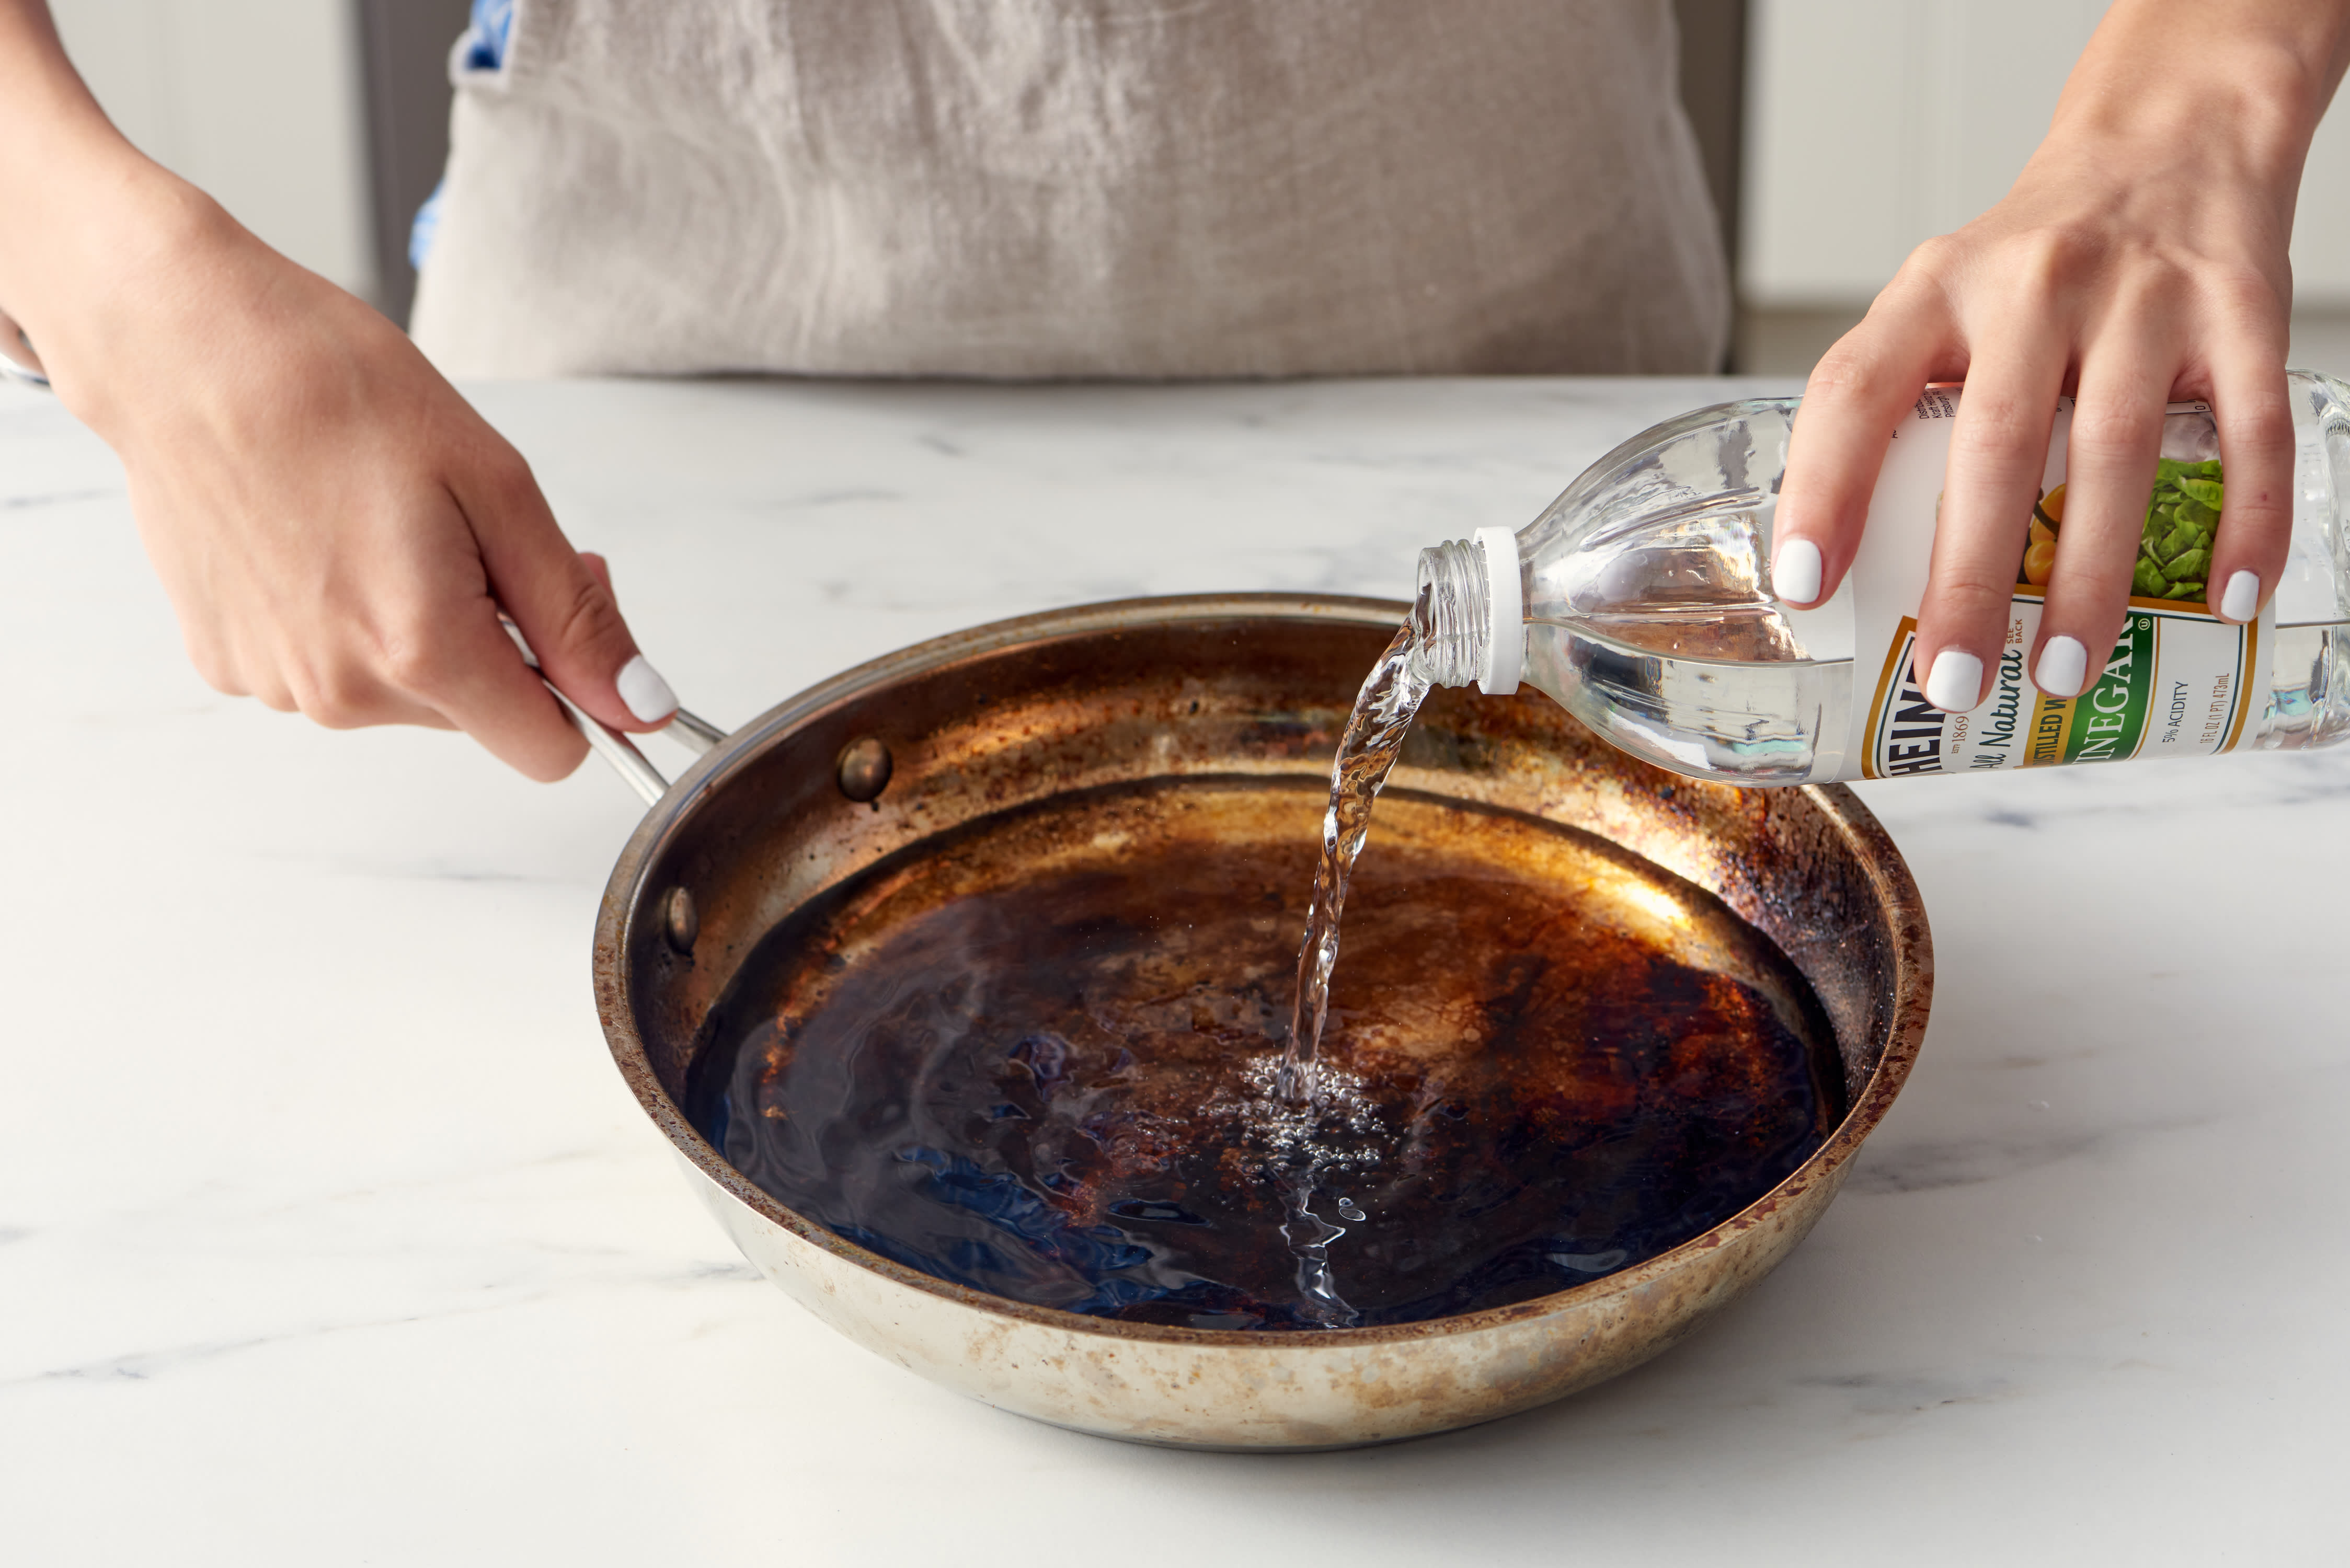
So, what’s the game plan? First, empty out any loose debris from your pot. Then, pour in enough white vinegar to cover the burnt areas. You don’t need to fill the whole pot; just enough to submerge the disaster zone. Now, here’s the crucial part: gently heat the vinegar. Bring it to a simmer over low to medium heat. You’ll notice it starts to bubble and steam. This simmering action is key; it helps the acetic acid in the vinegar to break down the burnt food more effectively. Let it simmer for about 5 to 10 minutes. Be sure to keep an eye on it and don’t let it boil too vigorously, as vinegar can be quite potent.
:max_bytes(150000):strip_icc()/before-after-burnt-pot-cleaning-cd29b7a35d4646e0a21ee097c0d411ea.jpg)
Once it has simmered, carefully remove the pot from the heat and let the vinegar cool down. The burnt bits should now be considerably loosened. Pour out the vinegar and give the pot a good rinse. Now, grab that non-abrasive sponge again and gently scrub. You’ll likely find that the burnt residue is coming off much more easily. If you still have a few stubborn spots, you can repeat the simmering process or try a combination of baking soda and vinegar. This dynamic duo is a powerhouse!
The Dynamic Duo: Baking Soda and Vinegar Together
Sometimes, even the best solo acts need a little backup. For those truly heroic burnt-on messes, it's time to unleash the dynamic duo: baking soda and white vinegar! This combination creates a fizzy, frothy reaction that helps to lift and scrub away even the most stubborn of burnt-on food. It’s a satisfying spectacle and highly effective.
Start by scraping away any loose debris. Sprinkle a generous layer of baking soda over the burnt areas. Then, slowly pour in enough white vinegar to create a thick paste. You’ll see and hear that satisfying fizzing! Let this glorious concoction bubble and work its magic for about 10 to 15 minutes. The reaction helps to loosen the burnt particles, making them easier to remove. After it has frothed, grab your non-abrasive sponge and start scrubbing. The paste, combined with the loosened debris, should make cleaning a breeze. Rinse thoroughly and admire your now-sparkling pot. This method is a crowd-pleaser for a reason!
Remember, patience is your best friend when dealing with burnt stainless steel. For those truly entrenched burns, you might need to repeat a method or try a combination of them. The key is to avoid harsh scouring pads or steel wool, which can scratch your stainless steel. Stick to gentle methods, and you'll have your pots looking brand new in no time. Happy cleaning!