
How Do You Clean Burnt Stainless Steel Pan
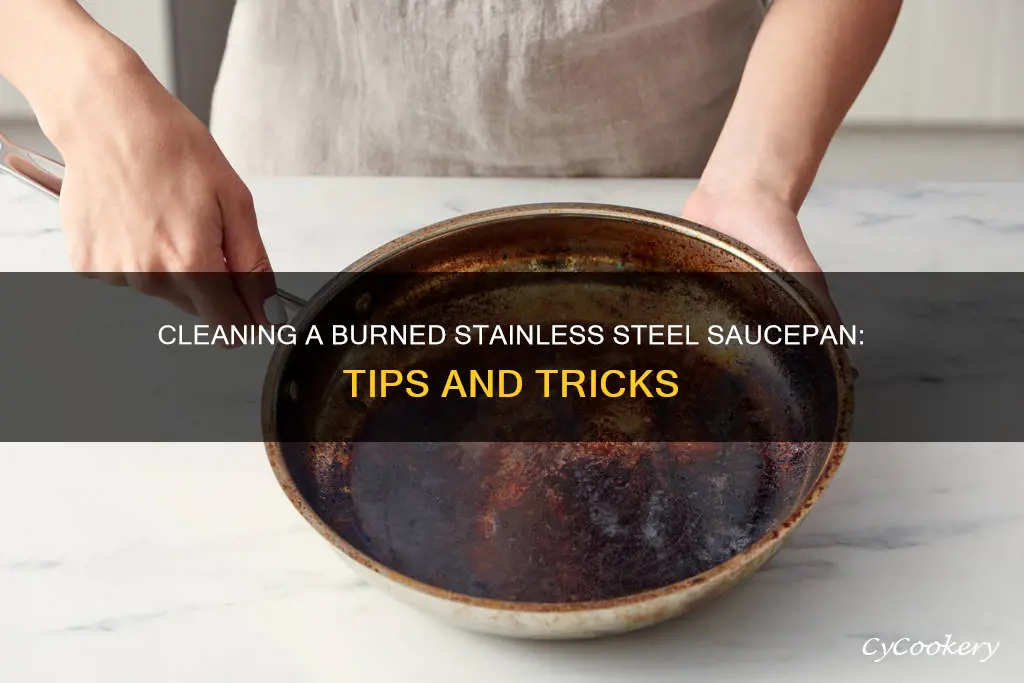
Okay, confession time. We’ve all been there, right? You’re whipping up a culinary masterpiece, maybe your famous grilled cheese or a lovingly simmered sauce, and then… disaster strikes. A tiny bit too much heat, a moment of distraction, and poof! Your once-gleaming stainless steel pan is sporting a rather… artistic black crust. The kind of crust that makes you question your life choices and whether ordering takeout is actually a sign of a more evolved human. But fear not, my fellow kitchen warriors! Cleaning burnt stainless steel isn’t some mythical quest. It’s actually a rather empowering little adventure, and frankly, a great way to inject some fun into your domestic life.
Think about it. Every little scorch mark is a story, right? A testament to your bravery in the kitchen, your willingness to experiment, your sheer, unadulterated passion for food. So, before you banish your beloved pan to the deepest recesses of your cupboard, let’s give it a proper spa day. We’re going to bring it back to its shiny, happy self, and you’ll feel like a kitchen superhero. Plus, who doesn’t love a good “before and after” transformation? It’s like a reality TV show, but with less drama and more sparkling cookware.
The Gentle Approach: Baking Soda Bliss
Our first stop on the road to pan redemption is the humble, yet mighty, baking soda. Seriously, this stuff is like a magic wand for your kitchen. It’s gentle, it’s cheap, and it works wonders. So, grab that box from your pantry. No need for fancy chemicals here, my friends. We’re going all-natural, all the way.
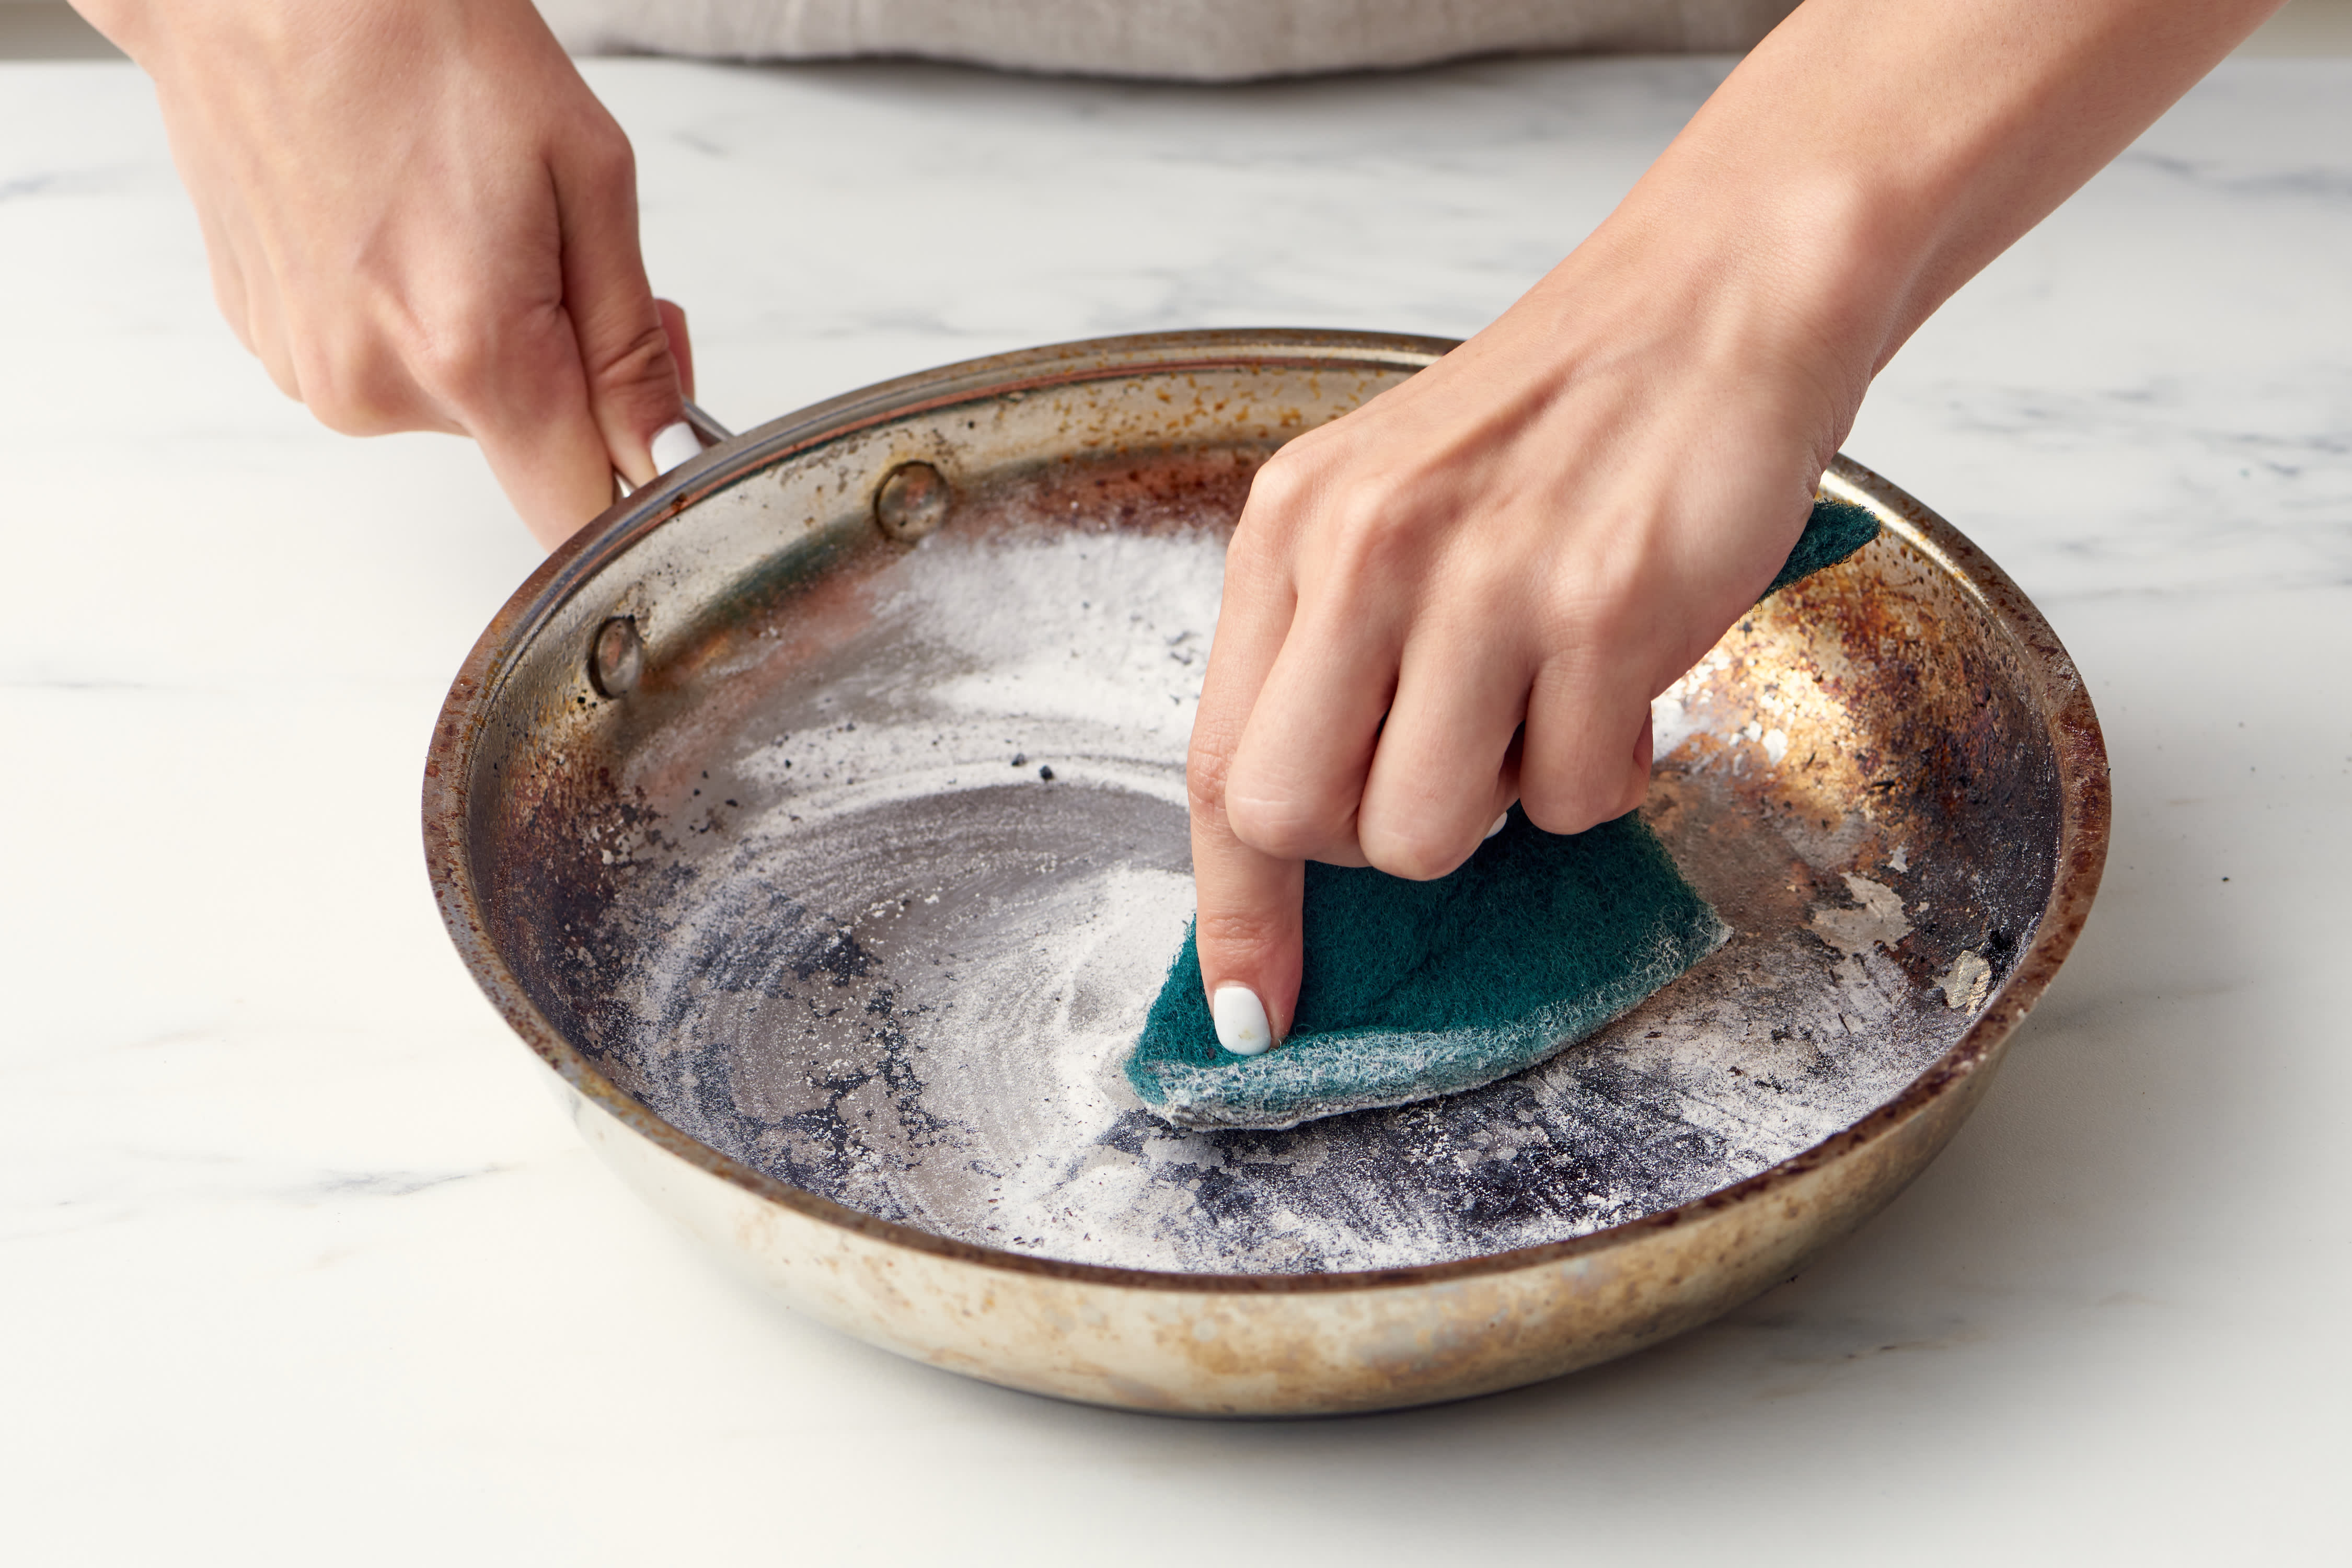
First, empty out any loose debris from your pan. You don't want those little burnt bits floating around causing trouble. Now, sprinkle a generous layer of baking soda all over the burnt areas. We’re talking a good, hearty dusting. Don't be shy!
Next, add just enough hot water to create a paste. Think of it like making mud pies, but for grown-ups, and with a delicious outcome. You want it thick enough to stick to the burnt bits, but not so watery that it just slides off. Let this magical paste sit for a while. At least 30 minutes, but honestly, an hour or even overnight is even better. This gives the baking soda time to work its magic, to gently lift and loosen those stubborn burnt-on bits.
After it's had its soak, grab your trusty sponge (the non-scratchy side, please!) and start scrubbing. You’ll likely find that a lot of the burnt stuff just wipes away with surprising ease. For those tougher spots, you might need to apply a little more elbow grease. Imagine you’re polishing a knight’s armor – with a sense of purpose and a touch of gleam!
Rinse your pan thoroughly. If there are still a few stubborn bits clinging on, repeat the process. Sometimes, a little patience is all it takes. And behold! A significantly cleaner pan. See? Not so scary after all. You’re already a champion.
When Things Get Serious: The Vinegar Vigor
Now, what if your pan is sporting a particularly impressive amount of char? Like, “did I accidentally forge a miniature volcano in my kitchen?” level of burnt? Don’t despair! We’ve got a slightly more potent, but still totally safe, weapon in our arsenal: vinegar. Yes, that tangy stuff you put on your fries can also be your stainless steel’s best friend.
For this method, we're going to use a 50/50 mix of white vinegar and water. Pour this delightful concoction into your burnt pan, just enough to cover the burnt areas. You might notice a little fizzing action. That’s the vinegar doing its thing, bravely tackling the burnt-on residue.
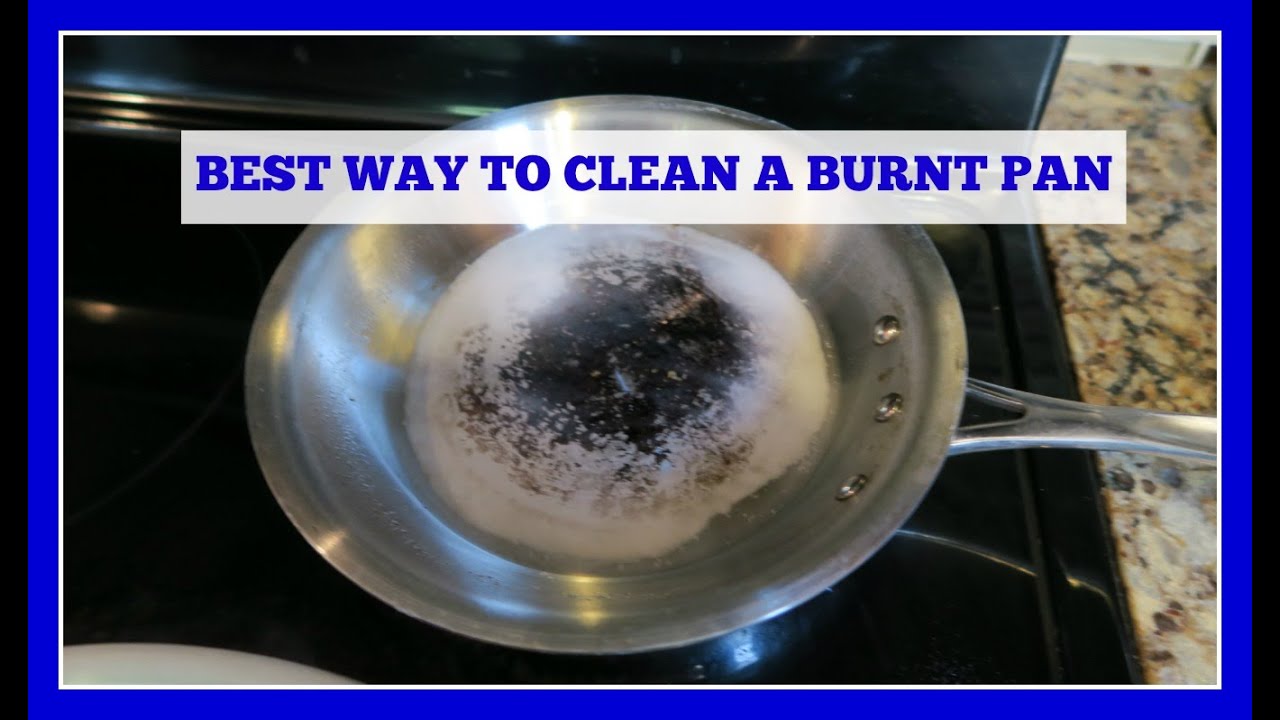
Now, here’s where it gets a little more exciting. You’re going to gently heat this vinegar and water mixture on your stovetop over medium heat. Let it simmer for about 10-15 minutes. Keep an eye on it, you don't want it to boil over and create a vinegar steam bath (unless you're into that, no judgment!).
Once it’s simmered, carefully remove the pan from the heat and let it cool down a bit. The vinegar has worked its magic, softening those stubborn burnt bits. Now, with your sponge, gently scrape away the loosened grime. You’ll find it comes off much more easily than before. It’s like a tiny kitchen miracle!
For any really persistent remnants, you can try adding a tablespoon or two of baking soda to the remaining vinegar mixture in the pan. This will create a fantastic fizzing reaction, like a mini science experiment in your kitchen. Let that bubble away for a few minutes, then scrub again. Rinse thoroughly, and admire your work!
This vinegar method is particularly effective for those dark, stubborn stains that baking soda alone might struggle with. It’s a dynamic duo, a tag team of cleaning power, and you’re the mastermind behind it all!
The Ultimate Power Move: Cream of Tartar
Alright, for those truly epic kitchen battles, where your pan looks like it's been through a dragon's fiery breath, we have one more trick up our sleeve: cream of tartar. This is a baking ingredient, so you likely already have it lurking in your pantry. If not, it’s a great little addition to your culinary arsenal, and surprisingly effective for cleaning.
Mix a couple of tablespoons of cream of tartar with a little bit of water to form a paste. Apply this paste generously to the burnt areas of your pan. Again, no need to be stingy here! The cream of tartar is a mild acid that works wonders on stainless steel, breaking down those tough, burnt-on residues.
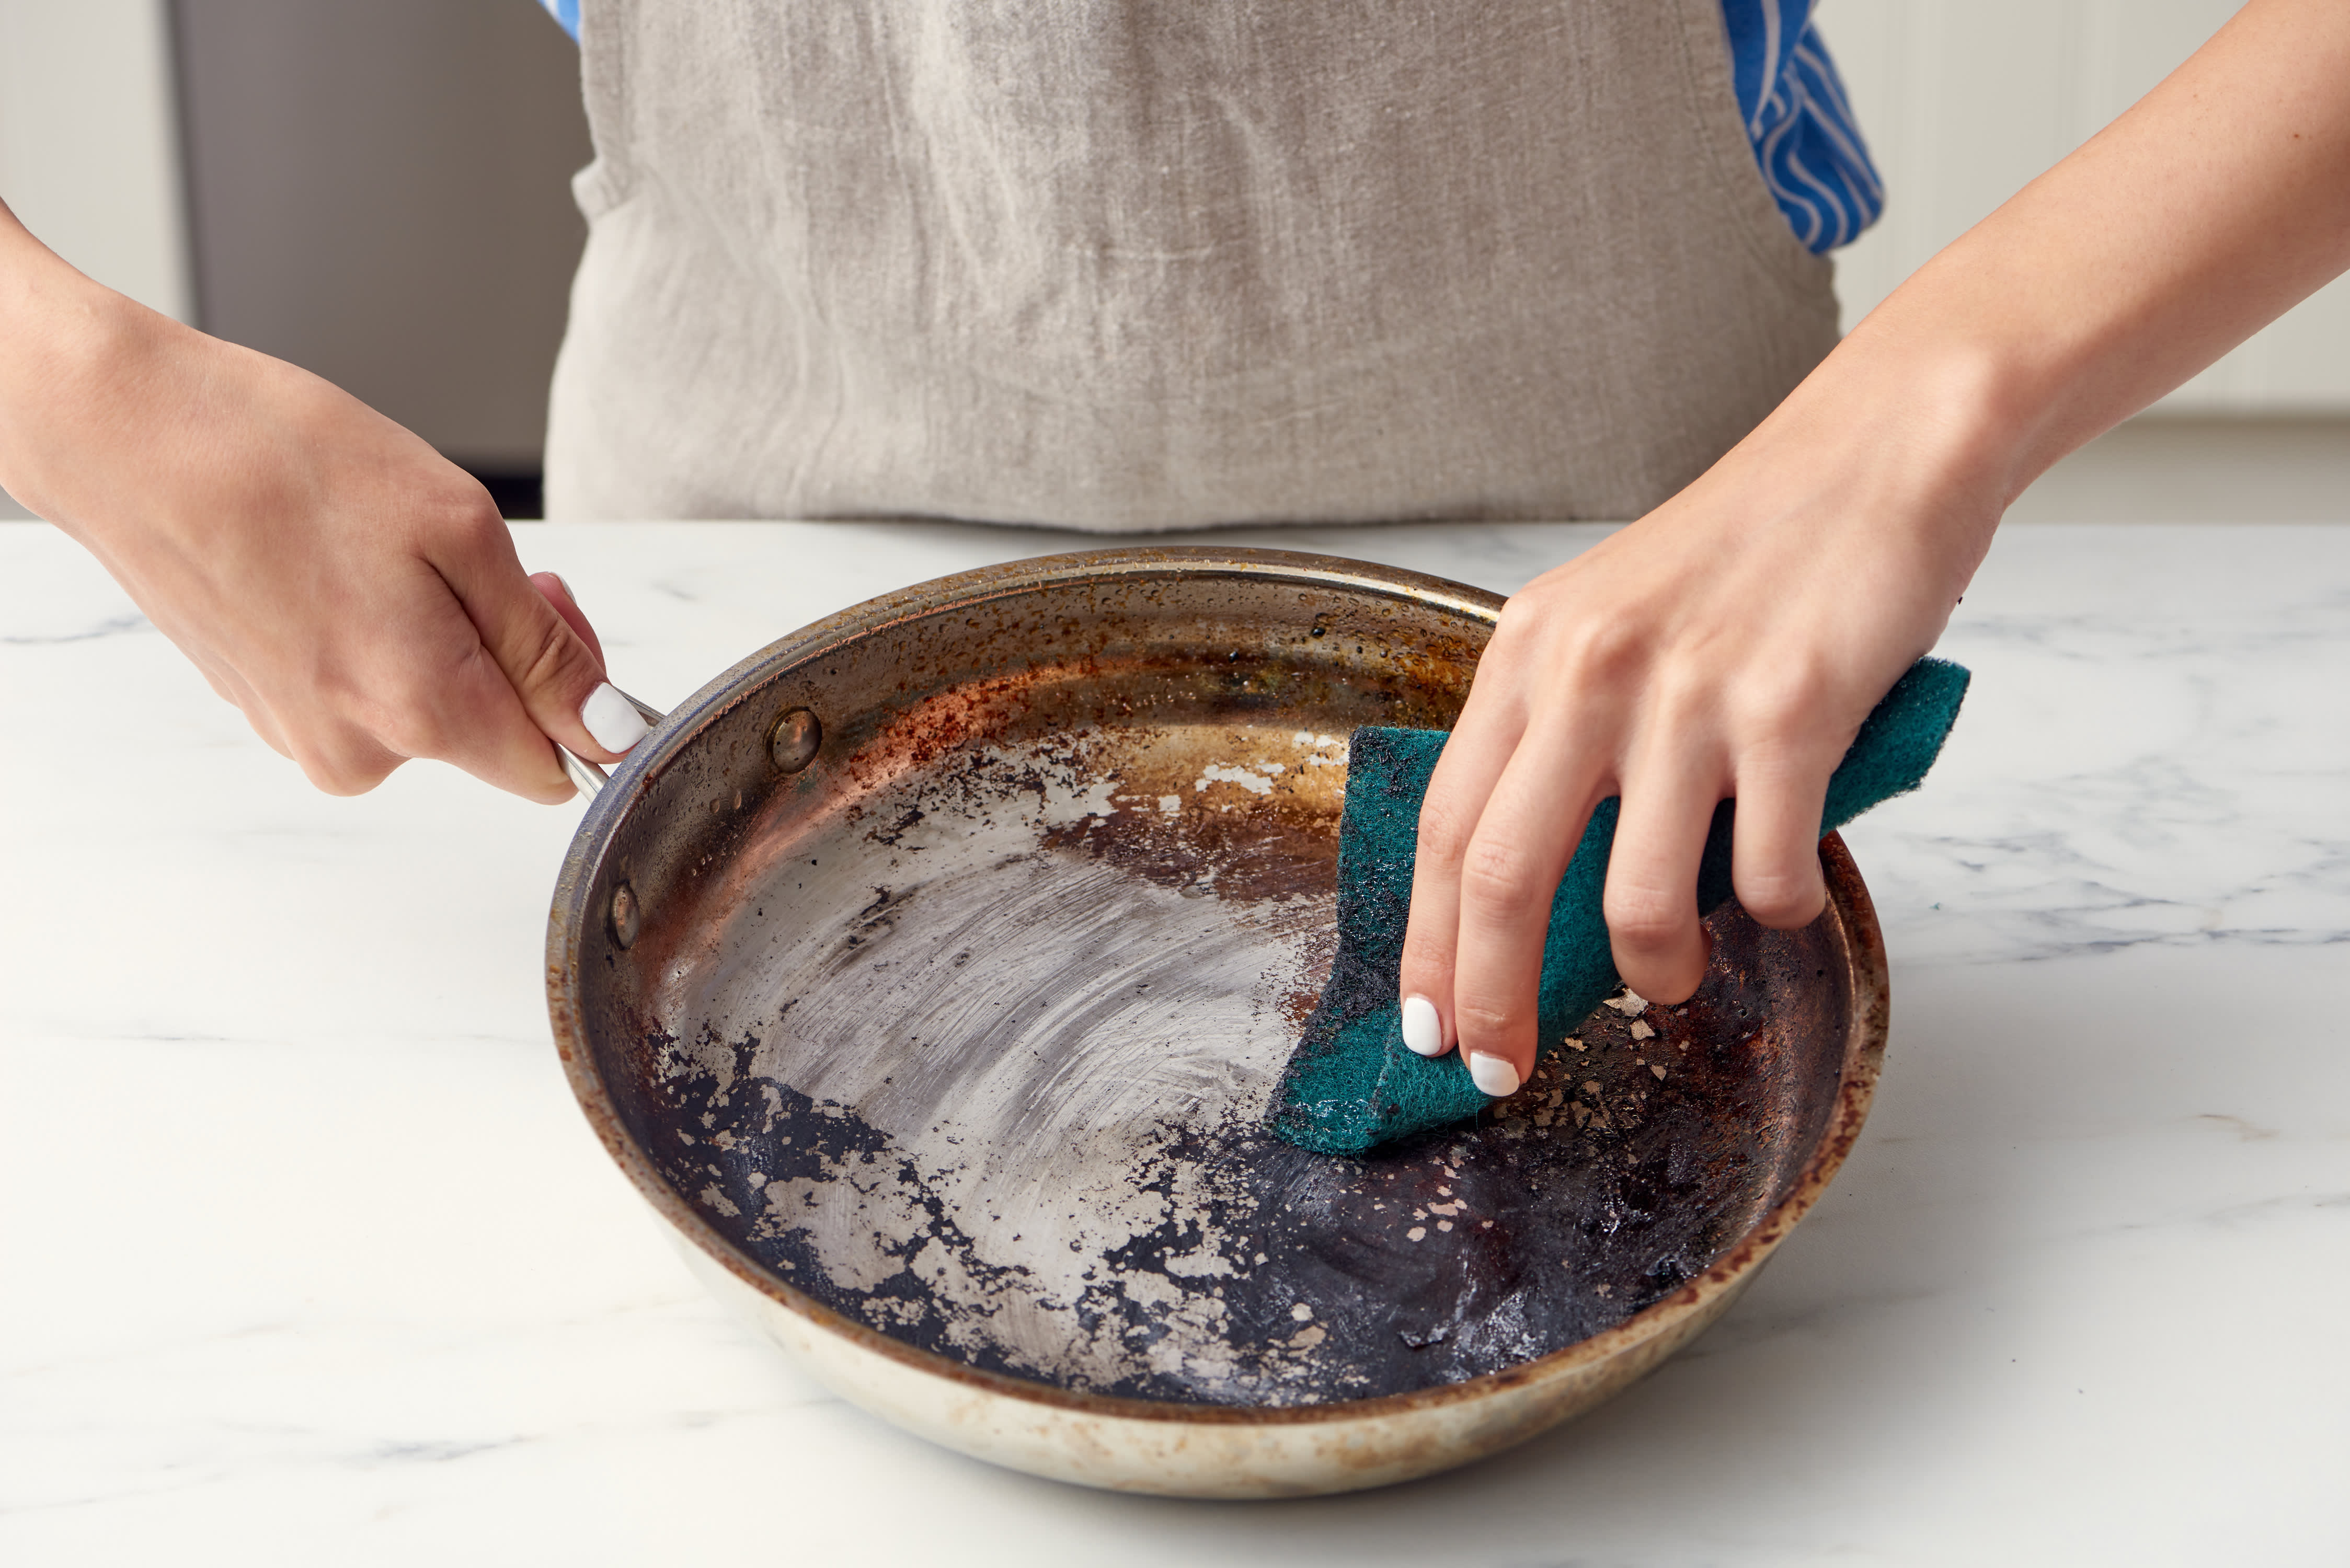
Let this paste sit for about 30 minutes. Then, grab your sponge and get to scrubbing. You’ll notice a significant difference. The burnt areas should start to lift and come away with relative ease. For really deep burns, you might need to repeat the process or let the paste sit a little longer. This is where your patience is rewarded with a sparkling clean pan.
Once you’ve scrubbed away the burnt bits, rinse your pan thoroughly. You’ll be amazed at how shiny and new it looks. It’s like giving your pan a rejuvenating facial!
A Few Extra Tips for Pan Perfection
Throughout these cleaning adventures, remember to always use non-abrasive sponges or cloths. We want to clean the pan, not give it a whole new set of scratches. And always rinse thoroughly after using any cleaning agent to ensure no residue remains.
If you find yourself dealing with burnt-on food regularly, it might be a good time to have a little chat with your stovetop. Are you maybe turning up the heat a tad too high? A lower, steadier heat can prevent a lot of these kitchen mishaps in the first place. It’s all about finding that sweet spot, that perfect temperature for your culinary creations.

And remember, every burnt pan is an opportunity to learn and grow as a cook. Don’t let a little char discourage you. It’s all part of the learning curve, and honestly, it makes for some great stories later on. “Remember that time I nearly set the kitchen on fire trying to make caramel? Good times!”
Embrace the Sparkle!
So there you have it! Three fantastic, easy-to-follow methods for rescuing your beloved stainless steel pans from the clutches of burnt-on food. You’ve gone from a potentially “disposable” pan to a shining beacon of culinary resilience. You’ve embraced a little challenge and emerged victorious. That’s the spirit!
Cleaning a burnt pan isn't just a chore; it's a chance to prove your mettle, to show your kitchen who’s boss. It’s about taking something that looks a bit disastrous and transforming it into something beautiful and functional again. It’s a small victory, yes, but in the grand scheme of things, these little wins add up. They build confidence. They make you feel more capable.
So next time you encounter a scorched situation, don't sigh with defeat. Smile, grab your baking soda or vinegar, and embark on your own little cleaning adventure. You've got this! And who knows, this newfound skill might just inspire you to tackle other "impossible" cleaning tasks. The world of sparkling clean is your oyster!