
How Do You Remove Rust From Steel
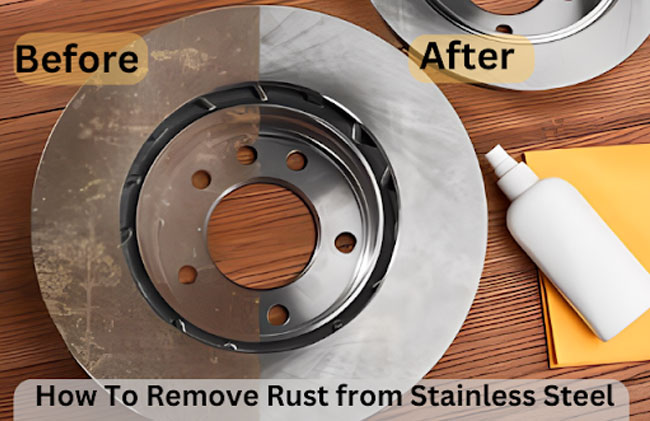
You know, it was a sweltering summer afternoon, the kind where the air hangs heavy and even the cicadas sound a bit tired. I was rummaging through my dad’s old toolbox, a treasure trove of forgotten bits and bobs, looking for a specific screwdriver. And there it was, nestled amongst some ancient nuts and bolts: his old gardening trowel. Now, this wasn't just any trowel. This was the trowel. The one he’d used for decades, coaxing roses into bloom and wrestling stubborn weeds into submission. But time, and probably a few forgotten rainy days, had taken their toll. The metal, once gleaming, was now a mottled, rusty orange. It looked… sad. Like a once-proud knight who’d let himself go a bit too much. Immediately, my mind went to all the other metal things I’d seen in similar states of disrepair – a bicycle chain seized by the elements, that slightly questionable barbecue grill from the back of the shed, even the decorative ironwork on our porch that was starting to look like it was blushing a rather alarming shade of terra cotta. Suddenly, the humble, rusty trowel became my personal quest, my gateway into the fascinating, and sometimes surprisingly simple, world of rust removal.
And that, my friends, is how I ended up down a rabbit hole of vinegar baths, steel wool, and surprisingly effective (and dare I say, a little bit magical?) chemical reactions. Because let’s be honest, rust is kind of the bane of our existence when it comes to anything made of steel. It’s like that uninvited guest that shows up at your party and slowly starts to take over. It’s unsightly, it weakens the metal, and if left unchecked, it can turn your prized possessions into something resembling a crumbly archaeological dig. But the good news? It’s usually not a permanent condition! We can fight back. We can reclaim our metal. And it’s not as intimidating as it might seem.
So, What Exactly Is This Nasty Stuff?
Before we dive into the nitty-gritty of getting rid of it, it’s helpful to understand what we’re dealing with. Rust, in its most common form, is iron oxide. Basically, when iron (or steel, which is an alloy primarily made of iron) comes into contact with oxygen and moisture, a chemical reaction happens. This reaction, called oxidation, creates iron oxide – that familiar reddish-brown flaky stuff we call rust. Think of it as the metal getting a bit… stressed out. It’s reacting to its environment. And it loves to spread. Oh, how it loves to spread.
This is why you see rust more often on things left outdoors, or in damp environments like garages or basements. It's a natural process, but a decidedly unwelcome one for our metal friends. And the longer it sits there, the deeper it burrows. It can penetrate the surface, weakening the structural integrity of whatever it’s on. So, tackling it sooner rather than later is always the best policy. Don't let that rust become a permanent fixture, like that one relative who stays a little too long after the holidays. You know who I'm talking about. Wink wink.
The Gentle Approach: When It's Just a Little Bit Shy
Sometimes, the rust is barely there. You might see a few specks, a faint blush of orange on your favorite knife or that old spanner. In these cases, you don't need to go all Rambo on it. A little bit of elbow grease and some common household items can do the trick. This is where you get to feel like a domestic goddess (or god, no judgment here!) of metal restoration.
Baking Soda Paste: The Mild-Mannered Magician
This is a classic for a reason. Baking soda is a mild alkali and a gentle abrasive. Mix it with a little water to form a thick paste. Apply it generously to the rusted area. Let it sit for a bit – maybe 30 minutes to an hour. Then, grab a soft cloth or a non-scratch scouring pad (think the blue kind, not the super-abrasive green ones, unless you want to scratch your metal, which, unless you're going for a specific distressed look, probably not). Gently scrub the paste into the rust. Rinse the item with water and dry it thoroughly. You might need to repeat this a couple of times for stubborn spots, but for light rust, it's often surprisingly effective. It’s like giving your metal a gentle exfoliating facial. Ahh, spa day for your tools!

Vinegar: The Acidic Superhero (With a Smell)
Ah, vinegar. The pantry staple with a surprisingly powerful punch. White vinegar, specifically, is your friend here. The acetic acid in vinegar works wonders at dissolving rust. For light rust, you can soak the item in vinegar for a few hours. For more stubborn patches, you might need to leave it overnight. Make sure the entire rusted area is submerged. Once it’s had its soak, take it out and scrub it with steel wool (more on that later, don't worry!). Rinse thoroughly and, crucially, dry it immediately and completely. Vinegar is great, but leaving it on wet metal for too long can, ironically, lead to more rust. So, diligent drying is key. Just a heads-up, it smells. Like, really smells. So maybe do this in a well-ventilated area, or perhaps wear a nose clip. Your olfactory senses will thank you.
Lemon Juice and Salt: The Tangy Duo
Another acidic option that smells a bit nicer than vinegar! The citric acid in lemon juice, combined with the abrasive nature of salt, can be a winning combination. Sprinkle salt over the rusted area, then squeeze lemon juice over it until it’s well-covered. Let it sit for a couple of hours. Then, use a steel wool pad or a stiff brush to scrub away the rust. Rinse and dry thoroughly. This is a great option if you’re doing this in your kitchen and don't want the lingering aroma of vinegar. Plus, it feels a bit more… natural, doesn’t it? Like you’re using nature’s own cleaning products. Very eco-chic, if I do say so myself.
The Heavy Hitters: When Rust Means Business
Okay, so maybe your rusty friend has been a bit neglected. We’re talking thick, flaky rust, the kind that looks like it’s growing its own little ecosystem. For these more serious cases, you’ll need to bring out the bigger guns. Don’t worry, it’s not going to involve any power tools that require a license or protective gear that makes you look like you’re about to perform open-heart surgery. We can still do this with accessible items, but with a bit more intensity.
Steel Wool: Your Trusty Abrasive Companion
This is probably the most common tool for rust removal, and for good reason. Steel wool comes in different grades, from very fine to coarse. For most rust removal tasks, a medium-grade steel wool (like #0 or #1) is a good starting point. For really tough rust, you might need to go coarser, but be mindful that coarser grades can scratch the metal. Always test on an inconspicuous area first if you’re worried about damaging the finish. Dip the steel wool in water or a mild cleaning solution (like soapy water or one of the aforementioned vinegar/lemon juice solutions) and then scrub the rust away. You’ll be amazed at how quickly it starts to come off. It’s a satisfying, almost cathartic process. You’re literally buffing away the imperfections. Take that, rust!

Important tip: When using steel wool, always work in the direction of the metal’s grain, if it has one. This helps to minimize visible scratches. And wear gloves! Rust particles can be sharp, and nobody wants a rusty splinter. Ouch.
Wire Brushes: For the Really Stubborn Cases
If steel wool isn’t cutting it, a wire brush might be your next best friend. These come in various materials, like brass, steel, or nylon. Steel wire brushes are the most aggressive and best for heavy rust. Again, use caution and test on a hidden spot first. You can get hand-held wire brushes, or even attachments for drills if you’re feeling ambitious and have a particularly large rusty project. When using a wire brush, especially a steel one, make sure you’re wearing safety glasses. Rust flakes can fly! And again, gloves are a must. This is less of a spa treatment and more of a vigorous workout for your metal.
Commercial Rust Removers: When You Want a Quick Fix
There are a plethora of rust removers available on the market, ranging from sprays to gels to soaking solutions. These often contain stronger chemicals, like phosphoric acid or oxalic acid, which are very effective at dissolving rust. Always follow the manufacturer’s instructions precisely. These products can be potent, so ensure good ventilation, wear gloves and eye protection. They can be incredibly fast and efficient, which is great if you’re short on time or dealing with a massive rust problem. Just remember that with great power comes great responsibility… and sometimes, a slightly more intimidating chemical smell.
The Chemical Warfare: Less Common, But Effective
For those who are a bit more adventurous, or dealing with truly epic rust battles, there are a couple of more advanced (but still DIY-friendly) options. These involve a bit more of a science experiment vibe. Are you ready to get your inner chemist on?

Naval Jelly: The Heavy-Duty Gel
Naval jelly is a phosphoric acid-based rust remover. It's a thick gel, which makes it ideal for vertical surfaces as it clings to the metal. You apply it, let it work its magic (usually for about 10-20 minutes, but check the product), and then wipe or rinse it away. It’s very effective at breaking down rust. Again, follow instructions carefully, wear gloves and eye protection. This is definitely in the "heavy-duty" category. It’s like bringing in the SWAT team for your rust problem.
Electrolysis: The High-Tech (but Surprisingly Simple) Solution
This one sounds fancy, but it's surprisingly accessible and incredibly effective, especially for intricate items or things where you want to preserve detail. You'll need a plastic tub, water, washing soda (not baking soda – this is important!), a sacrificial piece of steel (like rebar), and a battery charger (the kind you use for cars). You set up a bath where the rusted item is suspended in the water and washing soda solution, connected to the positive terminal of the charger. The sacrificial steel is connected to the negative terminal, and then you submerge both in the solution, making sure they don't touch. The electricity flows through the water, essentially pulling the rust off the item and onto the sacrificial steel. It’s a slow process, sometimes taking hours or even days depending on the rust, but the results can be astonishing. You end up with clean, rust-free metal. It’s like magic, but with electricity. Definitely a conversation starter if anyone sees your setup!
Aftercare: Preventing the Return of the Rusty Menace
So, you’ve battled the rust, you’ve emerged victorious, and your metal is gleaming like new. Congratulations! But don’t get too comfortable. Rust is a persistent foe, and if you just leave your newly-cleaned metal exposed, it’ll eventually come back. So, what’s the game plan for keeping it at bay?
Clean and DRY is King
This bears repeating. After any cleaning or washing, always dry your metal items thoroughly. Moisture is rust’s best friend. Use a clean, dry cloth and make sure you get into all the nooks and crannies.
Oiling Up: The Protective Barrier
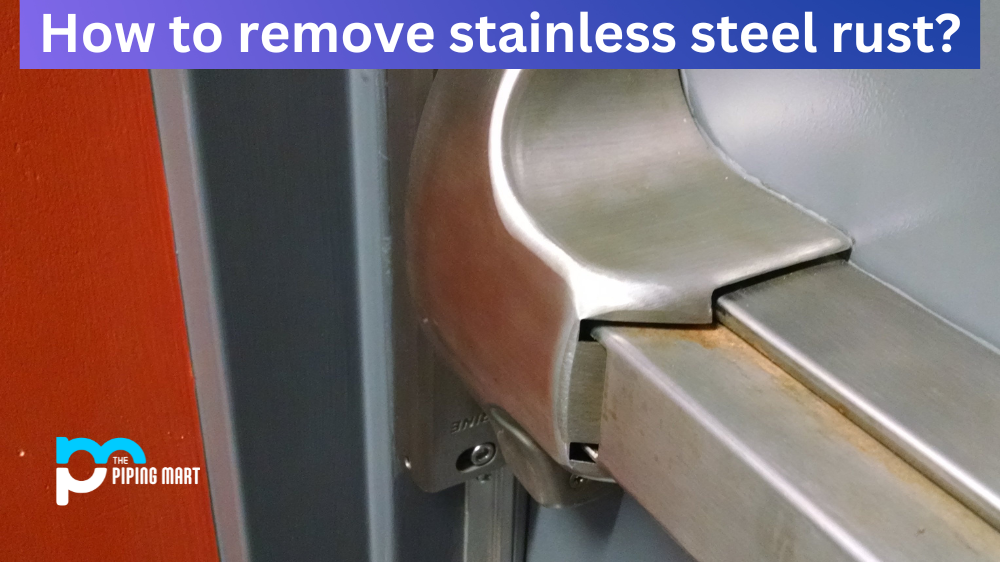
Once dry, apply a light coating of oil. This acts as a barrier between the metal and the elements. For tools, a light machine oil or even a bit of WD-40 works well. For kitchen knives, a food-grade mineral oil is a good choice. For outdoor items like garden tools, a more robust protective oil or even a wax can be beneficial. Think of it as giving your metal a protective, moisturizing lotion. Keep it from getting dry and cracked (and rusty!).
Storage Smarts
Store your metal items in a dry environment. If you live in a humid area, consider using silica gel packets in your toolboxes or storage containers to absorb moisture. Avoid storing items directly on concrete floors, which can absorb and radiate moisture. Elevated shelving is your friend.
Regular Inspections: Be Proactive!
Don’t wait until the rust is a full-blown infestation. Give your metal items a quick once-over now and then. A little spot of rust? Tackle it immediately with one of the gentle methods. The sooner you catch it, the easier it is to deal with. It’s like spotting a tiny weed in your garden before it becomes an unmanageable jungle.
So there you have it! The world of rust removal, from a humble gardening trowel to more advanced techniques. It’s a testament to the fact that with a little knowledge and some common household items (or a few carefully chosen commercial products), you can rescue your beloved metal objects from the clutches of decay. Go forth, and banish that rust! Your tools, your bikes, your cast iron pans, and even that slightly neglected barbecue grill will thank you for it. Happy de-rusting!