
How Do You Tig Weld Stainless Steel
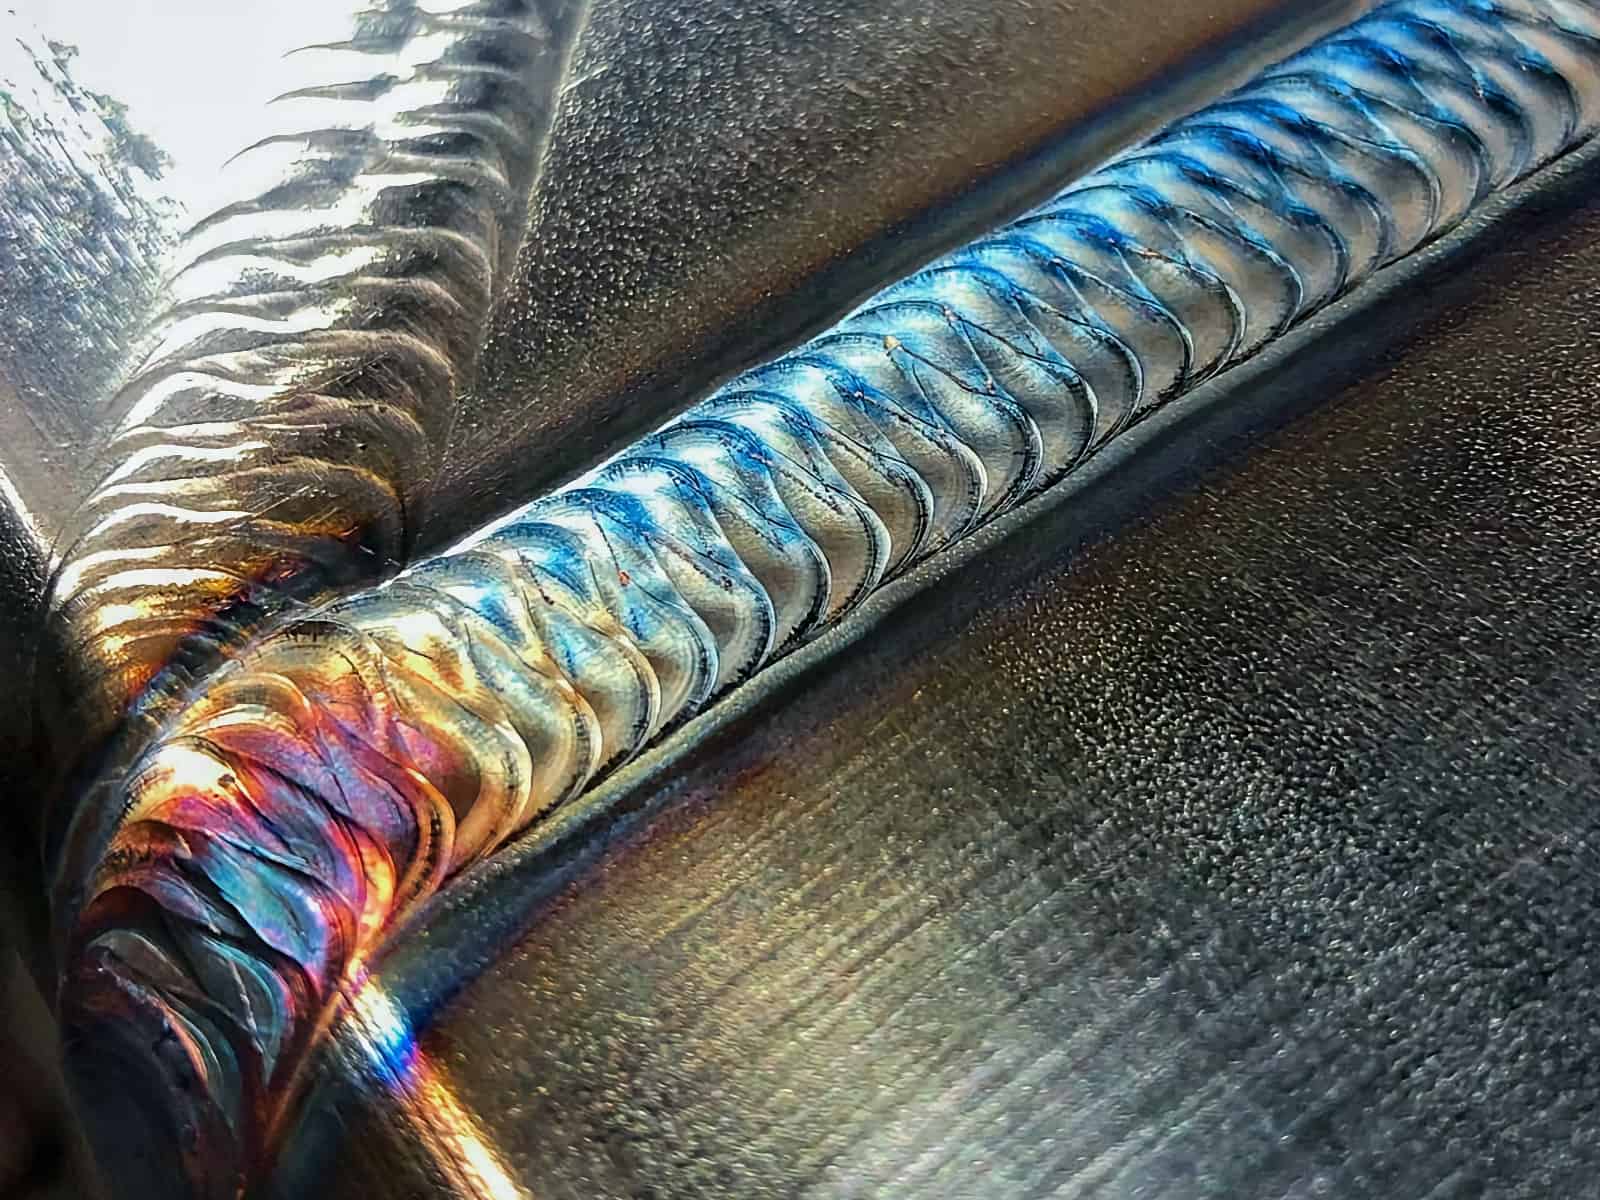
Hey there, fellow metalheads and DIY enthusiasts! So, you've decided to tackle the shimmering, oh-so-stylish world of stainless steel welding, and you're eyeing up the TIG torch. Good choice! TIG welding stainless is like learning to waltz with a prima ballerina – it requires a bit of finesse, a gentle touch, and a whole lot of respect. But trust me, once you get the hang of it, you'll be creating masterpieces that'll make your Instagram feed sing. Forget those clunky, spark-spewing welding methods; TIG (which stands for Tungsten Inert Gas, by the way – fancy, right?) is the Beyoncé of welding. It’s precise, it’s clean, and it leaves behind a weld that’s as beautiful as it is strong. Let's dive in, shall we?
First things first, let's talk about why TIG is the bee's knees for stainless steel. Stainless steel, bless its corrosion-resistant heart, can be a bit… dramatic. It’s prone to warping if you get it too hot too quickly, and it doesn't like to be messed with carelessly. TIG welding gives you the ultimate control. You're holding a torch that’s basically a magic wand, feeding in filler rod with one hand (or with a fancy auto-feeder, if you’re feeling bougie) and controlling the heat with your foot pedal. It’s a beautiful dance, a symphony of metal and electricity. No wonder it’s the go-to for everything from aerospace components to, well, your fancy kitchen sink.
Alright, enough with the poetic waxing. Let’s get down to brass tacks, or in this case, stainless steel tacks. What do you actually need to get this party started?
The Holy Trinity of TIG Gear:
You can’t weld without your trusty tools, and for TIG, there are a few non-negotiables. Think of these as your welding superhero costume. You wouldn't fight crime in pajamas, would you? Neither should you TIG weld in them.
1. The TIG Welder: Obviously! You’ll want a machine that can do AC/DC. For stainless steel, you’ll primarily be using DC (Direct Current). AC is more for aluminum, which is a whole other adventure for another day. Make sure your machine has a good amperage range so you can handle both thin and thicker stainless. Some fancy ones have pulse functions, which are super helpful for heat control on thin stuff, but don't stress if yours doesn't. You can achieve awesome results without it!
2. The TIG Torch: This is your primary weapon. It holds the tungsten electrode, which doesn't actually melt (hence, non-consumable!), and channels the argon gas. You’ll need a few different sizes, but a standard #9 or #17 torch is a great starting point. And speaking of tungsten…
3. The Tungsten Electrode: This is the pointy bit that gets all the glory. You’ll see different colors on the tips – these indicate the composition. For stainless steel, you want to use 2% Thoriated (red tip) or 2% Ceriated (orange tip) tungsten. They're fantastic for DC welding. Never use your aluminum-dedicated (blue tip) tungsten on steel; it’ll contaminate your electrode and your weld. Think of it as wearing mismatched socks to a formal event – just not done.
4. Shielding Gas: This is your superhero’s cape, protecting your molten puddle from the evil dragon of oxidation (aka, the air). For stainless steel TIG, you’re going to use 100% Argon. It’s pure, it’s effective, and it keeps your weld looking shiny and new. Make sure your gas bottle is full and your flow rate is set correctly. Too little gas, and you'll get a funky, discolored weld. Too much, and you're just wasting precious argon and making a windy mess.
5. Filler Metal: This is the stuff you add to build up your weld. For stainless steel, you’ll use stainless steel filler rods. The type you choose depends on the type of stainless you’re welding. A good all-rounder is 308L, which works for most common stainless steels like 304. If you’re welding thicker material or something that will be exposed to high temperatures or corrosive environments, you might need a different alloy like 309L or 316L. When in doubt, check the datasheet or ask a wise old welder. They usually have stories and advice in equal measure.
6. Personal Protective Equipment (PPE): Safety first, always! You need a welding helmet with an auto-darkening lens (your eyes will thank you), welding gloves made of leather, a fire-resistant jacket or apron, and closed-toe shoes. Think of this as your superhero suit – it protects you from the sparks and UV rays that can do some serious damage. And no, that old t-shirt and shorts combo is not a valid substitute for PPE. Seriously.
7. A Clean Workspace: This is almost as important as the gear itself. Stainless steel is called "stainless" because it resists rust, but it's not immune to contamination. Any grease, oil, paint, or dirt on your material will cause problems. So, clean your stainless steel thoroughly with a dedicated stainless steel cleaner or acetone before you start. Think of it as giving your metal a spa treatment before its big welding debut. A clean weld is a happy weld.
The Dance Steps: Getting Your TIG On
Okay, you've got your gear, your stainless is sparkling clean, and you're buzzing with anticipation. Let's get welding!
1. Prep Your Tungsten:
This is a biggie. Your tungsten electrode needs to be properly ground to a nice, sharp point. Use a dedicated tungsten grinder (don’t use your angle grinder – it’s a one-way ticket to contamination city!). The point helps focus the arc, giving you more control. A nice, conical point is what you're aiming for. Think of it like sharpening a pencil – you need that fine tip for precision.
2. Set Your Machine:
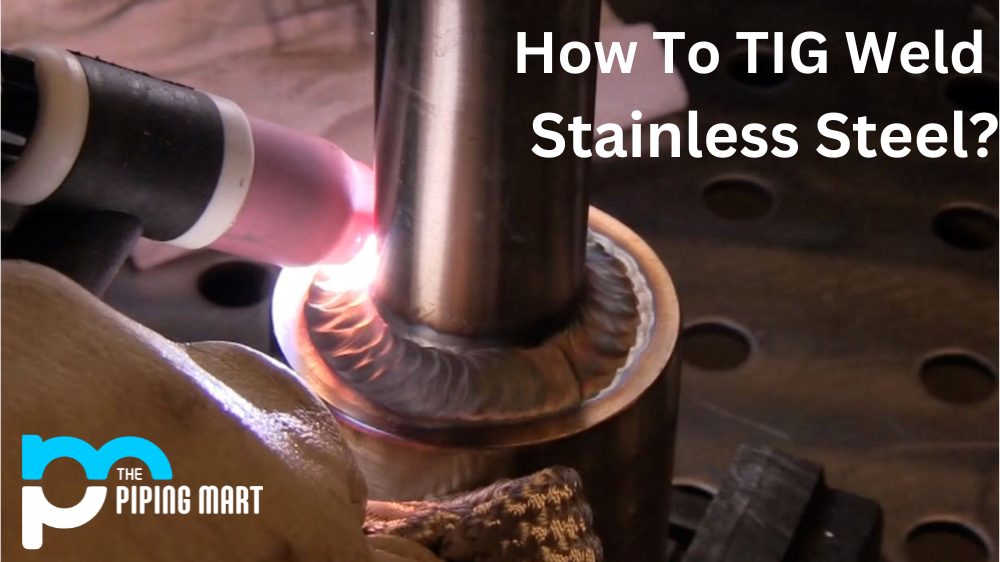
For stainless steel, you’ll generally be on DC electrode negative (DCEN), which means the electrode is negative and the workpiece is positive. This gives you deeper penetration. Your amperage will depend on the thickness of your material. A good rule of thumb is about 1 amp per thousandth of an inch, but this is just a starting point. You’ll need to experiment. Also, set your argon flow rate – usually around 15-20 cubic feet per hour (CFH). Adjust your post-flow time too; it's the gas that continues to flow after you stop welding to protect the tungsten and the cooling puddle.
3. Get Your Technique Right:
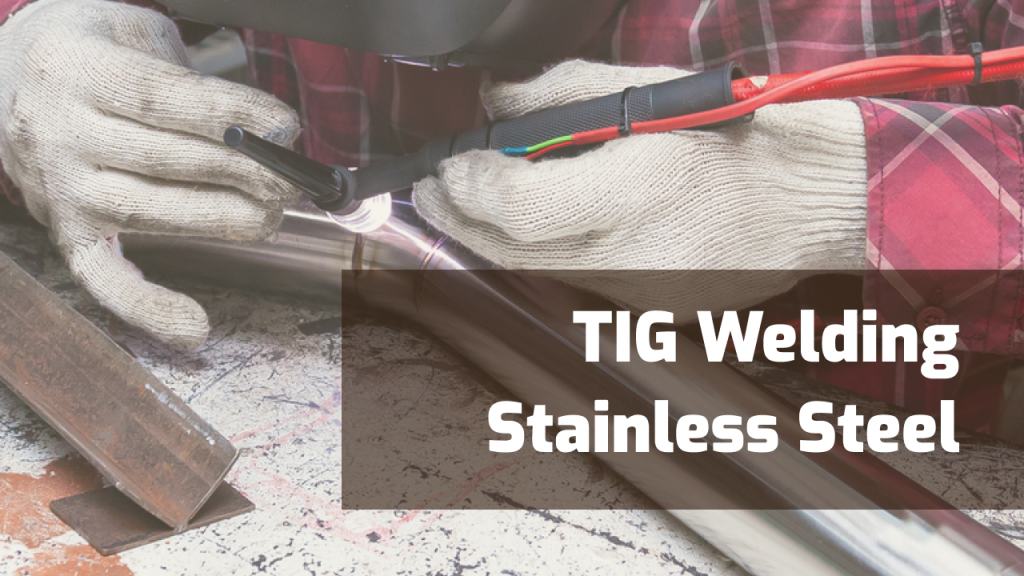
This is where the magic happens. You’ve got the torch in one hand, filler rod in the other, and your foot on the pedal. The key is to maintain a consistent arc length and torch angle.
Starting the Arc: You can use either a high-frequency start (if your machine has it) or a lift-arc start. High-frequency is like a little spark that jumps the gap. Lift-arc is literally lifting the tungsten off the workpiece slightly to create the arc. The goal is to get a stable, focused arc without contaminating your tungsten. Don't “scratch” the tungsten like you would with a stick welder; it’s bad juju for TIG.
Adding Filler Rod: Once you have a nice, small puddle, you can start adding filler rod. You want to dip the filler rod into the leading edge of the puddle, not directly into the arc. Think of it as gently coaxing the metal into the molten pool. Keep the filler rod tip inside your shielding gas stream to prevent contamination. Don't get sloppy with it; keep it clean!
Torch Angle and Travel Speed: Aim for a slight angle, maybe 5-15 degrees, pointing in the direction of travel. Your travel speed should be consistent – fast enough to avoid excessive heat buildup, but slow enough to get good fusion. This is where practice really pays off. You'll develop an instinct for the right speed.
Heat Control: This is the holy grail of TIG welding stainless. Use your foot pedal like it’s a fine-tuned instrument. Feather the pedal to control the amperage. Too much heat, and you’ll get undercut, warp your metal, or burn through. Too little, and you’ll have a weak, cold weld. It’s all about that sweet spot.

4. Watch the Puddle:
Seriously, the molten puddle is your best friend and your most honest critic. It will tell you everything you need to know about your heat input and travel speed. Look for a nice, consistent bead that’s shiny and free of craters or wormholes. A well-formed puddle is a sign of a happy weld. It’s like watching a tiny, controlled lava flow, and it’s strangely mesmerizing.
5. Tack It Up!
Before you commit to a long weld, tack weld your pieces together. These are small, temporary welds that hold your pieces in place. They’re crucial for preventing warping, especially on thinner stainless steel. Space your tacks evenly, and make them just big enough to hold. They’re like the supporting cast to your main welding act.
6. The Weld Itself:
Once you're tacked up, it's time to lay down your main bead. Try to overlap your tacks slightly for a continuous weld. Maintain that consistent torch angle, arc length, and travel speed. If you’re welding a long seam, try to weld in short sections, moving back and forth. This helps distribute heat and prevent warping. It’s like taking deep breaths during a long run; it helps you keep your rhythm.
7. Post-Weld Care:
After you've finished welding, let the piece cool down naturally. Don’t quench it unless you absolutely have to and you know what you’re doing. Once it’s cool, you might want to clean up any discoloration with a stainless steel cleaner or a dedicated passivation solution. This will restore the protective oxide layer and make your weld look as good as new. A little elbow grease here goes a long way to making your work shine.
Common Pitfalls and How to Dodge Them:
We all stumble now and then. Here are a few common hiccups you might encounter and how to sidestep them:
Warping: The bane of thin metal. Use a heat sink (a thick piece of copper or aluminum clamped to the other side of your weld) or weld in shorter passes with more frequent tack welds. Think of it as being a gentle masseuse for your metal, easing the tension.
Discoloration (Heat Tint): This happens when the stainless steel oxidizes. A little bit is usually fine, but excessive discoloration means you might have had too much heat or not enough shielding gas. Cleaning and passivation can help. Aim for that frosty, rainbow-like heat tint rather than a dark, sooty look. The former is okay, the latter is a sign of trouble.
Lack of Fusion/Penetration: This is usually down to not enough heat or moving too fast. Make sure your amperage is set correctly and focus on getting a good, solid puddle. If your puddle isn't wetting into the base metal, you're not fused!
Contamination: Dirty metal, dirty filler rod, or dirty tungsten will all lead to a compromised weld. Keep everything pristine. Think of it as performing surgery – sterile technique is paramount.
Arc Blow: Sometimes the arc can wander or get erratic. This can be caused by magnetic fields. Try changing your ground clamp location or reducing amperage. It’s like trying to control a wild horse; sometimes you just need to gentler approach.
The Sweet Reward
TIG welding stainless steel might seem daunting at first, like learning a new language or mastering a tricky recipe. There will be times you’ll look at your weld and wonder if you’re doing it right. But with every practice piece, with every little adjustment, you’ll get better. You’ll start to see the subtle cues from the puddle, you’ll feel the heat flow through your fingers, and you’ll develop that intuitive feel for the process. The satisfaction of creating a clean, strong, and beautiful weld on stainless steel is incredibly rewarding. It’s a skill that allows you to bring your ideas to life, to repair, to create, and to adorn your world with shiny, sturdy creations. So, embrace the learning curve, celebrate your successes (no matter how small), and remember that every single expert welder started exactly where you are right now. Keep practicing, keep learning, and most importantly, keep that torch lit. You’ve got this, and your future creations will be something to behold!