How To Add A Minecraft Texture Pack
Hey there, fellow block-builders and pixel-pushers! So, you’ve been staring at your Minecraft world, and while it’s pretty awesome (let's be honest, it’s Minecraft!), you’re starting to feel like it needs a little… oomph. Maybe the cobblestone is looking a bit too samey, or the trees could use a bit more sparkle. Well, have I got news for you! We’re diving headfirst into the magical world of texture packs, and trust me, it’s easier than crafting a diamond pickaxe!
Think of texture packs as Minecraft’s fancy dress party. You can give your trusty sword a sleek, modern makeover, make your sheep look like fluffy clouds, or even turn your whole world into something straight out of a fairytale. And the best part? You don’t need to be a coding wizard or a digital Picasso to do it. It’s basically like swapping out a default wallpaper for something way cooler. So, grab a virtual cookie, settle in, and let’s get your game looking chef’s kiss!
So, What Exactly IS a Texture Pack (or Resource Pack, as they’re called now)?
Okay, so back in the day, we called them texture packs. Now, Mojang (the brilliant minds behind Minecraft) likes to call them resource packs. Semantics, really! They’re essentially a collection of files that tell Minecraft how to draw everything in your game. We’re talking about blocks, items, mobs (those are the friendly and not-so-friendly creatures), the sky, the sun, the moon – basically, everything you see!
When you download a resource pack, you’re essentially swapping out the default look of these things for a new one. Some packs are subtle, just tweaking the colors a little. Others are totally bonkers, turning your familiar Minecraft world into something completely unrecognizable. Want your creepers to look like adorable fluffy bunnies? There’s probably a pack for that. Want your diamonds to glow like actual gemstones? Yep, that’s a thing too!
It’s all about personalization, my friend. It's your world, your rules, and your aesthetic! And the community has gone absolutely wild with creativity. There are thousands upon thousands of these packs out there, catering to every imaginable taste.
Before We Get Started: A Quick Heads-Up!
Now, before we jump into downloading, a couple of things to keep in mind. First off, make sure your Minecraft is up-to-date! Some older resource packs might not play nice with newer versions of the game. It’s like trying to plug a USB-A into a USB-C port – it just doesn’t work!
Secondly, there are different types of packs out there. Some are purely visual, changing how things look. Others can also change sounds, or even add new animations. For this guide, we're mostly focusing on the visual stuff, as that's the most common and easiest to get started with.
Finally, and this is important: download from reputable sources! Just like with anything online, you don't want to accidentally download a virus disguised as a cool-looking texture pack. Stick to well-known Minecraft forums, dedicated resource pack websites, and places that have good reviews and communities. A little caution goes a long way!
The Grand Adventure: Finding Your Perfect Pack
Alright, the treasure hunt begins! Where do you find these glorious visual upgrades? My favorite go-to places are:
CurseForge
This is probably the biggest and most well-known hub for all things Minecraft mods and resource packs. It’s a treasure trove, honestly. You can filter by version, popularity, and even what kind of style you're looking for. It’s like a library for your Minecraft game!
Planet Minecraft
Another fantastic community-driven site. Planet Minecraft has a huge selection of resource packs, often showcased with amazing screenshots and descriptions. You can get a real feel for what the pack does before you download it.
Dedicated Resource Pack Websites
There are other sites out there too, some focusing on specific styles (like realistic packs or cartoonish ones). A quick Google search for "Minecraft [style you like] resource pack" will usually bring up some good options.
When you’re browsing, pay attention to:
- The screenshots: This is your best friend! Does the pack look good to you? Does it change the blocks and items in a way you like?
- The description: Does it mention any specific features? Is it compatible with your version of Minecraft?
- The comments/reviews: What do other players think? Are there any known issues?
Don’t be afraid to download a few different ones to try out. It’s like sampling different flavors of ice cream – you never know which one will be your new favorite!
The Nitty-Gritty: Downloading and Installing (Don't Worry, It's Not Scary!)
Okay, you’ve found it! The pack that’s going to make your Nether look like a fiery paradise or your forests feel like enchanted woods. Now, how do you get it into your game? It’s surprisingly simple, I promise!

Step 1: Download the Pack
You’ll usually download the pack as a compressed file, most often a .zip file. Think of it like a neatly wrapped gift for your game. Just click that download button and save it somewhere you can find it easily, like your Downloads folder.
Pro tip: Some packs might come as .rar files. If your computer doesn't know what to do with those, you might need to download a free unarchiver program like 7-Zip or WinRAR.
Step 2: Locate Your Minecraft Resource Pack Folder
This is the magical place where all your custom textures live. The way to get there depends on your operating system:
For Windows:
The easiest way is to open Minecraft, go to the main menu, click on "Options...", then "Resource Packs...". On the Resource Packs screen, you’ll see a button that says "Open Pack Folder". Click that, and poof! You’re there!
Alternatively, you can manually navigate:
- Press the Windows key + R to open the Run dialog box.
- Type %appdata%\.minecraft\resourcepacks and press Enter.
For macOS:
- Open Finder.
- Click on the "Go" menu at the top of the screen.
- Hold down the Option (⌥) key, and "Library" will appear in the menu. Click on it.
- Navigate to: Application Support > minecraft > resourcepacks

For Linux:
- Open your file manager.
- Navigate to: ~/.minecraft/resourcepacks
Step 3: Put the Pack in the Folder
Now, remember that .zip file you downloaded? You need to move it into the `resourcepacks` folder you just opened. You don’t need to unzip it! Just drag and drop the entire .zip file into that folder. Minecraft is smart enough to know what to do with it.
Seriously, it’s that simple. No complex installations, no registry edits. Just a good old-fashioned file move. Amazing, right?
Step 4: Activate the Pack in Minecraft!
This is the moment of truth!
- Launch Minecraft (or if it’s already open, go back to the main menu).
- Click on "Options..."
- Then click on "Resource Packs..."
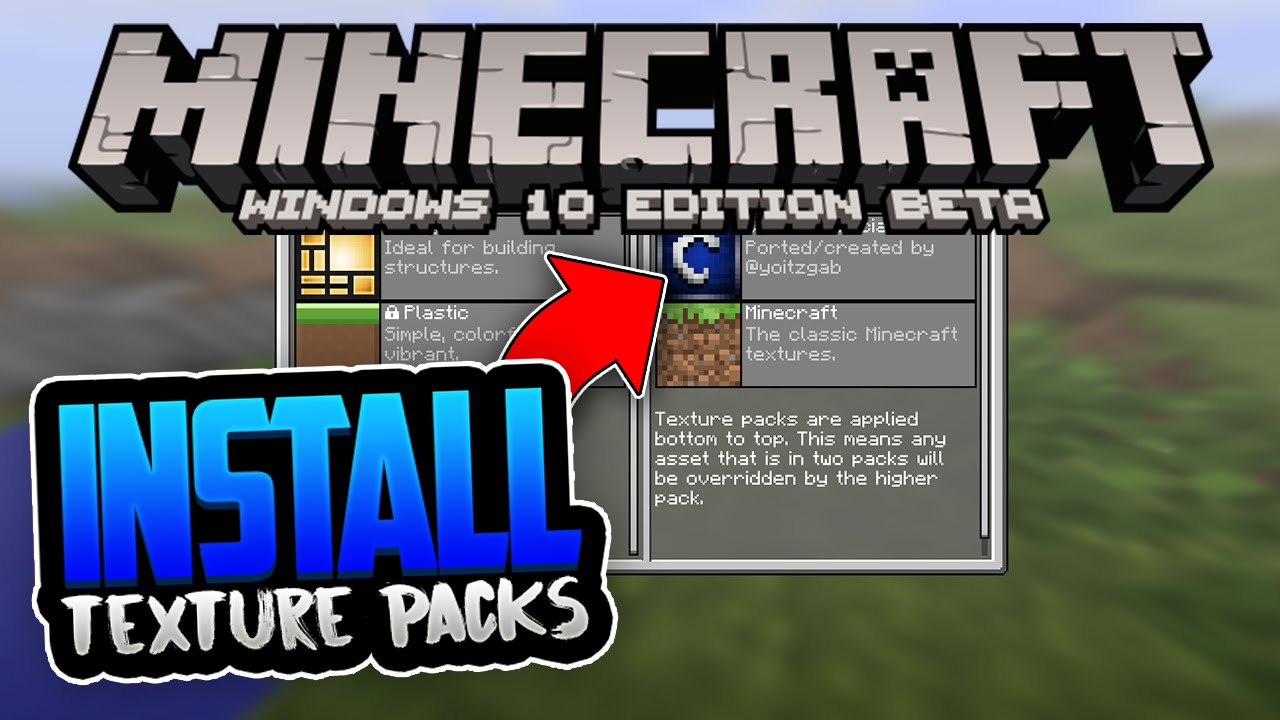
You should now see your downloaded pack listed on the left side under "Available Resource Packs". To activate it, simply hover your mouse over the pack’s icon and click the arrow that appears. This will move it over to the right side, under "Selected Resource Packs".
Important: The order of packs in the "Selected Resource Packs" list matters! If you have multiple packs active, the one at the top of the list will take precedence. This is useful if you want to mix and match parts of different packs, but for now, just focus on getting your main pack activated.
Once you’ve moved your pack to the "Selected Resource Packs" side, click the "Done" button. Minecraft will reload, and you’ll see your world transformed! Ta-da! You’ve officially joined the ranks of the texture-pack-tastic!
Troubleshooting: When Things Go a Little Wonky
Now, most of the time, this process is as smooth as butter on a freshly smelted iron block. But, sometimes, things can be a bit… fiddly. If your pack isn’t showing up, or your game is acting strange, here are a few things to check:
- Is the pack for the correct version of Minecraft? This is the most common culprit. If you’re on Minecraft 1.20 and you downloaded a pack made for 1.18, it might not work, or it might break things. Check the pack’s description!
- Did you put the .zip file directly into the `resourcepacks` folder? You shouldn’t have unzipped the main pack file. If you did, try zipping it back up (right-click the folder and select "Send to > Compressed (zipped) folder" on Windows, or similar on other OS) and putting the .zip file in the `resourcepacks` folder.
- Is the pack file corrupted? Sometimes downloads can get a bit mangled. Try re-downloading the pack from the source.
- Are you using a mod loader like Forge or Fabric? If so, some packs might require specific installations or might conflict with other mods. Usually, resource packs are pretty independent, but it's worth checking the pack's instructions if you're a mod user.
- Did you place the pack correctly inside the `resourcepacks` folder? Sometimes, the pack might be inside another folder within the .zip. The .zip file itself should contain folders like `assets` and `pack.mcmeta`. If you open the .zip and see another folder and then the `assets` folder, you might need to move the `assets` folder (and `pack.mcmeta` file) out of the extra folder and into the main pack .zip. (This sounds more complicated than it is – if you’re unsure, just try zipping the contents of that inner folder).
If all else fails, don’t be afraid to ask for help! The Minecraft community is usually super friendly and willing to lend a hand on forums or Discord servers dedicated to resource packs.
And Voilà! Your World, Reimagined!
You did it! You’ve transformed your Minecraft world from its default splendor to something truly unique and exciting. Whether you went for hyper-realistic textures that make your build look like it belongs in a photobook, or a cartoony, vibrant style that’s just pure fun, you’ve added a whole new layer of enjoyment to your gaming experience.
Remember, this is just the beginning! There are countless resource packs out there waiting to be discovered. Experiment, try new styles, and don’t be afraid to uninstall one if it doesn’t quite hit the mark. The beauty of resource packs is their fluidity – you can change your world’s look as often as you change your armor!
So go forth, my friends! Explore your newly beautified worlds, build magnificent structures that are now even more visually stunning, and enjoy the fresh perspective that a great resource pack can bring. Happy crafting, and may your pixels always be perfect!