
How To Assemble A Metal Carport
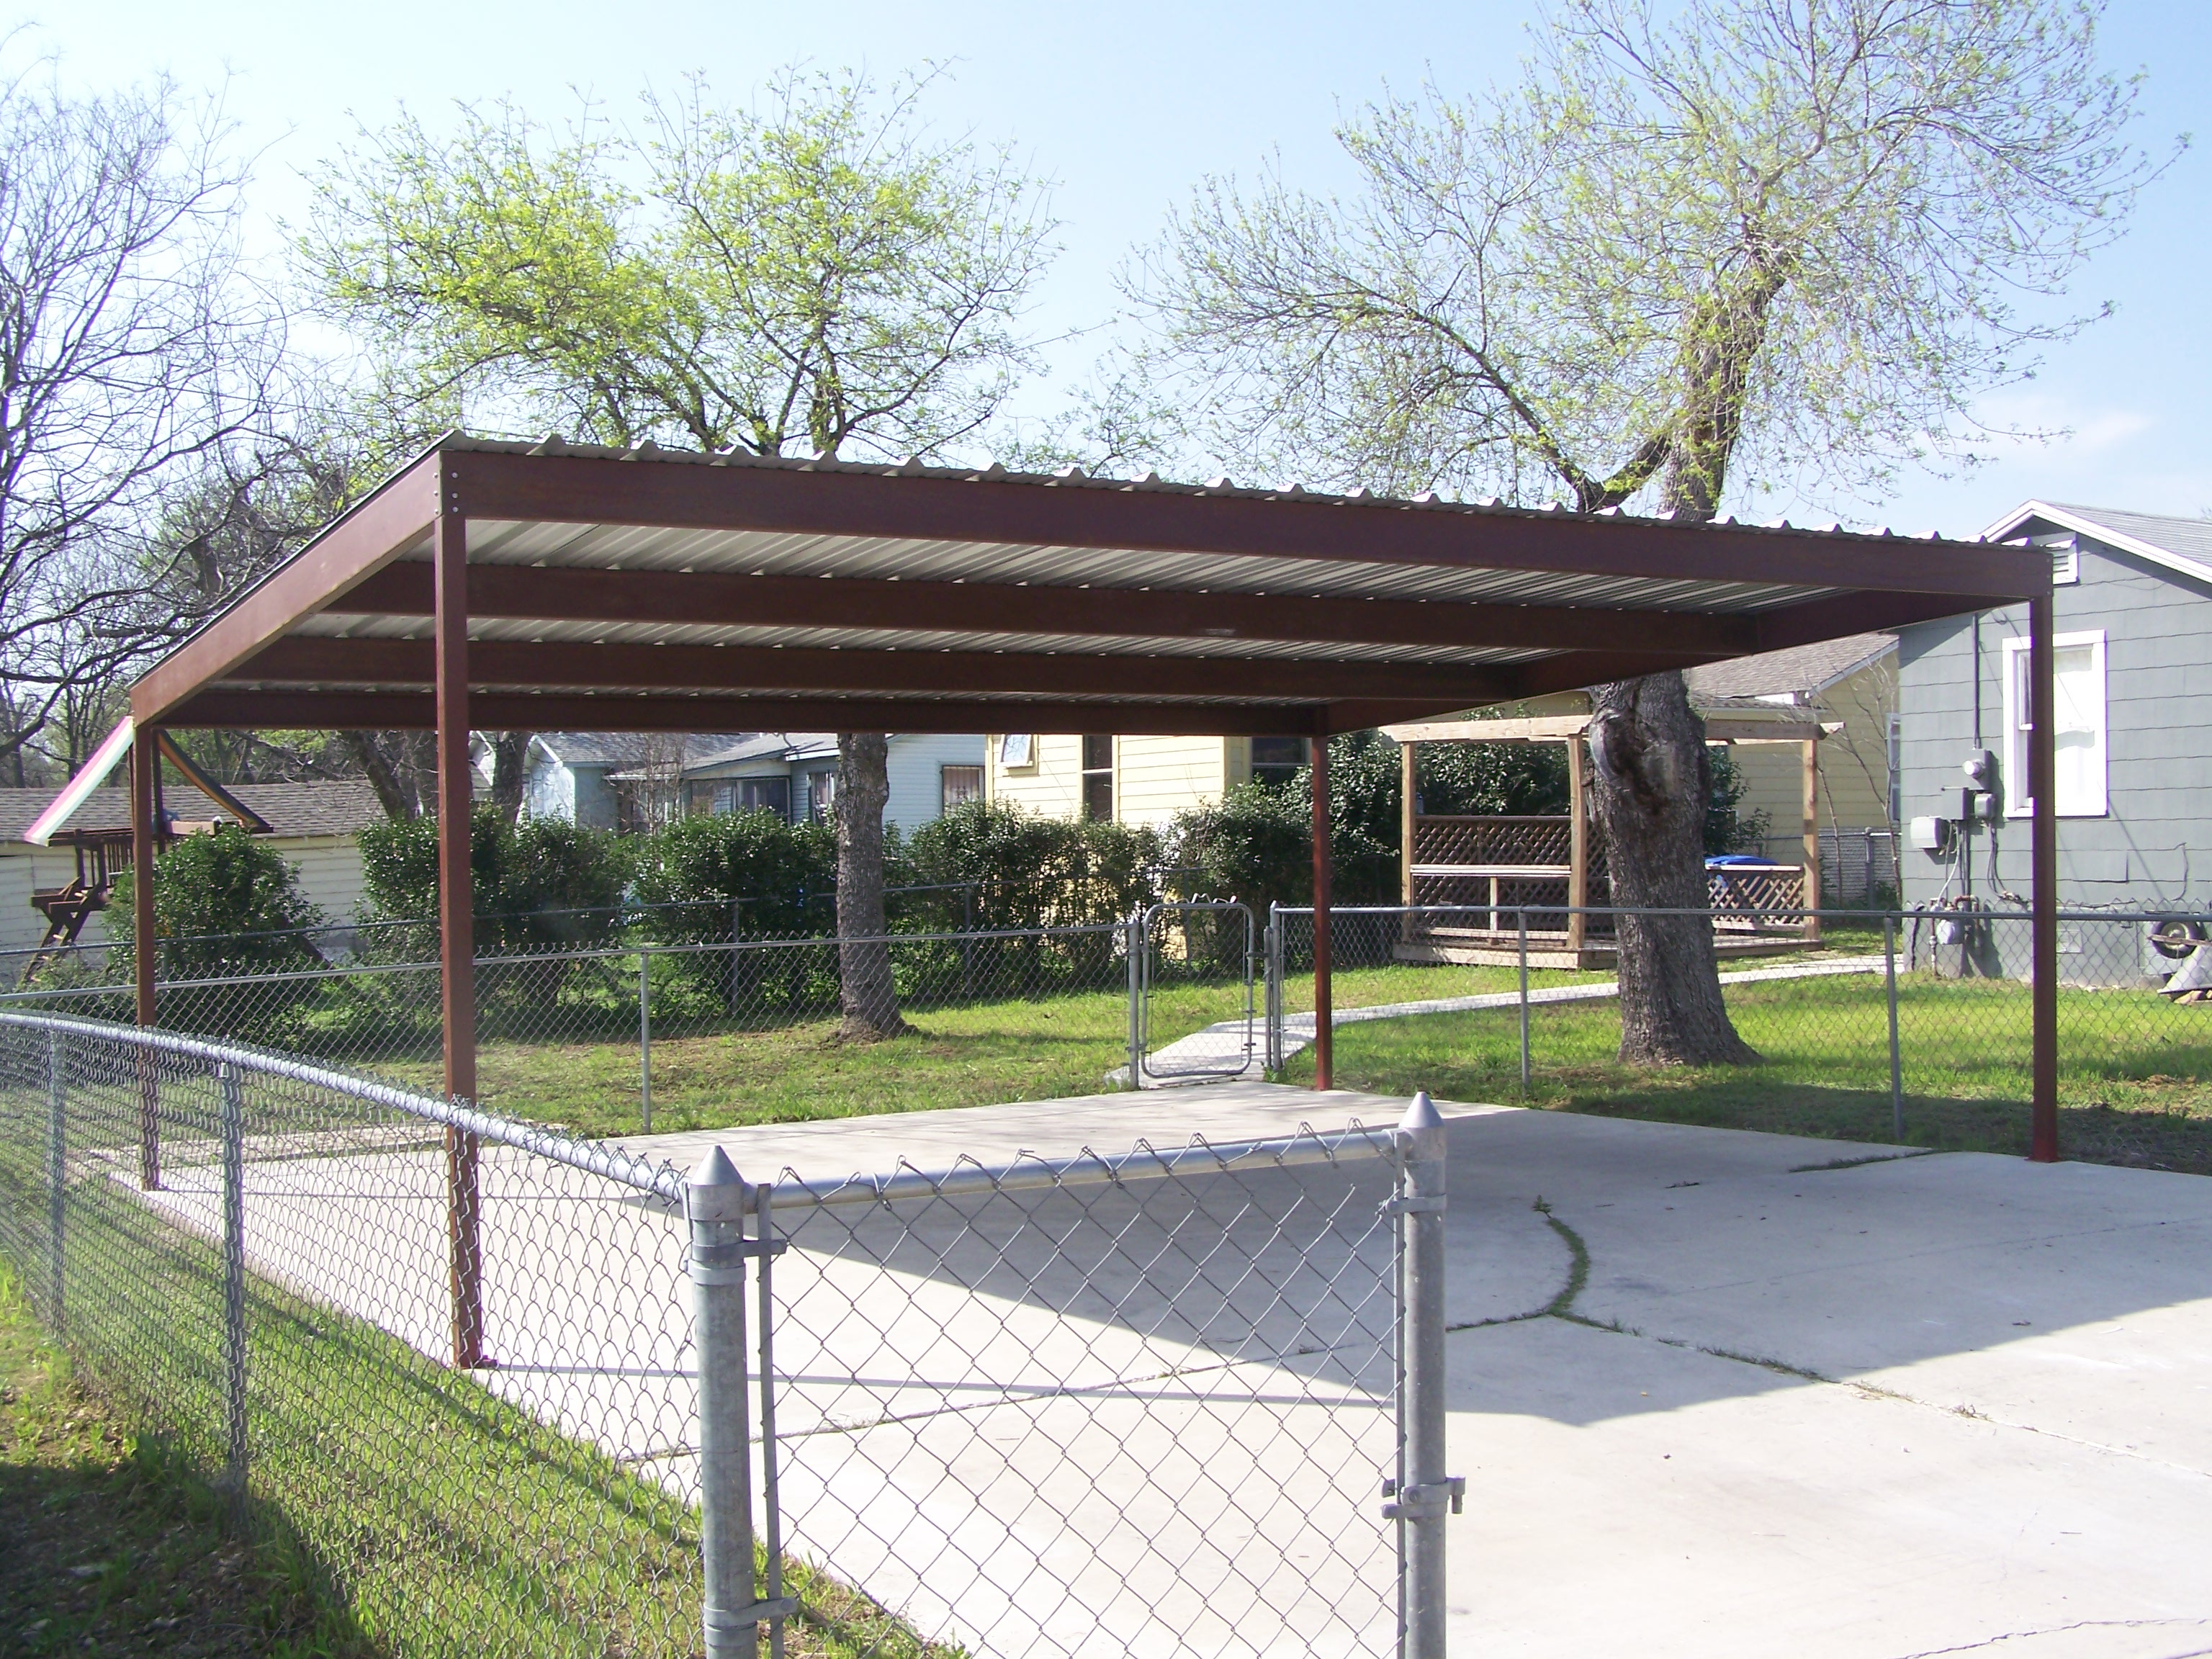
So, you've decided to give your trusty four-wheeler a little more love. Maybe it's your weekend warrior, your daily commuter, or that vintage beauty you're slowly bringing back to life. Whatever its role, keeping it shielded from the elements feels… well, right. And what's better than a sleek, sturdy metal carport to do the job? Forget those dusty garages that smell faintly of forgotten lawnmowers and Christmas decorations. We're talking modern, minimalist, and frankly, a bit of a brag-worthy addition to your property.
Now, the idea of assembling a metal carport might sound about as appealing as a surprise tax audit. Visions of confusing diagrams and a sea of nuts and bolts might be dancing in your head. But hold up. With a little chill, a dash of planning, and some seriously straightforward steps, you'll be channeling your inner MacGyver in no time. Think of it as a grown-up Lego set, but with a much more practical payoff. Plus, it's a fantastic weekend project, especially if you're aiming for that "DIY King/Queen" title within your social circle.
Let’s break it down, shall we? We’re not here to lecture; we’re here to guide you through this with a smile and maybe a well-placed emoji. This isn't rocket science, folks. It's metal, it's assembly, and it's going to make your life so much easier.
Pre-Flight Checks: The Zen Before the Zest
Before you even think about unwrapping those shiny metal panels, let’s get our ducks in a row. This is where the real magic happens – the planning phase. It’s like prepping for a killer playlist; the foundation is everything.
1. Location, Location, Location (and Permit, if needed!): First things first, where is this bad boy going to live? Think about drainage – you don't want your car parked in a miniature swamp. Also, consider sunlight (for shade, obviously!) and accessibility. Is it easy for you to pull in and out? Does it block any essential pathways? And critically, check with your local municipality about permits. Some areas are super chill, others… less so. A little heads-up can save you a lot of headaches. Think of it as a friendly chat with your local government before they even know you're building something awesome.
2. Kit Contents: The Treasure Map: Most carports come in a kit, which is a beautiful thing. Unpack everything. Lay it all out. Use the instruction manual (yes, that thing!) as your treasure map. Count every piece. Every. Single. One. If something’s missing, contact the manufacturer before you start sweating. Nobody wants to be halfway through and realize a crucial beam is AWOL. It’s like finding out you’re missing a vital ingredient for your signature dish – disaster!
3. Tools of the Trade: Your Trusty Sidekicks: You won’t need a full workshop for this, but a few essentials will make life a breeze. Generally, you’ll need a ladder (sturdy, please!), a drill with appropriate bits (think Phillips head and socket wrenches), a level (your new best friend for straight lines), a tape measure, safety glasses (protect those peepers!), and gloves (metal can be sharp, and nobody wants a papercut on a Saturday afternoon). If you have a helper, even better! Two heads, four hands… much faster and safer.

4. The Weather Report: Mother Nature’s Mood: This is non-negotiable. Check the forecast. You do NOT want to be wrestling with metal beams in a downpour or a gale. A clear, calm day is your golden ticket. Aim for a weekend with good vibes and even better weather. Think of it as scheduling your DIY adventure to align with nature’s approval.
The Assembly Aria: Building Your Sanctuary
Alright, the prep is done. You're feeling good. The tools are ready. Let's get building! We’ll break this down into the main stages, making it feel less like a marathon and more like a series of manageable sprints.
Stage 1: The Foundation (The Grounding)
This is where your carport gets its roots. Depending on your kit and the ground you're working with, this might involve anchoring the legs directly into the ground, or it might require pouring concrete footings. Always follow the manufacturer's instructions for this part. It’s the difference between a sturdy structure and a wobbly disappointment.
If you're pouring concrete, ensure it's level and has enough time to cure properly. This is the boring but essential bit. Imagine it like letting your sourdough starter bubble up; patience is key for a great outcome. For less permanent solutions, ground anchors are often used. Just make sure they're sunk deep and securely.
Fun Fact: Did you know that ancient Romans used concrete in their buildings? Some of their structures are still standing after 2,000 years! So, while your carport might not last quite that long, the principle of a solid foundation remains timeless.
Stage 2: The Frame Work (The Skeleton)
Now for the fun part! You'll start connecting the main structural beams. This is where your drill and your helper really shine. These pieces are often labeled, so match them up like you’re connecting the dots. Use the provided bolts and screws, and don’t overtighten them just yet. Leave them a little loose so you have some wiggle room to adjust things as you go.
The key here is sequence. The instructions will guide you, but generally, you'll be building the main upright supports first, then connecting them with the horizontal beams that will form the roof structure. A level is crucial here. If your frame isn’t square and plumb, the rest of the assembly will be a nightmare. Think of it as tuning a guitar; everything needs to be just right before you start strumming.
Pro Tip: As you connect pieces, periodically step back and take a look. Does it look straight? Are the angles right? A quick visual check can catch potential issues before they become big problems. It’s like proofreading an email before you hit send.

Stage 3: The Roof Panels (The Capping)
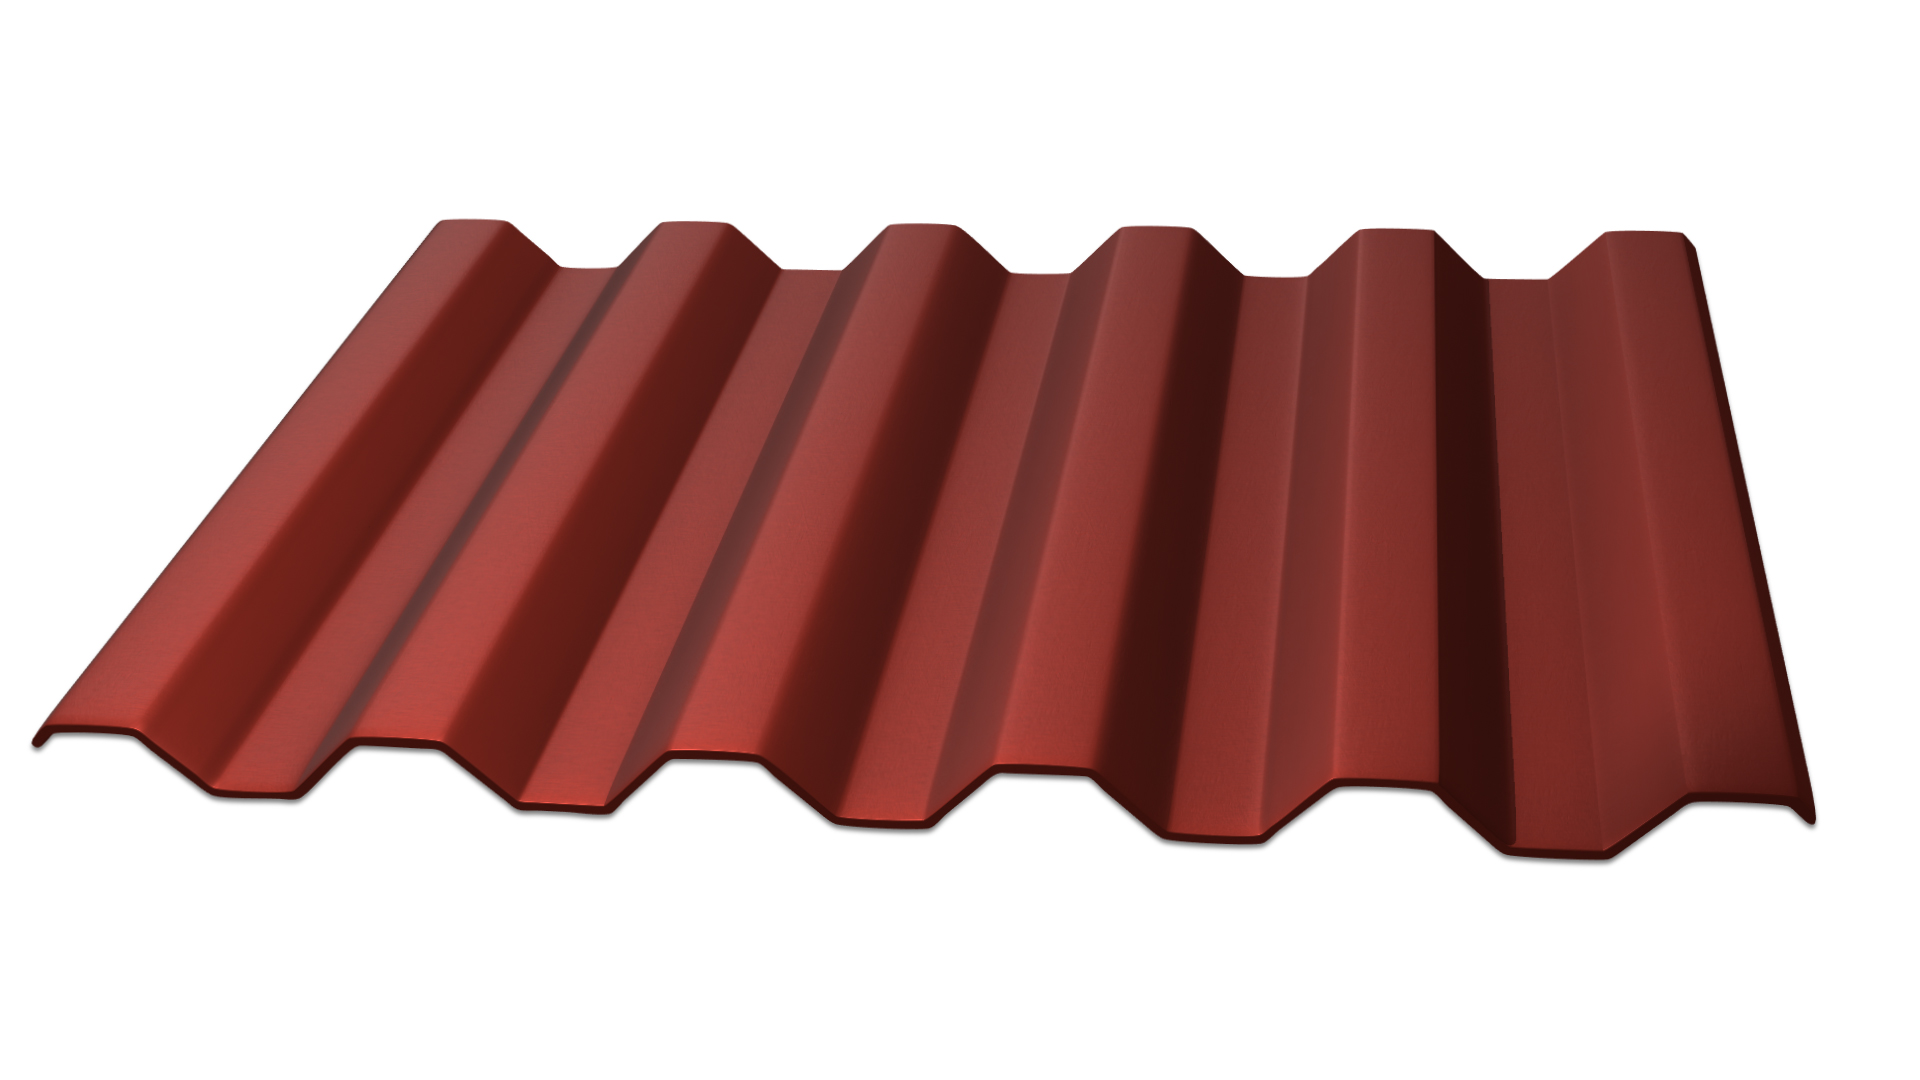
This is where your carport starts to look like, well, a carport! The roof panels are usually the longest pieces and will attach to the frame you’ve just built. Again, follow the order in the instructions meticulously. These panels often overlap, creating a waterproof seal.
You might need to hold panels in place while someone else secures them. This is where teamwork truly pays off. If you’re doing it solo, use clamps or even some strategically placed heavy objects to temporarily hold panels steady. Be mindful of wind at this stage; you don't want a rogue panel taking flight!
Cultural Nod: Think of this stage like building a giant, practical Jenga tower, but with screws. The goal is stability and a satisfying click as each piece locks into place.
Stage 4: The Final Touches (The Polish)
Once the roof is on, you're nearly there! This stage usually involves securing any extra bracing, adding decorative trim (if your kit has it), and making sure everything is tight. Go back over all the bolts and screws and give them a final tightening. Don't go crazy, but ensure everything is snug and secure. This is the moment of truth – the stress test before the elements!

Important Note: Most carports have specific instructions for securing them to the ground. This is vital for wind resistance. Don't skip this. Your car (and your carport!) will thank you.
Beyond the Build: Living with Your New Sanctuary
Congratulations! You've done it. You've built a metal carport. Take a moment to admire your handiwork. You’ve not only protected your vehicle but also added a functional, stylish element to your property. Imagine pulling under it on a rainy day, the drumming of water on metal a soothing rhythm, knowing your car is perfectly dry and safe. It’s a small win, but these are the wins that make life feel a little bit sweeter.
This new addition isn’t just about shelter; it's about a subtle shift in your daily routine. No more scraping ice off your windshield on a frosty morning. No more dealing with a sun-baked steering wheel in the height of summer. It’s about convenience, protection, and a touch of modern elegance that elevates your everyday.
Think about the weekends ahead. More time for leisurely drives, less time for car maintenance dictated by the weather. This carport is a quiet testament to your ingenuity, a practical piece of art that serves a purpose. It’s a reminder that even seemingly complex tasks can be broken down and conquered, leaving you with a sense of accomplishment and a tangible benefit.
So, go ahead, park that car with pride. You’ve earned it. And who knows, maybe this DIY triumph will inspire your next weekend project. Perhaps a matching garden shed, or a snazzy patio cover? The possibilities are as vast as the open sky your new carport now shields you from.