How To Build A Lean To Off A Metal Shed
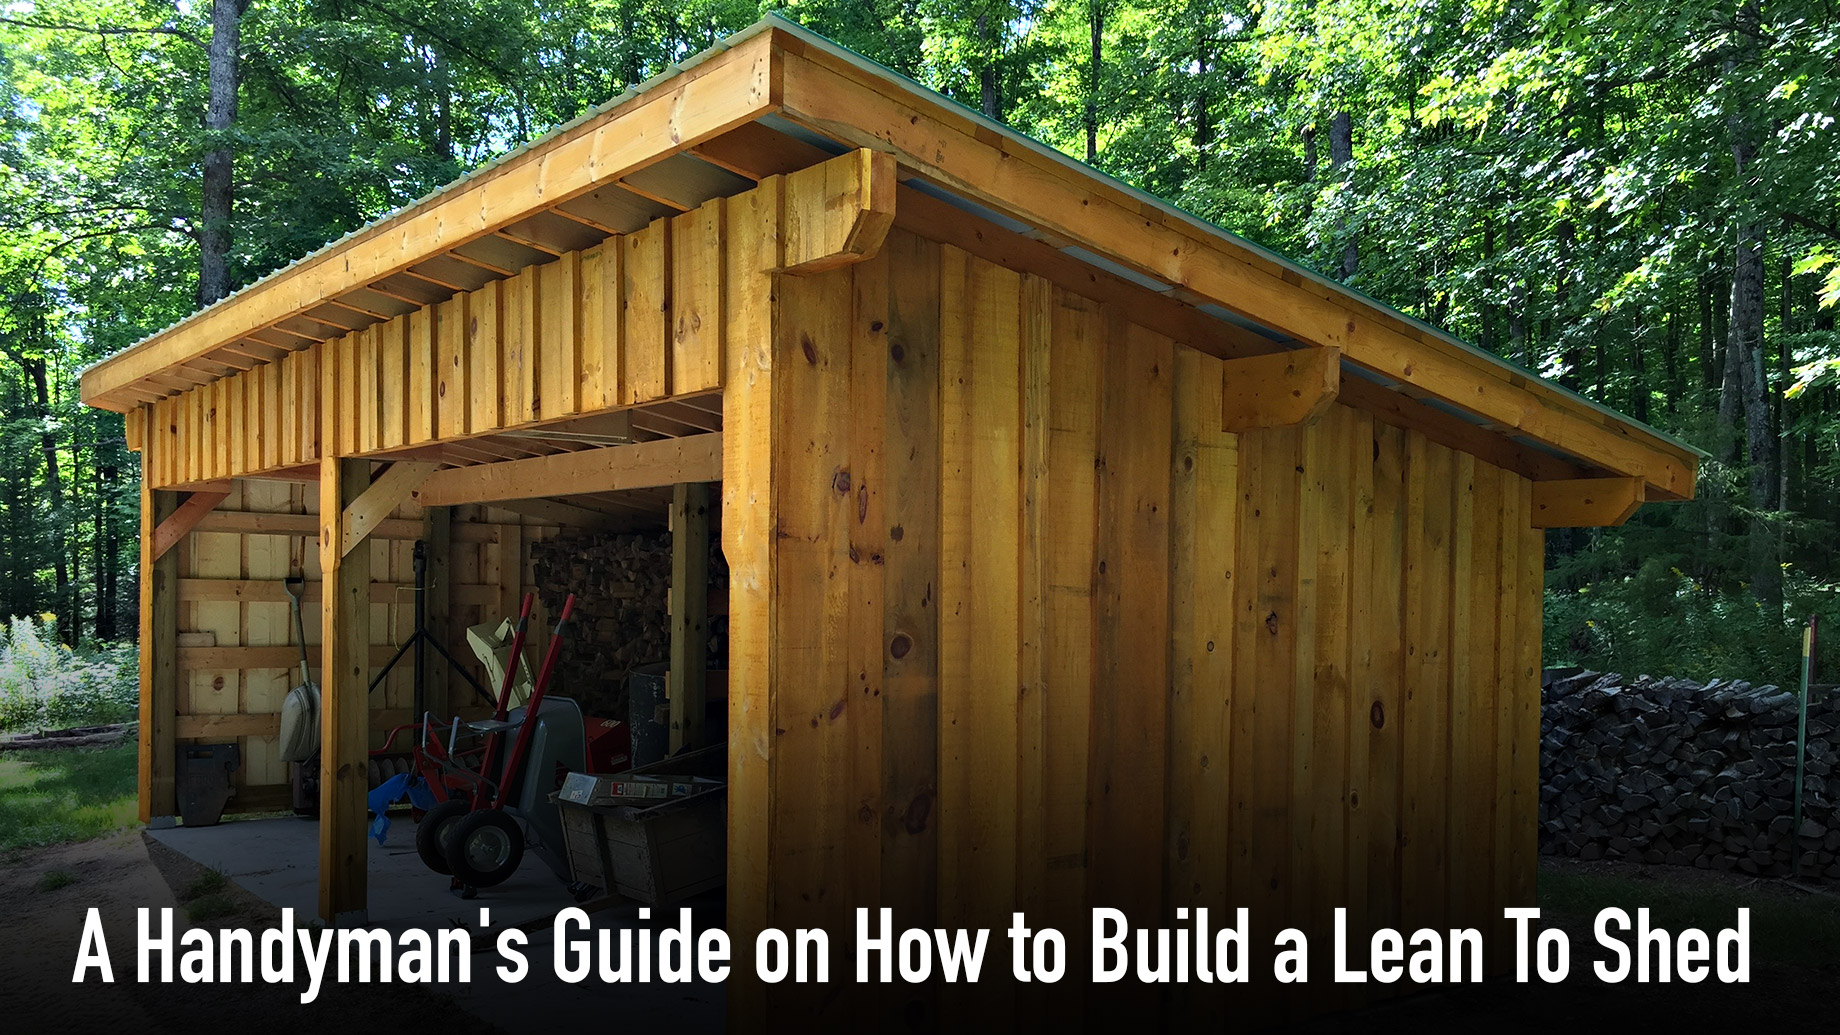
Alright, gather ‘round, you intrepid DIY-ers and shed-addicts! We’ve all been there. You’ve got this magnificent metal beast, your shed, probably housing more lawn gnomes and questionable gardening tools than actual gardening equipment. It’s sturdy, it’s sleek, and let’s be honest, it’s probably a lovely shade of battleship grey. But as the seasons march on, you start thinking, “This magnificent structure… it needs a sidekick. A lean-to, if you will!”
And why wouldn’t you? A lean-to is like the shed’s best friend. It’s the shed’s bodyguard against rogue branches, its personal sunshade, its extra storage space for things you might need someday (like that half-empty can of paint from 1998). Plus, it adds a certain je ne sais quoi to your backyard. Suddenly, your shed isn't just a storage unit; it’s a miniature compound, a testament to your burgeoning architectural prowess!
Now, before you start picturing yourself hacking away with a chainsaw and a prayer, let’s get down to brass tacks. Building a lean-to off a metal shed is totally doable. Think of it as giving your shed a little architectural hug. A sturdy, functional, and surprisingly attractive hug.
The Grand Plan: What Are We Even Doing Here?
First things first: planning. Yes, I know, it sounds as exciting as watching paint dry, but trust me, a little forethought here can save you a whole lot of “oh-dear-god-what-have-I-done” later. We’re essentially going to attach a new structure to the side of your existing shed, creating an open, covered space. It’s like giving your shed an extension cord, but for shelter.
Think about why you want this lean-to. Is it for your precious bicycle collection? For that perpetually damp set of garden chairs? Or maybe you just want a cozy spot to enjoy your morning coffee, shielded from the elements and the judgmental stares of neighborhood squirrels? Your purpose will dictate the size, shape, and materials.
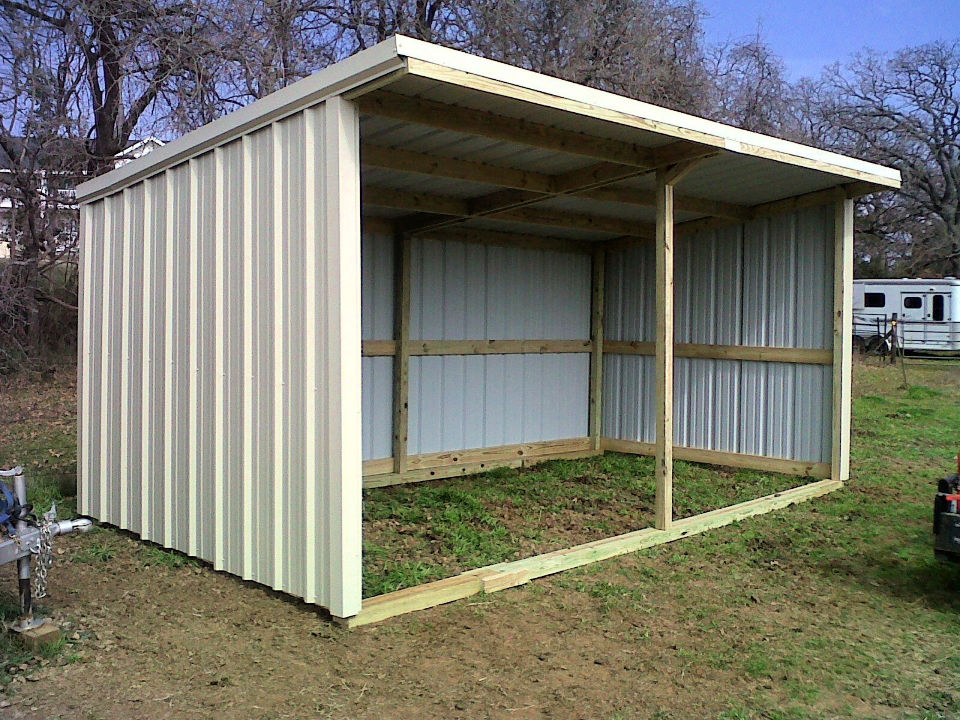
And speaking of materials, let’s not get ahead of ourselves. We’re not building a solid gold extension here. For a lean-to, you’re generally looking at some sturdy wooden posts (think 4x4s or 6x6s, the muscle-bound lumber of the construction world), some horizontal beams (these are the guys that connect the posts and support the roof), and then your roofing material. For the roofing, metal sheeting is a popular choice, and for good reason. It’s durable, relatively lightweight, and frankly, it matches your shed’s vibe. It’s like the shed and its lean-to are wearing matching outfits. Très chic!
Step 1: The Humble Foundation (Don’t Skip This!)
This is where we get our hands dirty, literally. You need to set your support posts. Imagine these posts as the shed’s new legs. They need to be firmly planted. We're talking digging holes, people. And not just a little poke with a trowel. You’ll want them to be deep enough to go below the frost line in your area, or at least deep enough that a rogue gust of wind won’t send your new lean-to tumbling like a deck of cards in a hurricane. A good rule of thumb is about one-third of the post’s length buried.
Once those holes are dug (and let’s face it, this is where your new appreciation for a good shovel is born), you’ll want to mix up some concrete. Now, I’m not saying you need to be a concrete alchemist, but a decent mix will ensure your posts stand tall and proud for years to come. You can buy pre-mixed bags, which is like a DIY cheat code. Just add water and stir! Think of it as making cement smoothies for your shed.
Place your posts in the holes, ensuring they are perfectly plumb (that’s fancy builder talk for perfectly vertical). Use a level, or just squint really hard and hope for the best. Then, fill those holes with your concrete. Give it a good tamp to get rid of air bubbles – nobody likes a bubbly foundation. And then? Patience. Concrete needs time to cure. It’s like letting a fine wine age, except much more… gritty.
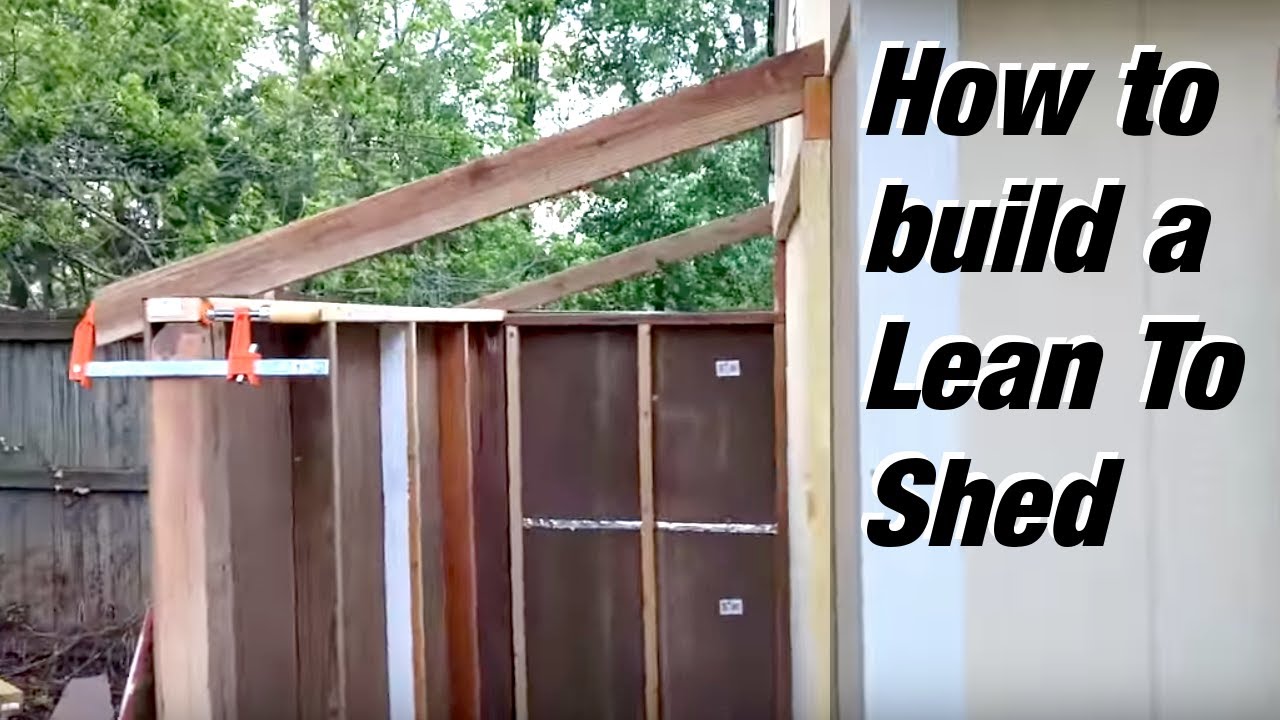
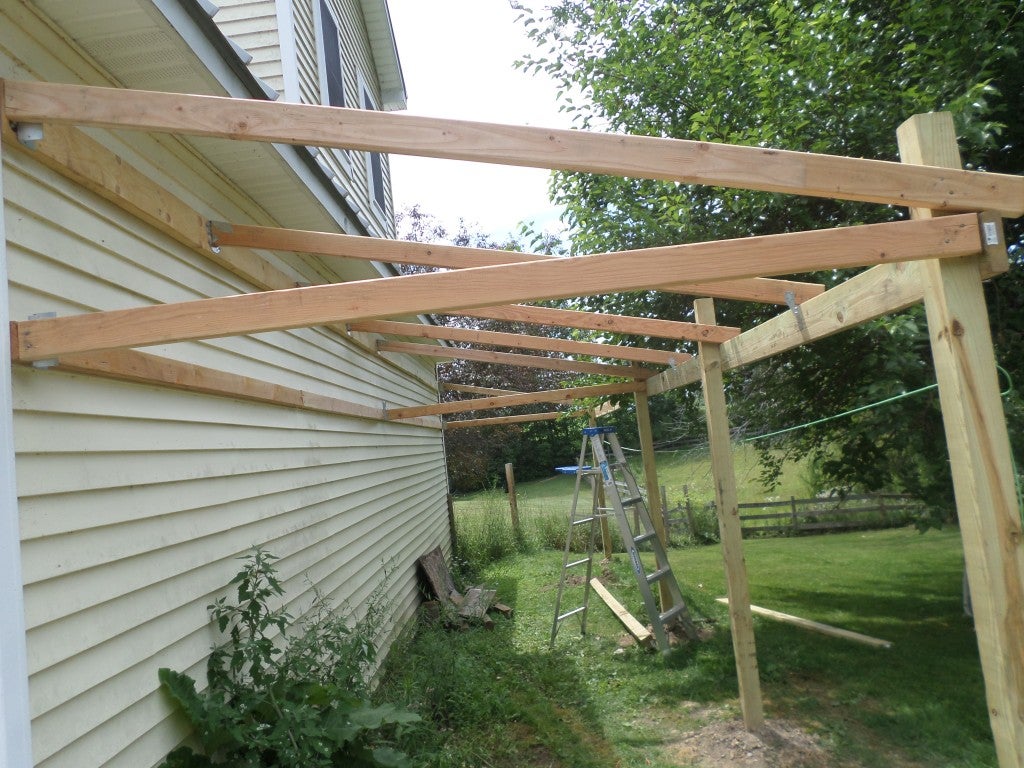
Step 2: Connecting the Dots (The Beams and Rafters)
Once your concrete is solid enough to withstand a small earthquake (or at least a strong breeze), it’s time to attach the beams. These are the horizontal heroes that will run from your posts to the shed wall. You’ll need to figure out the height of your lean-to and mark your beams accordingly. Aim for a slight slope for water runoff – you don’t want a mini-swimming pool forming on your roof, do you? Unless you’re planning on housing miniature synchronized swimmers, probably not.
Attaching these beams to your shed wall requires a bit more finesse. Metal sheds can be tricky. You might need to drill through the corrugated metal and use sturdy lag bolts or specialized brackets. This is where you might need to get a little creative. Think of it as a jigsaw puzzle, but with power tools and a higher risk of electrocution if you’re not careful. Safety first, folks! Always disconnect power, wear your safety glasses, and maybe a helmet, just in case.
Next come the rafters. These are the angled pieces that run from your beams to your shed’s roof line, creating the slope for your new roof. They'll sit on top of your beams and connect to the shed’s top edge. Again, use your trusty level and make sure everything is square and true. You’re building a roof, not a Rube Goldberg machine. Though, a Rube Goldberg machine roof would be pretty entertaining, wouldn’t it?

Step 3: The Crowning Glory: The Roof!
Now for the part that separates your lean-to from just… a very elaborate shade structure. The roofing. As I mentioned, metal sheeting is a popular choice. It’s durable, weather-resistant, and relatively easy to install. You’ll want to start at the bottom and work your way up, overlapping the sheets to prevent leaks. It’s like shingling, but with more… clanging.
You'll need to use the appropriate screws with rubber washers. These little guys are crucial because they create a watertight seal. Imagine them as tiny, personal umbrellas for every screw hole. And don’t forget to cut your roofing to size. Unless you want a roof that looks like a saggy, ill-fitting hat, precision is key.
Consider adding a gutter. It’s not strictly necessary, but it will help direct water away from your foundation and prevent mudsplashes. Plus, it adds a touch of sophistication. Who doesn’t want a sophisticated lean-to? It’s practically a garden penthouse.
Step 4: Finishing Touches and Future Dreams
And there you have it! Your very own lean-to, attached to your trusty metal shed. You’ve conquered the concrete, wrangled the beams, and crowned your creation with a glorious roof. Now for the fun part: customization!
You can add walls if you want more enclosure (using siding, plywood, or even more metal sheeting). You can paint it to match your house, or go wild with a contrasting color. You can add lighting for those evening projects, or even a small workbench for your tinkering endeavors. The possibilities are as vast as your imagination and as limited as your budget (sadly, usually the latter).
So, go forth and lean! Your shed will thank you. Your gardening tools will thank you. And who knows, you might just discover a hidden talent for construction that rivals the ancient Egyptians. Just remember, if all else fails, you can always tell people it’s an avant-garde art installation. They’ll never know the difference.