
How To Calculate Uncertainty For A Test Tube

Hey there, lab explorers and curious minds! So, you’ve been dabbling in the wonderful world of science, maybe measuring out some mysterious liquids, and you’ve stumbled upon a question that’s probably made your brow furrow in concentration: “How do I even begin to figure out the uncertainty in my test tube measurements?”
Don't sweat it! It sounds fancy, a little intimidating even, but trust me, it’s not rocket science (though sometimes we are dealing with rocket fuel, wink wink). Think of uncertainty as science’s way of saying, "Hey, I'm pretty sure about this, but I'm not perfectly sure, and that's totally okay!" It’s like when you tell your friend you'll be there “around 7,” not "exactly at 7:03:15 PM." We’re all human (and so are our measuring tools!).
So, let’s dive into the nitty-gritty of test tube uncertainty. We’ll keep it super chill, like a lab coat party with no actual lab coats. Grab your imaginary safety goggles, and let’s get this beaker bubbling!
Why Bother With Uncertainty Anyway?
Before we start measuring, let’s ask ourselves: why are we even doing this? Is it just to annoy students and make lab reports longer? Nope! (Well, maybe a little bit sometimes, but that’s not the main reason.)
Uncertainty is all about being honest about your results. Imagine you're baking a cake, and the recipe calls for 2 cups of flour. If you scoop and dump, you might end up with 1.8 cups, or maybe 2.2 cups. That little bit of wiggle room? That's the uncertainty!
In science, especially in experiments, understanding this wiggle room is crucial. It tells you the reliability of your measurements. It helps you decide if two results are actually different, or if the difference is just due to the inherent fuzziness of your tools.
Think about it: if you’re trying to see if a new fertilizer makes plants grow taller, and you measure your control plant at 10 cm and your fertilized plant at 11 cm, you might think, "Hooray, it worked!" But what if the uncertainty in your measurement is ±1 cm? That means your control plant could actually be anywhere between 9 cm and 11 cm, and your fertilized plant between 10 cm and 12 cm. They could be almost the same height!
So, uncertainty is your trusty sidekick in the quest for accurate and meaningful scientific conclusions. It prevents us from making claims that are too bold and ensures we’re not fooling ourselves (or others!).
The Humble Test Tube: Your Measurement Friend (and Foe?)
Now, let’s talk about our star of the show: the test tube. These little glass wonders are super useful for holding small amounts of liquids, mixing things up, and sometimes, just looking pretty on a shelf. But when it comes to precise measurement? Well, they’re not exactly a fancy volumetric flask.
Test tubes aren't designed for super-accurate volume measurements. They usually have markings on them, sure, but these are often just rough guides. Think of them as suggestions, not commandments from the measurement gods. If you need to measure out 5.00 mL of something with extreme precision, a test tube is probably not your first choice. A graduated cylinder or a pipette would be better.
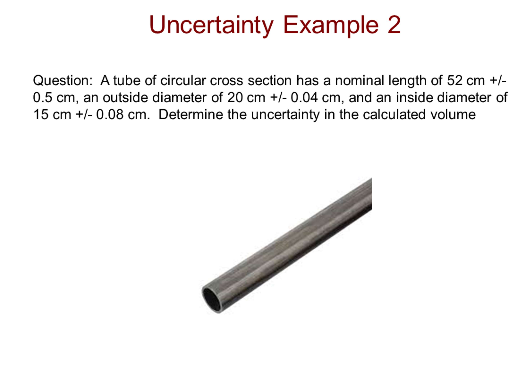
However, in many introductory labs, or for quick estimations, a test tube with markings is what you'll have. And that's perfectly fine! We just need to be aware of its limitations and how to account for them. It’s like using a butter knife to spread jam when you really need a palette knife for delicate pastry work. It gets the job done, but with a bit less finesse.
The Quest for the "Reading" Uncertainty
Alright, let’s get down to business. When you look at the liquid level in a test tube with markings, you're making a "reading." And every reading has some uncertainty associated with it. The biggest culprits here are:
- The quality of the markings: Are they thick, smudged, or faded? If so, it’s harder to pinpoint the exact line.
- The meniscus: This is that little curve the liquid makes at the surface. For most liquids (like water), it curves downwards. You have to decide where to read it – the bottom of the curve, the top? This is a subjective choice.
- Your own eyeballs: Let's be honest, our eyes aren't perfect measuring instruments. We might parallax error (looking from an angle) or just not be able to discern the tiny gap between lines.
So, how do we quantify this fuzziness? The most common way to estimate the uncertainty of a reading from a scale (like the markings on a test tube) is to say it’s half of the smallest division.
Let’s say your test tube has markings every 1 milliliter (mL). The smallest division is 1 mL. So, your uncertainty would be 1 mL / 2 = 0.5 mL. This means if you read 7 mL, the actual volume is probably somewhere between 6.5 mL and 7.5 mL. Pretty straightforward, right?
But Wait, There's More! (The "Calibration" Uncertainty)
Beyond just reading the markings, there’s another layer of uncertainty: the uncertainty of the markings themselves. The manufacturer of the test tube also had some uncertainty when they put those lines on. This is called the calibration uncertainty.
For a typical, everyday test tube that’s not designed for super-high precision, this calibration uncertainty is usually a bit tricky to determine precisely. Often, for simplicity in introductory settings, we might assume the calibration uncertainty is roughly the same as the reading uncertainty, or we might simply focus on the reading uncertainty as the dominant source of error for this type of glassware.
However, if you were using more precise glassware, like a volumetric flask or a graduated cylinder, it would often come with a tolerance rating from the manufacturer. This rating tells you how accurate that particular piece of glassware is supposed to be. For example, a 100 mL Class A volumetric flask has a tolerance of ±0.20 mL. This is much smaller than the reading uncertainty you’d get from just eyeballing a scale.
For our humble test tube, let’s assume for now that the reading uncertainty is our primary concern.

Putting It Into Practice: A Step-by-Step Guide (with Jokes!)
Okay, enough theory! Let’s get our hands dirty (metaphorically, of course). Imagine you’ve got a test tube with markings every 0.5 mL. You’ve just poured some mysterious blue liquid into it, and you need to measure the volume.
Step 1: Identify the Smallest Division
Look closely at your test tube. What’s the smallest gap between two marked lines? In our example, it’s 0.5 mL. This is your starting point for greatness!
Step 2: Calculate the Reading Uncertainty
Remember the rule: half the smallest division. So, for our test tube:
Uncertainty = 0.5 mL / 2 = 0.25 mL
Ta-da! You’ve just calculated the uncertainty of a single reading from this test tube. It means that no matter what number you read on the scale, the true volume is probably within ±0.25 mL of that reading. It’s like saying, "I think it's 5 mL, but it could be anywhere between 4.75 mL and 5.25 mL."
Step 3: Make Your Reading (The Art of the Meniscus!)
Now, look at the liquid level. Pay attention to the meniscus. For water-like substances, it dips down in the middle. You want to read the bottom of the curve. If the bottom of the curve sits exactly on a line, you read that line. If it’s somewhere between two lines, you need to make your best educated guess.
Let’s say the bottom of the meniscus looks like it’s sitting almost exactly on the 5 mL mark. You'd read this as 5.0 mL. We add that extra decimal place to show we’re trying to be as precise as the scale allows. If it looks like it’s halfway between 5 mL and 5.5 mL, you might read it as 5.25 mL (again, trying to be precise).
Important Tip: Always try to view the meniscus at eye level. If you look from above, the liquid will appear lower than it is (paralax error – the arch-nemesis of accurate readings!). If you look from below, it will appear higher. Be a detective, get down to their level!
Step 4: Report Your Measurement with Uncertainty!
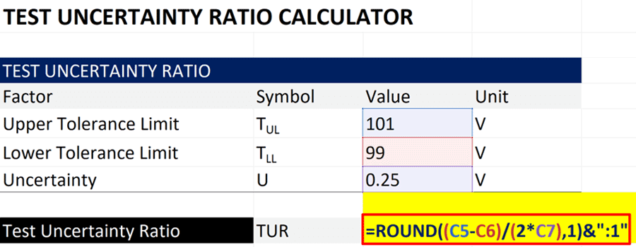
This is where you shine! You don’t just say "I measured 5 mL." You say, "I measured 5.0 mL ± 0.25 mL."
This tells everyone:
- The actual measured value (5.0 mL).
- The estimated uncertainty (± 0.25 mL).
It’s like saying, "My height is 5 feet 10 inches, but give or take an inch because I haven't had my morning stretch yet!"
What If the Markings Aren't So Clear?
Ah, the classic “smudged test tube” scenario. Sometimes, the markings on a test tube are not as neat and tidy as we’d like. If the lines are thick, faded, or a bit wonky, it becomes harder to define the "smallest division" accurately.
In such cases, you might need to make a more conservative estimate of your uncertainty. Instead of rigidly sticking to "half the smallest division," you might say, "This line is so thick, I'm honestly not sure if it's at 5 mL or 5.2 mL. So, let's say my uncertainty is ±0.5 mL."
It’s about being practical and honest. If the tool is being a bit of a diva, you adjust your expectations. It’s like trying to draw a perfectly straight line with a crayon – it’s going to be a bit wobbly, and that’s okay!
Multiple Measurements: The More, The Merrier (Usually!)
Sometimes, you need to measure the same thing multiple times. Maybe you're filling up several test tubes, or you're just double-checking your work.
When you take multiple readings, the uncertainty can sometimes be refined. The most common way to do this is to calculate the standard deviation of your measurements. But for a simple test tube measurement, especially in an introductory setting, you might simply use the uncertainty from a single reading, or a slightly larger, more conservative estimate if your readings vary a lot.
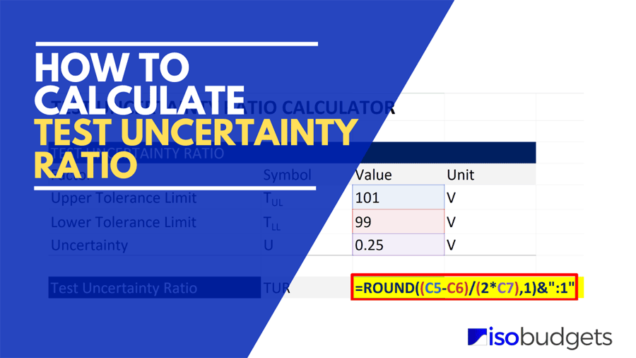
Another common scenario is when you're adding or subtracting volumes. If you add liquid from one test tube (say, 5.0 mL ± 0.25 mL) to another (say, 3.0 mL ± 0.25 mL), the uncertainties add up! The total volume would be 8.0 mL, and the new uncertainty would be the sum of the individual uncertainties: 0.25 mL + 0.25 mL = 0.5 mL. So, the total volume is 8.0 mL ± 0.5 mL.
It’s like collecting compliments: if one person says you’re great (± a little bit), and another person says you’re awesome (± a little bit), the total amount of "greatness" you’ve received is more! But the certainty about the exact amount of greatness is a bit lower because of all those individual "littles."
When NOT to Overthink It
Now, before you go crazy calculating uncertainty for every single thing you do, remember the context! If you're just doing a quick visual comparison, or if the experiment’s goal isn’t super sensitive to small volume variations, then a rough estimate of uncertainty is probably just fine.
For many simple experiments using test tubes, the uncertainty of ± half the smallest division is perfectly acceptable. It shows you understand the concept without getting bogged down in excessive calculations.
The key is to ask yourself: “Does this level of precision matter for my experiment?” If the answer is "probably not," then don't spend your precious brain cells stressing over it. Go enjoy the fun parts of science!
The Uplifting Conclusion: You've Got This!
See? Calculating uncertainty for a test tube isn't some dark, mysterious art reserved for advanced scientists with giant calculators and stern expressions. It’s a practical, logical step in understanding the reliability of your measurements.
By understanding the limitations of your tools (like our trusty, but not-so-precise, test tube) and by following a simple rule (half the smallest division!), you can accurately represent your findings. You’re not just reporting a number; you’re reporting a number with context, with honesty, and with a touch of scientific humility.
So, the next time you pick up a test tube and look at those markings, don't feel overwhelmed. Feel empowered! You're not just a scientist; you're a scientist who understands the beautiful wiggle room that makes science so wonderfully real. Go forth and measure with confidence, and remember, even a wobbly measurement tells a story!