
How To Clean A Scorched Stainless Steel Pot
Ah, the stainless steel pot. Our trusty sidekick in the culinary adventures, the silent witness to countless delicious meals. But let's be honest, sometimes our enthusiasm for whipping up a gourmet feast gets the better of us, and whoopsie – we’ve got a scorched situation on our hands. That stubborn, blackened residue at the bottom looks like a modern art installation gone wrong, doesn't it? Fear not, fellow kitchen warriors! Today, we're diving into the surprisingly simple, almost Zen-like process of rescuing your beloved pot from its burnt fate. Think of it as a little spa treatment for your cookware.
We’ve all been there. You’re engrossed in a particularly riveting episode of your favorite baking competition, the aroma of something divine fills your kitchen, and then… a faint whiff of something not-so-divine. A quick peek reveals your once-gleaming pot has adopted a rather… intense patina. It's the kind of moment that makes you question your multitasking abilities, and maybe even your life choices for a nanosecond. But before you contemplate tossing it out with the compost (which, by the way, is a much better destination for carrot peels and coffee grounds), let’s channel our inner domestic goddesses and saviors of stainless steel.
Now, before we get our hands (and probably our sponges) dirty, let’s have a little chat about why this happens. Stainless steel, while durable and non-reactive, isn't impervious to the fiery kiss of high heat. When food, especially sugary or starchy bits, sits too long on a hot surface, it caramelizes, then burns, creating those tenacious black marks. It’s a bit like that friend who talks for too long at a party – eventually, things get uncomfortable. The good news? Stainless steel is a remarkably forgiving material. It’s the Teflon of the non-stick world, if you will, but with a lot more resilience and a whole lot less environmental guilt.
So, what’s our secret weapon against this culinary catastrophe? It’s a combination of a little patience, some common household heroes, and a touch of elbow grease. No need for industrial-strength cleaners or obscure alchemical concoctions. We’re keeping it simple, folks. Think of it as a kitchen detox, not a harsh chemical assault. Our goal is to gently persuade the scorch marks to release their grip, not to wage war on them.
The Gentle Art of Scorched Pot Revival
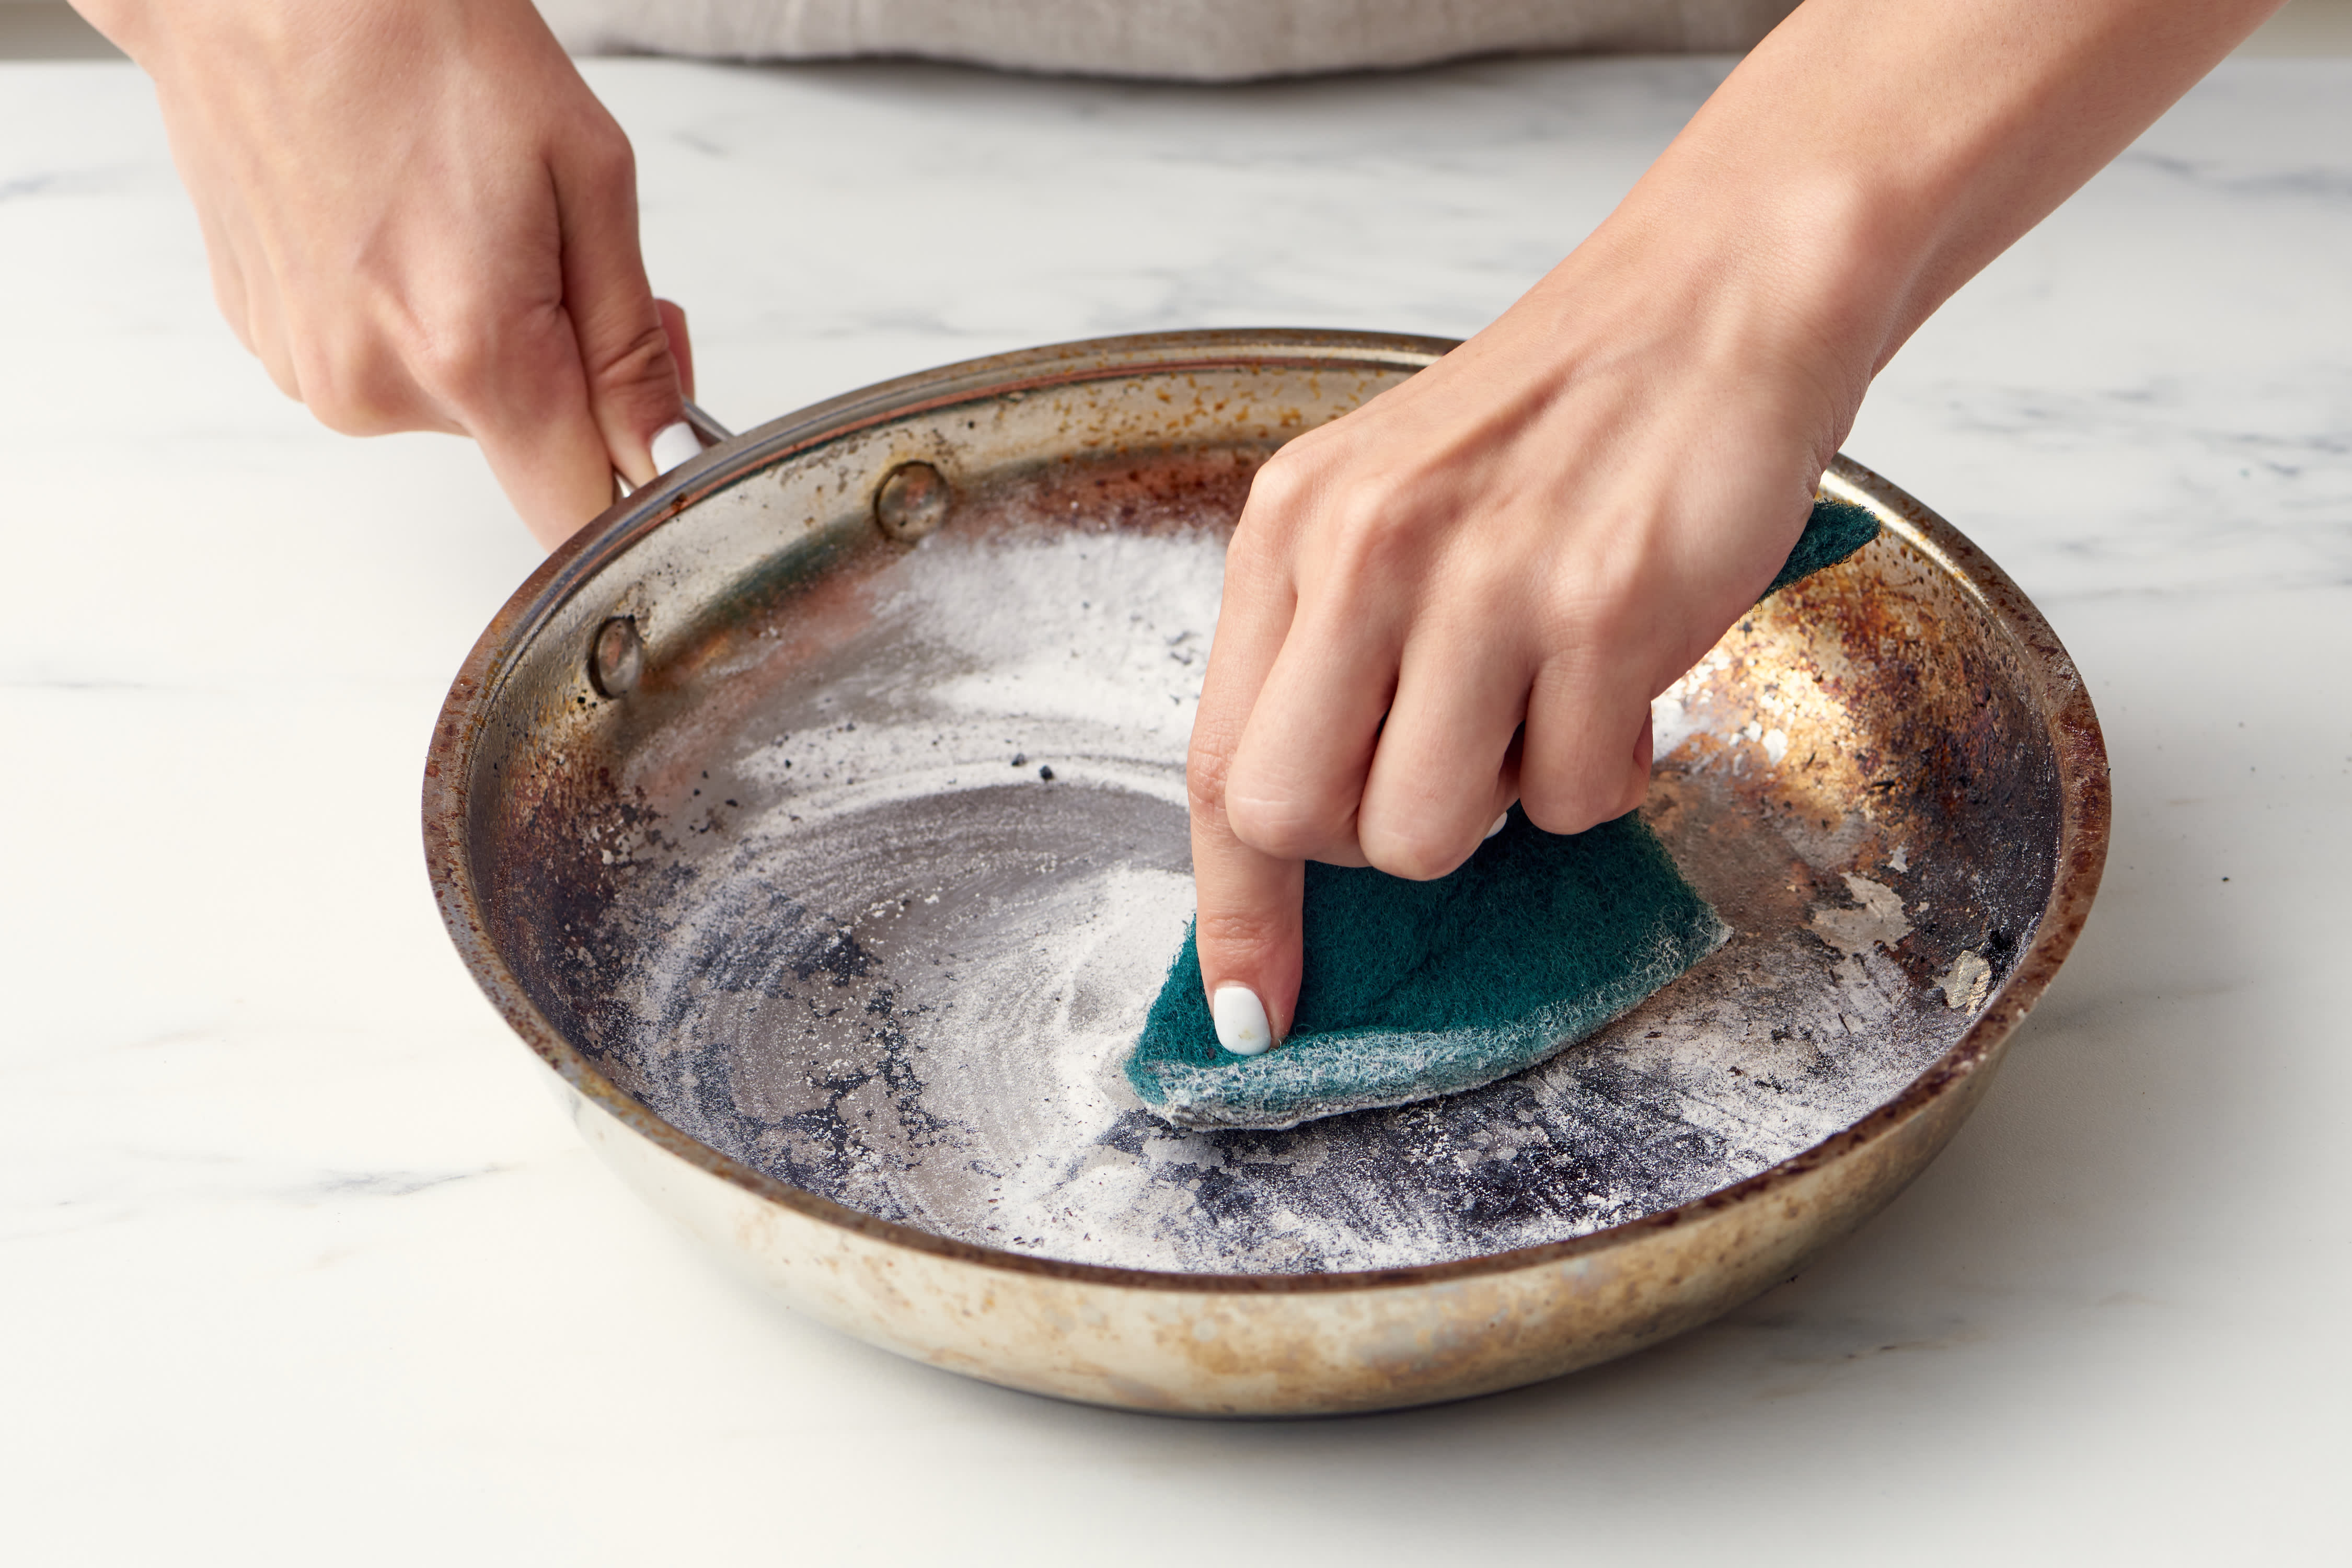
Our first port of call is usually the pantry. And lo and behold, we find two of our most reliable allies: baking soda and water. It’s the dynamic duo of kitchen cleaning, the peanut butter and jelly of stain removal. This is where our spa treatment begins. For mild scorching, a simple paste of baking soda and water is often enough to work wonders.
To make this magical paste, simply scoop a few tablespoons of baking soda into the pot. Then, add just enough water to create a thick, spreadable consistency. Think of it like a gritty, but wonderfully effective, face mask for your pot. Apply this paste generously to the scorched areas, ensuring it coats the burnt bits thoroughly. Let it sit for at least 15-30 minutes. This is your pot's relaxation time. You can use this time to catch up on your favorite podcasts, scroll through some inspiring home decor accounts, or even just enjoy a quiet cup of tea.
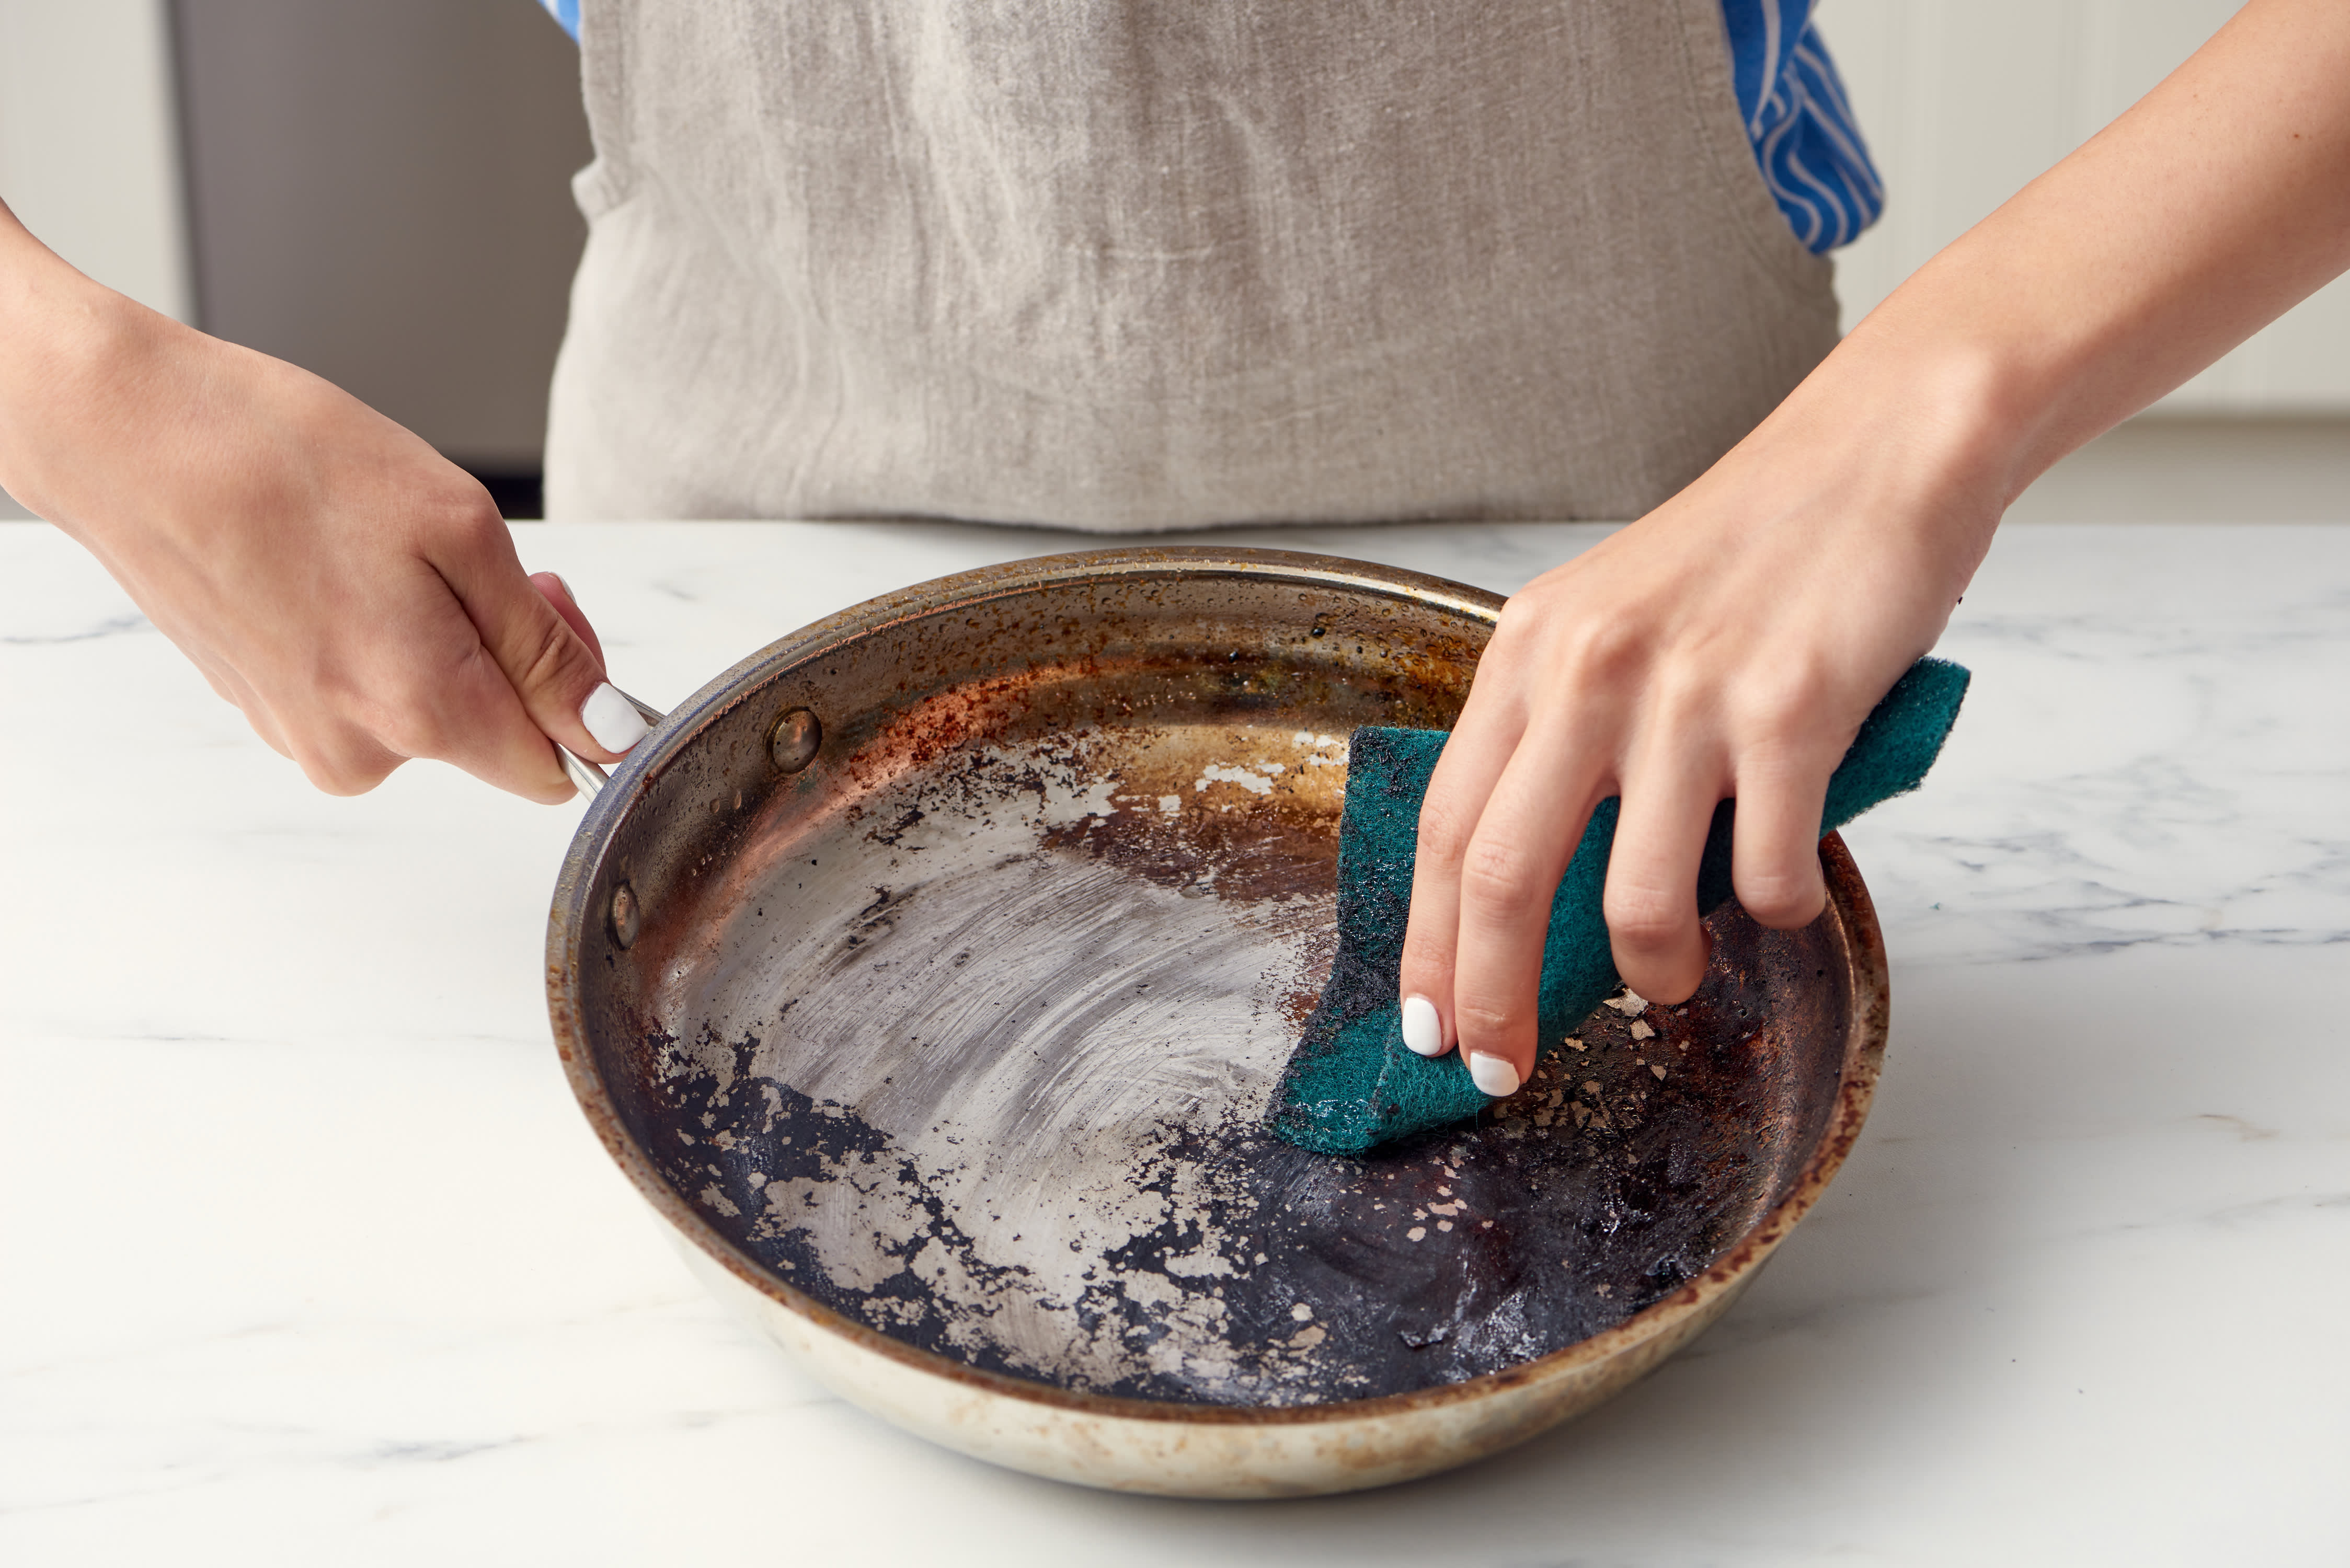
After its little pampering session, grab a non-abrasive sponge or a soft cloth. Gently start scrubbing the paste in a circular motion. You’ll be surprised at how much the baking soda helps lift those burnt-on particles. If the scorch marks are particularly stubborn, you might need to add a little more paste and let it sit a bit longer. Remember, patience is a virtue, especially when it comes to coaxing stubborn stains.
Once you’ve scrubbed away the majority of the residue, rinse the pot thoroughly. Admire your handiwork. It should already look significantly better. But what if, despite your valiant efforts, there are still a few lingering ghosts of meals past? Don’t despair! We have more tricks up our sleeve.
Level Up: When Baking Soda Needs a Buddy
For those more aggressive scorch marks, the baking soda and water paste might need a little backup. Enter: vinegar. This acidic powerhouse is another kitchen staple that works wonders on stubborn grime. Now, we’re not talking about pouring a whole bottle in there. A little goes a long way.
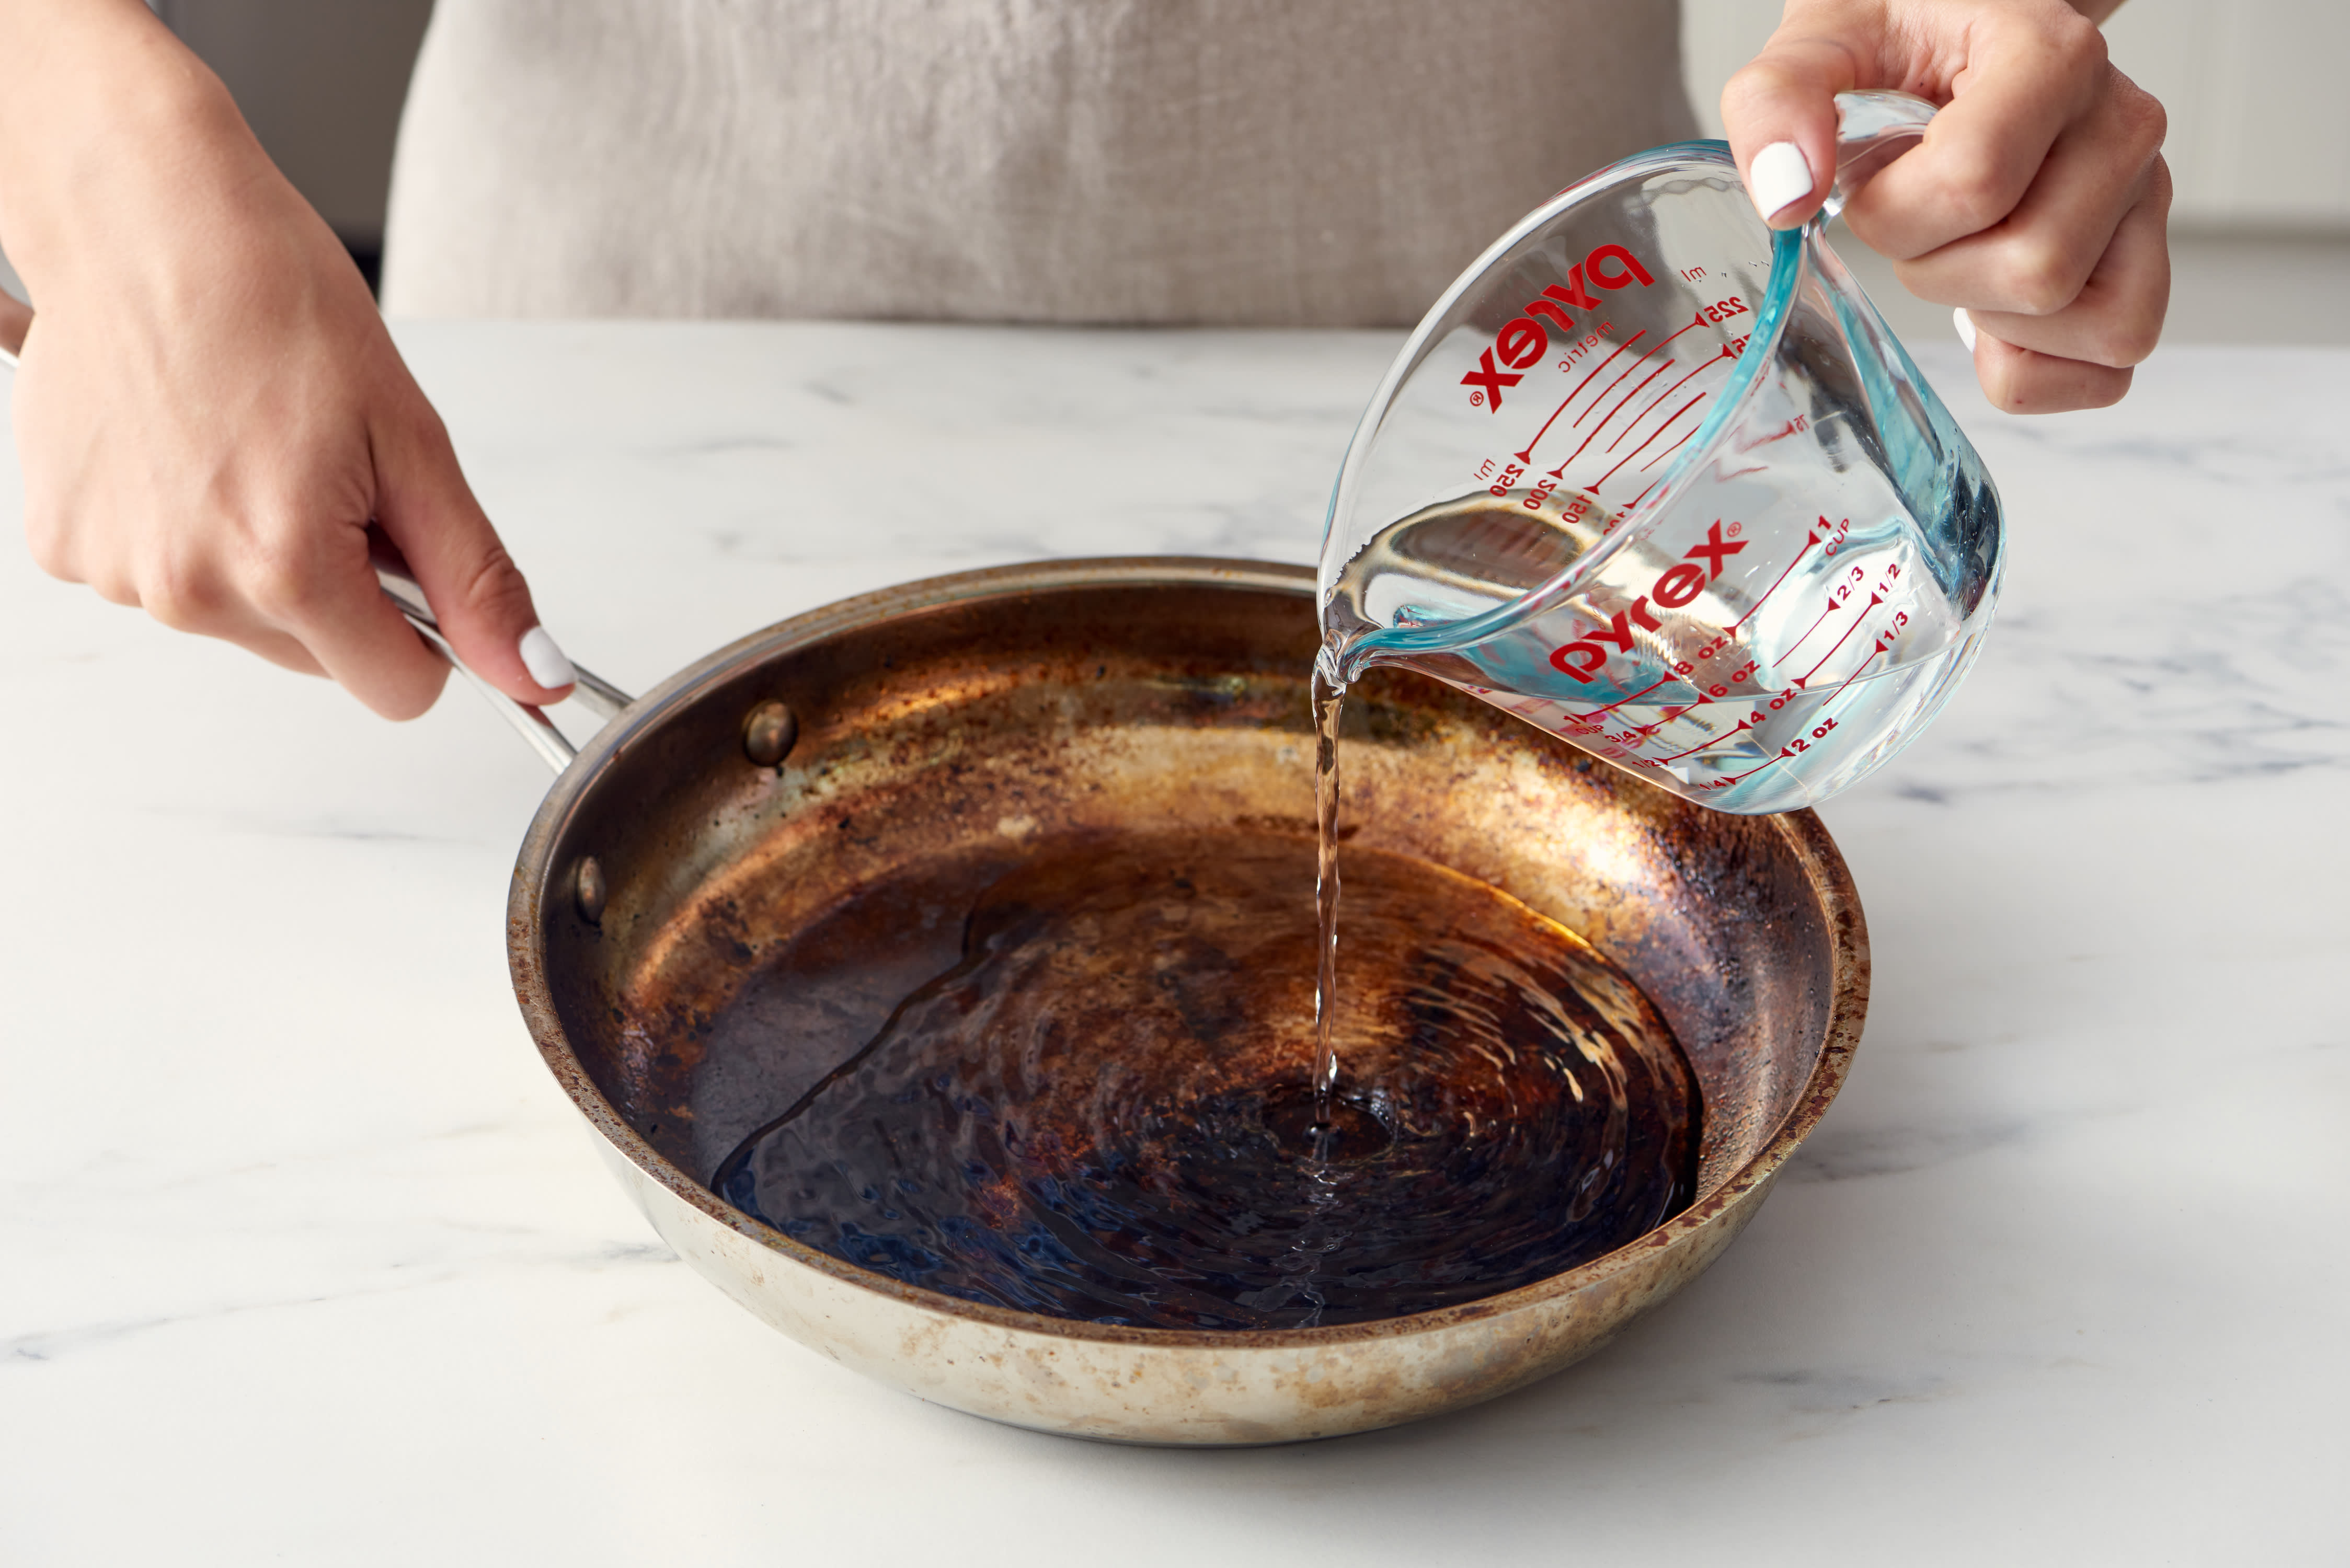
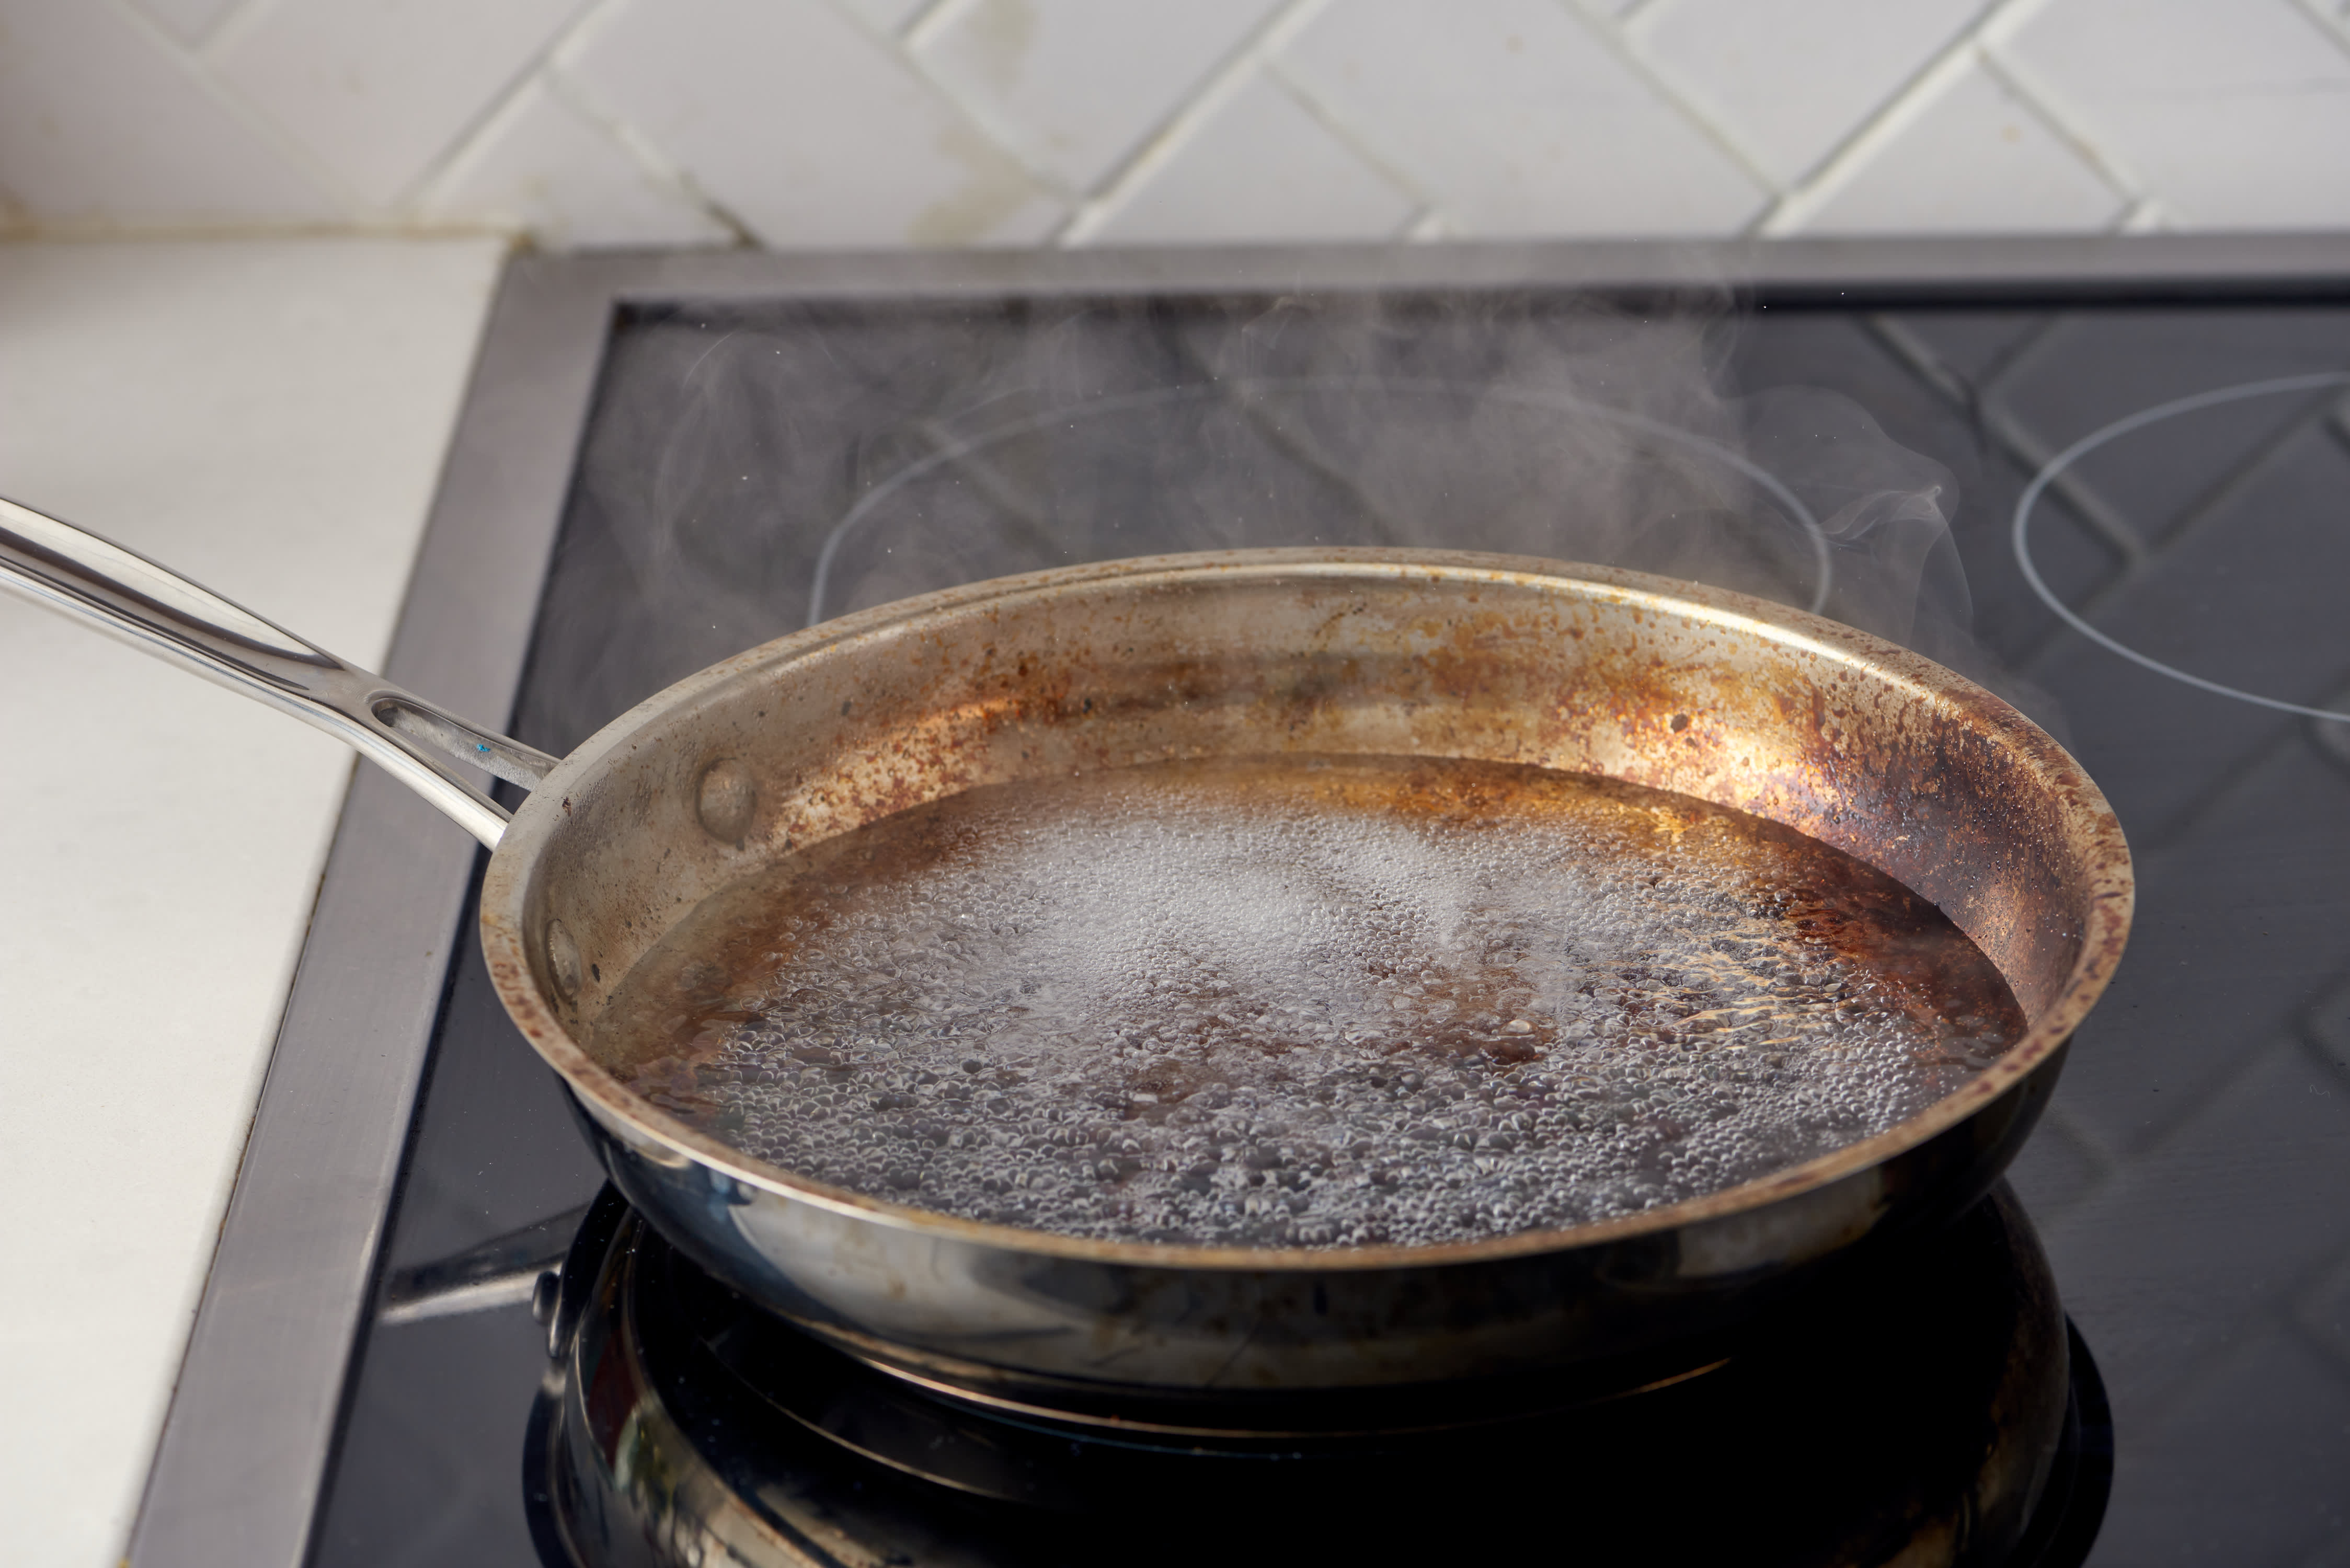
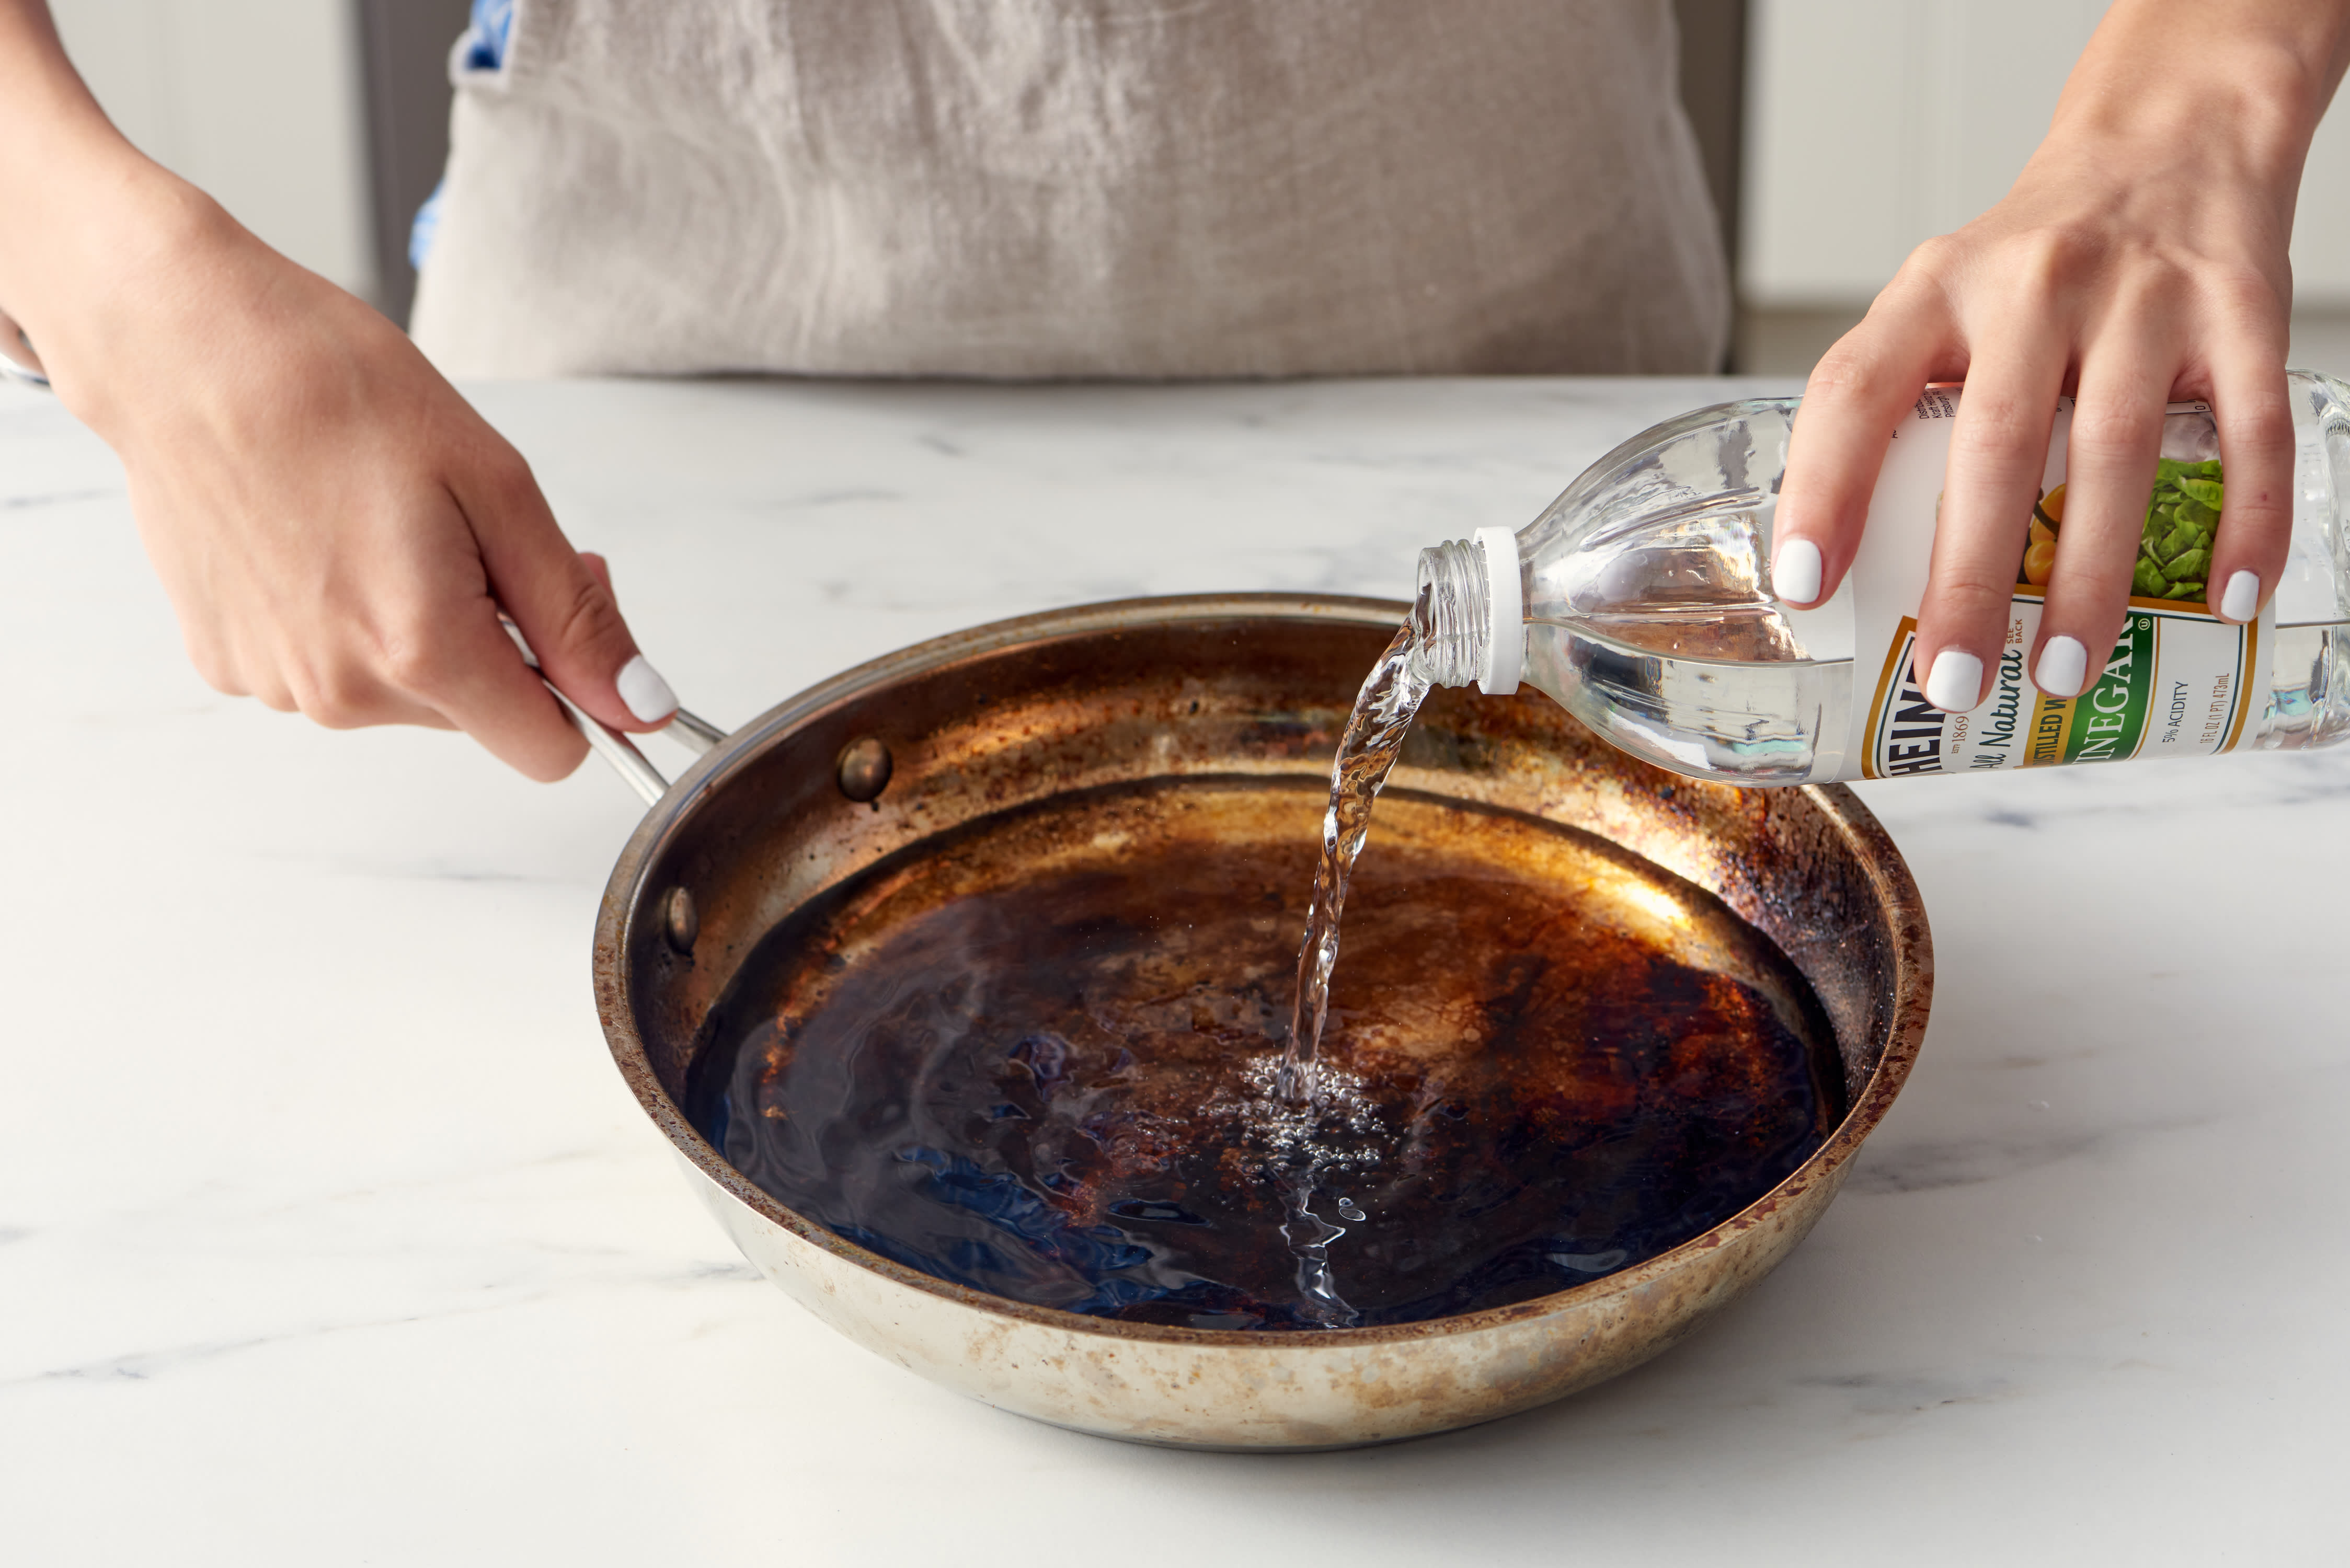
First, empty the pot and rinse out any loose debris. Then, pour in enough white vinegar to cover the scorched bottom. Don't worry if it smells a bit pungent; that's just the vinegar doing its work. Now, here’s where the magic really happens. Gently heat the vinegar in the pot. You don't need it to boil vigorously, just a gentle simmer is perfect. Let it simmer for about 5-10 minutes. The heat will help the vinegar break down the burnt-on food particles even more effectively.
As it simmers, you might even see some of the burnt bits start to loosen and lift on their own. It’s like watching a tiny culinary miracle unfold. Once you’ve simmered it, carefully discard the hot vinegar (be mindful of the steam!). Now, you can either add a tablespoon or two of baking soda to the warm pot (it will fizz, which is satisfying!) and scrub, or simply proceed to scrubbing with a non-abrasive sponge. The combination of the vinegar’s acidity and the baking soda’s gentle abrasion is a potent one.
If you’re still battling with a few tenacious spots, you can repeat this vinegar-simmering process, or you can try another method: the boiling water and baking soda soak. This is a classic for a reason. Fill the pot with enough water to cover the scorch marks, then add a generous amount of baking soda (a few tablespoons, or even a quarter cup for a large pot). Bring this mixture to a boil, then reduce the heat and let it simmer for at least 30 minutes, or even longer for very tough stains. The prolonged exposure to hot, alkaline water will work its magic.
After simmering, let the water cool down enough to handle, then use your trusty sponge to scrub away the loosened residue. You might find that the burnt bits practically slide off. Rinse, and behold your pot's renewed glory!
The Heavy Hitters (Use with Caution!)
Now, for those truly apocalyptic scorch situations, where it looks like your pot had a brief, but intense, encounter with a dragon, you might need to bring out the heavy artillery. But let’s be clear: we’re still aiming for gentle persuasion, not brute force. These methods should be used sparingly and with care, as they can be more abrasive.
One such tool is a cream of tartar paste. Cream of tartar, that magical ingredient in meringue and gingerbread, is also a fantastic cleaner. Mix a few tablespoons of cream of tartar with a little water to form a paste. Apply it to the scorch marks, let it sit for a while, and then scrub. It’s surprisingly effective at lifting stubborn discoloration.
Another option, though one to be used with extreme caution, is a specialized stainless steel cleaner. These are formulated to tackle tough stains, but always follow the product instructions carefully and ensure it’s safe for use on your particular type of stainless steel. Avoid using steel wool or harsh abrasive pads, as these can scratch the surface of your pot, leaving it looking dull and susceptible to future staining. Think of it like a nice silk shirt – you wouldn’t put it in with the heavy-duty denim, would you?
A little-known trick for those really baked-on bits is to sprinkle a good amount of salt (kosher salt works best due to its larger crystals) into the bottom of the dry pot. Then, use a damp sponge to rub the salt around. The salt acts as a mild abrasive, and when combined with a little water, it can help dislodge stubborn residue. This is a good option if you want to avoid vinegar or baking soda for some reason.
Always, always, always rinse thoroughly after using any cleaning agent, and give your pot a final polish with a soft cloth to restore its shine. The goal is a pot that looks and feels as good as new, ready for its next culinary adventure.
A Little Love Goes a Long Way
So, there you have it. A few simple, accessible methods to banish those unsightly scorch marks and restore your stainless steel pot to its former glory. It’s a satisfying process, isn’t it? Transforming something that looked like a lost cause into something gleaming and useful again. It’s a testament to the power of a little patience and the magic of everyday ingredients.
Think about it. We live in a world that often encourages us to discard and replace. Our phones are outdated after a year, our fast fashion trends shift at lightning speed. But there’s a quiet rebellion in repairing, in restoring, in showing a little love to the things we own. This act of cleaning a scorched pot is a small, but significant, act of mindfulness. It’s a pause in our busy lives to engage with a tangible task, to see a direct, positive result of our efforts.
And in a way, it mirrors life itself. We all have our scorched moments, those times when things get a little burnt, a little messy. But with a bit of care, a willingness to try a different approach, and perhaps a sprinkle of baking soda (or metaphorical patience), we can often find a way to clean ourselves up, to learn from the experience, and to emerge a little brighter, a little stronger, and ready for the next chapter. So, the next time your pot looks like it’s been through a culinary war, remember this: you’ve got this. And your pot will thank you for it.