
How To Clean A Stainless Steel Grill Grate
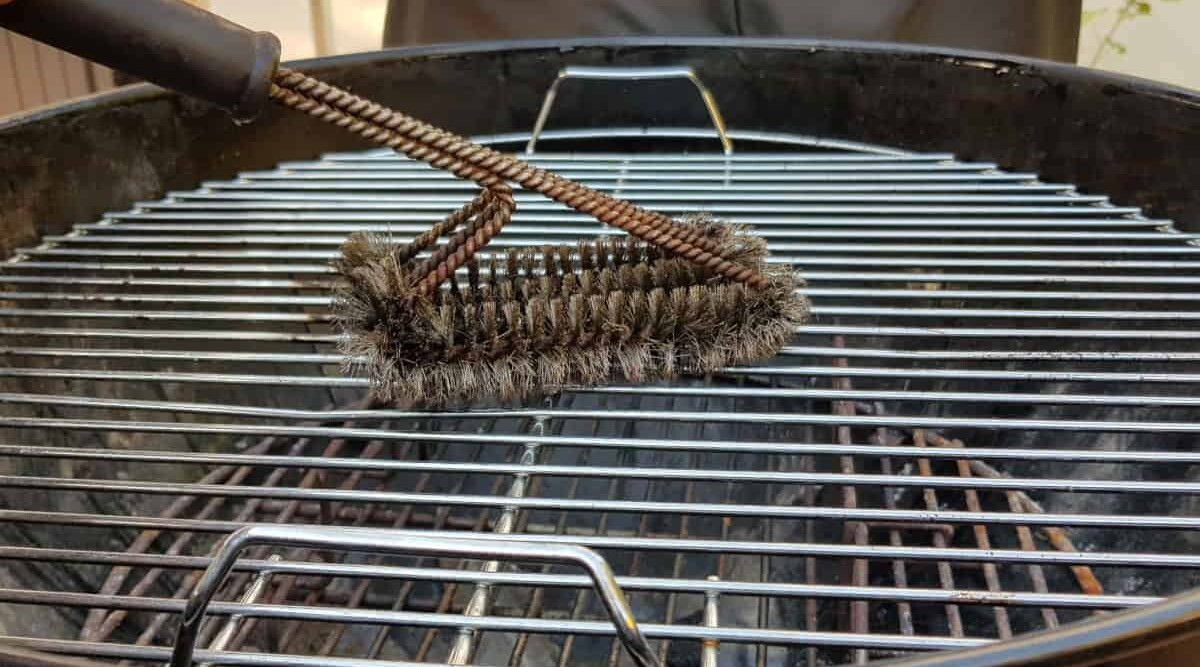
Remember that first summer barbecue at my new place? I was so excited, all set to impress my friends with my culinary prowess. I’d spent weeks agonizing over the perfect marinade, the ideal charcoal ember situation, the theoretical perfect sear marks. But when it came time to actually grill, I opened up my trusty stainless steel grill and… well, let’s just say it looked like a Jackson Pollock painting, but with grease and burnt-on bits instead of vibrant colors. My dreams of a pristine, photo-worthy grill session crumbled faster than a burnt marshmallow. It was a harsh, greasy awakening. My beautiful, shiny stainless steel grates were… a disaster.
Sound familiar? If your stainless steel grill grates are looking a bit… well, lived-in after a particularly enthusiastic grilling season (or maybe just a few too many forgotten burgers), then you've landed in the right place. Cleaning those stubborn, charred-on bits can feel like an Olympic sport, but trust me, it’s totally achievable without needing a hazmat suit or a small fortune. We’re going to get those grates looking almost new again, so you can get back to what truly matters: delicious food and not worrying about whether your next steak is going to taste like last week’s fish.
So, grab your favorite beverage (mine's usually something iced and slightly questionable), settle in, and let’s dive into the glorious, sometimes gritty, world of stainless steel grill grate cleaning.
The Great Grate Grime Grab: Why Bother?
Before we get our hands dirty, let's have a little chat about why we’re doing this. I know, I know, it's tempting to just fire up the grill and hope for the best, right? But a clean grate isn't just about aesthetics. Oh no, my friends, it's about performance, flavor, and honestly, hygiene.
First off, food sticking. Nobody enjoys scraping off half their chicken breast because it’s fused to the grate like superglue. Clean grates mean a smoother transition from grill to plate, leading to those perfect grill marks we all aspire to. Think of it as giving your food a spa day before it hits the heat.
Then there's the flavor transfer. Burnt-on gunk is basically a flavor graveyard. If you grill fish one day and then burgers the next, you might end up with a rather… interesting… fish-burger fusion. Cleaning removes those lingering tastes, ensuring your next meal is purely itself.
And, of course, health and safety. Old grease can become a breeding ground for bacteria, and nobody wants to add an unwanted side of germs to their perfectly grilled steak. Plus, accumulated grease can be a fire hazard. We don't need any surprise fireworks with our dinner, do we?
So, while it might seem like a chore, cleaning your grates is an investment in better grilling, tastier food, and peace of mind. It’s like flossing for your grill. We all know we should do it, and the results are surprisingly rewarding.
The Arsenal: What You’ll Need
Alright, time to gather our supplies. You don't need a whole hardware store aisle, but having the right tools will make this whole process a lot less… ouchy.
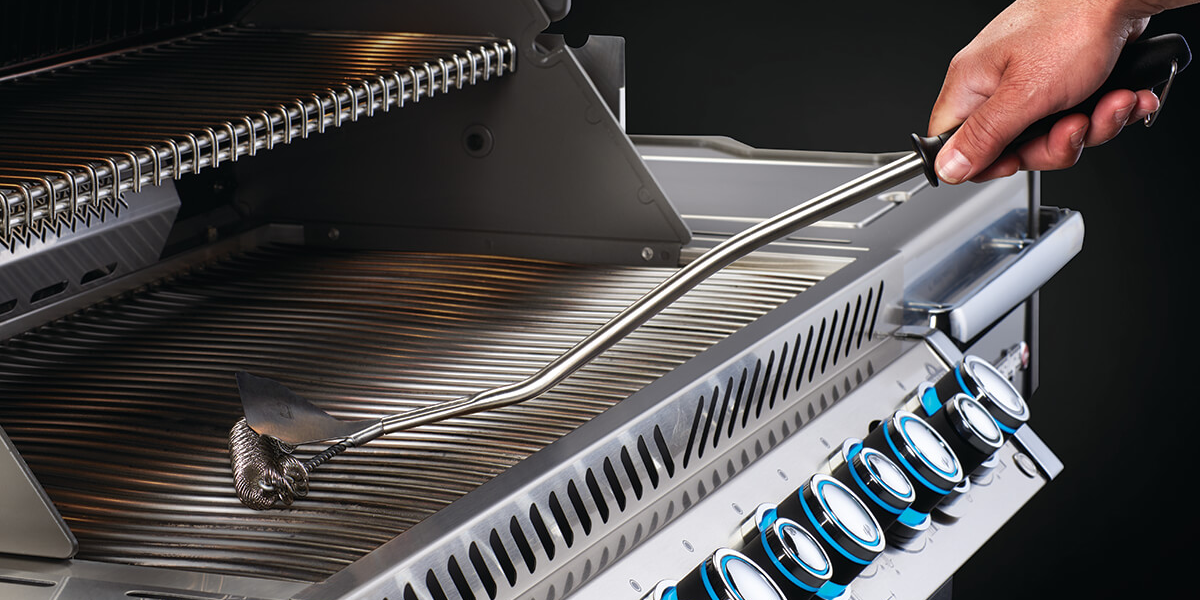
- A Sturdy Grill Brush: This is your main weapon. Look for one with stainless steel bristles. Wire brushes are great, but always be careful about loose bristles. I’ve heard horror stories (okay, maybe slightly exaggerated stories) of people finding them in their food. So, inspect your brush regularly! Some people swear by nylon brushes for cooler grates or for a less aggressive clean, but for the real baked-on grime, steel is usually the way to go.
- Warm, Soapy Water: Your trusty dish soap is surprisingly effective. You’ll want a bucket or sink filled with hot water and a good squirt of your favorite grease-cutting dish soap.
- Gloves: Protect your hands! Grill grime can be tough, and who wants greasy hands for the rest of the day?
- A Scraper (Optional but Recommended): A putty knife or a stiff plastic scraper can be a real lifesaver for those truly stubborn, caked-on bits.
- Baking Soda & Vinegar (Your Secret Weapons): These are nature’s cleaning powerhouses. More on this later.
- Paper Towels or Rags: For wiping and drying.
- Oil (for seasoning): We’ll get to this magical step.
The Hot & Heavy Approach: Cleaning While It's Still Warm
This is where the real magic happens, and it’s surprisingly simple. The best time to clean your grill grates is right after you’re done cooking, while they’re still warm. Why? Because the heat loosens up all that sticky, charred residue. It’s like a natural degreaser!
So, the moment you’ve served your last perfectly grilled delight, don't just shut the lid and forget about it. Keep the grill lid open (or close it for just a few minutes to let some residual heat build up if it's cooled down too much) and get to work.
Grab your grill brush and go to town. You'll be amazed at how easily the gunk scrapes off when it’s warm. Brush back and forth, up and down, getting into all the nooks and crannies. Think of it as a vigorous massage for your grates.
Pro-tip: If you're feeling brave (and your grill is still quite hot), you can even briefly turn up the heat for a few minutes to really char those bits to ash, making them easier to brush off. Just be careful not to scorch your grates themselves. Moderation is key, folks!
Once you’ve brushed off the loose debris, you can proceed to the deeper clean if needed.
The Deep Dive: When Brushing Isn't Enough
Sometimes, even the hottest grill and the sturdiest brush can’t conquer Mount Crud. If your grates are looking like they’ve survived a volcanic eruption, it’s time for a more serious intervention.

Option 1: The Soapy Scrub-Down
This is your go-to for moderately stubborn grime.
- Remove the Grates: Most grill grates are designed to be easily lifted out. This makes cleaning so much easier.
- Soak Them: Fill a large sink or a plastic tub with hot water and a generous amount of dish soap. Plunge those grimy grates into the soapy bath. Let them soak for at least 30 minutes, or even longer if they’re really bad.
- Scrub Away: After soaking, use your grill brush (or a stiff nylon brush) to scrub away the loosened grime. For really tough spots, that putty knife or plastic scraper can be your best friend.
- Rinse and Repeat: Rinse thoroughly with clean water. If there are still stubborn bits, repeat the soaking and scrubbing process. It’s a marathon, not a sprint.
This method is effective for general maintenance and moderate buildup. It’s the equivalent of giving your grates a good old-fashioned bubble bath.
Option 2: The Baking Soda & Vinegar Bomb (For the Real Tough Stuff!)
Now, for when you’ve got truly heroic levels of baked-on… stuff. This is where our natural cleaning superheroes come in.
- Make a Paste: In a bowl, mix baking soda with a little water to create a thick paste. You want it to be spreadable but not runny. Think of it like frosting for your grates.
- Apply Generously: Smear this paste all over the grates, focusing on the areas with the most baked-on grime. Let it sit for at least 30 minutes, or even an hour. The baking soda will work its magic to break down the grease and burnt bits.
- Vinegar Shower: After the paste has done its thing, grab a spray bottle filled with white vinegar. Spray the vinegar all over the baking soda paste. You’ll get a satisfying fizzing reaction – that’s the chemical reaction working to lift away the gunk!
- Scrub and Scrape: Now, with your grill brush or scraper, get to work. The fizzing action should have loosened things up considerably. Scrub and scrape until you’ve removed as much as you can.
- Rinse and Repeat: Rinse the grates thoroughly with hot water. You might need to do a second round of baking soda and vinegar if they’re still looking a bit sad. Patience is a virtue, especially when it comes to stubborn grill grime.
This is the hardcore cleaning method, and it’s incredibly effective. Just be prepared for a little bit of a science experiment in your kitchen sink.
Option 3: The "Soaking is Key" Method (For When You Have Time)
If you’re really pressed for time or just prefer a less hands-on approach, sometimes a good, long soak is all that’s needed.
- The Soak: Remove the grates and submerge them completely in a solution of hot water and a degreaser. You can use a strong dish soap, or even a specialized grill cleaner if you have one. Some people swear by adding a bit of ammonia to the soak (but please, never mix ammonia with bleach! That's a recipe for toxic fumes. And good ventilation is key if you go this route).
- Patience, Grasshopper: Let them soak for several hours, or even overnight. The longer they soak, the more the grime will soften.
- The Final Scrub: Once they’ve had their long soak, give them a good scrub with your grill brush. Most of the work should be done for you by this point.
This method requires the least effort during the actual cleaning, but it requires the most patience. It’s the “set it and forget it” of grill grate cleaning.
The Aftermath: Drying and Seasoning
You’ve done it! Your grates are sparkling clean. But we’re not quite done yet.
Drying is Crucial
After you’ve rinsed all the soap and grime away, you need to dry the grates thoroughly. Water is the enemy of clean metal; it can lead to rust.
The best way to do this is to place the cleaned, wet grates back on the grill. Then, fire up the grill on medium-high heat for about 10-15 minutes. This will evaporate all the remaining moisture. It’s a quick and effective drying method.
The Magic of Seasoning
This is a step many people skip, and it’s a real shame! Seasoning your stainless steel grates is like giving them a protective coat. It helps prevent rust and makes food less likely to stick in the future.
Once the grates are completely dry and still warm from the drying heat:
- Grab Your Oil: Use a high-smoke-point cooking oil. Vegetable oil, canola oil, or even a little bit of Crisco will work.
- Apply Evenly: Using a paper towel or a basting brush, lightly coat the entire surface of the grates with oil. You want a thin, even layer. Don’t go overboard, or you’ll end up with a sticky mess.
- Heat Them Up Again: Close the grill lid and let the grates heat up at a medium-high temperature for another 15-20 minutes. The oil will bake onto the grates, creating a non-stick surface.
You might need to repeat this seasoning process a couple of times for a really good, protective layer. Think of it as building up a natural non-stick coating.
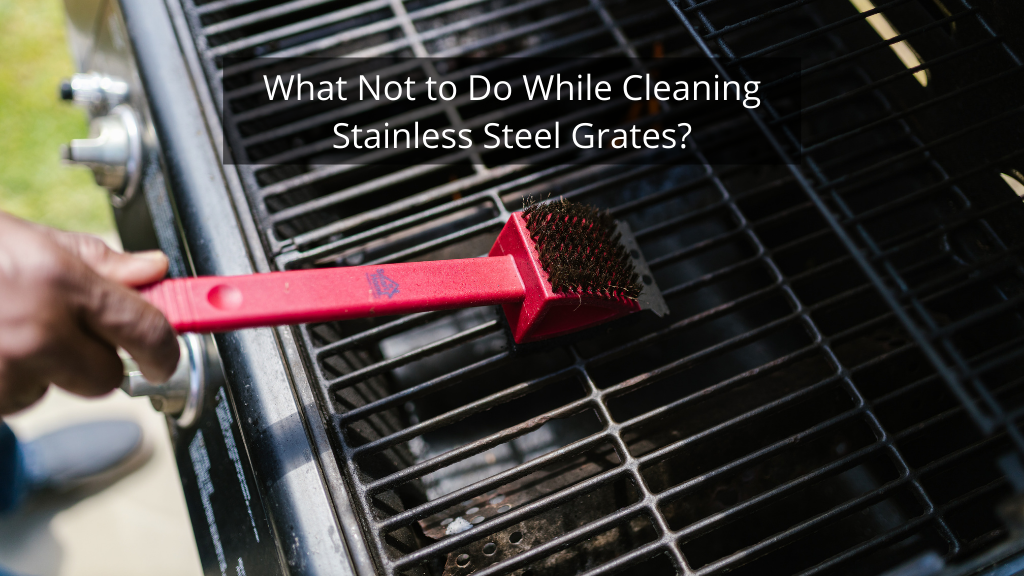
This seasoning step is what separates the good grillers from the great grillers. It’s the little extra effort that makes a big difference in your future grilling adventures.
The Grate Escape: Regular Maintenance is Your Friend
So, you’ve conquered the grime and your grates are looking fantastic. Now, how do you keep them that way without resorting to extreme measures every time?
Consistency is key! Make it a habit to do a quick brush-down after every single use. This prevents that small amount of residue from turning into a monumental cleaning challenge later. A few minutes of brushing while the grates are still warm is far easier than an hour-long deep clean.
Also, consider a quick wipe-down with a damp cloth (once cooled, of course) every now and then, especially if you live in a humid environment where rust can be a sneaky culprit.
And hey, if you’ve got a grill cover, use it! It protects your grates from the elements and keeps dust and debris from accumulating. It’s like a cozy little sleeping bag for your grill.
By incorporating these simple habits, you’ll be able to enjoy those beautiful, shiny stainless steel grates for years to come, ready for whatever culinary masterpiece you decide to throw their way. No more disastrous barbecue openings, just perfectly grilled food and happy guests. Now go forth and grill with confidence!