
How To Clean Burnt On Stainless Steel Pans

Oh, the horror! You’ve done it. You’ve accidentally orchestrated a culinary cremation right there in your beloved stainless steel pan. That once shiny, happy surface is now a canvas of charcoal nightmares, a testament to a forgotten simmer or an overzealous sear. Don’t you fret, my kitchen warrior! This isn’t the end of days for your trusty pan. In fact, it’s just the beginning of a glorious resurrection, a triumphant return from the brink of blackened despair!
We’ve all been there, haven’t we? You get a text, the doorbell rings, or maybe you’re just mesmerized by a particularly dramatic squirrel outside your window. Whatever the distraction, it was enough to turn your delicious creation into… well, something resembling the surface of Mars. Those stubborn, sticky, unmovable bits of burnt-on food can feel like a personal insult from your cookware. You might be tempted to declare your pan a lost cause, a relic of a cooking misadventure, and shove it to the back of the cupboard, never to be seen again. But before you commit this culinary capital crime, let me tell you, there’s hope! And it’s probably hiding in your pantry right now.
Let’s talk about our superhero friend: Baking Soda. This unassuming white powder is like a tiny, fizzy miracle worker. Imagine it as a gentle but persistent army of microscopic scrubbers ready to liberate your pan from its burnt-on prison. You’re not just cleaning; you’re conducting a full-scale rescue operation for your cookware!
Here’s the drill, and trust me, it’s easier than remembering to stir that sauce every five minutes. First, get rid of any loose bits. A quick rinse and scrape with a wooden spoon (no metal, we’re not trying to add more scratches to our hero’s resume!) is a good starting point. Then, generously sprinkle that magical Baking Soda all over the burnt areas. Don't be shy! Think of it like giving your pan a luxurious, detoxifying spa treatment. You want good coverage, like tucking it in for a cozy, stain-fighting nap.
Now, here’s where the real magic happens. You’re going to add just enough water to make a paste. It should be thick, like a really delicious frosting, but not so runny that it all sloshes out. This paste is your secret weapon. Let it sit for a bit. How long? Well, you could go watch a short movie, knit a very small scarf, or even try to explain the internet to your goldfish. Let’s say, about 30 minutes to an hour. This gives the Baking Soda time to work its wonders, gently softening those stubborn, carbonized invaders.
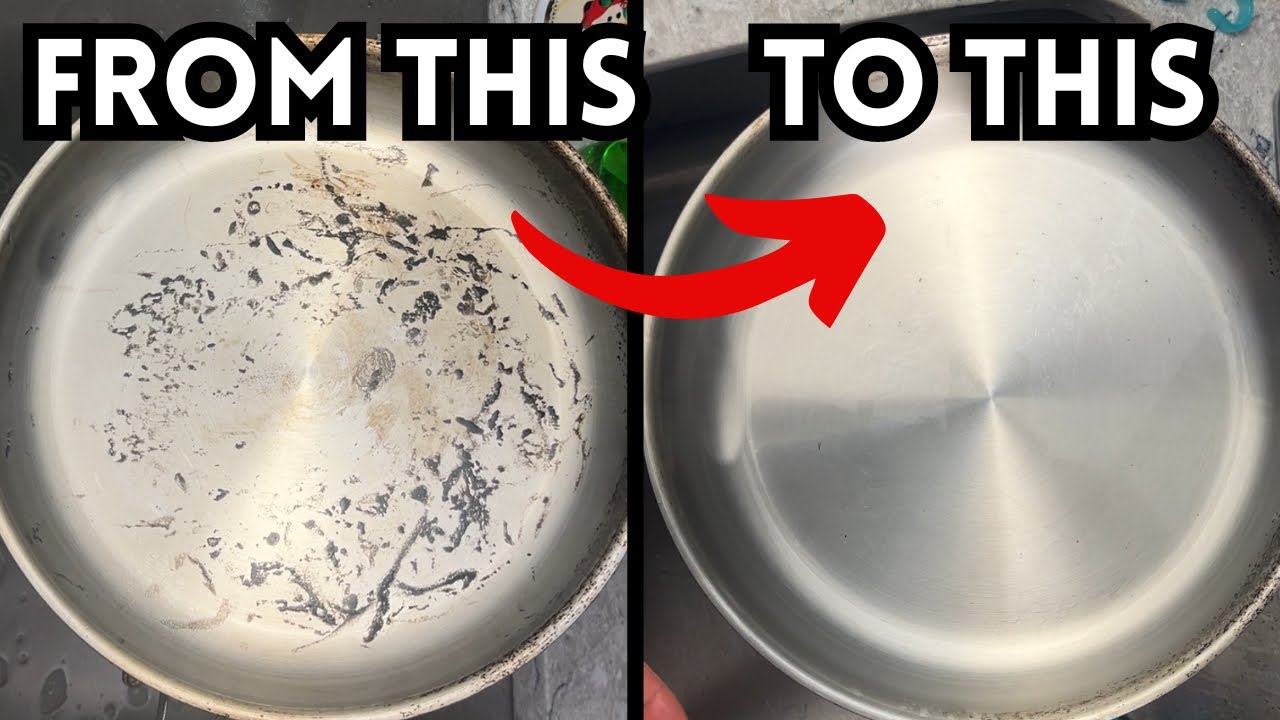
Once your pan has had its little break, it’s time to introduce it to its trusty sidekick: a non-abrasive sponge or a soft cloth. No steel wool here, folks! We’re aiming for a gentle persuasion, not a full-on wrestling match. Start scrubbing. You’ll notice that those once-terrifying burnt bits are starting to loosen up, almost as if they’re saying, “Okay, okay, you win! We’re leaving!”
For those really tenacious spots, the ones that seem to be clinging on for dear life, you can add a little more Baking Soda paste and give it another go. You might even discover a secret talent for pan-scrubbing choreography. Imagine yourself as a culinary ballet dancer, your sponge gracefully swirling and lifting away the grime. It’s quite empowering, really.
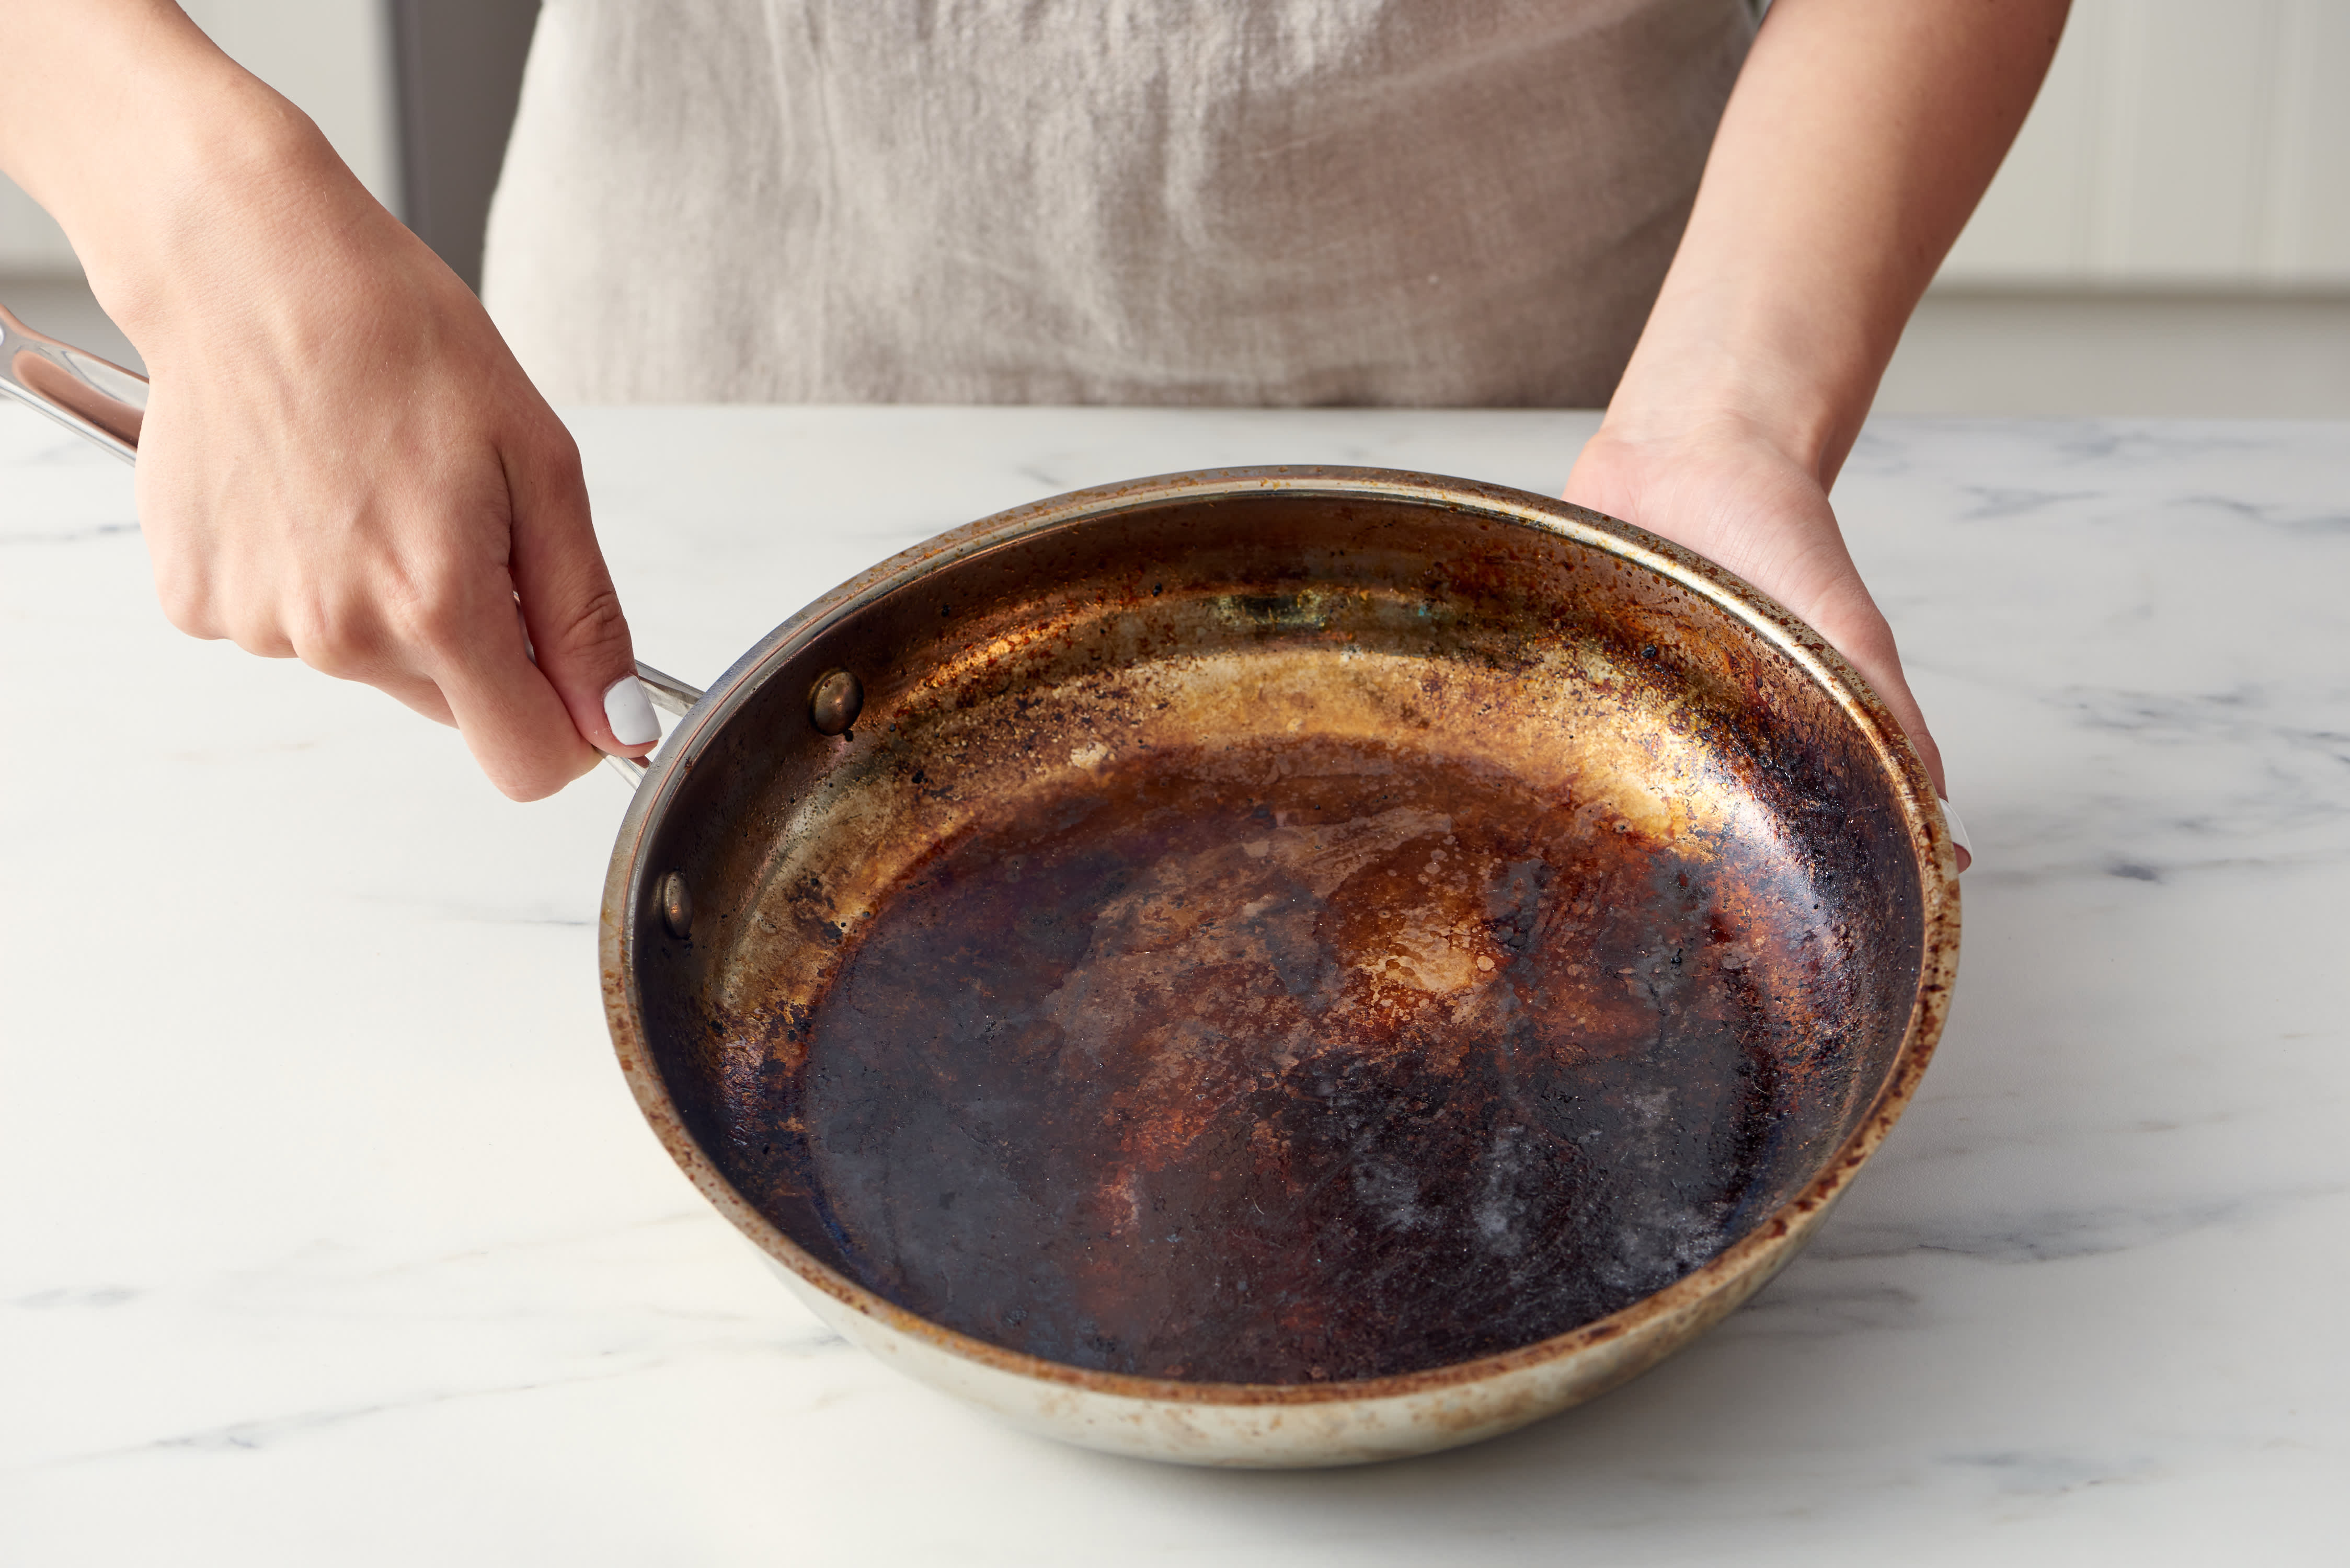
If after a good scrub you still see a ghost of its former burnt self, don’t despair! There’s another champion in our cleaning arsenal: Vinegar! Yes, that same stuff you might use on salads. Vinegar is like the tough but fair negotiator. It’s got a bit of bite, but it gets the job done.
Here’s how you deploy this dynamic duo. Pour a little bit of white vinegar into the pan, enough to cover the burnt areas. Now, here's where things get a little exciting. You can gently heat the vinegar on the stove. Just a simmer, mind you, we’re not trying to start a culinary volcano. As it simmers, you might see some fascinating little bubbles and steam. This is the vinegar having a heart-to-heart with the burnt-on bits, convincing them that it’s time to move on.

After a few minutes of this steamy negotiation, carefully drain the vinegar (it might be hot, so be cautious!). Now, grab your trusty Baking Soda again. Sprinkle it into the pan, and you’ll likely witness a little chemical reaction, a bit of fizzing and bubbling. This is the Baking Soda and Vinegar team-up, a powerful alliance against burnt-on food. It’s like a mini science experiment happening right in your kitchen, and you’re the brilliant scientist!
Scrub again with your soft sponge or cloth. You should be amazed at how easily those last stubborn bits release their grip. It’s like they’ve suddenly remembered they have a family to get back to. Rinse thoroughly. And behold! Your stainless steel pan, once a symbol of culinary catastrophe, is now gleaming, shining, and ready for its next delicious adventure. It's a testament to your resilience and resourcefulness, a true kitchen hero.
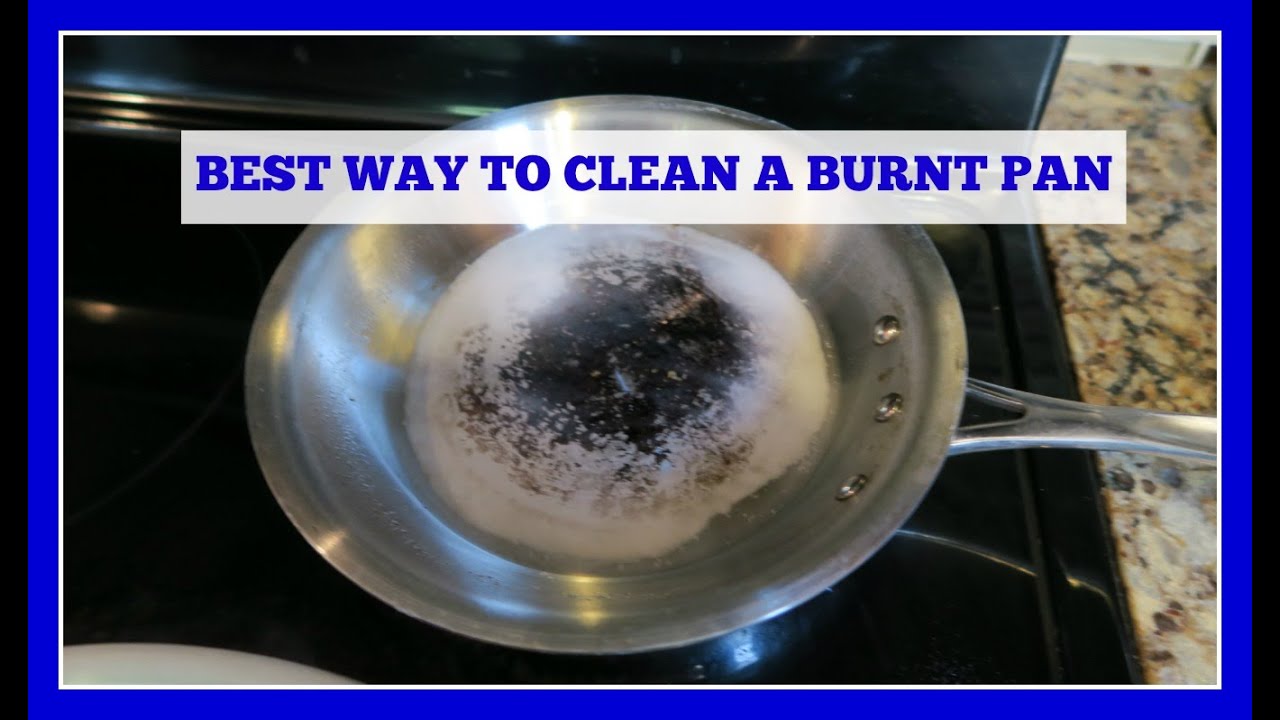
Remember, every little burn mark tells a story. And now, thanks to a little Baking Soda and maybe a dash of Vinegar, you’ve got a happy ending to that particular chapter. So go forth and conquer those culinary mishaps! Your pans will thank you, and your future meals will be all the brighter for it.
Pro tip: For really tough cases, you can even leave the Baking Soda paste overnight. Think of it as a deep conditioning treatment for your pan. It’s a little bit of patience that yields a whole lot of sparkle!
Don't be discouraged by a little char. It's just a sign that you're cooking, experimenting, and living in your kitchen. And with these simple, everyday solutions, you can easily bring your stainless steel heroes back to their former glory. So, next time you see that burnt-on mess, don't panic. Just reach for the Baking Soda, maybe a splash of Vinegar, and prepare for a sparkling transformation. Your pan deserves it, and frankly, so do you!