
How To Clean Calphalon Stainless Steel Pots

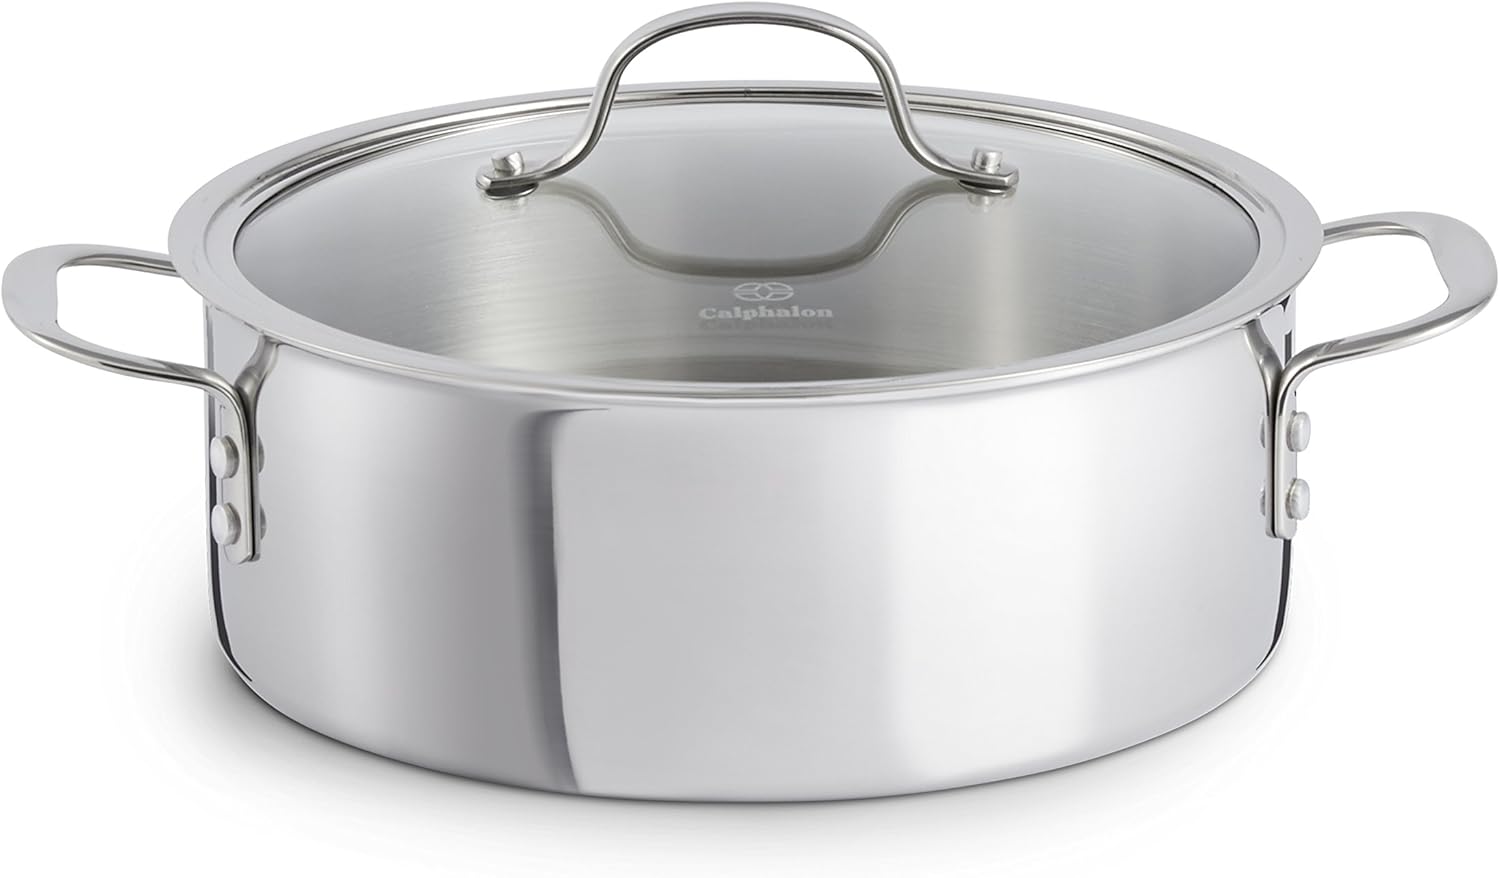
So, you've got those gorgeous Calphalon stainless steel pots and pans, right? The ones that make you feel like a culinary rockstar, even when you're just whipping up scrambled eggs. They're pretty awesome, aren't they? They heat up evenly, they look fantastic on your stovetop, and they’re built to last. But then… life happens. You get a little enthusiastic with the caramel, or maybe a bit too relaxed with the rice, and suddenly, your gleaming cookware has a bit of a… history. Yep, we're talking about those stubborn stuck-on bits and the dreaded discoloration. Don't you worry your pretty little head about it, though! Cleaning Calphalon stainless steel is totally doable, and honestly, kind of satisfying when you get it right. Think of it as a spa day for your pots and pans.
Let's be real, nobody wants to spend ages scrubbing away after a delicious meal. The good news is, with a few simple tricks and a bit of patience, you can have your Calphalon looking as good as new. It’s not some secret culinary handshake; it’s just a little bit of know-how. So, grab your apron (or don't, I won't tell) and let's dive into how to get your stainless steel sparkling again.
The Daily Grind: Keeping Things Fresh
Before we get to the deep clean, let's chat about keeping your pots and pans in tip-top shape for everyday use. It’s like preventative maintenance for your kitchen treasures. The easiest way to avoid a major scrubbing session later is to tackle messes when they're still warm. See that little bit of leftover sauce? Just give it a quick rinse and wipe. No biggie, right?
For general cleaning after cooking, a good ol' dish soap and a soft sponge or cloth are usually your best friends. Think of it as a gentle massage for your cookware. Avoid those abrasive scrubbers that can leave little scratches. Stainless steel is tough, but it can still get a bit sensitive. Imagine trying to buff your car with steel wool – not a pretty picture!
And what about drying? It’s a small step, but an important one. After washing, give your pots and pans a good dry with a soft towel. This helps prevent water spots, those annoying little marks that can dull your shine. Plus, it’s a good excuse to admire your handiwork for a moment longer.
When Things Get a Little Sticky (Literally!)
Okay, so you forgot to deglaze, or that béchamel sauce decided to bond with the bottom of your pan like superglue. What now? Don't panic! This is where the real magic happens. The first line of defense for tougher messes is usually a bit of gentle soaking. Fill your pot with warm water and a squirt of dish soap, and let it sit for a while. Sometimes, just giving those stubborn bits a little spa time is enough for them to loosen up.
If soaking doesn't quite do the trick, it's time to bring out some more powerful, but still kitchen-friendly, weapons. One of the absolute go-to’s for stainless steel is baking soda. This stuff is like a gentle superhero in your kitchen. Sprinkle a generous amount of baking soda onto the problem area. Then, add just enough water to make a paste. It’s like creating a mild, fizzy mud mask for your pan.
Now, gently scrub the paste around with a soft cloth or sponge. You should start to see those stuck-on bits giving way. The baking soda is mildly abrasive, but it’s not going to scratch your stainless steel. It's more like a gentle exfoliation. You might need to repeat this process a couple of times for really stubborn messes. Think of it as giving your pan a deep pore cleanse.

Another fantastic option, especially for those slightly more burnt-on bits, is vinegar. Yep, that tangy stuff you put on your fries! White vinegar is your friend here. You can pour a small amount of vinegar directly onto the stained area and let it sit for a few minutes. The acidity of the vinegar helps to break down grease and food residue. Some people even like to combine baking soda and vinegar. You’ll get a fun little fizzing reaction, which can be quite satisfying to watch! It’s like a mini science experiment happening right in your sink. Just be sure to rinse thoroughly afterward, as vinegar can leave its own distinct aroma.
Battling the Brown: Dealing with Discoloration
Ah, the dreaded rainbow effect or those slightly bronzed patches that sometimes appear on stainless steel. It can be a little disheartening when your otherwise shiny pans start looking a bit… psychedelic. But don't worry, this is usually just a result of heat and mineral deposits. It’s not permanent damage, just a bit of a visual hiccup.
For these kinds of marks, that trusty baking soda paste can work wonders again. Apply it to the discolored areas and gently scrub. You’ll be amazed at how much brighter your pan becomes. It’s like giving your cookware a gentle bleaching, but with natural ingredients!
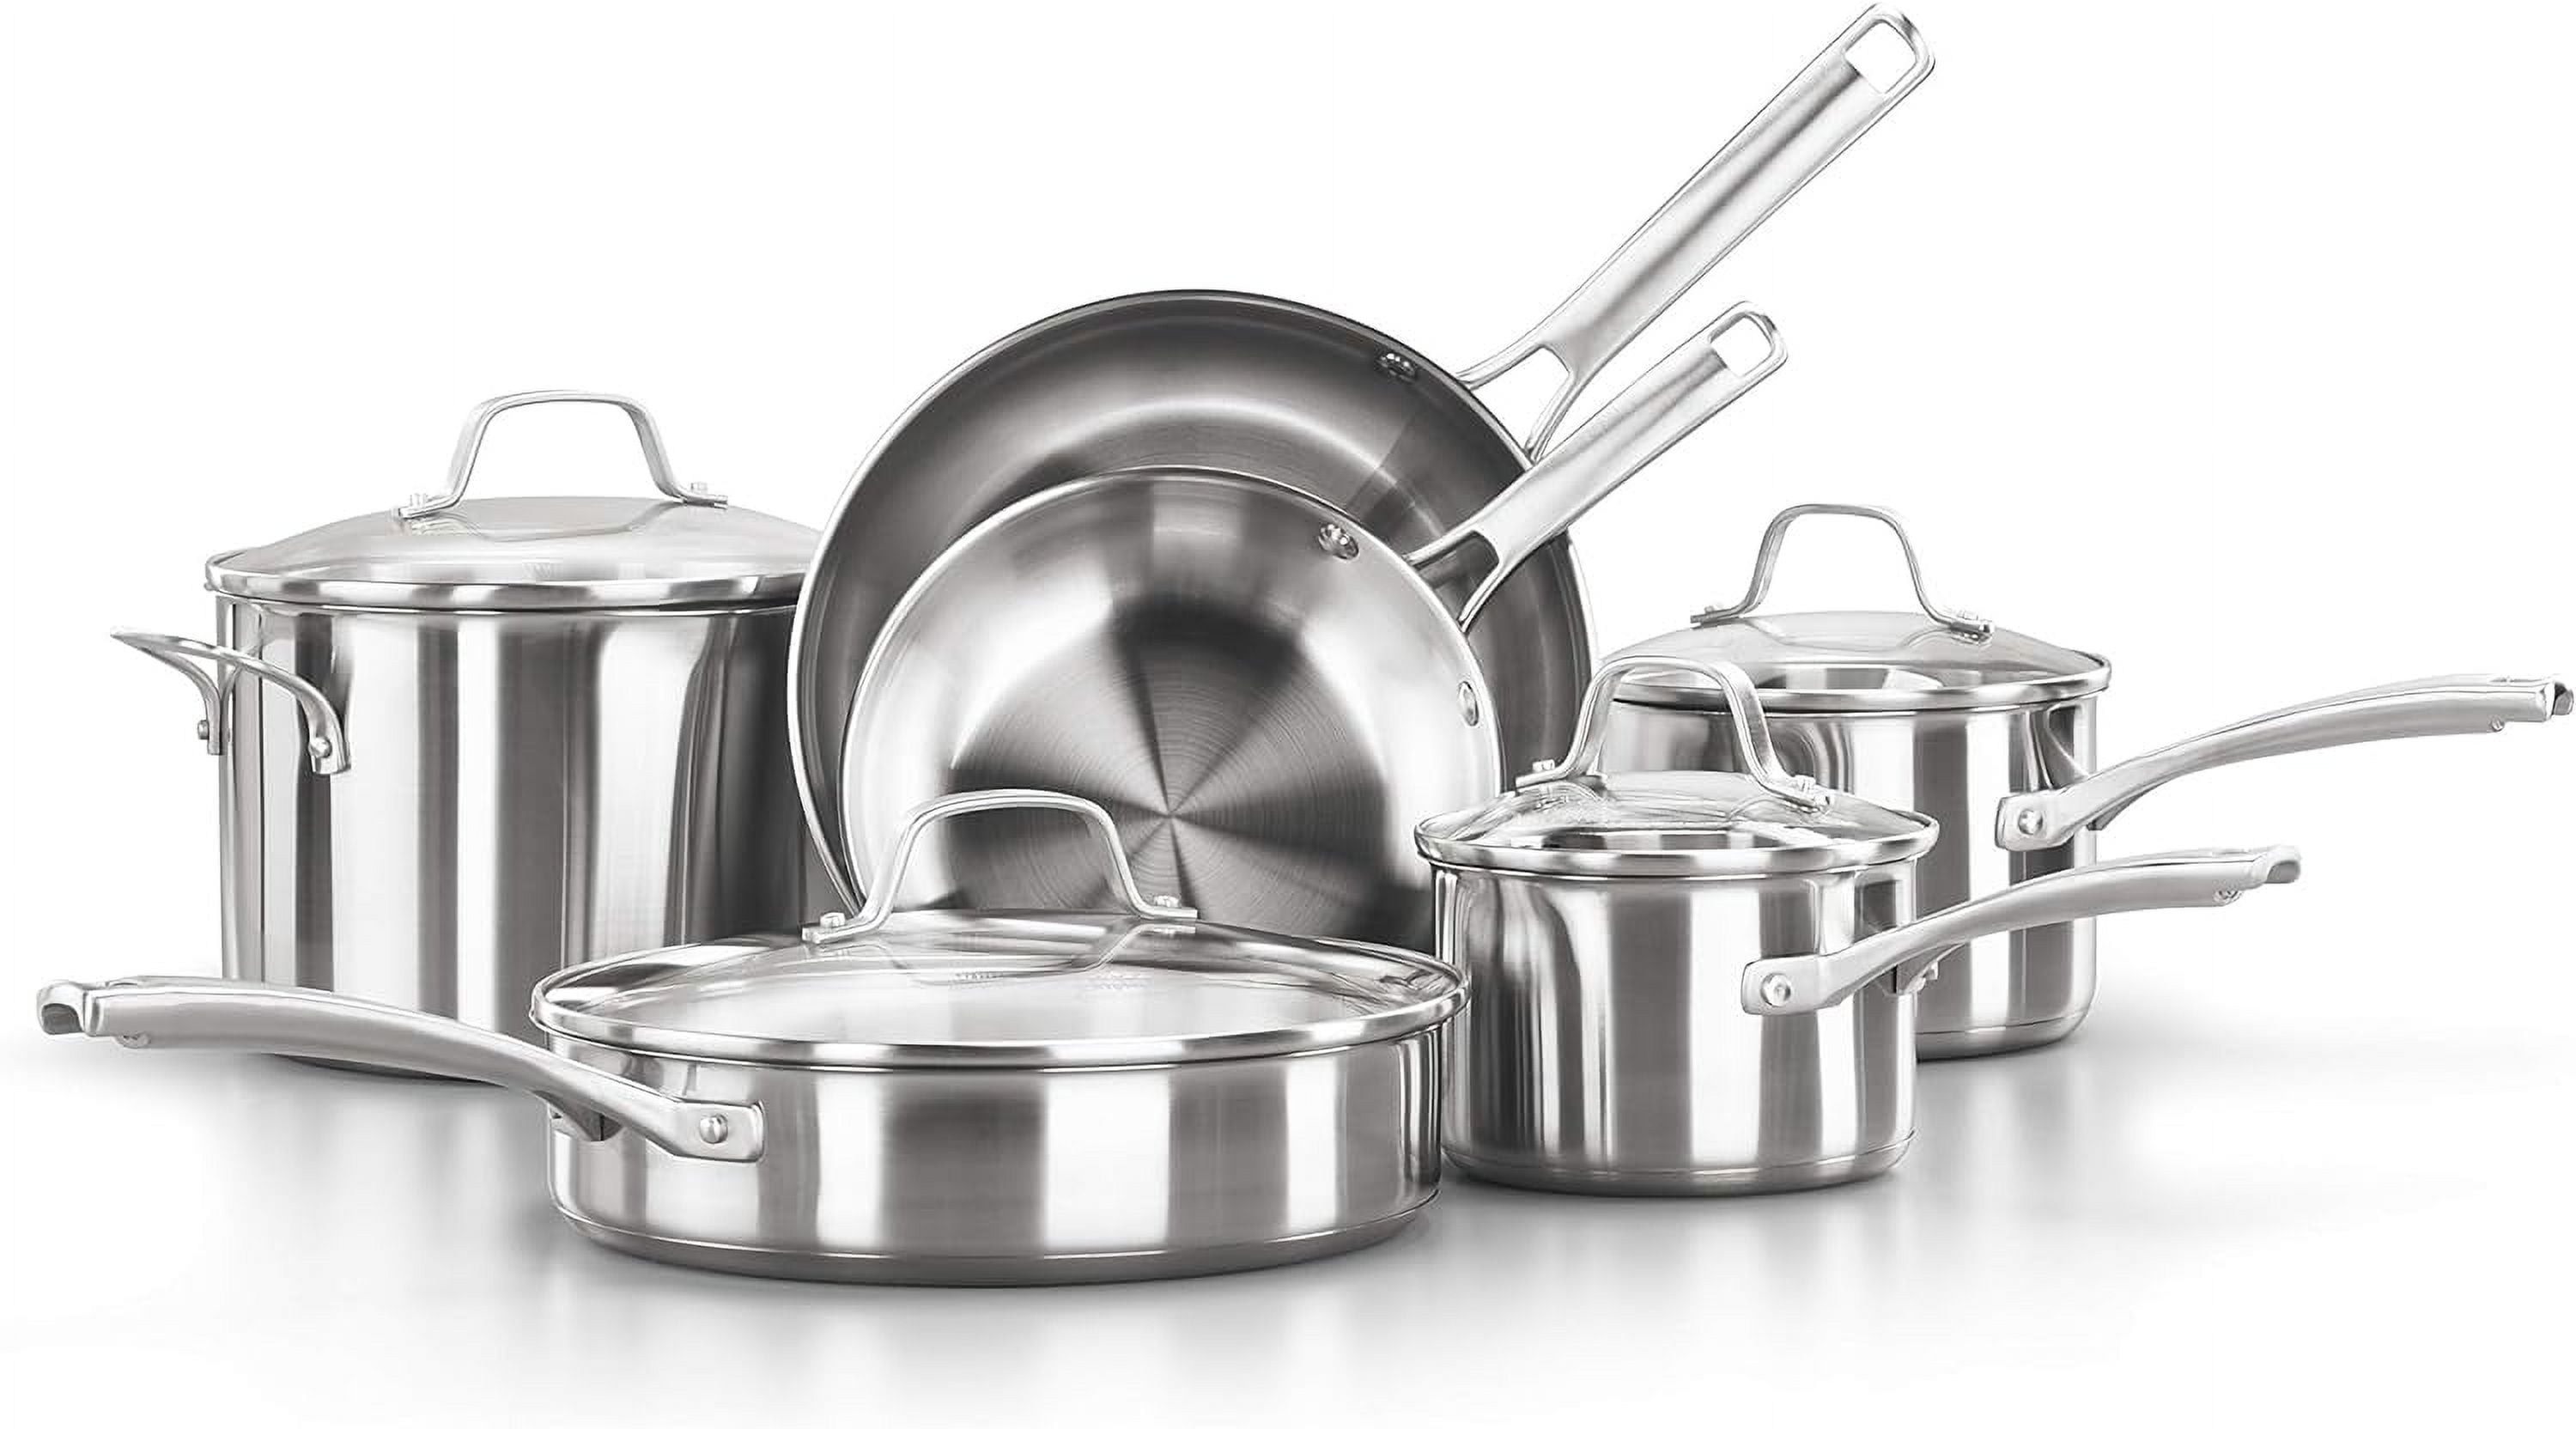
If the discoloration is a bit more persistent, you might want to try a dedicated stainless steel cleaner. There are plenty of good ones on the market. Just be sure to choose one that's specifically designed for cookware and follow the instructions on the packaging. These cleaners often contain mild acids or polishing agents that can really bring back the shine. Think of it as giving your pots a professional polish, like you'd see at a car detailing shop.
Another old-school trick that’s surprisingly effective is using a bit of lemon juice. The citric acid in lemon juice can help to cut through grease and tarnish. You can rub a cut lemon directly onto the discolored areas, or squeeze some juice onto a cloth and wipe. Let it sit for a bit, then rinse and dry. It leaves a pleasant, fresh scent too, which is a nice bonus!
The Power of Patience (and a Little Elbow Grease)
Sometimes, there's no magic bullet. For those truly stubborn, baked-on messes, it might just take a bit of time and gentle persistence. If the baking soda paste isn't cutting it after a couple of tries, you can try a longer soak. Fill the pot with water, add a good amount of baking soda, and let it simmer on low heat for 15-30 minutes. This gentle heat can help loosen even the most stubborn grime. Then, let it cool and try the baking soda paste method again.

Remember, the key word here is gentle. You don't want to go in there with a brillo pad and scuff your beautiful Calphalon. Think of it as a gentle coaxing, not an aggressive assault. The goal is to restore the shine, not to create new patterns of scratches. It’s all about finding that sweet spot between effective cleaning and preserving the integrity of your cookware.
And don't forget to rinse thoroughly! Any leftover cleaning agent, no matter how mild, can affect the taste of your food. So, after all that scrubbing and shining, give your pots and pans a good, thorough rinse under running water. Then, dry them well to prevent new water spots from forming.
Honestly, keeping your Calphalon stainless steel looking great isn't a chore; it’s more like a rewarding ritual. It's about taking care of the tools that help you create delicious memories in your kitchen. With a little bit of understanding and the right approach, your Calphalon will continue to be your trusty companion for countless culinary adventures. So go forth and shine, you magnificent kitchen wizard!