How To Clean Silver Aluminum Foil
Alright, gather 'round, my fellow kitchen adventurers! Let's talk about a material so ubiquitous, so undeniably… shiny, it's practically a superhero in disguise: aluminum foil. We use it to wrap our leftovers, shield our pies from burning, and sometimes, let's be honest, craft ridiculously stylish hats for impromptu parties. But what happens when our trusty silver shield gets a little… less than pristine? What do we do when that beautiful sheen gets dulled with yesterday's culinary triumphs (or disasters)?
Fear not, my friends! Today, we're embarking on a noble quest, a mission of paramount importance: how to clean that darn silver aluminum foil. Yes, you heard me. We're not just tossing it aside like yesterday's news. We're giving it a second (or third, or fourth) life! Think of it as a spa day for your kitchen foil. Because who says only humans deserve to feel rejuvenated?
Now, before you scoff and say, "But it's just foil! It's disposable!" I hear you. I do. But let's consider the economics of it all. That little roll of foil? It's not exactly made of solid gold. And think of the sheer volume of foil we churn through. We're talking tons, people! Tons of shiny goodness going straight to the landfill. So, a little elbow grease might just be the eco-friendly hero we never knew we needed. Plus, it’s a surprisingly satisfying task, like peeling off a perfectly formed sticker. You know that feeling? Yeah, it’s like that, but with more grease.
The "Why Bother?" Section (Spoiler: It's Not Just About Saving the Planet)
Okay, let's be real. The primary reason most of us reach for the foil is its practicality. It's a barrier. It's a protector. It's the culinary equivalent of a force field. But cleaning it? That's where things get… interesting. Why would you even consider it? Well, for starters, it's about repurposing. Got a perfectly good piece of foil that just wrapped a perfectly harmless loaf of bread? Don't yeet it! Give it a rinse, and it can happily go on to protect your next batch of cookies.
Secondly, and this is a bit of a wild card, think about the crafting potential! Seriously. Cleaned aluminum foil can be surprisingly versatile. You can crumple it up to make fantastic, super-shiny paint textures. You can even flatten it out and use it as a makeshift mirror in a pinch (though I wouldn't recommend it for your discerning selfies). It’s like discovering a hidden superpower you never knew your kitchen wrap possessed.
And then there's the sheer satisfaction. There's something deeply, intrinsically rewarding about transforming something that looks like a greasy Rorschach test into a gleaming sheet of silver. It's a small victory in a world full of… well, let's not go there. Let's focus on the shininess, shall we?
Operation: De-Greasify - Your Step-by-Step Guide to Foil Revival
Alright, enough preamble. You're itching to get your hands dirty (or, rather, clean them of foil-y residue). Here’s how we’re going to tackle this shimmering challenge. Think of this as your foil-cleaning bootcamp. Prepare for glory!
Step 1: The Initial Assessment - Is This Foil Worth Saving?
This is crucial. Not all foil is created equal, and not all foil should be saved. You’re not going to try and scrub off that dried-on barbecue sauce from your last epic grill-fest. That’s a battle you’ll lose, and frankly, you’ll just end up with a soggy, sad mess.
We’re talking about foil that’s been in contact with dry or lightly oily foods. Think baked potatoes, cookies, or that perfectly roasted chicken that slid off the bone like a dream. If it looks like it's been through a food fight and lost, it’s probably best to let it go to the great recycling bin in the sky.
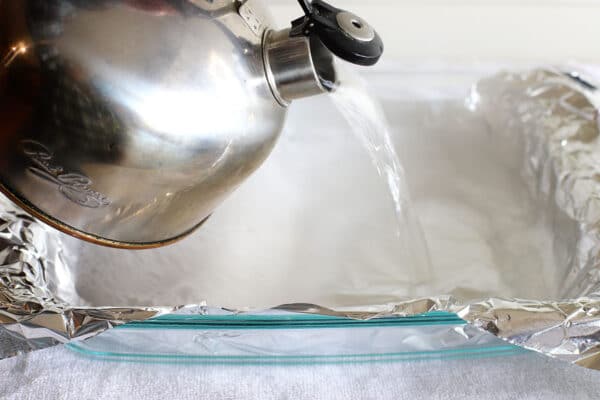
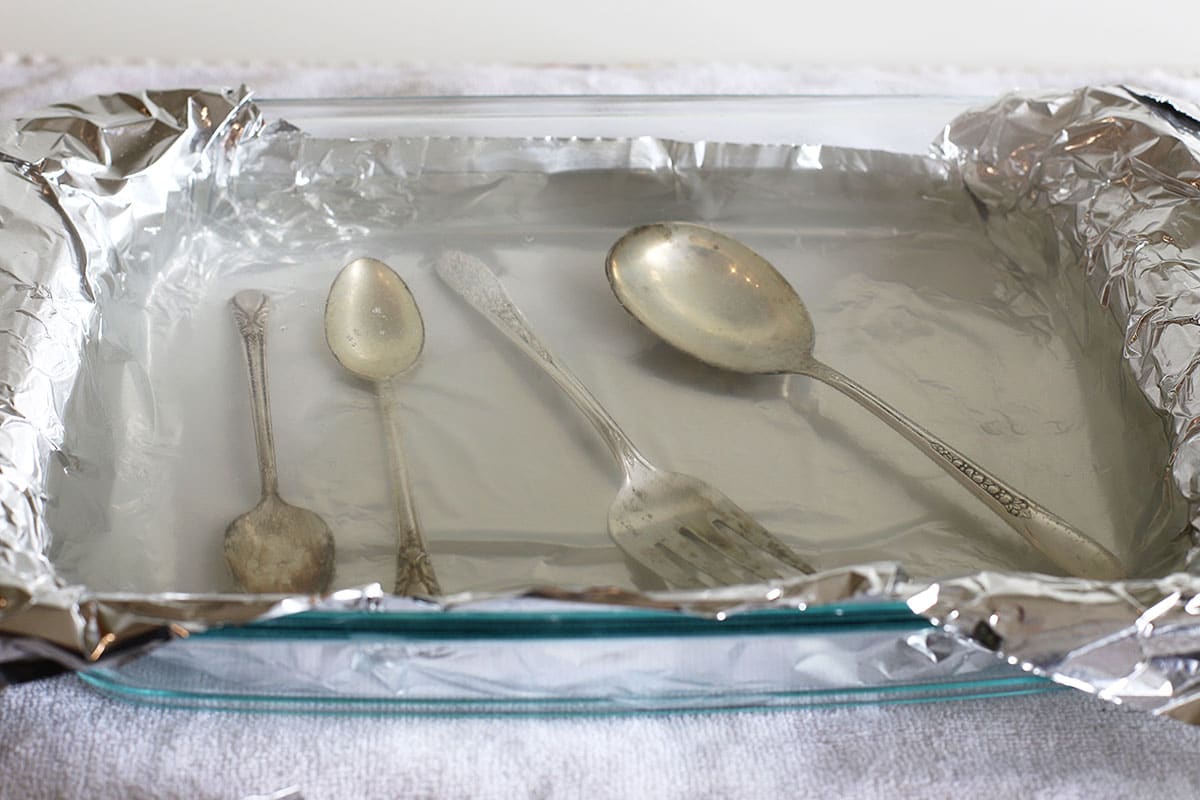
Step 2: The Gentle Rinse - Like a Spa for Your Silver
This is where the magic starts. Grab your foil, head to the sink, and give it a good, thorough rinse under warm water. Imagine you’re giving it a refreshing shower after a long, hard day of protecting your lasagna. You want to get off any loose crumbs or bits of food. Don’t be shy with the water! Think of it as foreplay for the cleaning process.
If there are any particularly stubborn, but still salvageable, bits, a gentle scrape with a rubber spatula can work wonders. No need for steel wool here, people. We’re not trying to sandblast our way to cleanliness.
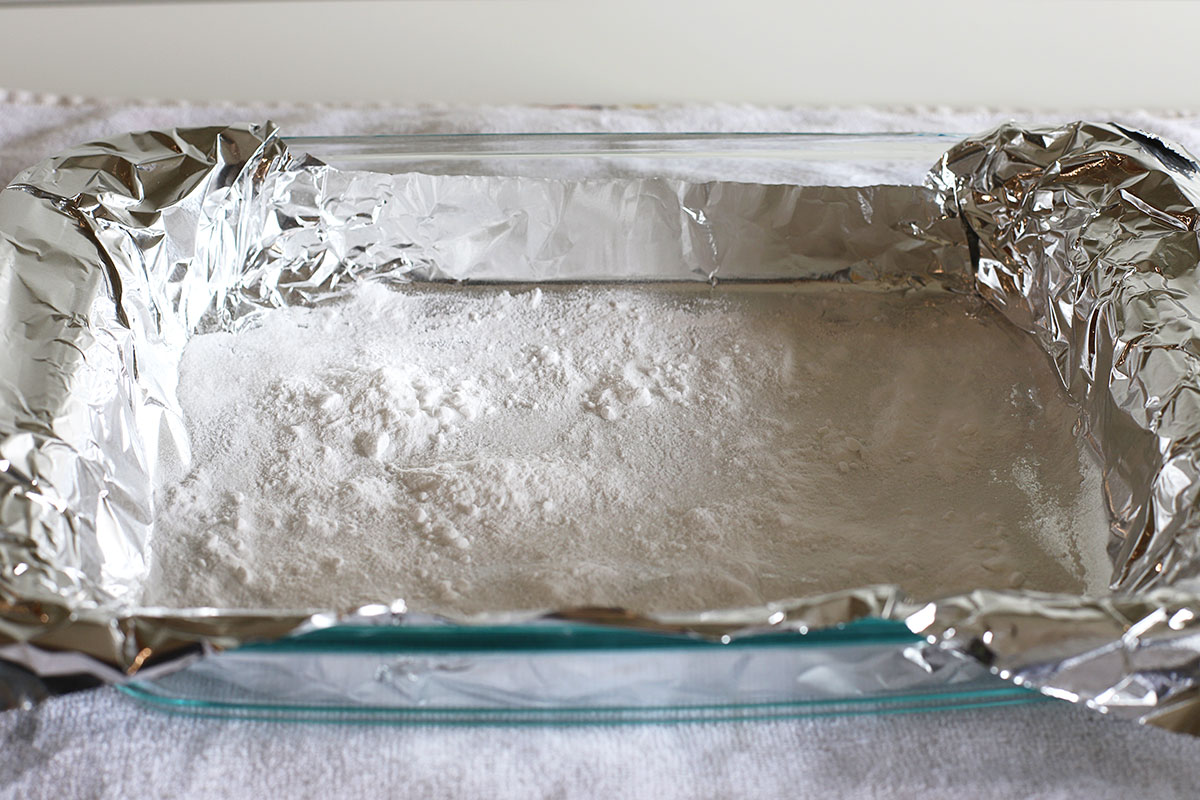
Step 3: The Suds Shower - Unleash the Power of Dish Soap
Now, for the main event! Grab your favorite dish soap. That stuff that cuts through grease like a hot knife through butter? That’s your best friend. Put a few drops on a soft sponge or cloth. We’re not looking for an industrial-strength scrubbing operation here; a gentle lather will do.
Gently rub the foil with the soapy sponge. Work in circular motions, paying attention to any areas that might be a little more… gritty. You’ll be surprised how quickly that dull film starts to disappear. It’s like watching a caterpillar transform into a butterfly, but… shinier.

Pro Tip: For those really stubborn oily patches, you can try letting the soapy foil soak in the sink for a few minutes. It’s like a mini-vacation for your foil, letting the suds do some of the heavy lifting.
Step 4: The Rinse and Repeat (If Necessary) - Be Persistent, Young Grasshopper
Once you’ve given it a good soapy scrub, rinse it off thoroughly. You want to make sure all the soap is gone. If you see any lingering dullness or oily spots, don’t despair! You can always go back for another round of sudsy goodness. Think of it as a double cleanse for your foil. It’s all about achieving that perfect, reflective sheen.
And here’s a surprising fact: aluminum itself is naturally antimicrobial. So, once you’ve removed the food residue, your cleaned foil is actually quite hygienic. Mind. Blown.
Step 5: The Drying Ritual - Shine On, You Crazy Diamond!
This is where your foil really starts to sing. Once it’s clean and rinsed, gently pat it dry with a soft towel. You can also let it air dry, but a quick pat-down will prevent water spots and ensure maximum shininess. Imagine you’re buffing a prized trophy. That’s the level of care we’re talking about!
And there you have it! Your aluminum foil is no longer a one-hit wonder. It’s a reusable marvel, ready for its next culinary assignment. You’ve achieved the impossible. You’ve cleaned aluminum foil!
Beyond the Sink: Creative Ways to Reuse Your Sparkling Foil
So, you’ve mastered the cleaning. What now? Well, the possibilities are as vast as the aluminum supply chain itself!
- Cookie Cutters: For intricate shapes, cut strips of foil, bend them into your desired shape, and secure the ends with tape. Instant custom cookie cutters!
- Paint Protection: Cover jars of paint or work surfaces to keep them clean. It's a surprisingly effective barrier against accidental spills.
- Seed Starting Pots: Shape small cups for starting seedlings. Just make sure to poke drainage holes!
- Gardening Tools: Wrap around the handles of your gardening tools for a better grip, especially if they’re a bit slippery.
- Crafting Fun: As mentioned before, crumpled foil makes fantastic textures for art projects. It adds a metallic pop that nothing else can replicate.
So next time you’re about to toss a perfectly good sheet of foil, pause. Take a moment. Channel your inner kitchen magician. Give it a wash, give it a scrub, and give it a new lease on life. Your wallet, the planet, and your crafting endeavors will thank you. Now go forth and shine, my foil-cleaning heroes!