
How To Clean Stainless Steel Cooktop Stove
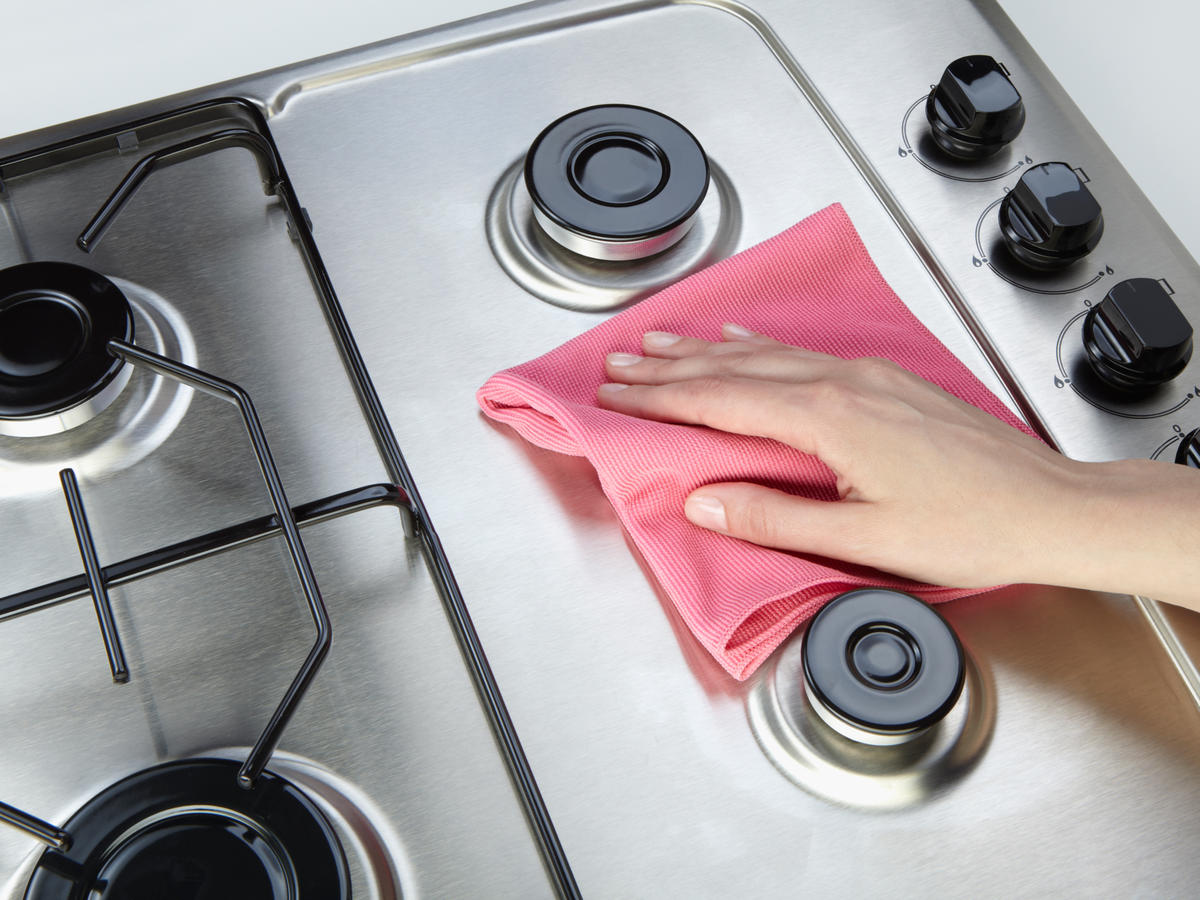
Alright, gather 'round, my culinary comrades and kitchen adventurers! Let's talk about something that's as much a part of your life as that overflowing junk drawer: the stainless steel cooktop. You know, that gleaming, often smudge-tastic surface that's supposed to make your kitchen look like a Pinterest board but often ends up looking like a crime scene after a particularly enthusiastic pancake flip. Yes, I'm talking about cleaning that shiny beast. It's not as daunting as wrestling a greased pig, but it does require a certain je ne sais quoi, or at least a willingness to get a little… domestic.
Now, I'm not going to lie to you. Stainless steel cooktops are like those people who insist on wearing white after Labor Day: they look fabulous, but they show every. single. thing. A fingerprint? BAM! Visible from space. A rogue drop of sauce? It's now an archaeological dig site. And don't even get me started on the water spots. It’s enough to make you want to buy a bread maker and just pretend you don't cook. But fear not! We're going to conquer this metallic monster, one scrub at a time.
The Pre-Game: What You’ll Need (Besides Your Sense of Humor)
Before we dive headfirst into the abyss of burnt-on bits, let's get our arsenal ready. Think of this as your culinary espionage kit. We’re not going to use any of those harsh chemicals that smell like a science experiment gone wrong. Nope. We’re going for the gentle giants, the everyday heroes of your cleaning cupboard.
First up, the undisputed champion: warm water. Revolutionary, I know. Followed closely by its trusty sidekick, mild dish soap. You know, the stuff you use to wash those delicate wine glasses that are probably gathering dust anyway. Then, we have our secret weapon, the mild abrasive that won't scratch your precious metal: baking soda. This stuff is like magic dust. Seriously, I suspect it was invented by a wizard who was also a very efficient housekeeper.
For buffing and shining, you’ll want some microfiber cloths. These are non-negotiable. Forget those old rags that have seen better days (and probably are in better days). Microfiber cloths are like tiny, lint-loving ninjas. And finally, for those truly stubborn, "did a racoon have a party on my stove?" moments, we’ve got white vinegar. Think of vinegar as the stern but fair disciplinarian of the cleaning world. It means business.
The Main Event: Tackling the Grime Like a Boss
Okay, deep breaths. You’ve got your supplies. You’re ready. Let’s begin. First, ensure your cooktop is completely cool. Seriously, nobody wants to explain to the ER why they have a third-degree burn from a rogue splatter of olive oil. Safety first, then shine!
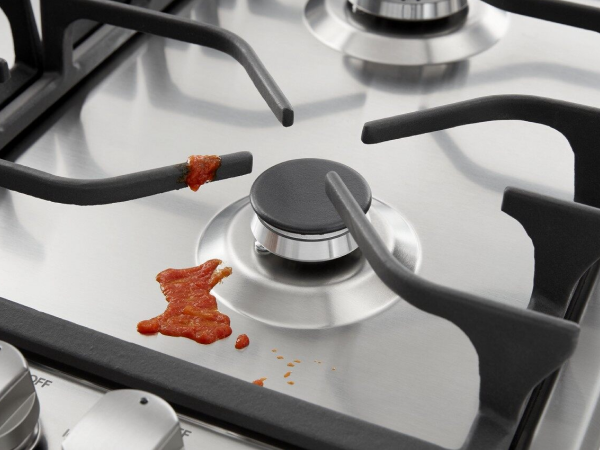
For general, everyday smudges and a quick refresh, a simple wipe-down with a damp microfiber cloth dipped in warm, soapy water will do the trick. It’s like a spa day for your stove. A brisk, bubbly spa day. But what about when things get a little… more intense?
This is where our baking soda buddy comes in. Sprinkle a generous amount of baking soda directly onto the affected areas. Think of it as creating a tiny, doughy blanket of cleaning power. Now, add just enough warm water to create a paste. You want it to be thick enough to cling, but not so runny that it just sloshes around like a sad, forgotten soup.
Let this paste sit for a bit. Give it five to ten minutes. This is the crucial soaking period. It’s like letting your favorite jeans soak before a tough stain. During this time, the baking soda is working its magic, gently loosening up all that dried-on food, grease, and whatever else has decided to permanently bond with your cooktop. It’s an underground operation. You don’t see it, but it’s happening.
Now, grab another clean, damp microfiber cloth. Gently, and I mean gently, start to scrub in the direction of the stainless steel grain. You'll notice it usually runs in one direction. Going against the grain is like wearing socks with sandals – it just looks wrong and can leave annoying streaks. Think of it as being polite to your appliance. Use circular motions for tougher spots, but always finish with a sweep along the grain.

As you scrub, you’ll see the grime start to lift away. It's a beautiful, if slightly messy, process. Rinse your cloth frequently, and keep scrubbing until all the visible offenders are vanquished. You might need to reapply the paste for particularly stubborn areas. This is where you channel your inner warrior. This is your culinary battlefield.
The Vinegar Intervention: For the Really Tough Stuff
Now, what if you’ve got those truly heroic stains? The ones that look like they’ve been fossilized? This is where white vinegar steps in, cape billowing majesteningly. For these persistent problems, you have two options.
Option one: Spray bottle. Mix equal parts white vinegar and water in a spray bottle. Spray this solution directly onto the stubborn spots. Let it sit for a few minutes. The acidity of the vinegar is a powerful degreaser and stain remover. It’s like sending in the SWAT team. Then, gently scrub with your microfiber cloth, again, following the grain.
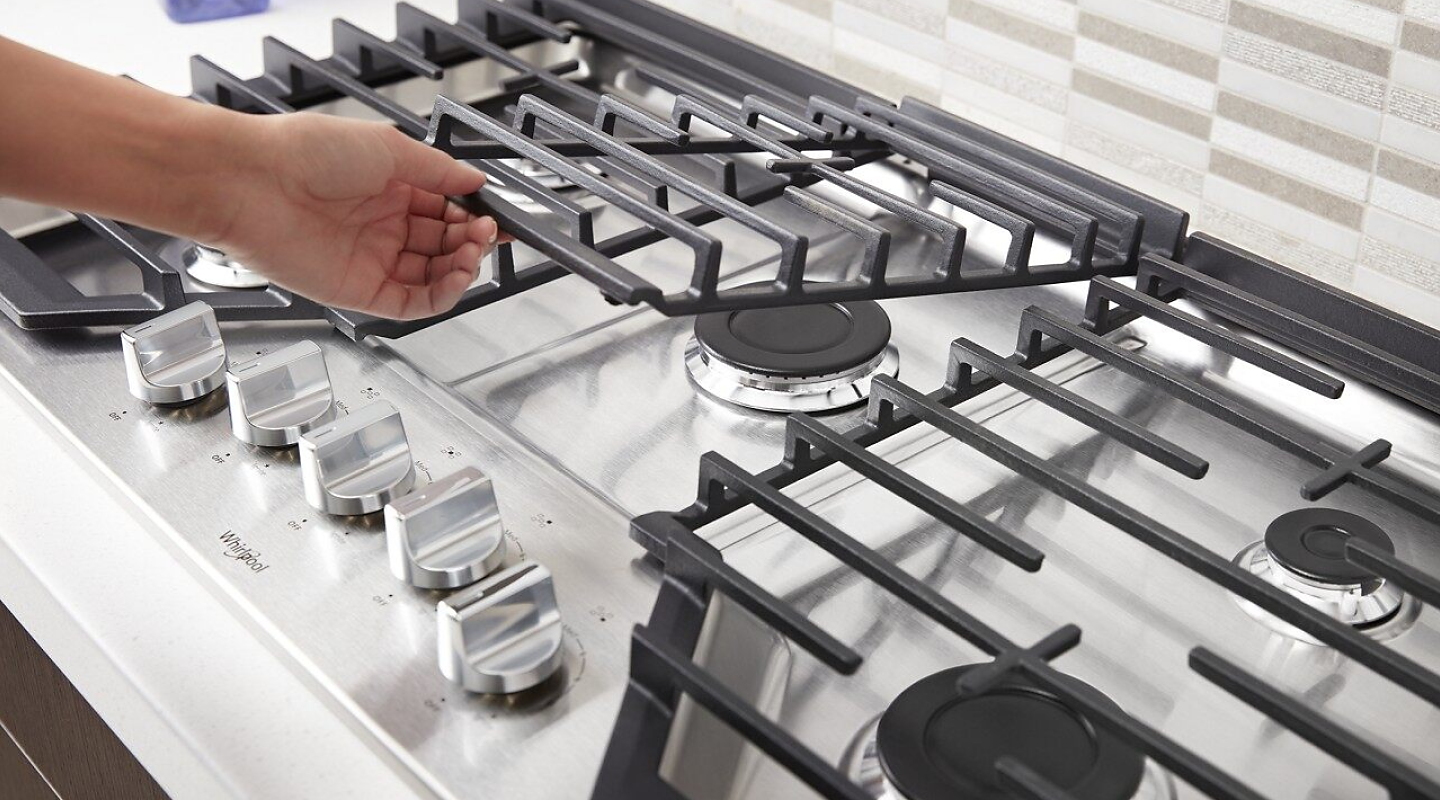
Option two: The Paper Towel Poultice. This is for the truly dire situations. Lightly dampen a paper towel with white vinegar. Place this damp paper towel directly over the stubborn stain. Let it sit for 15-30 minutes. This allows the vinegar to really penetrate and break down the hardened gunk. It’s like a spa mask for your stove, but much more effective at removing burnt-on cheese.
After the vinegar treatment, you’ll want to rinse the area thoroughly with a damp cloth and then follow up with the baking soda paste if needed to neutralize any lingering vinegar smell and give it that final polish.
The Grand Finale: Buffing to a Brilliant Shine
We’re in the home stretch, folks! All the major grime has been defeated. Now it’s time for the pièce de résistance: the shine. Grab a clean, dry microfiber cloth. This is your magic wand. Buff the entire surface of the cooktop in a circular motion, and then finish with strokes along the grain.
This is where you’ll see your cooktop transform from a battlefield to a mirror. It should gleam. It should sparkle. It should make you want to take a selfie with it (don't worry, we all do it). The key here is to keep buffing until all moisture is gone and you have that streak-free, showroom finish.
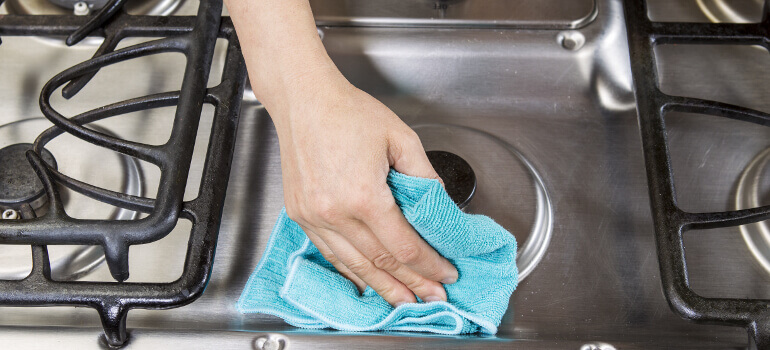
A surprising fact for you: Did you know that stainless steel is naturally resistant to corrosion and bacteria? That’s why it’s so popular in kitchens! So, while it might look like it’s screaming for mercy after a messy meal, it’s actually a pretty tough cookie. You’re just helping it maintain its composure.
Prevention is Key (and Also Less Work)
Now that you’ve achieved your sparkling masterpiece, let's talk about keeping it that way with minimal effort. The best offense is a good defense, and in the case of cooktops, that means wiping up spills immediately. Seriously, as soon as that sauce splatters, grab a damp cloth. It takes two seconds and saves you ten minutes of scrubbing later. It’s a no-brainer, like choosing pizza over salad for dinner.
Also, try to avoid sliding heavy pots and pans across the surface. This can cause scratches. Think of it as treating your cooktop like a delicate piece of jewelry, not a hockey rink. And for those of you who have a habit of leaving greasy residue on pots and pans before placing them on the stove, a quick rinse beforehand can make a world of difference.
So there you have it! Cleaning your stainless steel cooktop doesn't have to be a Herculean task. With a little patience, the right tools (which you probably already own!), and a healthy dose of good humor, you can keep your kitchen shining like a beacon of culinary excellence. Now go forth and conquer those cooktop calamities! Your guests (and your future self) will thank you.