
How To Clean Stainless Steel Thermos Bottle
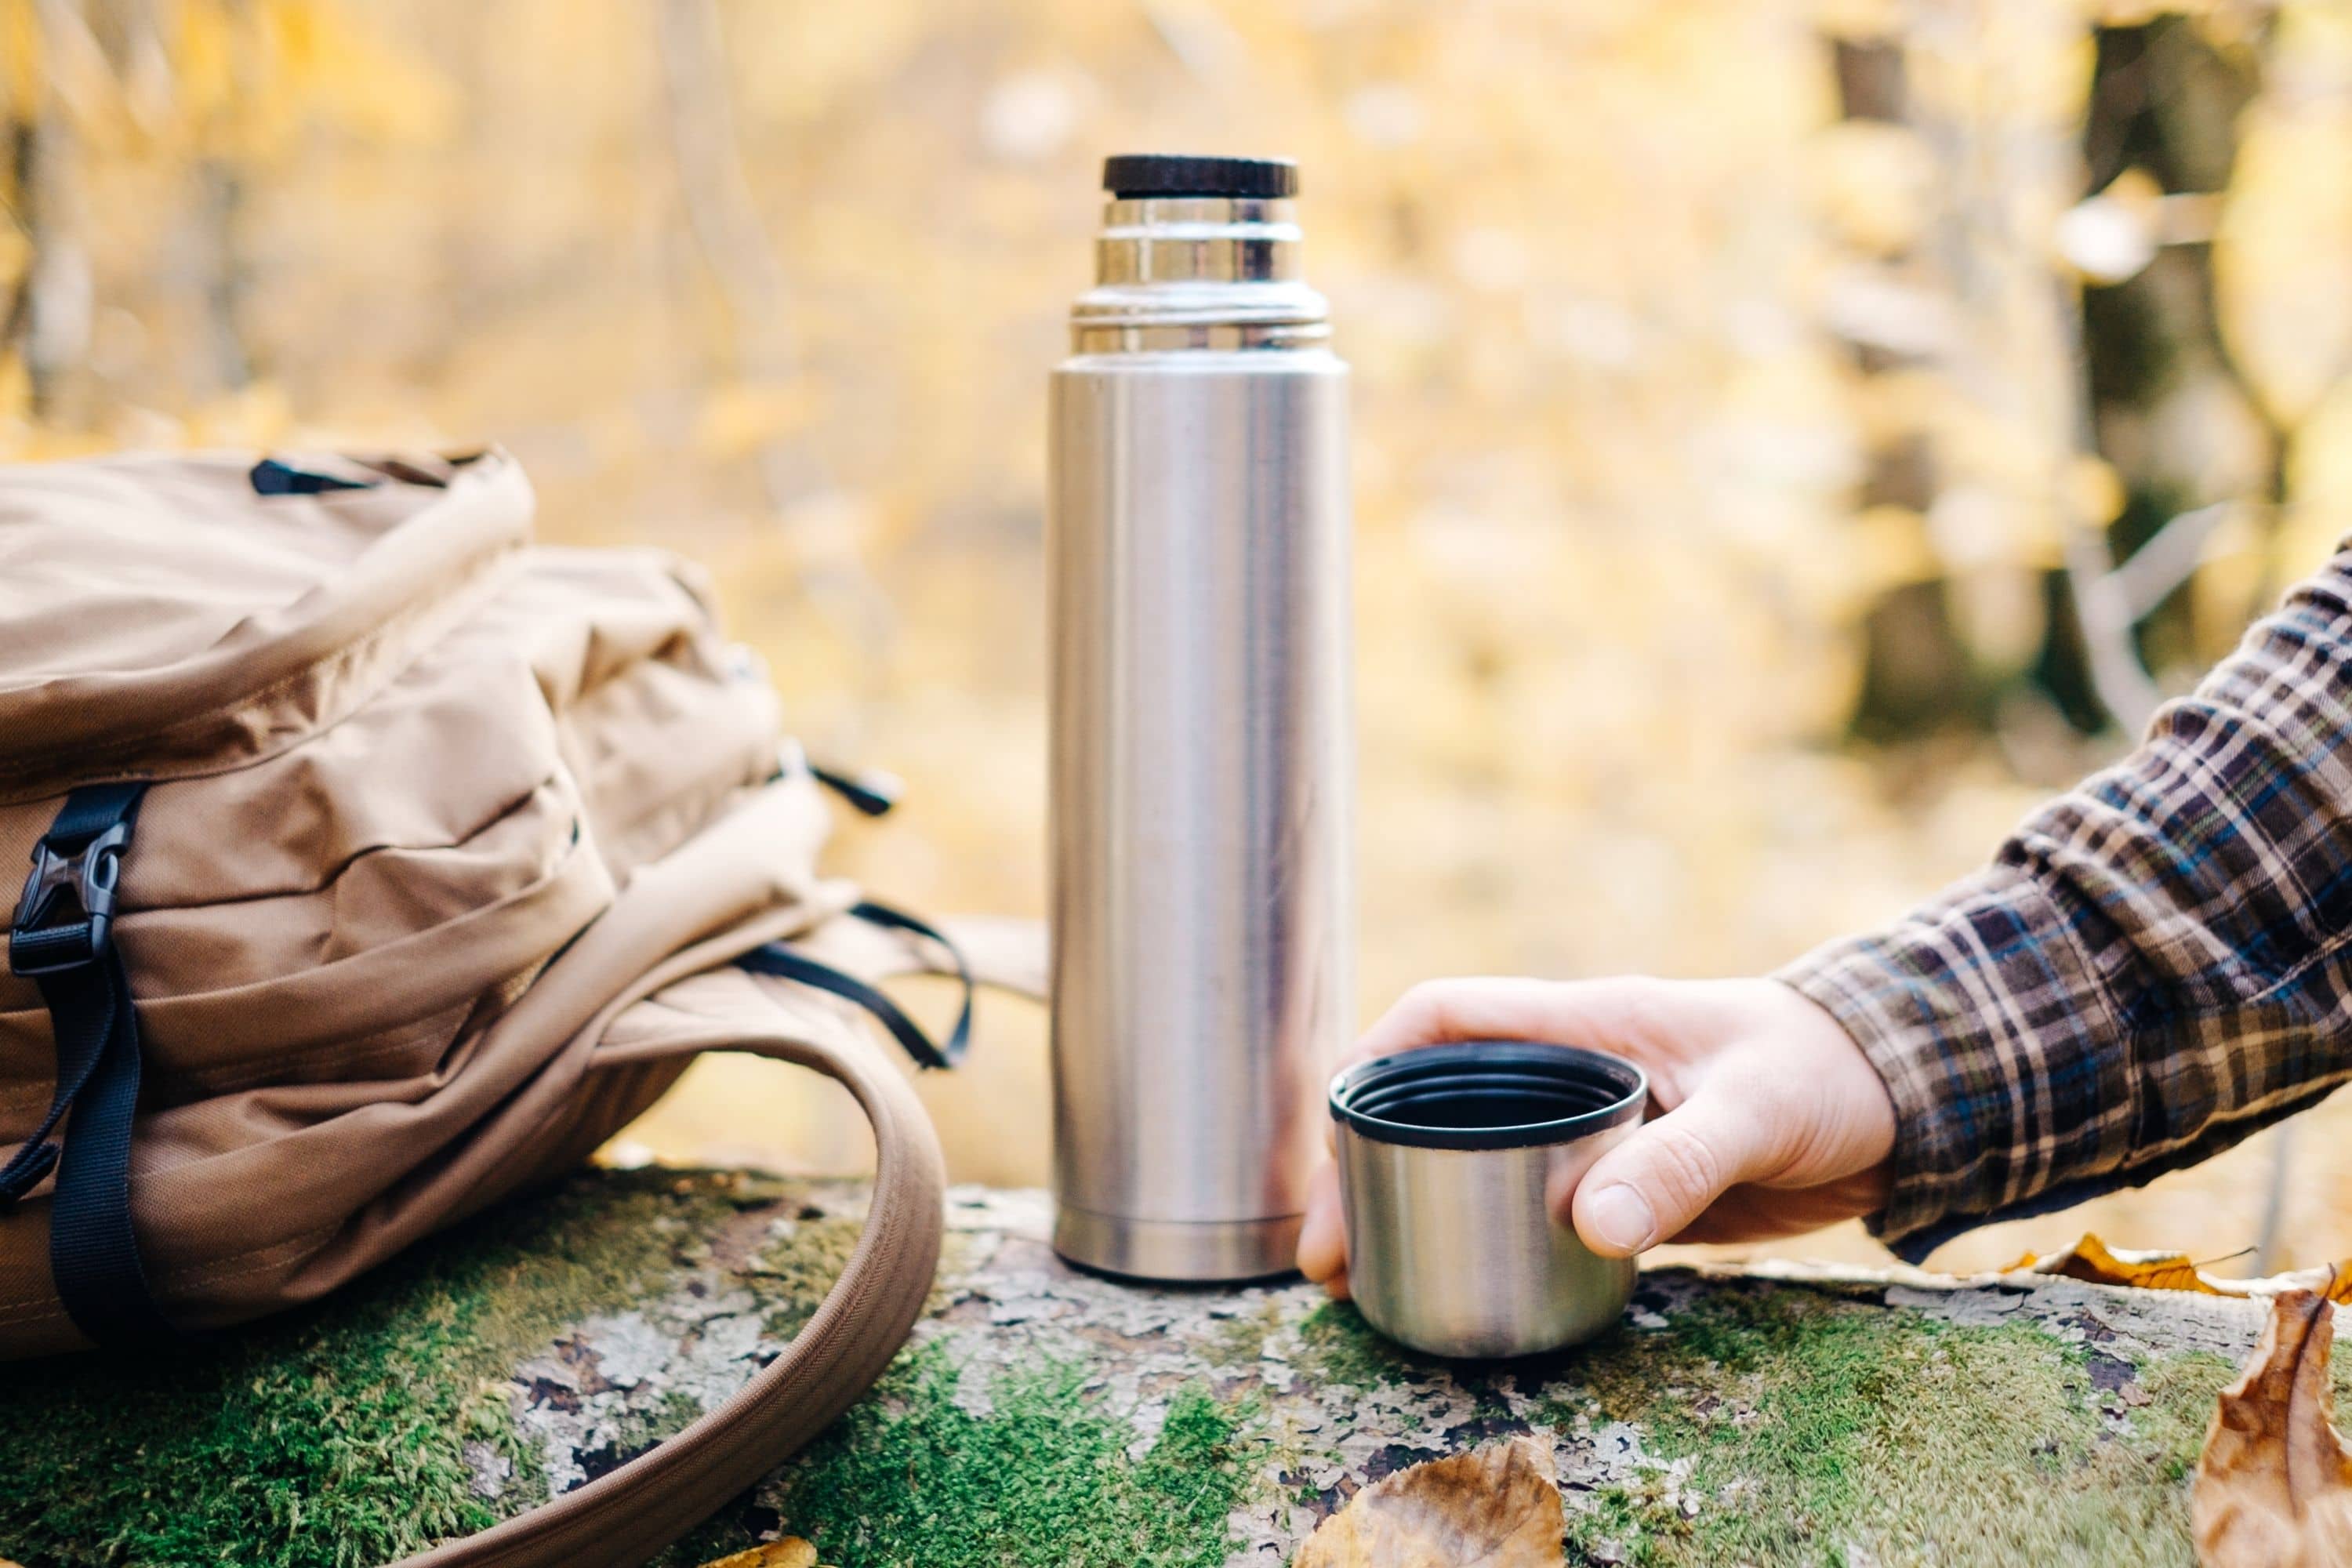
Alright, fellow adventurers and caffeine enthusiasts! Let's talk about a hero in our daily lives, a silent guardian of our precious beverages: the mighty stainless steel thermos bottle.
This trusty companion keeps our coffee piping hot on icy mornings and our water refreshingly cold during sweltering afternoons. It’s basically a superhero in a cylindrical suit, ready to save us from lukewarm disappointments.
But even superheroes need a little TLC, right? And let's be honest, sometimes our thermoses can get a bit… seasoned. We’re talking faint coffee rings that have seen more sunrises than we have, or a mysterious scent that whispers tales of yesterday's herbal tea.
Fear not, brave custodians of hot and cold! Today, we’re diving into the wonderfully simple, dare I say, magical art of cleaning your stainless steel thermos bottle. Prepare to banish the funk and restore your thermos to its former glorious gleam!
The Nitty-Gritty: What You’ll Need
Before we embark on this epic cleaning quest, let’s gather our trusty sidekicks. These are everyday items, probably lurking in your kitchen right now, just waiting to be unleashed upon a grubby thermos.
First up, we need our trusty dish soap. You know, the stuff that cuts through grease and makes bubbles that can practically tell jokes. It’s the foundation of our cleaning empire.
Next, let’s talk about a secret weapon: baking soda. This stuff is like a tiny, fizzy cleaning fairy. It’s an all-natural deodorizer and scrubber that works wonders without being harsh.
For those truly stubborn stains, the ones that look like they’ve taken up permanent residence, we’ll bring in the big guns: white vinegar. Don’t be scared of the smell; it’s a temporary invader that leaves behind nothing but pure cleanliness.
And of course, we’ll need some trusty warm water and a good old-fashioned bottle brush. Think of the bottle brush as your trusty steed, reaching into every nook and cranny.
The Gentle Approach: Everyday Cleaning
So, your thermos had a good run today. Maybe it was filled with a strong, dark roast that has left its mark, or perhaps it was a refreshing lemonade that’s now a distant memory.
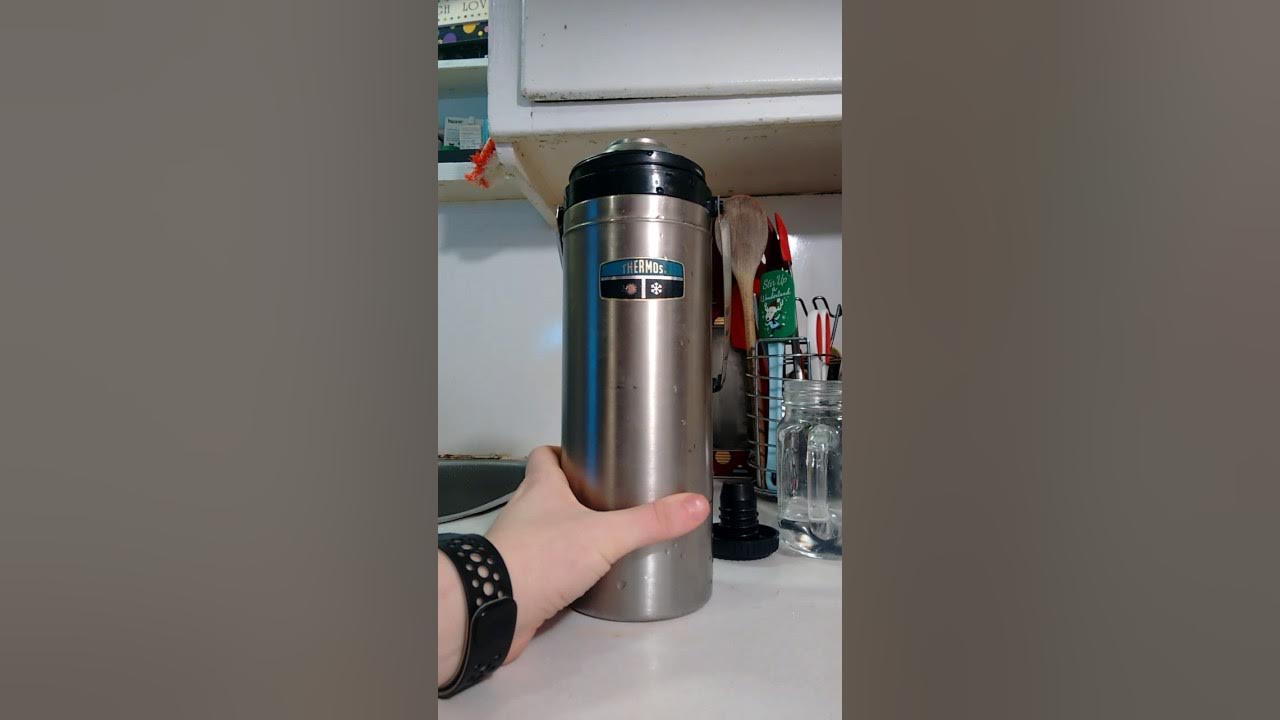
Whatever the case, for a quick refresh, the process is as easy as brewing your morning cuppa. Start by emptying out any lingering liquid. Give your thermos a good rinse under the tap.
Then, add a small squirt of your favorite dish soap. Fill the thermos about a quarter of the way with warm water. Screw on the lid tightly, as if you’re sealing a treasure chest!
Now, let the fun begin! Give your thermos a good shake. Imagine you’re a mixologist preparing a fancy, bubbly potion. Shake it like there’s no tomorrow, for at least 30 seconds. The more vigorous the shake, the happier your thermos will be.
After your vigorous shaking session, empty out the soapy water. Give it another thorough rinse with clean, warm water. Make sure all the soap bubbles have vanished into the ether.
Finally, let your thermos air dry completely, preferably upside down with the lid off. This allows any trapped moisture to escape, preventing that dreaded musty smell from setting up camp.
Conquering the Stubborn Stains: The Baking Soda Power-Up
Sometimes, life throws us a curveball, and our thermoses bear the brunt of it. We’re talking about those deep-set coffee stains that look like they’re part of the stainless steel’s permanent artwork.
For these tougher battles, it's time to unleash the humble yet mighty baking soda. It’s the gentle giant of the cleaning world.
Start by emptying your thermos and giving it a quick rinse. Then, sprinkle a generous amount of baking soda into the bottom. Think of it as a sparkly carpet for your thermos to rest on.

Add just enough warm water to create a thick paste. You want it to be like a delicious, albeit inedible, smoothie. Use your bottle brush to gently scrub the inside of the thermos with this paste. Focus on those stubborn stained areas.
Let this baking soda paste work its magic for at least 15-30 minutes. You can even leave it overnight for those truly epic stain battles. The baking soda is busy absorbing odors and lifting away those ingrained marks.
After its little spa treatment, rinse the thermos thoroughly with warm water. Follow up with a quick wash using dish soap and warm water, as described in our gentle approach. You should notice a remarkable difference!
The Vinegar Victory: Banishing Odors and Limescale
Now, let's talk about those lingering odors. You know the ones. Maybe it was a potent curry soup from last week, or perhaps just the general aroma of… thermosness. Or maybe you live in a hard water area, and little white chalky bits are starting to appear – that’s limescale, the unwelcome guest.
Enter the unsung hero of the kitchen: white vinegar. Don't let its sharp aroma fool you; it’s a powerful disinfectant and deodorizer that leaves behind only freshness.
For this powerful cleaning session, empty your thermos and give it a rinse. Now, here’s the slightly more potent step. Fill your thermos about halfway with white vinegar.
Then, top it off with warm water. Screw on the lid nice and tight. Let this vinegary concoction sit for a few hours, or even overnight, especially if the odors are particularly persistent or limescale is a concern.

The vinegar is busy breaking down those stubborn molecules that cause bad smells and dissolving any limescale deposits. It’s like a tiny cleaning army waging war on grime!
When the soaking time is up, pour out the vinegar solution. Rinse your thermos very thoroughly with warm water. You’ll want to do this multiple times to ensure no lingering vinegar scent remains. Then, give it a final wash with dish soap and warm water.
Make sure to air dry it completely with the lid off. The combination of vinegar followed by a dish soap wash is a surefire way to achieve that sparkling, odor-free perfection.
The Lid and Straw: Don’t Forget the Little Guys!
We’re so focused on the main body of the thermos that we sometimes forget its crucial accessories: the lid and any accompanying straw!
These little guys can harbor just as much gunk and odor as the main chamber. It’s like a secret hideout for bacteria, just waiting to pounce.
Most lids can be taken apart. If yours can, do so! This will give you access to all the nooks and crannies where residue loves to gather. Think of it as preparing for a meticulous home renovation.
Use your dish soap and warm water to scrub all the parts of the lid. A small brush, like an old toothbrush, can be a lifesaver for getting into tight spots.
If your thermos came with a straw, clean that meticulously too! A straw brush is your best friend here, ensuring no hidden nasties are lurking within.

Rinse everything thoroughly and let all parts air dry completely before reassembling. A clean lid and straw are essential for a truly clean and hygienic thermos experience.
The Final Polish: Keeping Your Thermos Happy
Now that your thermos is gleaming and smelling fresher than a spring meadow, let’s talk about keeping it that way!
The best defense is a good offense, as they say. Try to rinse your thermos out as soon as possible after use, especially if it contained anything other than water.
A quick rinse can prevent many stains and odors from becoming permanent residents. It’s like giving your thermos a quick pat on the back after a long day of work.
For regular use, a simple wash with dish soap and warm water will do the trick most of the time. Don't be afraid to bust out the baking soda or vinegar when needed, but these might not be necessary every single day.
And remember, always let your thermos air dry completely with the lid off. This is the golden rule of thermos hygiene!
So there you have it! Cleaning your stainless steel thermos bottle is not some daunting, complex chore. It’s a simple, satisfying process that will keep your beloved beverage container in top-notch condition.
Go forth and embrace the sparkle! Your taste buds, and your thermos, will thank you for it. Happy sipping!