
How To Convert To Tubeless Tires

Alright, fellow cyclists! Ever stared at your tires and thought, "There's gotta be a more fun way to ride?" You're in luck! We're diving into the wonderful world of tubeless tires. And let me tell you, it's a game-changer. Forget the fussy inner tubes for a minute. This is about freedom, fewer flats, and a smoother, more connected feel to the trail or road beneath you. It’s like upgrading your bike from a reliable sedan to a sporty convertible – suddenly, every ride feels a little more exciting!
So, what's the big deal? Imagine this: you’re out on a beautiful ride, the sun is shining, the wind is in your hair (or helmet!), and then… thump-thump-thump. A flat. Ugh. The dreaded roadside repair. Well, with tubeless, those days become a distant memory for most common punctures. Tiny holes? The magic of tubeless sealant swoops in to save the day. It’s like having a tiny pit crew living inside your tire, constantly patching things up. How cool is that?
The whole process might sound a little intimidating at first, like learning a new dance move. But trust me, it's more like assembling a really satisfying puzzle. And once you get the hang of it, you’ll feel a sense of accomplishment that’s just as sweet as hitting a new personal best. It’s a skill that empowers you, makes you feel more in tune with your bike, and frankly, it’s just plain fun to tinker with your gear. Plus, the bragging rights when you tell your riding buddies you went tubeless? Priceless.
The core idea is simple. You remove the inner tube, and your tire then seals directly to the rim of your wheel. This creates an airtight system. But how does that magic happen? That’s where the heroes of this story come in: tubeless-ready rims and tubeless tires. They're designed to play nice together, creating that perfect seal. Think of them as soulmates in the cycling world. You can’t have one without the other for this to work its best.
First things first, you need to make sure your wheels and tires are tubeless-ready. Look for markings on your rim or tire that say “tubeless ready,” “TR,” or “UST.” This is your green light! If they aren't, don’t fret, there are other options like tubeless conversion tape that can help an older rim get in on the tubeless fun. It's like giving an old friend a makeover – they'll look and perform better than ever!
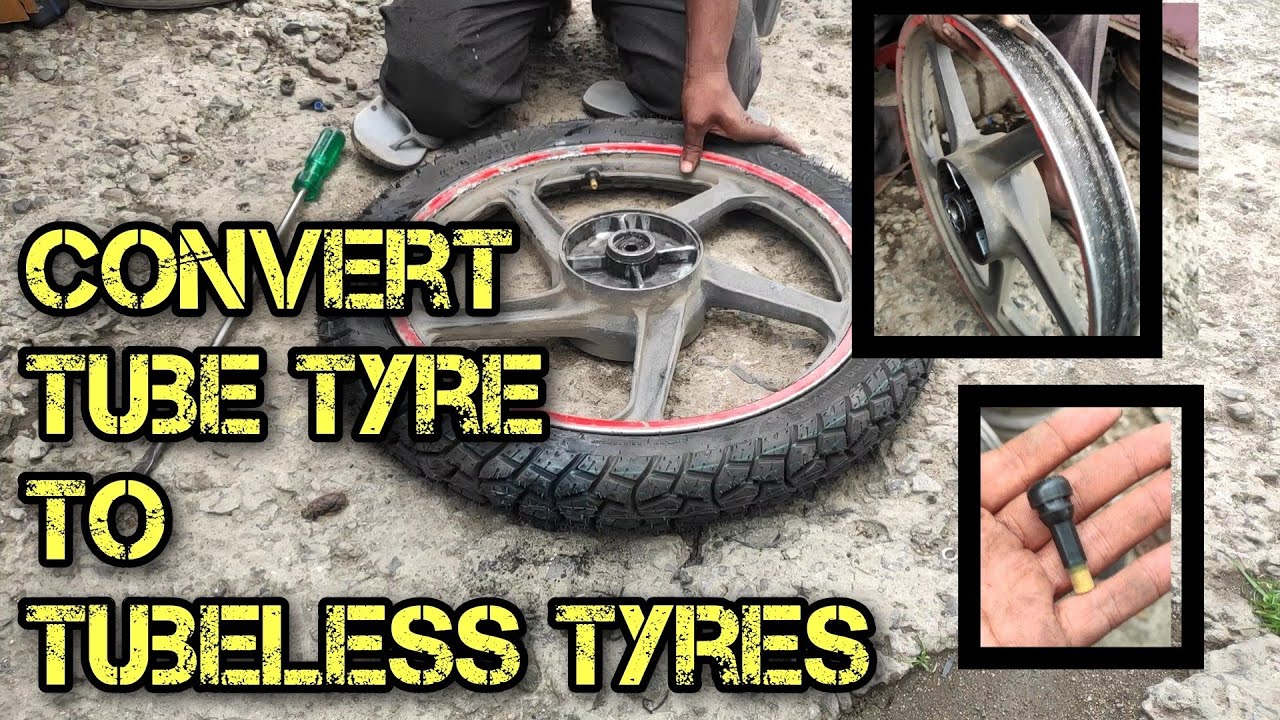
Now, let’s get our hands dirty! You'll need a few key players for this adventure. Besides your tubeless-ready tires and rims, you'll want some tubeless rim tape. This is crucial for creating an airtight seal along the rim bed. It’s usually a strong, sticky tape that conforms nicely. Then comes the star of the show: tubeless sealant. This is the liquid magic that does all the patching work. And finally, you'll need a way to get air into that newly sealed system – a good floor pump or, even better, a tubeless inflator or air compressor. These high-volume pumps are your best friend for that initial, exciting burst of air needed to seat the tire.
The process usually starts with removing your old tire and tube. This is where you might encounter some residual sealant, which can be a bit messy, but think of it as the exciting prelude to something better! Then, you’ll meticulously apply the tubeless rim tape. Make sure it's centered and smooth, with no wrinkles. This is where patience pays off. You want a perfect, clean surface for your seal. Imagine carefully wrapping a present – the neater you are, the better the result!

"This is where the real fun begins! Applying the tape feels like preparing your bike for a spa day."
Next, you'll install the tubeless valve. These are special valves that allow air in but keep the sealant from escaping. They screw into a hole in your rim and are usually held in place with a nut on the outside. Once that's in, you're ready for the tire itself. Mount the tire onto your rim. Make sure the bead of the tire sits evenly all the way around. This is where those tubeless-ready tires really shine, as they're designed to hook onto the rim securely.
Now, for the moment of truth: seating the tire! This is where that high-volume pump comes in handy. You need a rapid, strong blast of air. Sometimes, you’ll hear a satisfying POP or two as the tire beads snap into place on the rim. This sound is pure music to a tubeless enthusiast’s ears! If it doesn’t pop right away, don't worry. There are little tricks like deflating and re-seating, or using a tire lever to help coax it into place. It’s all part of the adventure, learning the quirks of your specific tire and rim combo.

Once the tire is seated, it's time to add the liquid gold: tubeless sealant. You can pour it in through the valve stem (with the valve core removed, which makes it easier) or inject it before you fully mount the tire. The amount you need depends on your tire size, so check the sealant manufacturer's recommendations. Give the wheel a spin and a shake to distribute the sealant evenly inside the tire. You’re basically giving your tire a nutritious smoothie!
After that, you inflate the tire to your desired pressure. Then, you’ll usually give the wheel another good spin and shake. This is when the sealant gets to work, finding any tiny gaps and sealing them up. You might see a few little bubbles escaping at first, but as the sealant does its job, they should disappear. It's like watching a magician at work, but the magician is inside your tire!
And that’s it! You’ve just converted to tubeless! The benefits are real: fewer pinch flats, the ability to run lower tire pressures for more grip and comfort (especially on mountain bikes!), and that sweet, connected feeling to the road or trail. It’s like your bike is giving you a high-five with every revolution. So, go ahead, give it a try. It’s a rewarding skill, it makes your rides more enjoyable, and it’s a fantastic way to dive deeper into the joys of cycling maintenance. You might just find yourself hooked!