
How To Cut Metal Roofing With A Circular Saw

Alright, so you've got this brilliant idea, a vision of your home looking all sleek and modern with a shiny new metal roof. Or maybe you're just upgrading that old shed in the backyard that's seen better days, the one that leaks more than a sieve trying to hold jelly. Either way, you've landed on the awesome, durable, and surprisingly stylish world of metal roofing. And then it hits you: you gotta cut the stuff. Dun dun dunnnn! Seems a bit daunting, right? Like trying to cut a diamond with a butter knife. But hold your horses, cowboy. Cutting metal roofing with a circular saw isn't some mystical wizardry reserved for grizzled construction pros. Nope, it’s totally doable, and honestly, with the right approach, it’s more like a slightly noisy but satisfying DIY adventure.
Think of it this way: you’ve probably used a circular saw before, right? For lumber, maybe some plywood for that epic fort you’re building for the grandkids (or yourself, no judgment here). Cutting metal roofing is kinda like that, just… more sparky. You’re trading the pleasant woody scent for the exciting aroma of singed metal and maybe a hint of existential dread if you haven’t prepped properly. But fear not, my friend! We’re gonna walk through this like we're casually strolling through a hardware store, picking up our essentials, and humming a tune. No need for sweatbands and intense grunting, unless you really want to get into character.
So, why a circular saw? Well, it’s the workhorse of the DIY world for a reason. It’s versatile, relatively easy to handle (once you get past the initial respect it commands), and most of us either own one or know someone who does. Think of your circular saw as your trusty steed. It’s got the power to get the job done, but you gotta guide it, treat it with a little respect, and make sure it’s up for the challenge. Trying to cut metal roofing with a dull blade is like trying to win a staring contest with a cat – frustrating and utterly pointless.
First things first, let’s talk about safety. Yeah, yeah, I know, the boring stuff. But seriously, this is where the magic doesn't happen if you skip it. When you’re dealing with flying sparks, sharp metal edges, and a powerful spinning blade, you want to be as protected as a marshmallow at a campfire. So, let’s get geared up. You’re gonna need a good pair of safety glasses. Not those flimsy things you get in party favor bags, but the sturdy, wrap-around kind that make you feel like a sci-fi hero. Because trust me, a rogue metal shaving in your eye is the quickest way to turn your DIY dream into a trip to the emergency room, and nobody wants that.
Next up: ear protection. Circular saws are loud. Like, ‘your neighbors are gonna think you’re wrestling a dragon’ loud. Earplugs or earmuffs are your best friends here. Your eardrums will thank you later, especially when you’re trying to hear your favorite podcast or that annoying jingle from a commercial. And gloves, of course. Not thin gardening gloves, but sturdy work gloves that can handle a bit of abrasion. Those edges of the metal can be sharper than a politician’s promises. You don't want to end up with a hand that looks like it went a few rounds with a very enthusiastic cheese grater.
Now, let's get to the star of the show, besides your newfound DIY prowess: the circular saw. You can’t just grab any old blade for this gig. Trying to cut metal with a wood blade is like trying to wear socks with sandals to a formal wedding – just… wrong. You need a specific metal-cutting blade. These blades are designed for the job, usually made of high-speed steel (HSS) or carbide-tipped for extra toughness. Think of it as giving your saw a specialized superpower. It’s like putting rocket boosters on your car; suddenly, you’re not just driving, you’re cruising.
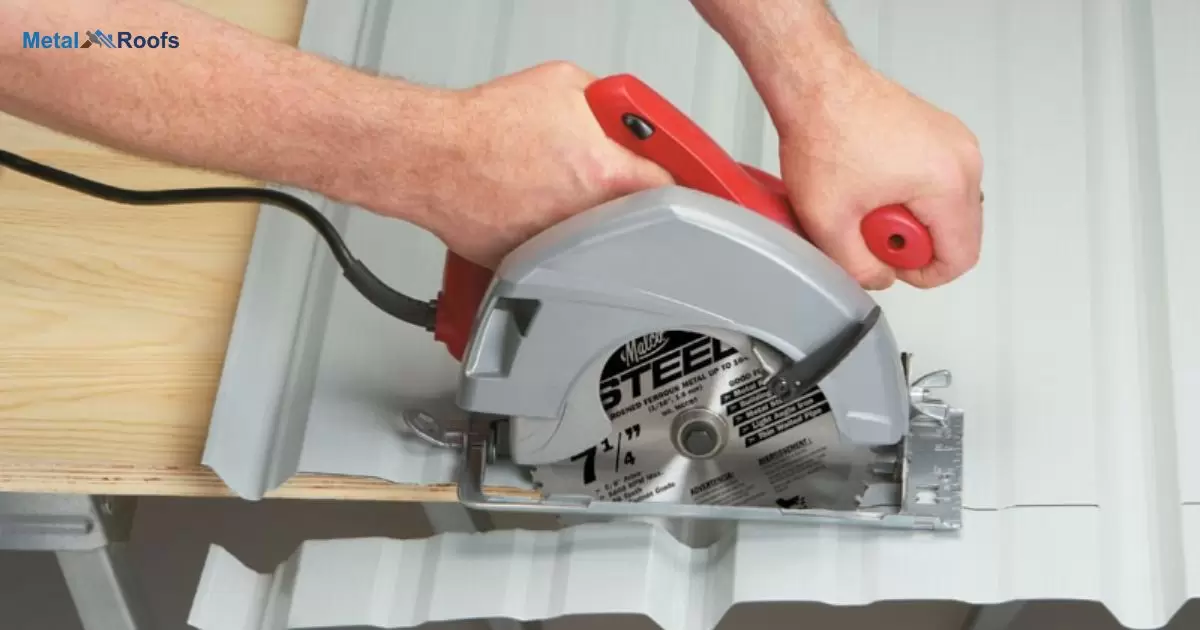
Make sure your blade is sharp. A dull blade is a recipe for disaster. It’ll make you push harder, create more heat, and generally make life miserable. Plus, it can lead to kickback, which is the saw’s way of saying, “Hey, I don’t like this, and I’m gonna throw it back at you!” So, if your blade’s seen better days, do yourself a favor and grab a fresh one. Your saw, your roof, and your sanity will all be eternally grateful.
Before you even think about touching that trigger, you need to prep your workspace. Metal roofing can be slippery, especially if it’s new and shiny or if there’s a bit of dew on it. You want a stable surface to work on, and you want to make sure the metal panels are secure. Clamps are your pals here. Use them generously to keep everything from shifting. Imagine you’re trying to balance a greasy watermelon on a bowling ball – that’s the kind of instability you want to avoid.
When you're cutting, you’ll want to support the offcut piece. This prevents it from falling and potentially damaging the panel or, heaven forbid, you! A couple of sawhorses or even some sturdy blocks of wood can do the trick. Think of it as giving the piece of metal a little hand to hold onto as it goes on its journey. Nobody likes to be left dangling, not even a piece of roofing material.

Now, the actual cutting. Here’s the trick: cut from the underside of the panel. Yes, you read that right. Most of us are used to cutting from the top, like we’re carving a Thanksgiving turkey. But with metal roofing, you want to go against the grain. Why? Because this helps to prevent burrs and sharp edges from forming on the exposed side of your roof. You want those edges to be as smooth as a polished pebble, not like a tiny, jagged mountain range.
So, flip that panel over. Measure twice, cut once, as the old adage goes. And for metal, it’s like, measure thrice, double-check your tape measure for stray cat hair, and then cut. Seriously, measure carefully. Metal roofing isn’t cheap, and you don’t want to be ending up with a collection of mismatched scraps that look like a modern art piece gone wrong.
Once you’ve marked your line, place your circular saw on the edge of the panel, with the blade just touching the material. Make sure the guide fence of the saw is flush against the edge of the metal. This is crucial for a straight cut. It’s like making sure your compass is set correctly before you draw a perfect circle.
Now, the moment of truth. When you're ready to cut, start the saw before it touches the metal. Let it get up to full speed. This is important! A slow-spinning blade will snag and make a mess. You want that blade to be a whirling dervish of cutting power, ready to slice through the metal like butter. Then, smoothly and steadily, guide the saw along your marked line. Don’t force it. Let the saw do the work. You’re the conductor of this noisy orchestra, not the brute pushing it around.
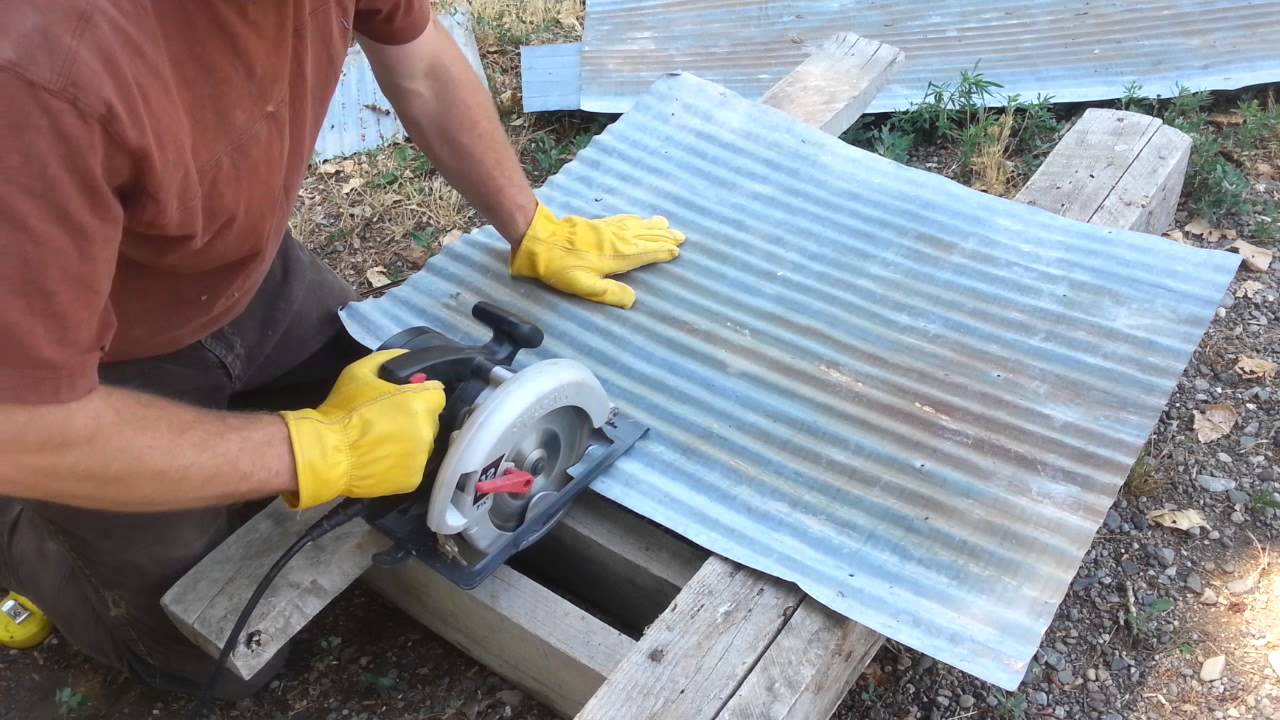
As you cut, you'll see sparks flying. This is normal. It’s the metal’s way of saying, “Ouch! That tickles!” It might seem a little dramatic, like a tiny fireworks display, but it’s just the blade doing its thing. You might also notice a bit of dust or fine metal shavings. Again, normal. Just make sure it’s not getting into any openings in your tools or your eyes, which is why those safety glasses are so darn important.
There’s also a whole debate about cooling. Some folks swear by using a lubricant, like a cutting fluid or even a bit of WD-40, to keep the blade cool and reduce friction. Think of it as giving your saw a nice, cool drink on a hot day. It can help the blade last longer and make the cut smoother. Others say it's not necessary for thinner gauge roofing. If you're using a good quality metal-cutting blade, you might be okay without it. But if you're cutting thicker material or if you notice a lot of heat building up, giving it a little spritz won’t hurt. Just be aware that lubricants can make things a bit more slippery, so extra caution is needed.
After the cut is complete, let the blade stop completely before lifting the saw from the material. Seriously. Don’t be in a rush. You don’t want that spinning blade catching on anything and sending your saw flying. Patience, grasshopper. It’s a virtue, especially when power tools are involved. Once it’s stopped, gently lift the saw away. You’ll be left with a nice, clean cut. Ta-da!

Now, a word to the wise: circular saws aren't ideal for all metal roofing applications. If you're dealing with really thick gauge metal, or if you need to make a lot of intricate cuts, you might want to consider other tools. A metal shear, an angle grinder with a cut-off wheel (though this can be even sparkier and rougher), or even a specialized metal-cutting saw might be a better choice. Think of it like this: you wouldn't use a spoon to dig a foundation, would you? Circular saws are great for straight, relatively simple cuts on standard metal roofing panels. For anything more complex, it's okay to admit defeat and grab a specialized tool.
Also, be mindful of the type of metal. Aluminum is generally easier to cut than steel. Some coatings can also affect how the metal cuts. If you're unsure, it's always a good idea to check the manufacturer's recommendations for your specific roofing material. They usually have a whole section dedicated to installation, which often includes cutting guidelines. It's like reading the instruction manual for a new gadget; it might seem boring, but it can save you a world of headaches.
And one more thing, a little pro tip from someone who’s been there: practice on a scrap piece first. Before you even touch your fancy new roofing panels, grab a leftover piece of metal and make a few cuts. Get a feel for how the saw behaves, how much pressure to apply, and how to get that smooth, steady motion. It's like practicing your dance moves in front of a mirror before hitting the dance floor at a wedding. You’ll feel more confident and get a better result.
So there you have it. Cutting metal roofing with a circular saw. It’s not rocket science, but it does require a bit of preparation, the right tools, and a healthy dose of caution. Think of it as conquering a small, noisy dragon. You emerge victorious, with a perfectly cut piece of metal and the satisfying hum of a job well done. Now go forth and build that dream roof, one spark at a time!