
How To Drill Hole In Metal
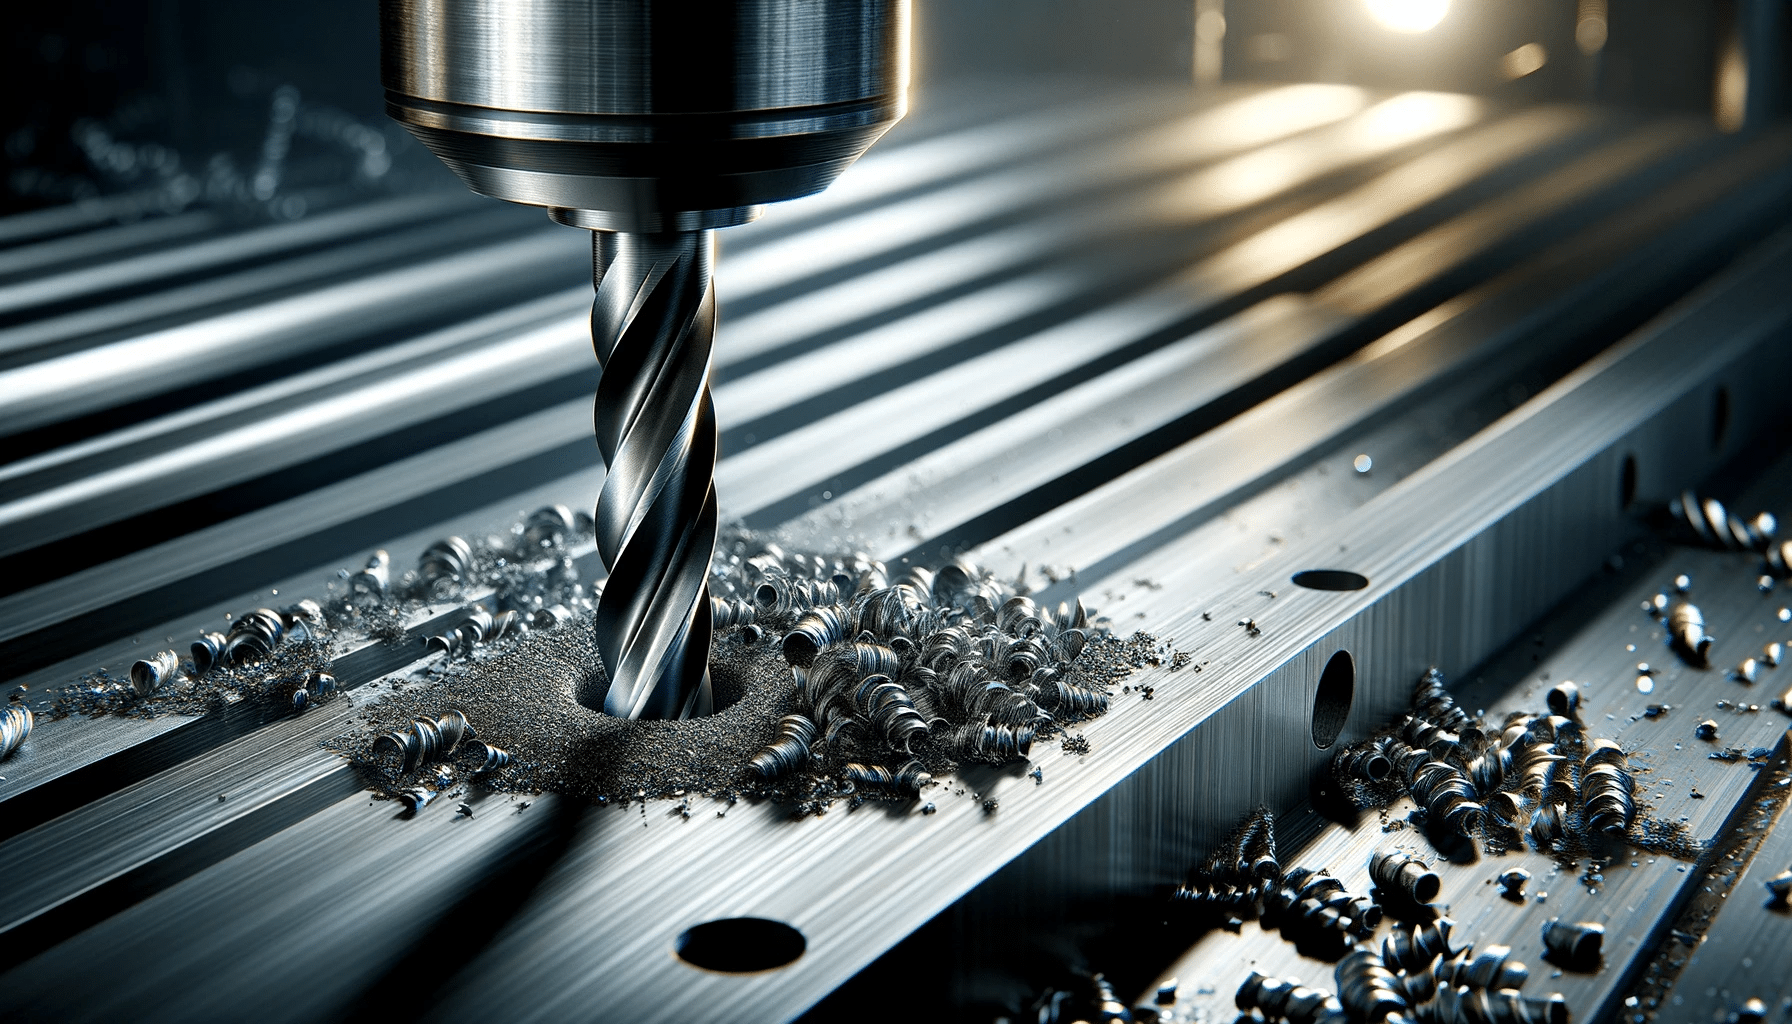
Hey there, DIY dynamos and aspiring tinkerers! Ever found yourself staring at a piece of metal, thinking, "Man, this would be so much cooler with a hole in it"? Maybe you're trying to hang a new shelf, build a custom bracket, or just generally unleash your inner metal magician. Whatever your motivation, drilling a hole in metal might sound a bit intimidating, like trying to tickle a sleeping dragon. But trust me, with a few simple tricks and a dash of confidence, you’ll be creating perfectly placed perforations like a pro in no time. We're going to tackle this without any fancy jargon, just good old-fashioned common sense and a willingness to get a little hands-on. So grab your imaginary toolbox (or your real one, if you're feeling ambitious!), and let's dive in!
First things first, let's talk about what you'll need. Think of this as your starter pack for hole-making greatness. You’ll definitely need a drill. It doesn't have to be some super-powered industrial beast; a good old cordless drill will do the trick for most common metals and hole sizes. Just make sure it’s got a decent battery life, because nobody wants their drilling session cut short by a sleepy power source. It's like trying to have a party with a flat battery on your phone – a real buzzkill!
Next up, and arguably the most crucial bit: the drill bits. For metal, you can't just grab any old wood bit. Oh no, my friends. You need drill bits specifically designed for metal. These bad boys are usually made of hardened steel, often with a titanium or cobalt coating. Think of them as the tiny, determined warriors that will conquer your metal. The coating is like their superhero cape, making them tougher and more heat-resistant. You can find them in various sizes, so it’s good to have a small assortment. Starting with a small pilot hole and working your way up to the desired size is often the secret sauce, especially for thicker metal. It’s like eating an elephant, one bite at a time… though please, no actual elephants were harmed in the making of this article.
Now, safety first, always! Even though we’re going for a fun and easy vibe, we’re still playing with sharp objects and spinning machinery. So, safety glasses are non-negotiable. Seriously, protect those peepers! A stray metal shaving can be like a tiny, angry dart. Also, consider work gloves. They'll give you a better grip and protect your hands from any sharp edges or accidental slips. And if you're drilling something that might produce a lot of dust or fumes, a dust mask is a good idea too. Think of it as your personal air filter, keeping things fresh.
Let’s talk about the metal itself. What kind of metal are you working with? Thinner metals like sheet aluminum or mild steel are generally easier to drill than thicker, harder metals like stainless steel or hardened tool steel. If you’re unsure, it's always best to err on the side of caution and treat it as a tougher material. It’s like meeting a stranger – you don’t know if they’re a hugger or a hand-shaker, so you start with a polite nod. Patience is your best friend when dealing with trickier metals.
Before you even think about pressing that trigger, you need to secure your metal workpiece. This is super important for safety and accuracy. You don’t want your metal doing a jig while you’re trying to drill a precise hole. A vise is ideal for this. Clamp the metal down firmly, making sure the area you want to drill is accessible and stable. If you don’t have a vise, sturdy clamps will also work. Just make sure it’s really, really secure. Imagine trying to paint a portrait while the canvas is wobbling like it’s doing the cha-cha. Not ideal, right?
Okay, you’ve got your drill, your metal bits, your safety gear, and your securely clamped metal. Now for the moment of truth: marking your spot. You can’t just eyeball it and hope for the best (unless you have a crystal ball and a strong sense of destiny, which is cool too). Use a pencil or a marker to mark the exact center of where you want your hole. For even more precision, especially if you want the drill bit to stay put and not wander, you can use a center punch. Just tap it gently with a hammer on your mark. This creates a tiny indentation that gives your drill bit a perfect starting point. It's like giving your drill bit a little welcome mat.

Now, for the lubrication situation. This is a bit of a secret weapon in the metal drilling world. Cutting fluid or oil is your friend. Why? Because drilling metal creates friction, and friction creates heat. Lots of heat! This heat can dull your drill bit, make it harder to drill, and even damage the metal. A little bit of cutting fluid applied to the spot you're drilling helps to cool the bit and the metal. It also helps to lubricate the cutting action, making the drilling process smoother. You can use specialized cutting fluid, or even a drop of motor oil or WD-40 in a pinch. Think of it as giving your drill bit a cool shower and a smooth massage.
Alright, let's get drilling! With your drill set to the correct direction (usually clockwise for drilling, but check your drill’s manual – we don’t want any counter-clockwise adventures!). Start with a slow speed. This is especially important when you first touch the metal. You want to let the drill bit bite into the metal gradually. As you start to see a small divot from your center punch or marker, you can increase the speed slightly, but don't go full throttle! It’s a marathon, not a sprint.
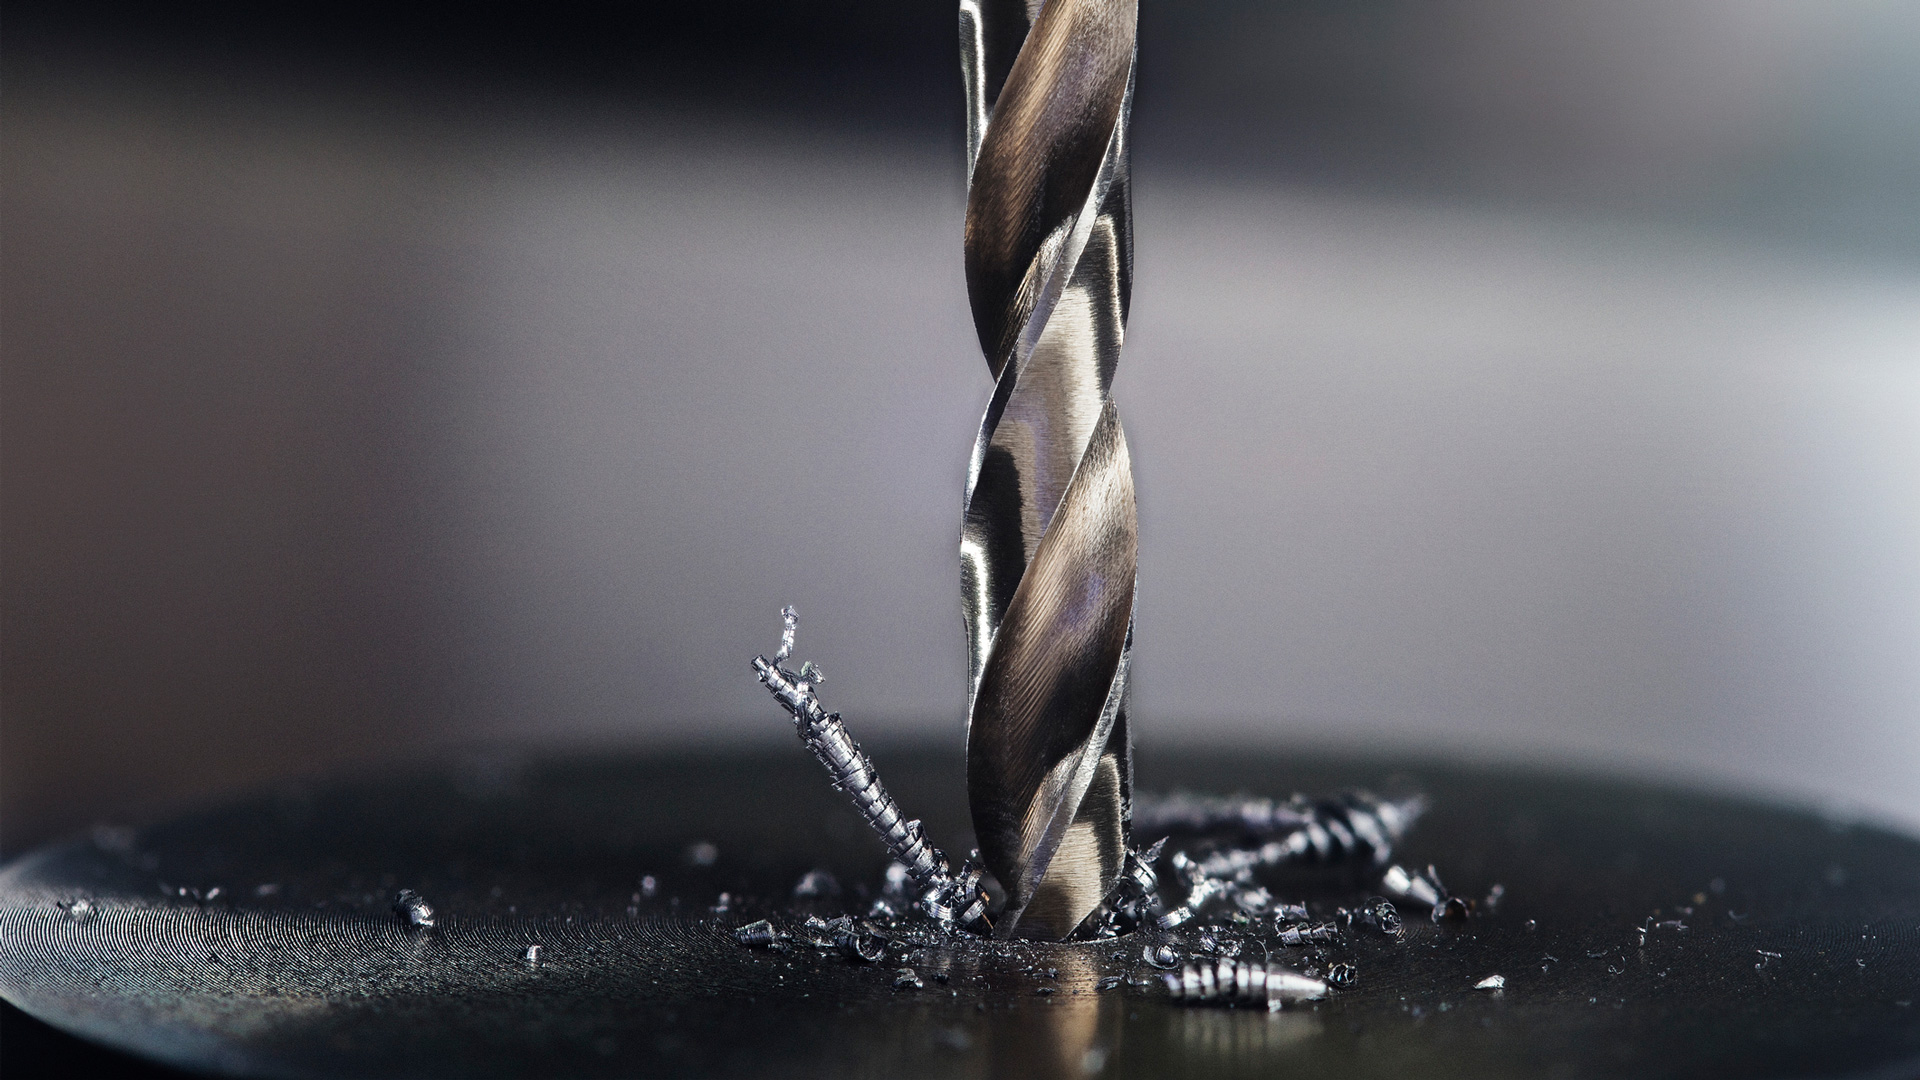
Apply steady, consistent pressure. Don't force it. Let the drill bit do the work. If you’re pushing too hard, you risk breaking the bit or overheating. If you’re not pushing enough, you won’t make progress. It's a delicate dance, a gentle persuasion. Imagine coaxing a shy cat out from under the sofa – you don't yank it out, you gently encourage it. Periodically, pull the drill bit back out of the hole while it’s still spinning. This helps to clear out the metal shavings and allows more cutting fluid to get in there. This is like the drill bit taking a breather and getting a fresh drink. This is also where those metal shavings, or swarf, come out. They can be surprisingly sharp, so be mindful of where they’re flying!

If you're drilling a larger hole, remember that pilot hole trick we mentioned earlier? It’s a game-changer. Start with a small drill bit (say, 1/8 inch) and drill your initial hole. Then, switch to a larger bit, and repeat. Each bit should be larger than the last, gradually increasing the hole size until you reach your desired diameter. This prevents the larger bit from wandering and makes the process much easier and cleaner. It’s like building a staircase instead of trying to jump to the top floor.
What if your drill bit gets stuck? Uh oh! Don't panic. Stop drilling immediately. Try to gently wiggle the drill bit, or even reverse the drill direction for a second or two. Sometimes this is enough to free it. If it’s really stuck, you might need to use a bit of force with a plier to carefully un-jam it. Just be careful not to bend or break the drill bit. It’s like when you get a splinter – you don’t just yank it out wildly, you try to ease it out.

Once you’ve finished drilling, give the hole a quick once-over. You might find a few burrs – little rough edges of metal around the hole. These can be sharp! You can smooth these down with a file or some sandpaper. Just a few gentle strokes are usually enough to make the edges nice and smooth. It's like giving your newly created hole a little manicure.
Let’s recap the key ingredients for successful metal drilling: a reliable drill, the right metal drill bits, a commitment to safety (glasses, gloves!), a securely clamped workpiece, a clearly marked spot, a bit of lubrication, and a healthy dose of patience. Remember to start slow, apply steady pressure, and clear out those shavings. And don’t forget the pilot hole technique for bigger jobs!
See? Not so scary, right? You've just unlocked a new superpower: the ability to transform flat, unyielding metal into something functional and fantastic with just a spin of a drill. You’re basically a modern-day alchemist, turning solid metal into… well, metal with holes, but still, pretty cool! So go forth, my friends, and drill with confidence. May your holes be straight, your bits stay sharp, and your projects be ever so satisfying. You’ve got this, and every little hole you create is a testament to your growing DIY prowess. Happy drilling, and remember to smile – you’re making things happen!