How To Engrave Metal At Home
I still remember the first time I tried to engrave something. It was a terribly clumsy affair, involving a borrowed Dremel tool, a surprisingly soft piece of pewter, and the grand ambition of etching my dog's name onto his new dog tag. Let's just say, Buster's tag ended up looking less like a personalized heirloom and more like it had survived a minor industrial accident. The letters were wobbly, uneven, and frankly, a little embarrassing. My dreams of artisanal pet accessories were quickly dashed. But you know what? That little disaster also sparked something – a desire to figure this whole engraving thing out. Because, let's be real, there's something incredibly satisfying about putting your own mark on something, whether it's a gift for a friend or just a way to jazz up a plain old keychain.
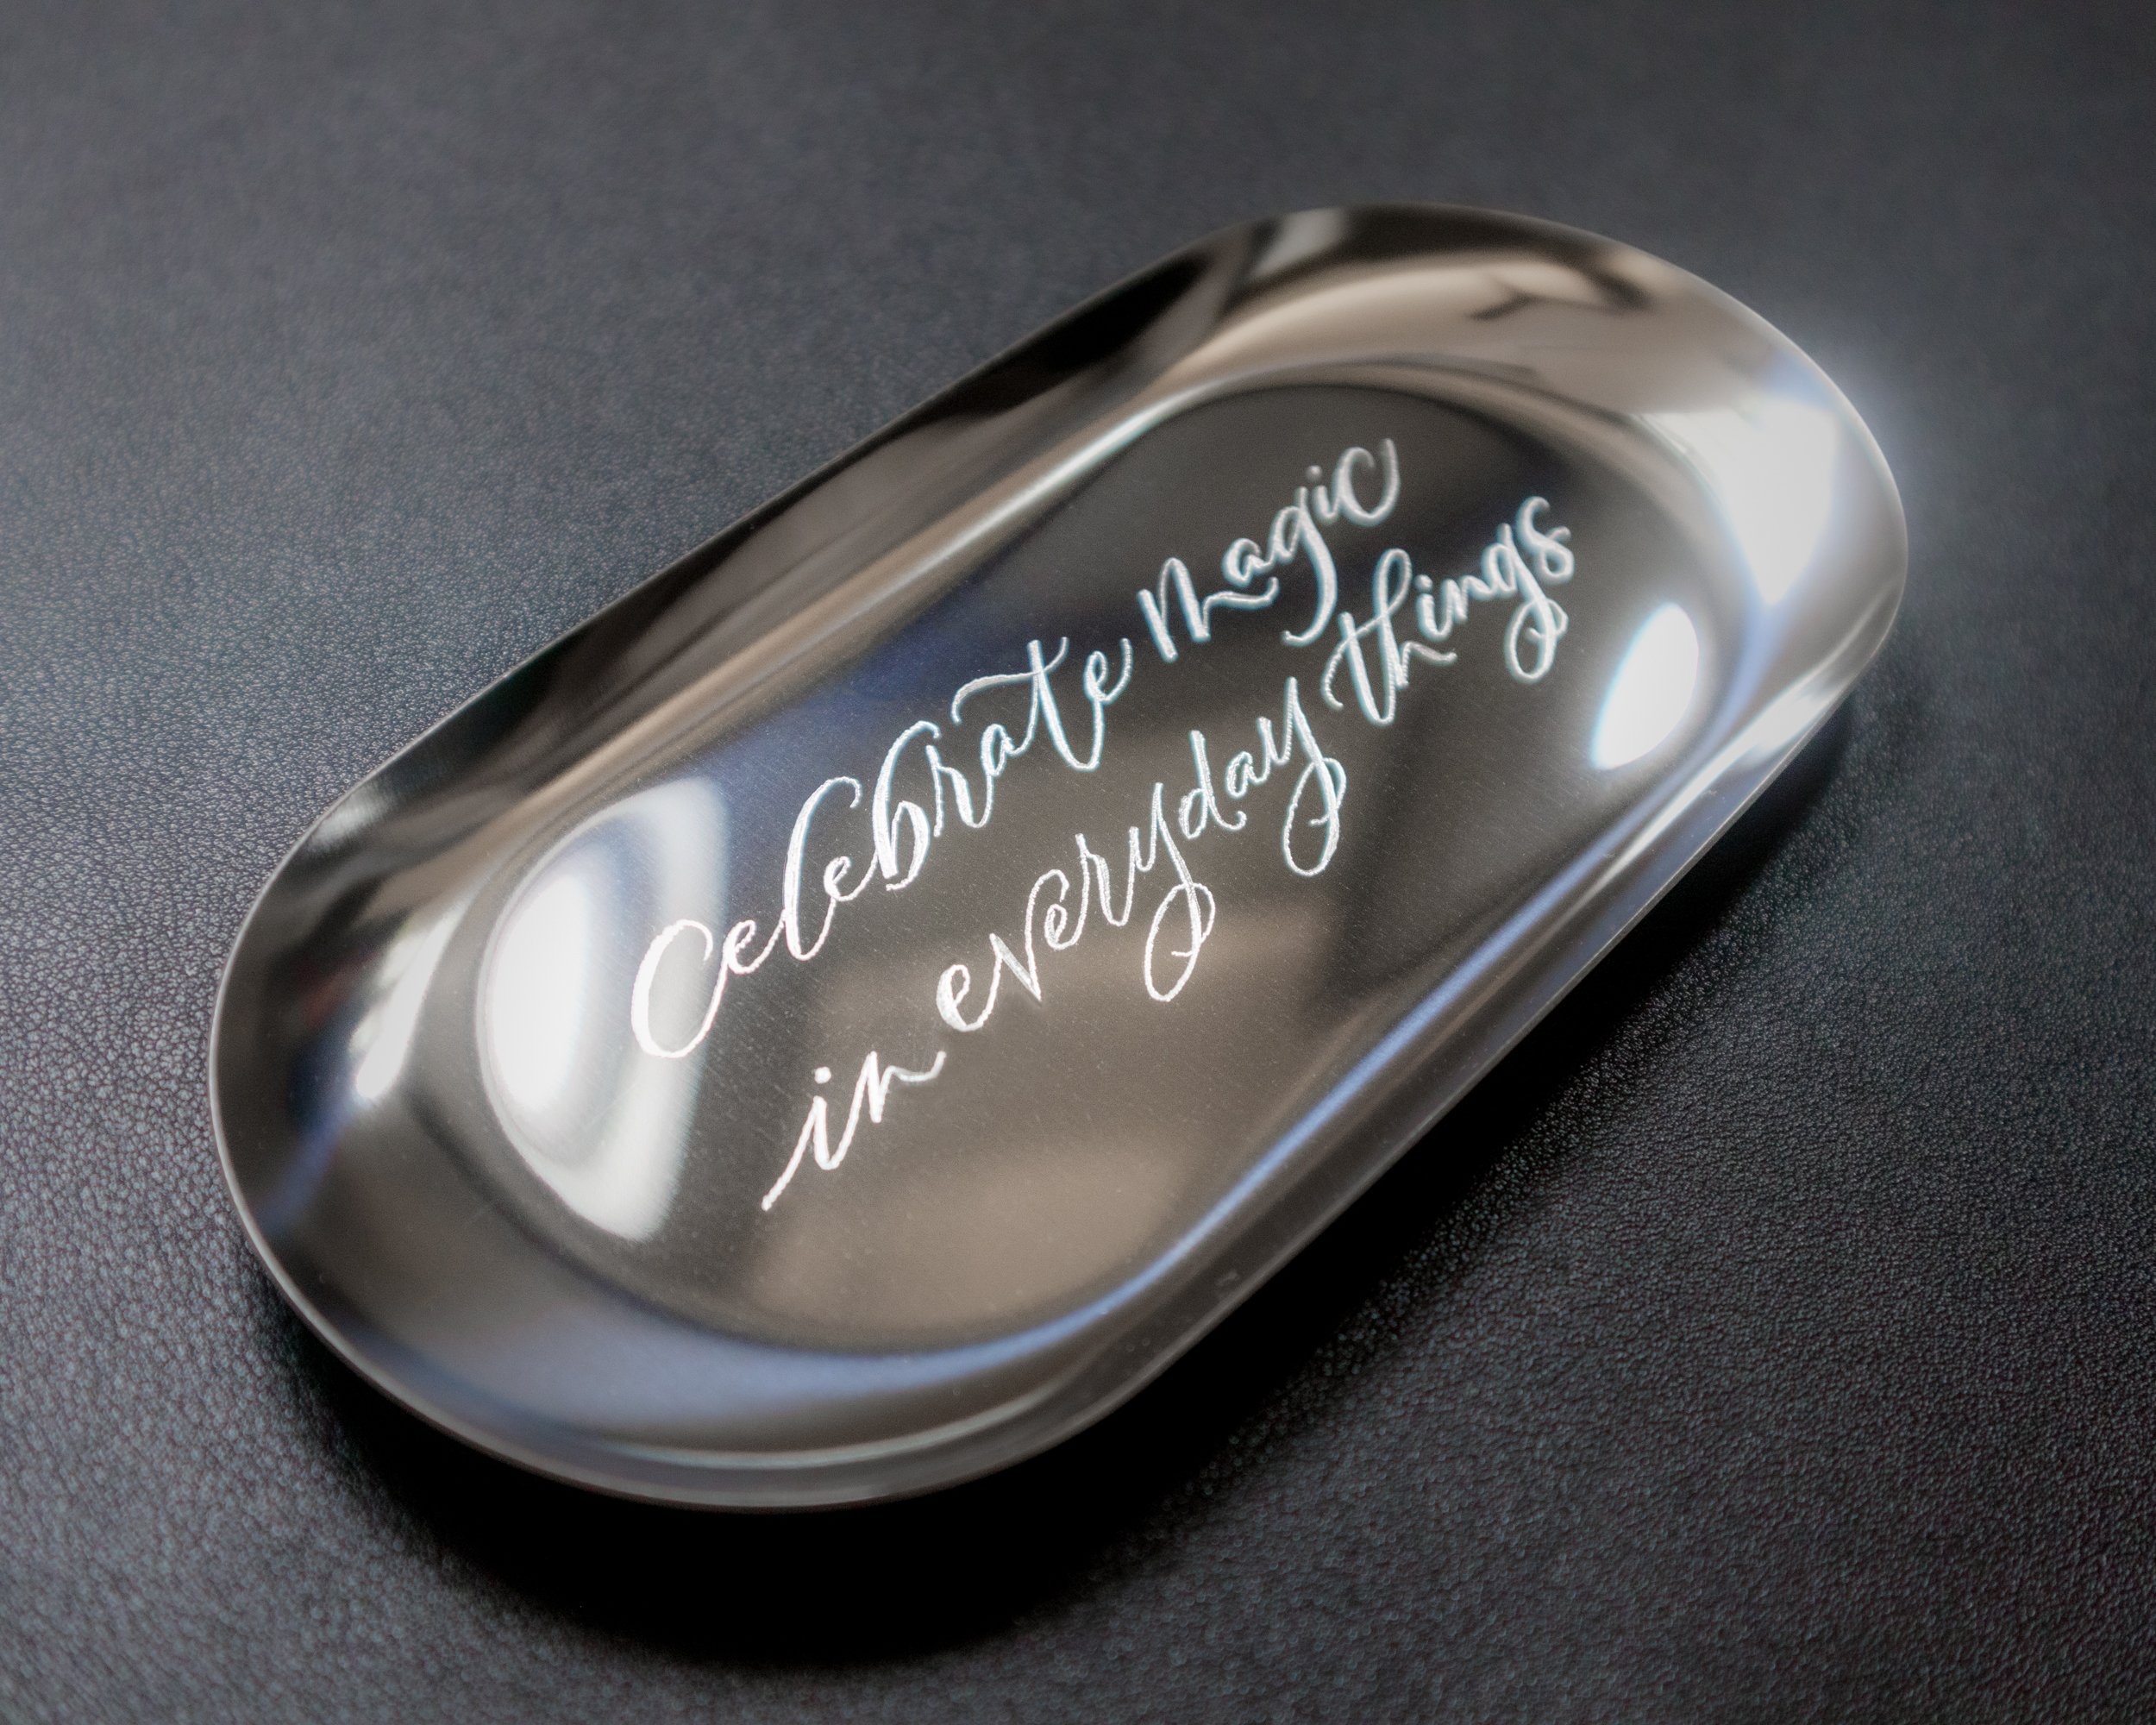
And that, my friends, is exactly what we're going to dive into today. We're going to talk about how to engrave metal at home. Forget those fancy, multi-thousand-dollar machines. We're talking about accessible, achievable methods that you can use right in your own humble abode. Think of it as bringing a little bit of that personalized magic into your everyday life. Who's ready to get their hands a little dirty and create something truly unique?
The "Why" Behind the Scratches
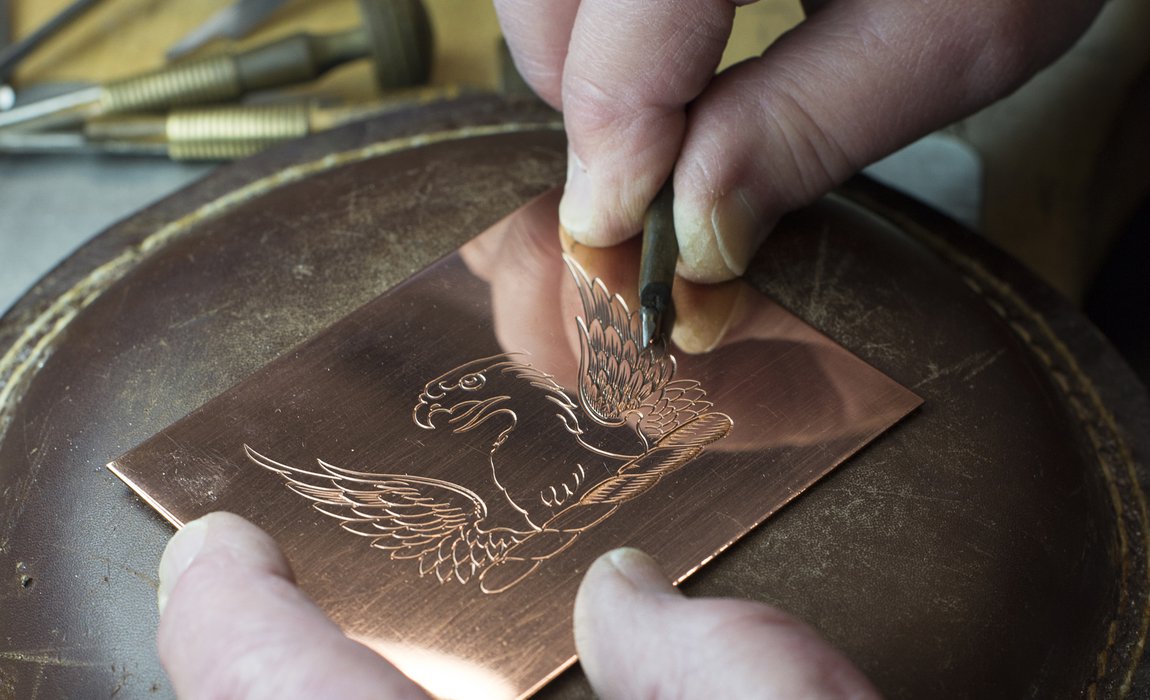
Before we get all technical, let's just appreciate the sheer joy of engraving. It's like giving an object a voice, a story. You can immortalize a special date on a bracelet, add a witty quote to a flask, or even just doodle your initials on a guitar pick. It's personal. It's meaningful. And honestly, it often looks way cooler than anything you'd buy off the shelf.
Think about it: have you ever received a gift that was clearly thought about, something unique? Engraving is a huge part of that. It shows you've invested time and effort, and that's what truly makes a gift special, wouldn't you agree? It's a way to say, "I thought of you, and I made this for you." Pretty neat, huh?
Methods for the Home Engraver: A Toolkit Overview
So, what are the actual ways we can achieve this metal-scribing glory? We've got a few go-to methods, each with its own pros, cons, and… well, potential for Buster-esque outcomes if you're not careful. But fear not, we'll guide you through it.
1. The Dremel (or Rotary Tool): Your Speedy Scrubber
Ah, the Dremel. The trusty, often noisy, workhorse of the DIY world. This is probably the most common entry point for home engravers, and for good reason. It's versatile, relatively affordable, and with the right attachments, can tackle a variety of materials.
What you'll need:
- A Dremel or similar rotary tool.
- Engraving bits (diamond-tipped are generally best for harder metals, but carbide can work too).
- Safety glasses (SERIOUSLY. Metal shavings in your eye are no fun, trust me.)
- Gloves (optional, but good for grip and protecting your hands).
- A steady hand. (We'll work on this!)
- Your metal object, of course.
The Process (The not-so-secret sauce):
First things first: practice. Grab a scrap piece of metal that's similar to what you want to engrave. Seriously, don't skip this. Your first attempt on your precious heirloom is not the time to be bold. Try drawing simple shapes, lines, and letters. Get a feel for how much pressure to apply and how the tool moves.
Now, for the actual engraving. You want to hold the Dremel like you would a pencil, but with a lighter grip. Think of it as guiding the tool rather than forcing it. For most metals, a medium speed setting is usually a good starting point. You're not trying to blast through the metal; you're aiming to gently remove material to create your design.
Start with your outline. Go slow. It's always easier to go back and deepen a line than to fix a mistake that's too deep. If you're doing lettering, think about tracing over a stencil or a design you've drawn on. You can even use a fine-tip permanent marker to sketch your design directly onto the metal.
Pro-Tip: Clean your metal surface thoroughly before you start. Any grease or dirt can affect how the engraving tool bites. A bit of rubbing alcohol works wonders. And when you're done, a gentle wipe-down with a soft cloth will reveal your masterpiece (or your practice run, which is also a masterpiece in its own way).
The Irony: The Dremel is great for speed, but it can also be too fast. You have to really consciously slow yourself down, which can feel counter-intuitive. It's like having a race car and deciding to drive it to the grocery store at 5 mph. But hey, precision over speed, right?
2. Stamping: The Bold and the Beautiful
If the idea of freehanding with a Dremel makes you sweat a little, then metal stamping might be your jam. This method uses individual letter and number stamps (and sometimes decorative stamps) that you strike with a hammer to imprint your design onto the metal.
What you'll need:
- Metal letter and number stamp set.
- A sturdy stamping surface or block (steel stamping blocks are ideal).
- A hammer (a brass or steel hammer designed for stamping is best).
- Your metal object (jewelry blanks, keychains, etc. are popular).
- Masking tape (to hold your stamps in place).
- A permanent marker (optional, for marking alignment).
- Safety glasses (yes, even with a hammer!).
The Process (Hammer Time!):
This is all about alignment and a good, solid strike. Lay your metal object on your stamping block. Place your first stamp where you want it. I like to use a tiny piece of masking tape to hold the stamp steady and mark the bottom edge of the letter to ensure it's straight.
Now, hold the stamp firmly against the metal. Take your hammer and give it one good, decisive whack. You don't need to go Hulk-smash on it, but a hesitant tap won't do much. The goal is a single, clean impression.
Lift the stamp, admire your handiwork (or the faint indentation), and move on to the next letter. This is where patience really shines. Line up each stamp carefully. If you're doing a word, a permanent marker can help you keep track of where you've stamped and where you're going.
Pro-Tip: Practice on a scrap piece of metal first! The force of the hammer and the angle are key. You'll quickly learn how hard to hit and how to position the stamp for the best results. Also, metal type matters. Softer metals like aluminum and brass are easier to stamp than harder steels.
The Irony: Stamping is fantastic for clean, bold lettering, but it's also… well, stamped. There's a certain uniformity to it. If you're aiming for a more flowing, handwritten look, this isn't it. It's like choosing between a printed font and cursive. Both are great, but they convey different vibes.
3. Engraving Pens/Pencils: The Fine-Tip Freelancer
These are essentially very fine-tipped, often diamond-tipped, tools that work similarly to a Dremel but with less power and more control for delicate work. Think of them as a super-powered pencil.
What you'll need:
- An electric engraving pen (look for diamond-tipped ones for versatility).
- Safety glasses (you know the drill!).
- A steady hand.
- Your metal object.
The Process (The Delicate Touch):

This method is perfect for smaller items or for adding fine details to larger pieces. You hold it much like you would a regular pen. The trick is to let the vibration and the tip do the work. You're etching, not digging.
Start with very light pressure. You can gradually increase it if needed. This is ideal for writing small names, dates, or creating intricate patterns. It's also great for adding tiny embellishments to a stamped piece.
Pro-Tip: Use a stencil or trace your design. Because the tip is so fine, getting a perfectly straight line freehand can be a challenge. A piece of carbon paper under your design can help transfer it. And again, clean your metal!
The Irony: These pens offer incredible detail, but they can be slow for larger projects. If you're trying to engrave a whole sentence onto a frying pan, you might want to reconsider. It's like using a paintbrush to paint a whole house – doable, but perhaps not the most efficient use of your time (or the paint!).
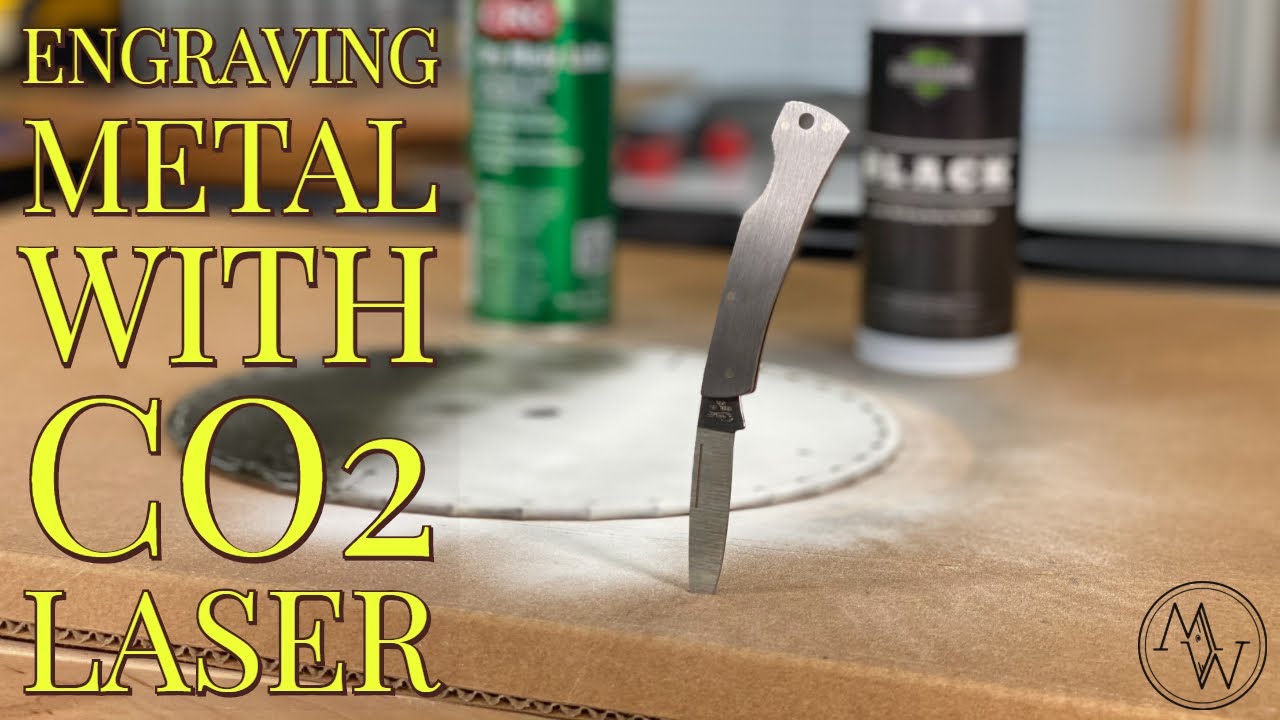
4. Laser Engraving: The Future is Now (But Maybe Not for Home Just Yet)
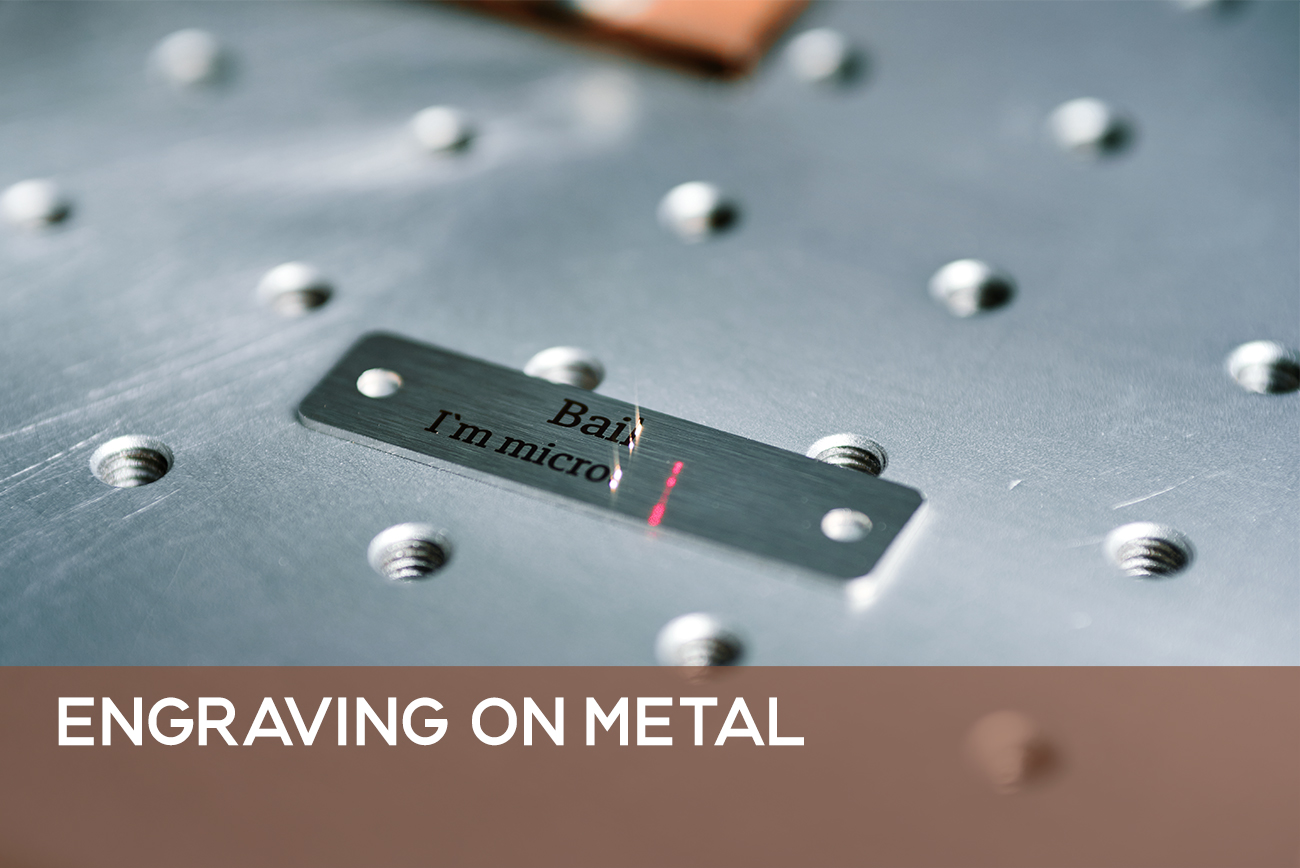
Okay, I had to mention this because it's the "fancy" option. If you've seen those incredibly intricate designs on metal, chances are they were done with a laser engraver. These machines use a focused beam of light to vaporize material. The results are often stunning, precise, and incredibly detailed.
The Reality: While the technology is becoming more accessible, high-quality home laser engravers are still a significant investment. Plus, they require proper ventilation and safety precautions. So, for now, this is more of a "dream big" option for most of us tinkering at home. But who knows what the future holds!
Choosing Your Metal Canvas
Not all metals are created equal when it comes to engraving. Some are a dream to work with, while others will make you question all your life choices.
- Soft Metals (Aluminum, Brass, Copper, Pewter, Sterling Silver): These are your best friends when starting out. They're easier to cut into, stamp, and engrave without a lot of force. They're also generally more affordable, meaning less heartbreak if a practice piece goes wonky.
- Harder Metals (Stainless Steel, Titanium, Gold/Platinum): These require more specialized tools and techniques. For Dremel engraving, you'll likely need diamond-tipped bits and more patience. Stamping can be challenging, and laser engraving is often the preferred method for intricate designs on these tougher materials.
Think about what you want to engrave. A simple keychain? Aluminum is perfect. A special piece of jewelry? Sterling silver or gold might be your choice. The material will influence the tools and techniques you use.
Safety First, Art Second!
I've mentioned safety glasses a few times, and I'm going to say it again. Safety glasses are non-negotiable. Metal shavings are sharp and can cause serious eye damage. Also, consider a dust mask, especially if you're doing a lot of Dremel work, as fine metal dust can be harmful to inhale.
Work in a well-ventilated area. Keep flammable materials away from your workspace, especially if you're using a Dremel which can generate heat. And remember, if something feels unsafe, stop. It's better to be safe and try again another day than to have a nasty accident.
Troubleshooting: When Things Go Sideways
Even with practice, you might run into a few snags. Don't despair!
- Uneven lines: This usually comes down to pressure and speed. Try to maintain a consistent grip and move slowly and steadily. Practice on scrap metal!
- Shallow impressions (stamping): Your hammer strike might not be decisive enough, or your stamping block might not be stable.
- "Burn" marks (Dremel): You're using too much pressure or the tool is moving too slowly. Lighten up and increase your speed slightly.
- Mistakes: Oh, the dreaded mistake! For minor slip-ups, sometimes a bit of gentle sanding can help. For more significant errors, you can try to incorporate them into the design (e.g., turn a slip into a decorative swirl) or, in some cases, fill the engraving with a contrasting material (like enamel or epoxy). Sometimes, though, you just have to embrace the "character" of a handmade item!
And remember, every engraving is a learning experience. The more you do it, the better you'll get. Don't be afraid to experiment and find what works best for you and your chosen materials.
The Final Flourish
Engraving metal at home is a journey. It's about patience, practice, and a willingness to embrace the imperfect. That little dog tag that started my engraving adventure? It's still hanging on Buster's collar, a testament to my early, wobbly attempts. And you know what? I wouldn't trade it. It's a reminder of where I started and how far I've come.
So, go forth! Grab a piece of metal, a tool, and your creative spirit. Start with something simple, be patient with yourself, and most importantly, have fun. You might just surprise yourself with what you can create. Happy engraving!