How To Frame A Wall Using Metal Studs
Ever looked at a room and thought, "You know, this space could really use another wall"? Maybe you're dreaming of a walk-in closet, a cozy reading nook, or just want to carve out a home office. Whatever the reason, building a new wall is totally doable, and guess what? You don't always need to haul heavy lumber and battle with nails. Let's dive into the surprisingly chill world of framing a wall with metal studs.
Now, before you picture some futuristic spaceship construction site, hear me out. Metal studs aren't as intimidating as they sound. Think of them more like a super-efficient, lightweight Lego system for grown-ups. Instead of wood that can warp, rot, or get eaten by termites (eek!), metal studs offer a sleek, sturdy, and often fire-resistant alternative. Pretty neat, right?
Why Metal Studs Are Kinda Awesome
So, what's the big deal with metal studs? For starters, they're lightweight. This means less grunting, less straining, and a much easier time maneuvering them into place, especially if you're working solo or in tight spaces. Imagine building a fort, but with tools and a much more grown-up outcome. It’s like upgrading from cardboard boxes to, well, actual building materials!
And then there's the straightness factor. Wood can twist and turn over time, especially with changes in humidity. Metal studs, however, tend to stay true. This means you'll end up with straighter walls, which makes hanging drywall a breeze and gives your finished room a really polished look. No more wonky lines you’re constantly trying to camouflage!
Let's not forget about durability. Metal doesn't warp, shrink, or get chewed up by pests. This is a huge win for long-term peace of mind. It’s like choosing a stainless-steel appliance over a plastic one – it just lasts longer and performs better.
Plus, and this is a big one for DIYers and contractors alike, metal framing is often considered more eco-friendly. Steel is highly recyclable, so you're making a choice that’s good for your home and potentially good for the planet.
Getting Started: Your Metal Stud Toolkit
Alright, ready to get your hands dirty (or, you know, metallic)? The first thing you'll need is your gear. Think of it like prepping for a fun science experiment. You’ll need:
- Metal studs: These come in various sizes, typically 2x4 (which are actually about 1 1/2 inches deep, remember?) or 2x6. Choose based on your wall's thickness and insulation needs.
- Metal tracks: These are U-shaped channels that the studs slide into at the top and bottom. They're like the rails for your speedy metal train!
- Screws: You'll need self-tapping screws, often called "drywall screws" or "metal framing screws." They’re designed to bite into the metal without needing a pilot hole.
- A measuring tape and pencil: For marking and planning.
- A level: Crucial for ensuring your wall isn't leaning like the Tower of Pisa.
- A metal chop saw or reciprocating saw with a metal-cutting blade: This is how you'll trim your studs to size. It might sound a bit industrial, but it’s surprisingly manageable. Think of it as a precise metal pencil sharpener!
- Tin snips or aviation snips: For smaller cuts or notching.
- Safety gear! This is non-negotiable. We're talking safety glasses (seriously, tiny metal shavings are no joke), work gloves, and maybe even hearing protection depending on your cutting tools.
The Lay of the Land: Planning Your Wall
Before you start cutting, let’s do a little recon. You need to figure out where your new wall is going. Mark the floor and ceiling where the edges of your wall will be. Use your level to draw a perfectly straight line. This is your blueprint, your guide to awesomeness.
Think about where you want doorways or openings. You'll need to plan for header beams (usually made of two studs joined together) to support the weight above any openings. It's like creating a structural arch for your new doorway, but way simpler.
Let's Build! Step-by-Step with Metal Studs
Here's where the magic happens. It’s not complicated; it's more like a puzzle that comes together beautifully.
Step 1: Laying the Foundation (The Tracks)
Start by attaching the metal tracks to the floor and ceiling. These are your guides. If you're attaching to concrete, you'll use concrete screws. For wood subflooring and joists, standard screws will do the trick. Make sure these tracks are perfectly aligned with your chalk lines and use your level to ensure they’re straight.
This is where your precision pays off. A good, straight track system is the secret sauce to a great-looking wall. It’s like laying the perfect foundation for a cake – everything else builds from there.
Step 2: Cutting Your Studs
Now for the studs! Measure the distance between your top and bottom tracks. You want your studs to fit snugly, but not so tight that you have to force them. You’ll typically place studs every 16 or 24 inches on center (meaning the center of one stud to the center of the next). This spacing is standard for hanging drywall.
Use your metal chop saw or reciprocating saw to cut your studs to the exact length. Remember to wear your safety glasses and gloves! This is the part that feels the most "construction-y," but it’s very satisfying to get those perfect cuts.
Step 3: Installing the Studs
Slide your cut studs into the U-shaped tracks. You'll typically place them vertically, ensuring they’re plumb (perfectly vertical) using your level. Once they're in place and plumb, you'll secure them. This is usually done by driving those self-tapping screws through the web of the stud and into the track, and then through the stud’s flange into the track.

Think of it like a really sturdy, metal skeleton. The studs are the bones, and the screws are the little connectors that hold everything together. You’ll do this for all your vertical studs, creating the framework of your wall.
Step 4: Adding the Top and Bottom Plates (if applicable)
In some systems, you might also attach horizontal "plates" to the ends of your studs for extra rigidity. This isn't always strictly necessary with metal studs because they're so inherently stable, but check your specific system or building codes. It’s like adding extra bracing to a bridge – just reinforcing for good measure!
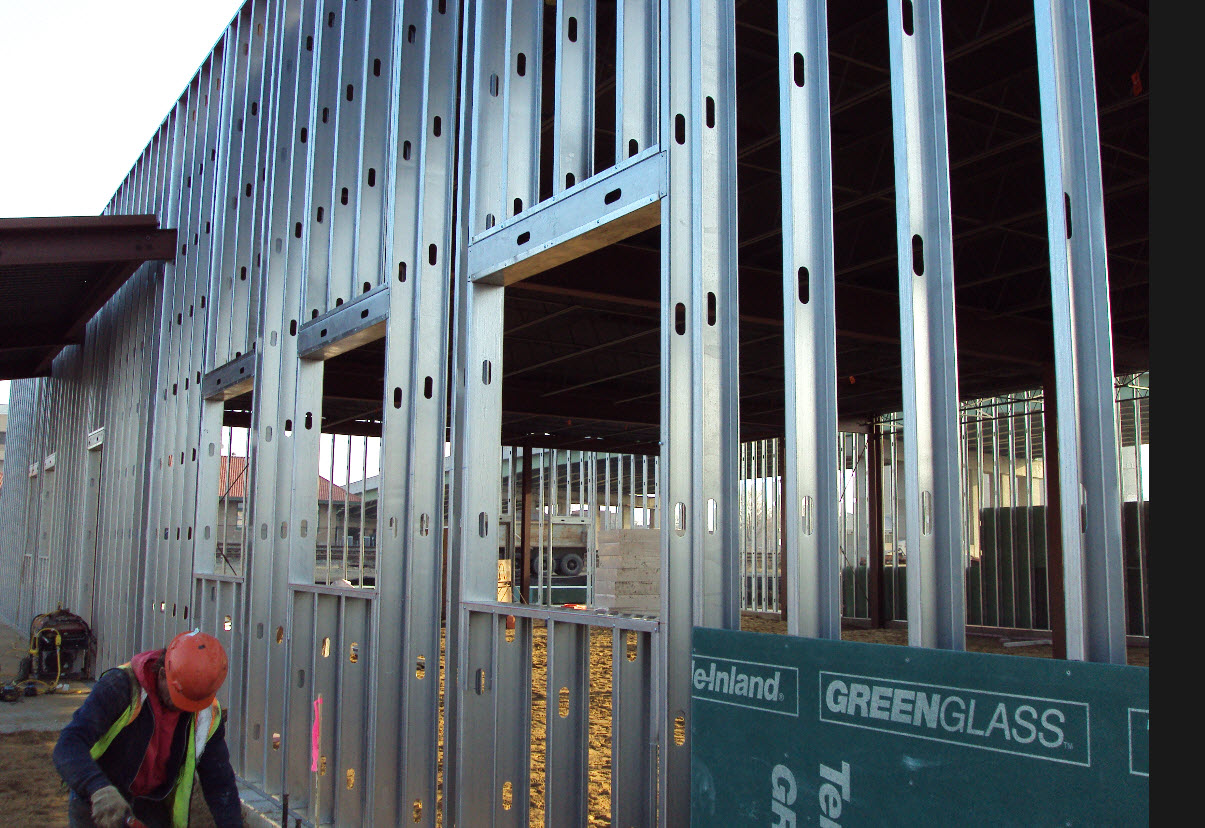
Step 5: Framing Openings (Doors and Windows)
This is where it gets a little more detailed. For doorways, you'll need king studs (the full-height studs on either side of the opening) and a header (usually two studs joined together, like we mentioned) to span the top of the opening. You’ll also add cripples (shorter studs) below window sills or above headers.
It's like building a miniature frame within your main frame. This header is super important because it carries the load from above, so make sure it's strong and properly secured. Don’t worry, it’s not rocket science, just some smart structural thinking.

The Finishing Touches (Almost!)
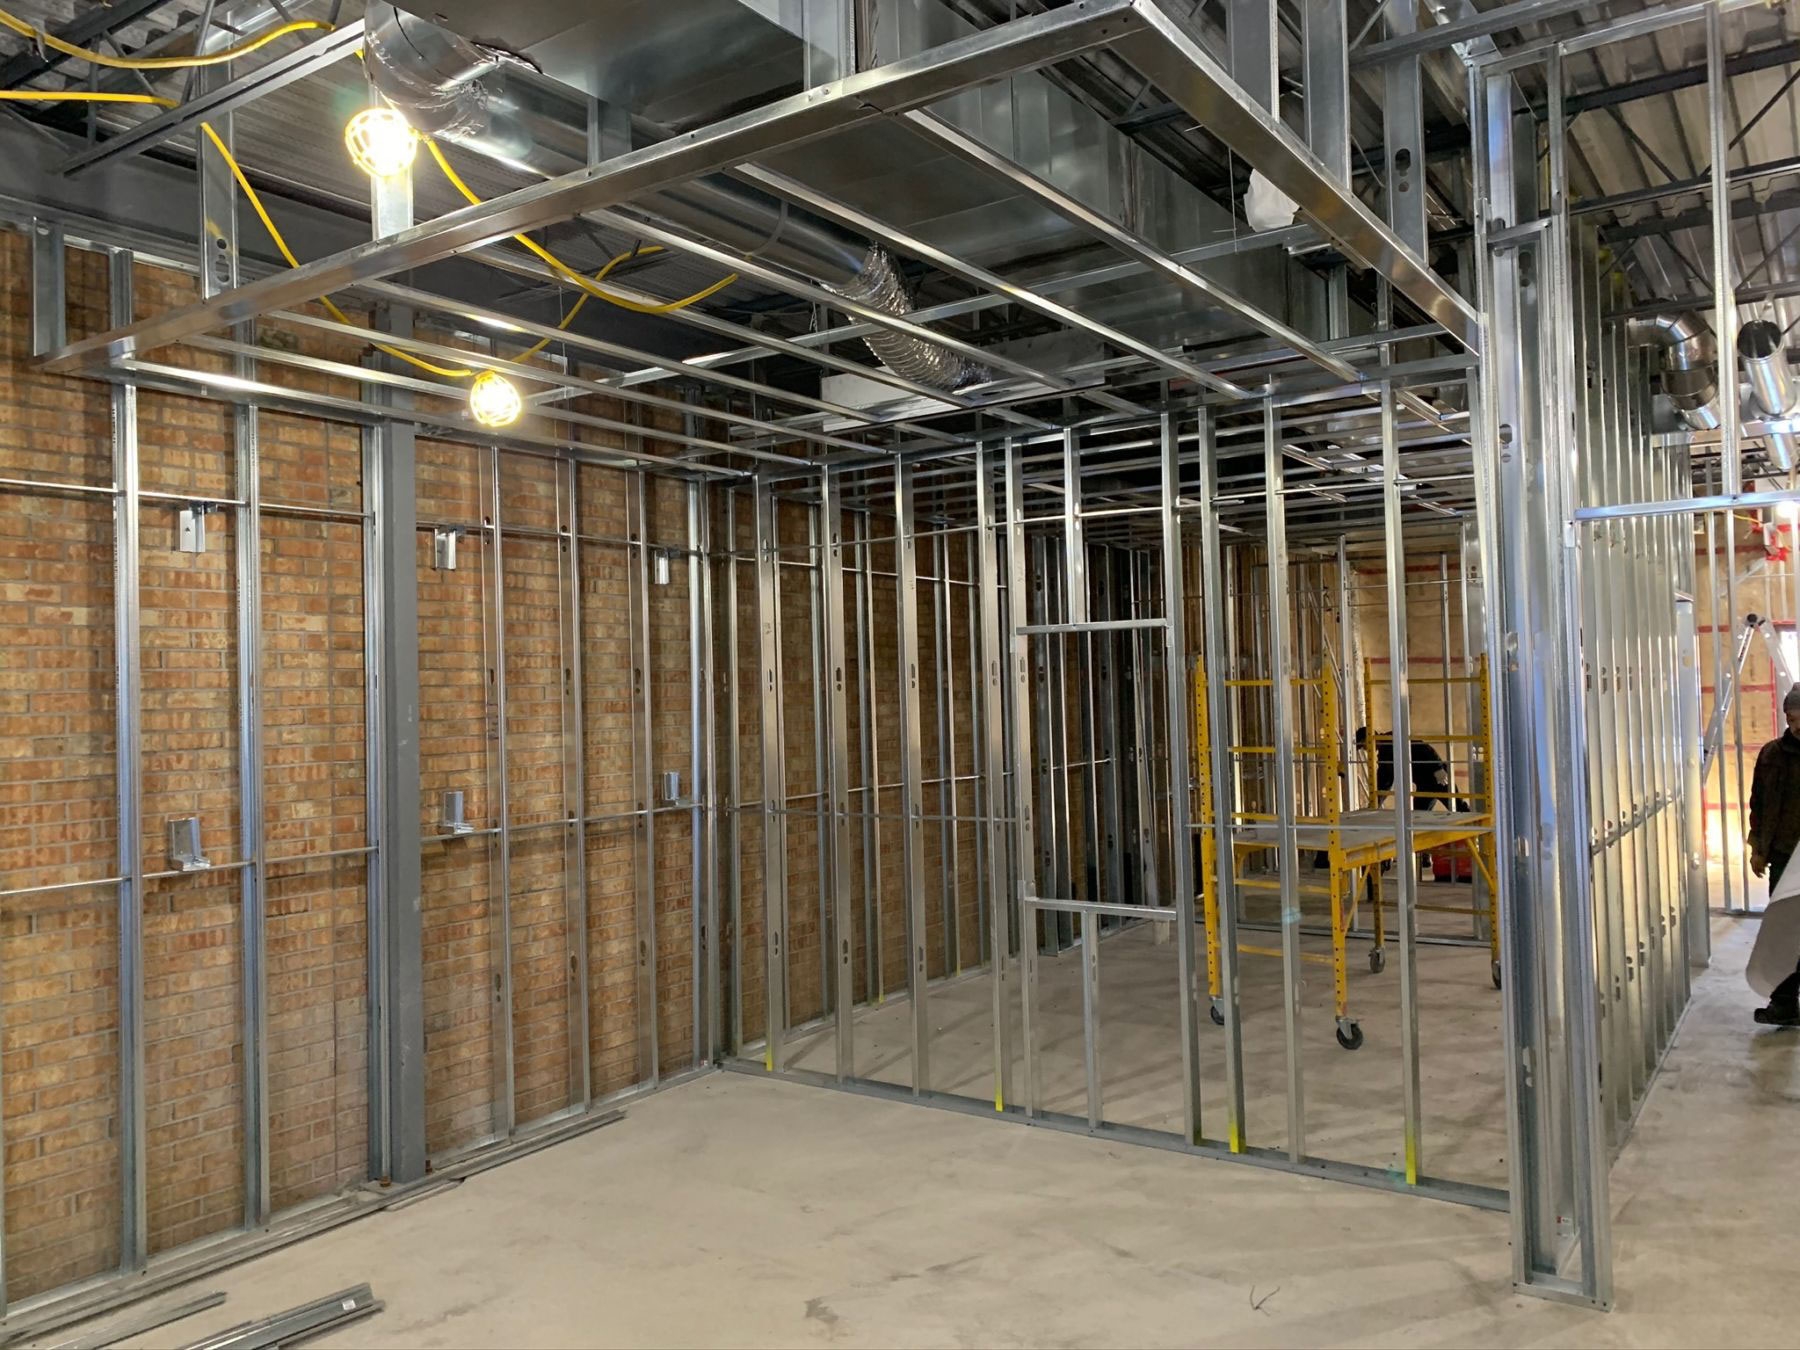
Once your metal stud frame is up and all the screws are in place, you've essentially built the skeleton of your wall. It’s remarkably solid and ready for its skin – which will be your drywall!
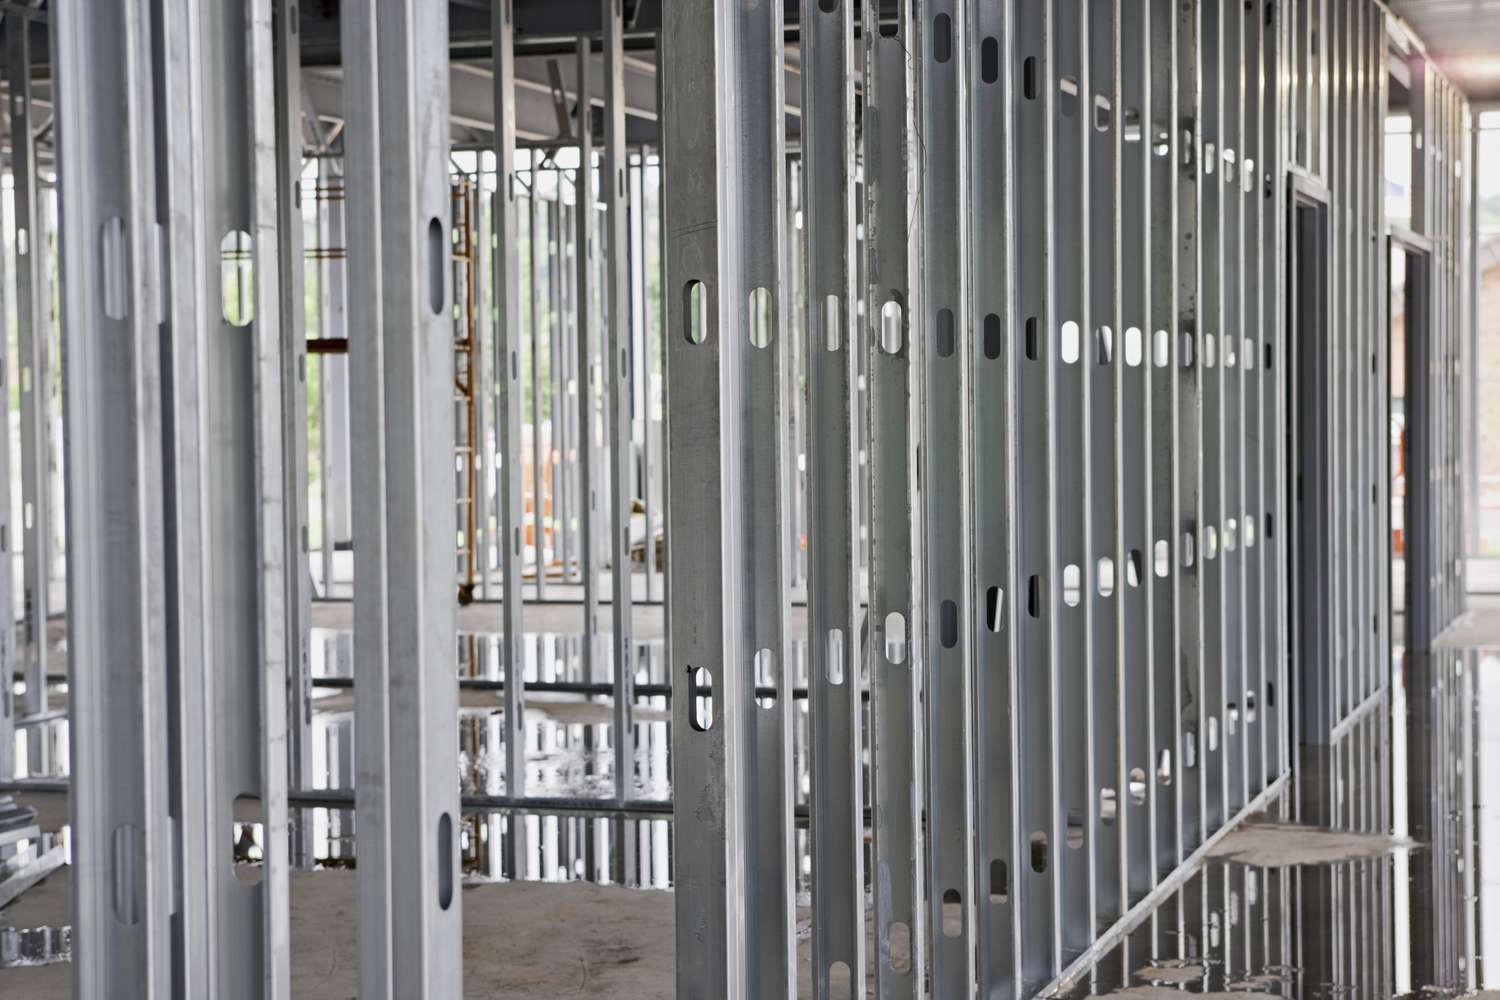
You might notice the metal studs have pre-punched holes. These are for running electrical wires and plumbing. How convenient is that? It’s like they thought of everything!
So, Is Metal Framing for You?
Framing a wall with metal studs is a fantastic option for a variety of projects. It's lighter, straighter, more durable, and often more environmentally friendly than traditional wood framing. It might take a little getting used to if you've only worked with wood, but the benefits are pretty significant.
It’s a project that’s definitely within reach for a curious and determined DIYer. So, next time you’re dreaming of reconfiguring your space, don’t shy away from the metal! It might just be the coolest, most straightforward way to bring your vision to life. Happy building!