
How To Fry An Egg In A Stainless Steel Pan

Ever stared at a shiny stainless steel pan and thought, "Can I really make a decent egg in that?" I get it. For a long time, those gleaming beauties felt like they were reserved for the fancy chefs, the ones who knew secret culinary incantations. My own journey with stainless steel and eggs was, shall we say, a bit of a rollercoaster. There were moments of triumph, sure, but also a few… sticky situations.
But here’s the thing: frying an egg in stainless steel isn’t some dark art. It’s actually pretty cool, and once you get the hang of it, incredibly satisfying. Think of it as unlocking a secret level in your kitchen. Suddenly, that pan you’ve been a little intimidated by becomes your best friend for breakfast. It’s like teaching a grumpy old dog new tricks, but way more delicious.
The Stainless Steel Mystique: Why It's Actually Awesome
So, what’s the big deal with stainless steel anyway? Unlike those non-stick pans that are designed to be practically frictionless (which, let’s be honest, are great but sometimes feel a little… cheat-y), stainless steel is all about control. It’s a bit more of a partner in the cooking process. It heats up evenly, which is a huge win for getting a consistent cook on your egg.
And that beautiful, smooth surface? When it's treated right, it can get almost non-stick. It’s like a chameleon of the cookware world. It can sear a steak beautifully and then, with a little know-how, gently cradle a delicate egg.
Plus, there’s something incredibly rewarding about mastering a technique that isn't relying on a special coating. It’s about understanding heat, and oil, and the very nature of your ingredients. It’s a little bit of kitchen alchemy, wouldn’t you say?
The "Preheating Secret" (Spoiler: It's Not That Secret)
Okay, here it is, the one thing that separates a perfect fried egg from a sticky mess: proper preheating. I know, I know, you've heard it before. But with stainless steel, it’s not just a suggestion; it’s practically the golden rule. Think of your pan as an athlete getting ready for a big game. It needs to warm up, get loose, and be ready to perform.

How long? It’s not an exact science, but a good rule of thumb is to heat your pan over medium heat for about two to three minutes. You don’t want it blazing hot, ready to scorch. We’re aiming for a gentle, consistent warmth. It’s like giving your pan a warm hug.
How do you know it’s ready? Here’s a fun little test, and I swear it feels like a magic trick the first time you do it. Flick a few drops of water into the pan. If they sizzle and disappear immediately, your pan is too hot. If they just sit there like little lost blobs, it’s not hot enough. But if the water forms little beads that dance and glide around the pan – voilà! – your pan is perfectly preheated. It’s like watching tiny water fairies waltzing across your stovetop.
The Oil Ballet: Not Too Much, Not Too Little
Once your pan is nice and warm, it’s time for the oil. This is where we perform our oil ballet. You want just enough oil to coat the bottom of the pan thinly. Too much oil, and your egg will be greasy and floaty, like a tiny edible raft. Too little, and… well, we all know what happens then. Stick city!
A good starting point is about one to two teaspoons of oil for a standard-sized egg. You can use pretty much any cooking oil you like – vegetable, canola, olive oil (just make sure it’s not extra virgin if you’re going for higher heat, as it can burn). Swirl the pan gently to distribute the oil. You want a nice, even shimmer across the entire surface.
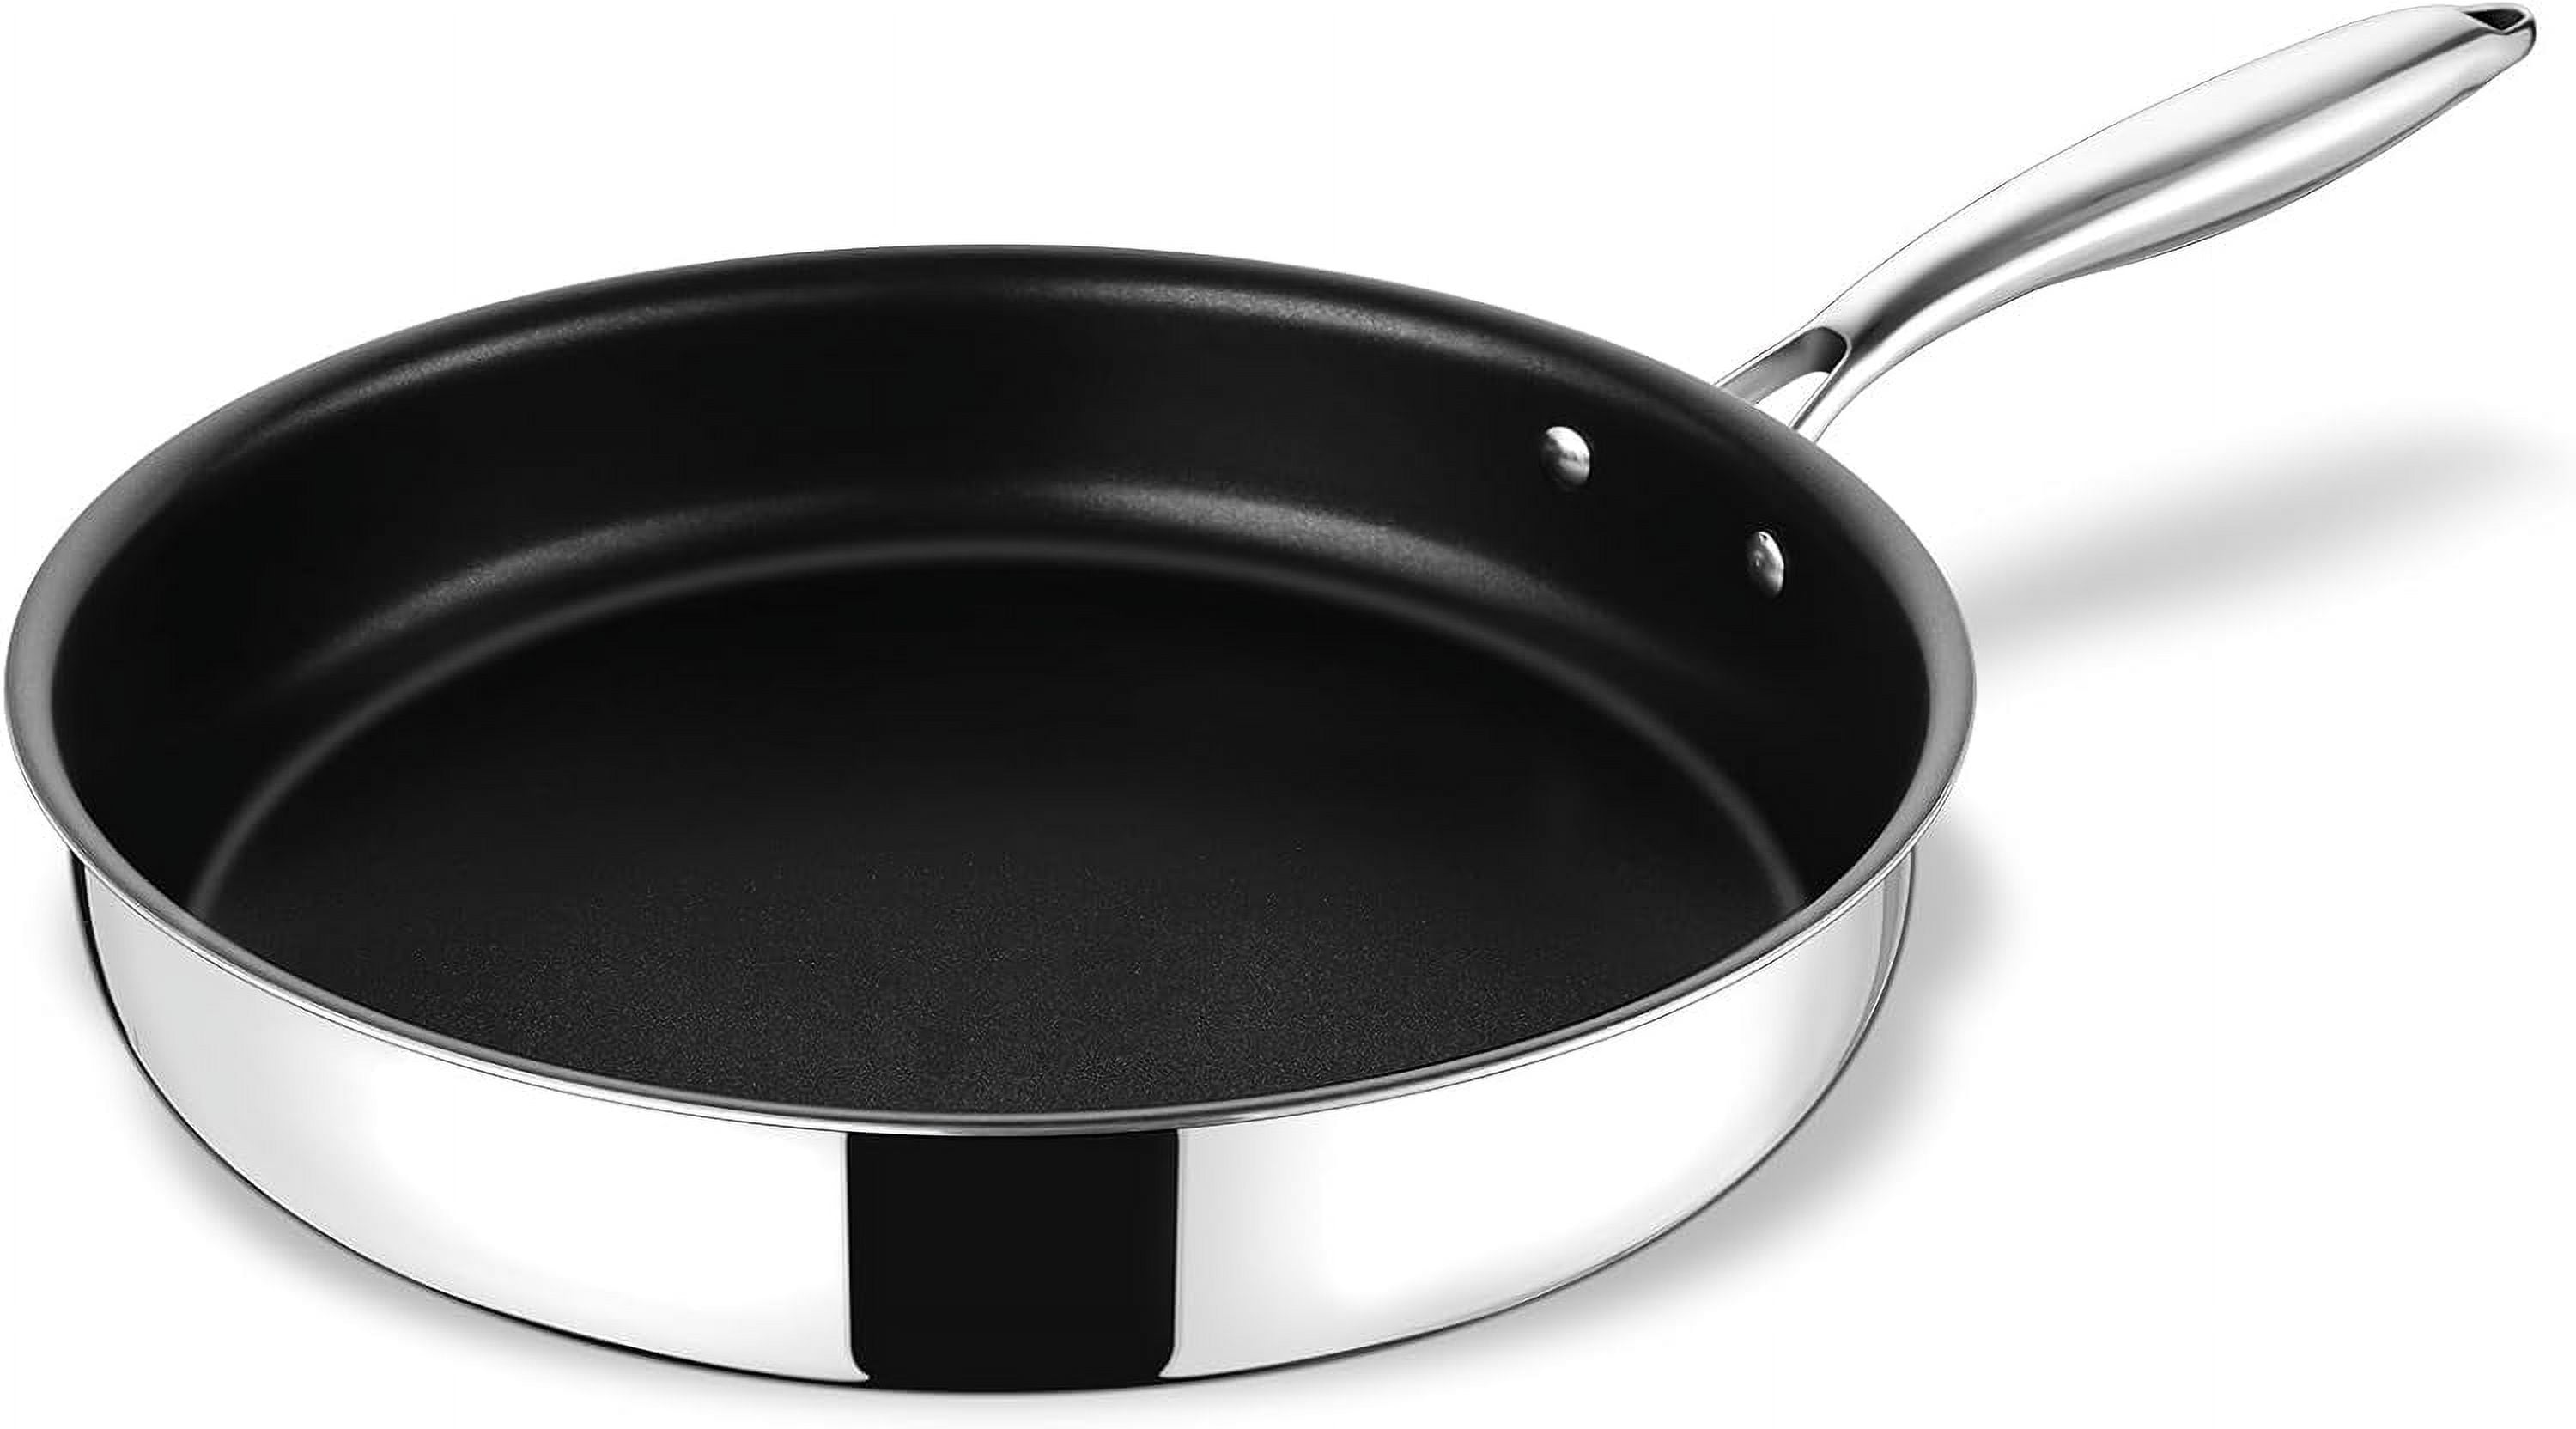
Watch that oil. You don’t want it to smoke. A little shimmer is perfect. It’s like the pan is saying, "Okay, I'm ready for my close-up, Mr. DeMille."
Cracking the Code: The Egg Itself
Now for the star of the show: the egg! For the best results, I always recommend using an egg that’s at room temperature. Why? Because a cold egg hitting a warm pan is like a shock to the system. It can cause the proteins to seize up and stick. Think about it – you wouldn’t jump into a freezing cold pool without a little acclimatization, right? Your egg deserves the same courtesy.
So, take your egg out of the fridge about 15-20 minutes before you plan to cook. Then, crack it gently. Some people like to crack it into a small bowl first, which is a great way to avoid getting any shell bits in your pan and to ensure you don't break the yolk prematurely. This is especially helpful when you’re starting out. It’s like a safety net for your precious egg.
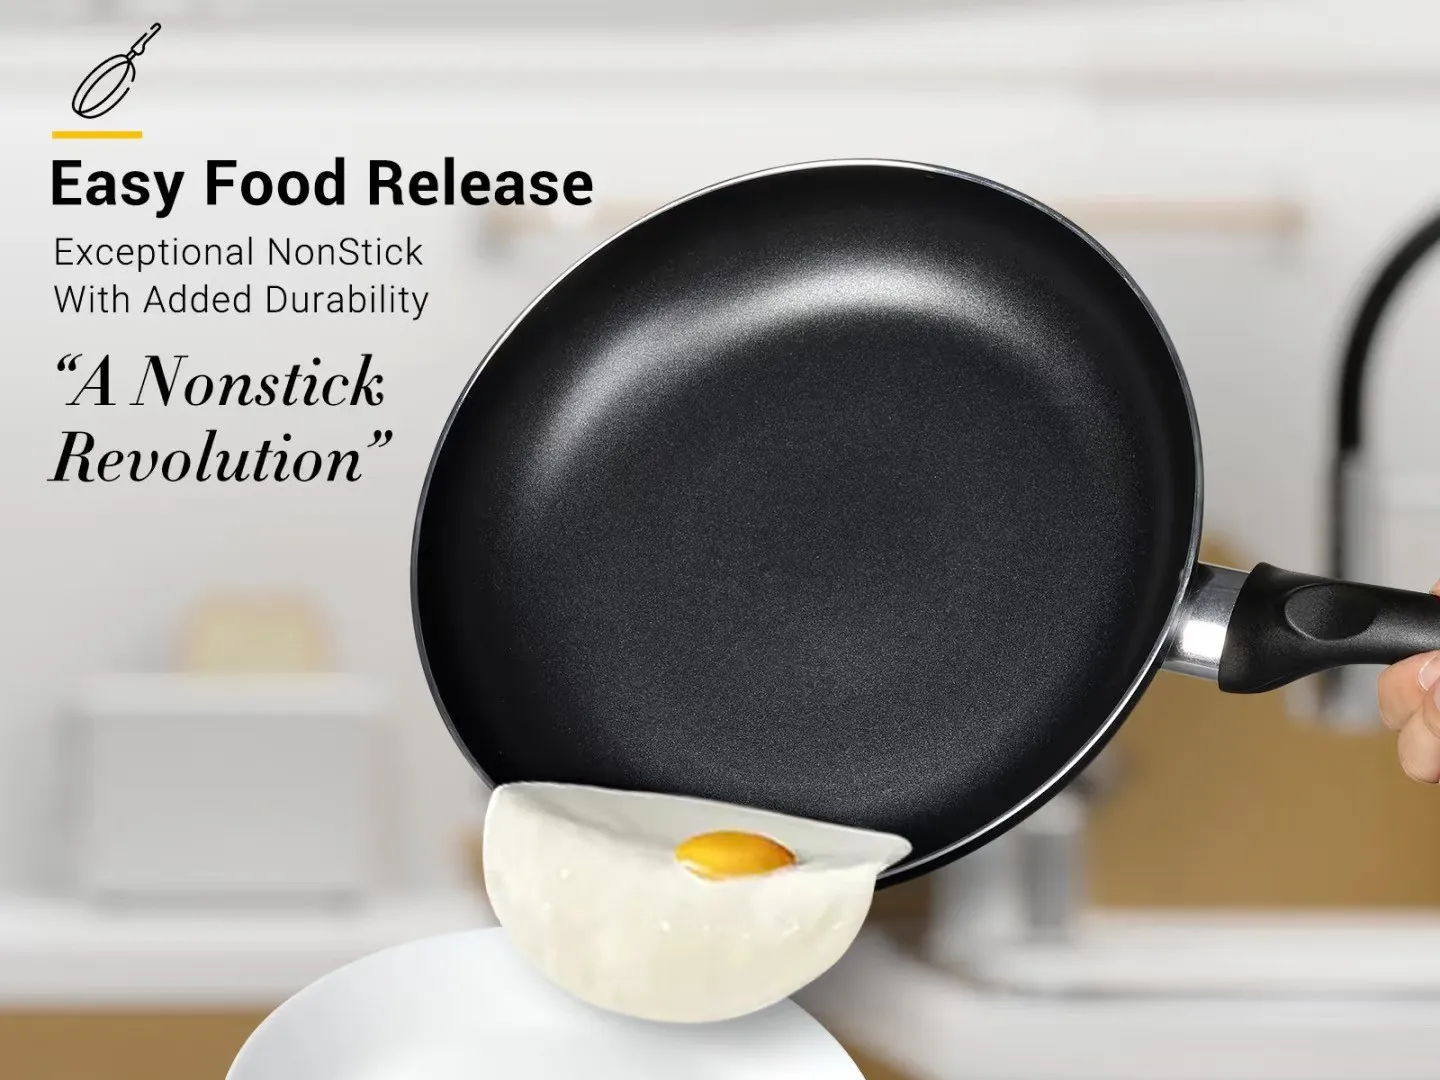
Then, with a calm and steady hand, slide that egg into the shimmering oil. Listen for that gentle sizzle. That's the sound of success, my friends. It’s a quiet, confident sizzle, not a frantic, panicked one.
The Gentle Art of Flipping (or Not Flipping!)
Now, the moment of truth. You've got your egg cooking. The whites are starting to set, and you might see a little steam rising. This is where patience comes in. Resist the urge to poke and prod it constantly. Let it do its thing.
If you’re making a sunny-side up egg, you just let it cook until the whites are fully set but the yolk is still gloriously runny. You can gently tilt the pan to let a little hot oil run over the whites to help them cook through without overcooking the yolk. It’s like giving your egg a little basting bath.
If you’re aiming for over-easy or over-medium, this is where the flip comes in. This is the part that can feel a little daunting with stainless steel. But here’s the trick: when the egg is ready to flip, it will essentially release itself from the pan. You’ll know it’s ready when you can gently nudge it with your spatula and it moves freely.

Use a thin, flexible spatula. Slide it carefully under the egg. Take a deep breath. And with a quick, confident flick of your wrist, flip that egg! It’s like a mini culinary acrobatic feat. If it sticks a little, don't panic. You can usually gently coax it free. A little wiggle is all it needs. It's less about brute force and more about finesse.
For over-easy, flip it for just a few seconds on the other side. Over-medium means a bit longer, until the yolk is mostly set but still has a slight jiggle. Over-hard, well, you know what that means. You’ve basically cooked the yolk all the way through.
The Clean-Up Symphony
And the best part? Cleaning a stainless steel pan after cooking an egg perfectly is surprisingly easy. If you’ve preheated correctly and used the right amount of oil, there should be very little sticking. A quick soak in warm, soapy water, a gentle scrub with a non-abrasive sponge, and your pan will be gleaming like new, ready for its next adventure. It’s a clean-up symphony, not a wrestling match.
So, next time you see that shiny stainless steel pan, don’t shy away. Embrace it! With a little heat, a touch of oil, and some patience, you’ll be frying eggs like a pro. It’s a simple skill, but one that feels incredibly empowering. And who doesn't love a perfectly fried egg to start their day? Happy cooking!