How To Grow A Nectarine From A Pit
Ever bitten into a perfectly ripe nectarine, that sweet, juicy flesh practically bursting with sunshine? Now imagine that nectarine, or one even better, grown right in your own backyard, from a humble pit you saved from that very first delicious bite! It’s like a little bit of magic, turning something you’d normally toss into a future source of sweet, summery goodness. It’s a fantastic way to connect with nature, get your hands dirty, and have bragging rights about growing your own fruit. Plus, who doesn't love a project that ends with delicious rewards?
From Snack to Seedling: The Nectarine Pit Adventure
This whole process is surprisingly accessible, and honestly, quite satisfying. You’re not just growing a plant; you’re nurturing a potential fruit-bearing tree, all from the tiny, forgotten pit at the center of your favorite summer treat. It’s a testament to nature’s resilience and your own green-thumb potential. Think of it as a long-term investment in deliciousness, a tangible way to contribute to your local ecosystem, and a wonderfully rewarding hobby.
The benefits are numerous, beyond just the obvious delicious nectarines. For starters, growing your own fruit is incredibly rewarding. There’s a deep sense of accomplishment that comes with nurturing a plant from seed to harvest. It’s also a fantastic educational experience, especially if you have kids. They can learn about plant life cycles, patience, and the satisfaction of hard work. Plus, you have complete control over what goes into your fruit – no pesticides or artificial fertilizers if you don't want them! And let’s not forget the environmental aspect; supporting local food production, even on a small scale, is a positive step.
So, where do we begin this exciting journey? It all starts with a pit. That’s right, the stone of your favorite nectarine holds the secret to a future tree. It’s important to remember that not all nectarine pits will grow into trees that produce the exact same type of nectarine as the parent fruit. This is due to the fascinating world of genetics and cross-pollination. However, even if the resulting fruit is slightly different, it will still be a delicious nectarine, or a related stone fruit, and a testament to your growing prowess!
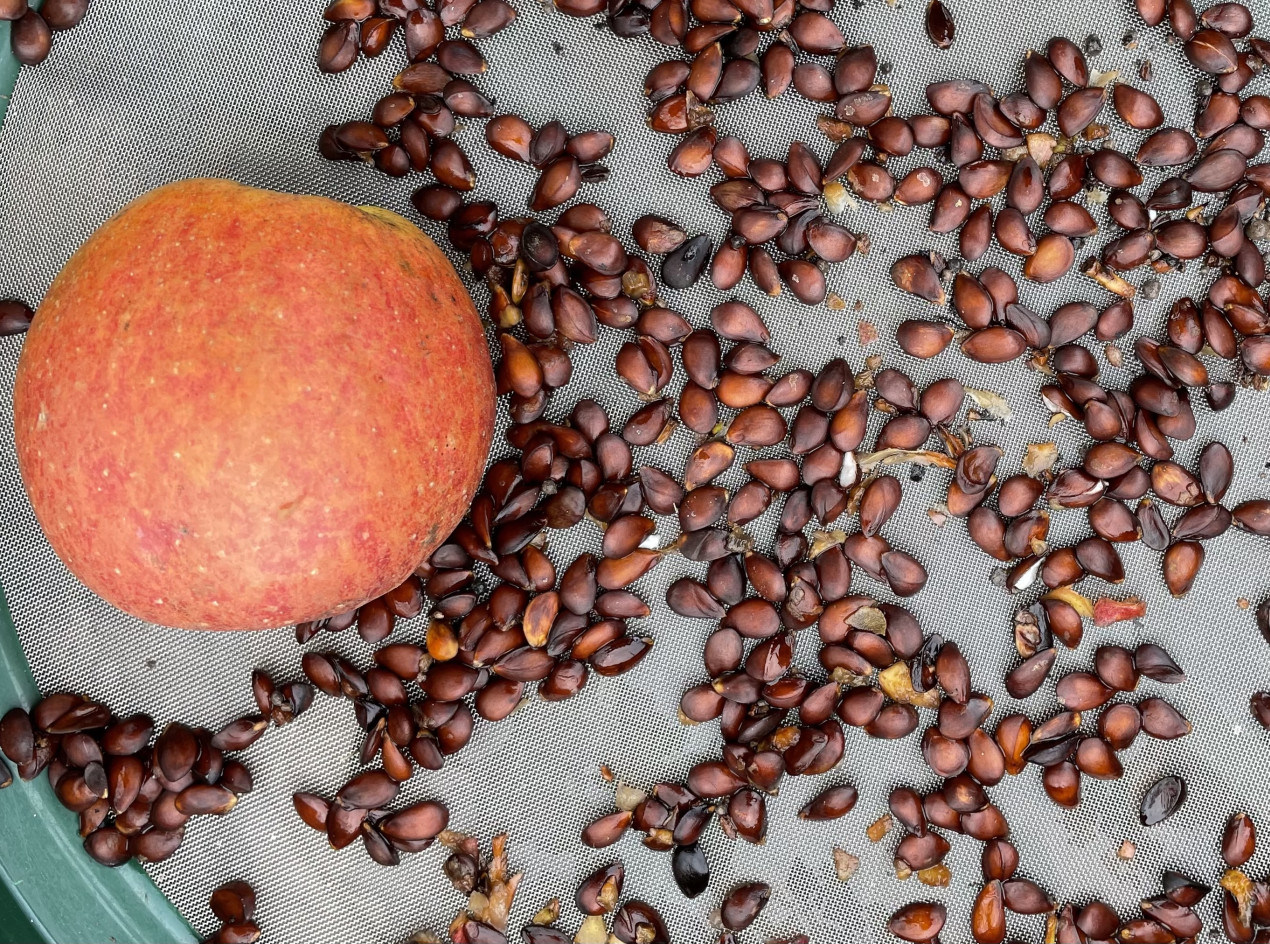
Step 1: The Pit Collection – The Foundation of Your Fruity Dream
This is the easiest and most delicious part! When you enjoy a ripe, juicy nectarine, don't just toss the pit. Give it a good rinse to remove all the sticky flesh. You want to get it as clean as possible. This is crucial because any leftover fruit can encourage mold or rot, which is definitely not what we want for our future tree. Imagine trying to grow a beautiful tree from a moldy seed – it’s not exactly the inspiring start we’re going for!
Once it’s clean, let the pit dry for a day or two. This helps prevent any unwanted moisture from causing problems down the line. Think of it as preparing your pit for its big adventure. You’re essentially setting it up for success.
Step 2: The Cold Stratification – Waking Up the Seed
This is where things get a little scientific, but don’t worry, it’s simple! Nectarine pits, like many fruit seeds, need a period of cold, moist conditions to break their dormancy and prepare them for germination. This process is called cold stratification. It mimics the natural conditions they’d experience if they fell to the ground in the autumn and waited for spring.
Here’s how to do it: Take a small, resealable plastic bag (like a Ziploc bag). Place your cleaned and dried nectarine pit inside. Then, add a small amount of damp (not soaking wet!) paper towel or peat moss. The goal is to keep the pit moist but not waterlogged. Too much water can lead to the pit rotting, and we’re aiming for growth, not decay!

Seal the bag, making sure to remove as much air as possible. Then, place the bag in the crisper drawer of your refrigerator. This is where the magic happens! You’ll need to leave it there for about 8 to 12 weeks. Yes, it sounds like a long time, but patience is a gardener’s virtue! During this time, the cold will signal to the seed that it’s time to wake up and get ready to grow. Check on it periodically, maybe once a week, to ensure the paper towel or peat moss is still slightly damp. If it feels dry, add a tiny bit more water.
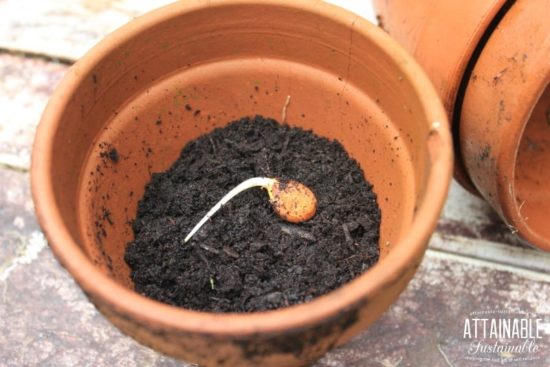
Step 3: The Planting – Giving Your Seed a Home
After its cozy winter nap in the fridge, your nectarine pit is ready for its new home. You’ll know it’s ready when you see a tiny sprout starting to emerge from the pit. If you don’t see a sprout, don’t despair! It might just need a little more time. Sometimes, the sprout is very small and hard to see at first. Gently examine the pit for any signs of life.

Once you see that promising sprout, it’s time to plant! Find a small pot, about 6 inches in diameter, with good drainage holes at the bottom. Fill the pot with a good quality potting mix. You can use a mix specifically designed for seeds and seedlings, or a general-purpose potting soil.
Make a small hole in the center of the soil, about an inch deep. Carefully place your sprouted nectarine pit into the hole, with the sprout facing upwards. Gently cover the pit with soil, being careful not to damage the delicate sprout.
Water the soil thoroughly, but again, avoid making it waterlogged. You want the soil to be evenly moist. Place the pot in a warm, sunny location. A windowsill that gets plenty of indirect sunlight is ideal.
Step 4: Nurturing Your Sapling – The Growing Pains (and Joys!)

Now comes the really exciting part: watching your nectarine tree grow! Keep the soil consistently moist. You’ll know it needs watering if the top inch of the soil feels dry to the touch. Avoid letting it dry out completely, but also avoid overwatering, which can lead to root rot.
As your sapling grows, you might need to transplant it into larger pots. The general rule of thumb is to move it to a bigger pot when you see the roots starting to emerge from the drainage holes. This gives the roots more space to grow and prevents them from becoming pot-bound.
When your sapling is strong enough and has several sets of leaves, you can consider moving it outdoors, especially if you live in a climate that doesn’t experience harsh frosts. For those in colder climates, you might need to keep it in a pot and bring it indoors during the winter months.
Growing a nectarine tree from a pit is a journey that requires patience and a little bit of love. But the reward – the possibility of harvesting your own delicious nectarines – is truly worth it. So, next time you enjoy a sweet nectarine, remember the potential hidden within its pit, and embark on your own fun and fulfilling growing adventure!