
How To Install A Deadbolt On A Metal Door
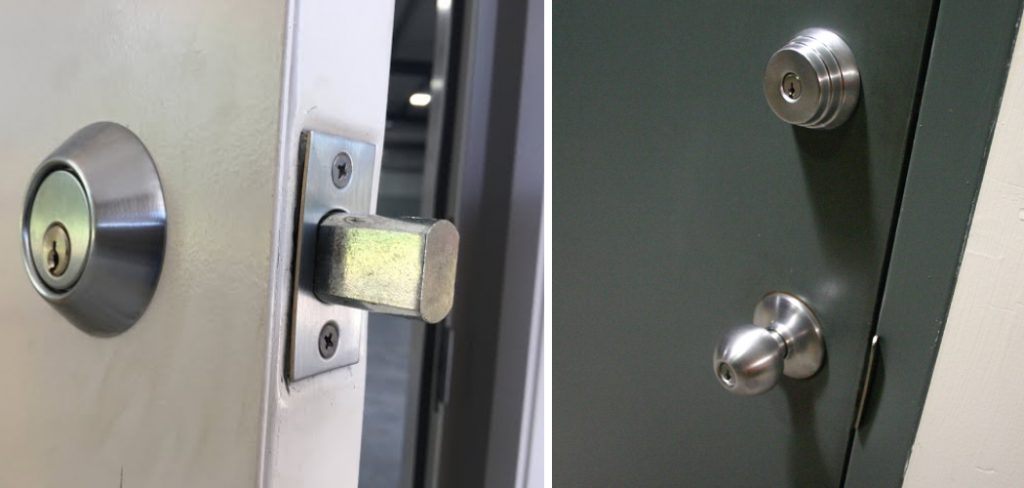
Ever stared at your metal door and thought, "This thing needs a serious upgrade in the 'keep-out-the-unwanted-guests' department"? Well, guess what? Installing a deadbolt is like giving your door a superhero cape! It’s not as intimidating as wrestling a dragon, I promise. In fact, it’s surprisingly achievable, even if your DIY experience is limited to successfully assembling IKEA furniture with only a few extra screws.
So, let’s dive into this exciting world of home security enhancement. Think of it as unlocking a new level of peace of mind, a fortress of fabulousness right at your doorstep. We're about to transform your humble entryway into a bastion of bulletproof (well, almost!) security. Get ready to feel like a certified lock-smithing wizard!
The Mighty Deadbolt: Your New Best Friend
This isn't just any old lock; the deadbolt is the undisputed heavyweight champion of door security. It's the bouncer that says, "Nope, not today!" to anyone trying to waltz in uninvited. Unlike a spring latch that can be jiggled open with a credit card (a trick I've only seen in movies, of course), a deadbolt's bolt, well, it's dead! It means business.
It's a thick, metal rod that extends deep into the doorframe, making it incredibly difficult to force open. So, when you install a deadbolt, you're essentially giving your door a metal hug that says, "Stay out!" It's the ultimate deterrent for those who might be tempted to admire your belongings a little too closely.
Gathering Your Gear: The Locksmith-Lite Toolkit
Before we embark on this heroic quest, we need our trusty sidekicks – the tools! Don't worry, you won't need a utility belt overflowing with gadgets. Most of what you need is probably hiding in your garage or can be snagged at your local hardware store faster than you can say "secure."
First up, you'll need your brand new deadbolt kit. These usually come with everything you need: the deadbolt itself, the strike plate for the frame, and all the screws. It’s like a puzzle for grown-ups, but way more satisfying to complete.
Then, we have the essential tools. A trusty drill is your best friend here. You’ll also need a couple of drill bits – one for making pilot holes and a larger, maybe 1-inch or 1.5-inch, hole saw bit. This bad boy is the magic wand that carves out the perfect openings for your deadbolt.

Don't forget a tape measure for precision, a pencil to mark your territory (or, you know, where the holes go), and a screwdriver (preferably a Phillips head) to secure everything. A chisel might come in handy for a little extra finesse, but we'll get to that.
Prep Work: The Calm Before the Deadbolt Storm
Now, let’s get our door ready for its transformation. Think of this as the spa treatment before a glamorous makeover. We need to make sure we know exactly where everything is going to go so we don’t end up with a door that looks like it lost a fight with a woodpecker.
First, consult your deadbolt instructions. Seriously, don't skip this part, even if you're tempted to just wing it. These instructions are your roadmap to deadbolt glory. They'll tell you the exact placement for the new holes.
Grab your tape measure and pencil. You'll be measuring from the edge of the door and from the existing doorknob to find the sweet spot for your new deadbolt. Mark this spot clearly. It’s like drawing a bullseye for your drill.
Drilling the Way to Security
This is where the real action happens! It’s time to unleash the power of your drill. Remember that hole saw bit we talked about? Get it ready! This is what creates the main opening for the deadbolt’s mechanism.

Carefully position your drill on the pencil mark you made. Hold it steady and let the drill do its magic. Go slow at first, and then increase the pressure. You're aiming for a clean, circular hole that goes all the way through the door. It’s like creating a portal to a more secure future!
You’ll likely need to drill from both sides of the door to meet in the middle. This ensures a clean passage for the deadbolt. Think of it as a precision operation, but way less nerve-wracking than brain surgery.
Next, you'll need to drill another hole on the edge of the door for the deadbolt’s bolt to extend through. This one is usually a smaller diameter, and your deadbolt kit instructions will specify the size. Again, steady hands and a focused drill are your allies here.
Installing the Star of the Show: The Deadbolt
With your holes perfectly (or at least adequately) created, it’s time to welcome the deadbolt into its new home. This is the moment of truth, the grand reveal! Gently slide the main body of the deadbolt into the larger hole you drilled.
Make sure it sits flush with the surface of the door. The faceplate, the part that covers the edge of the door, should also be snug. If it’s not quite sitting right, you might need to use your chisel to make a slight adjustment to the mortise (that’s the fancy word for the cutout). Don't overdo it; just a little shave here and there will do.

Now, grab those screws! You'll typically have screws that go through the faceplate and into the door. Screw these in carefully, ensuring the deadbolt is securely fastened. It’s like tucking your new security guardian into bed.
The Strike Plate: The Doorframe's New Best Friend
Now, let's focus on the other half of the operation: the strike plate. This little guy attaches to your doorframe and is where the deadbolt actually locks into. It's the catcher’s mitt to your deadbolt’s fastball.
You’ll need to align the strike plate with the bolt of your deadbolt when the door is closed. Your deadbolt kit usually comes with a template, or you can simply hold the deadbolt in the locked position and mark where the bolt hits the frame.
Once you've got your mark, you'll need to drill a hole for the bolt to slide into. This hole needs to be deep enough to securely hold the deadbolt when it's extended. Then, you’ll screw the strike plate in place. Make sure it's aligned perfectly, or your deadbolt won't do its job.
Some folks like to use longer screws for the strike plate, especially if their doorframe is a bit flimsy. This adds an extra layer of security, making it even harder to kick down your door. Think of it as giving your doorframe a steel spine!
The Grand Finale: Testing Your Fortress
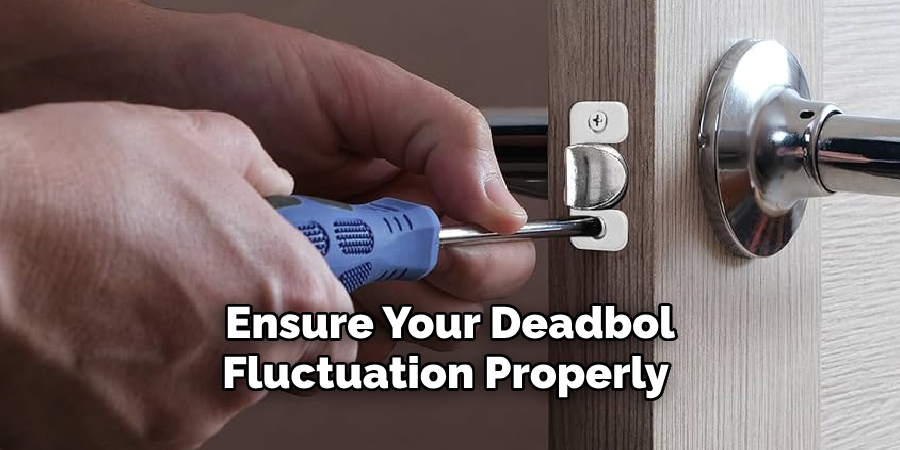
You’ve done it! You’ve conquered the deadbolt installation! Now for the moment of truth: testing your new security masterpiece. Close the door gently and try turning the deadbolt key from the outside.
Does it slide smoothly into the strike plate? Does it lock securely with a satisfying thunk? If so, congratulations! You've officially leveled up your home security game. Go ahead and pat yourself on the back – you’ve earned it!
Now, try locking it from the inside. Does it operate just as smoothly? The goal is a flawless operation, a testament to your newfound skills. You've gone from zero to security hero in no time. Your home is now officially more secure, and you have the satisfaction of knowing you did it yourself!
A Word of Encouragement
Seriously, you're a rockstar! Installing a deadbolt on a metal door might sound daunting, but as you've seen, it's totally doable. With a little patience, the right tools, and a dash of enthusiasm, you've created a significant upgrade to your home's safety.
So, next time you're thinking about home improvement, remember the power of the deadbolt. It's an investment in your peace of mind, and the best part? You can say, "I did that!" with a huge, proud grin.