
How To Install A Doggie Door In A Metal Door
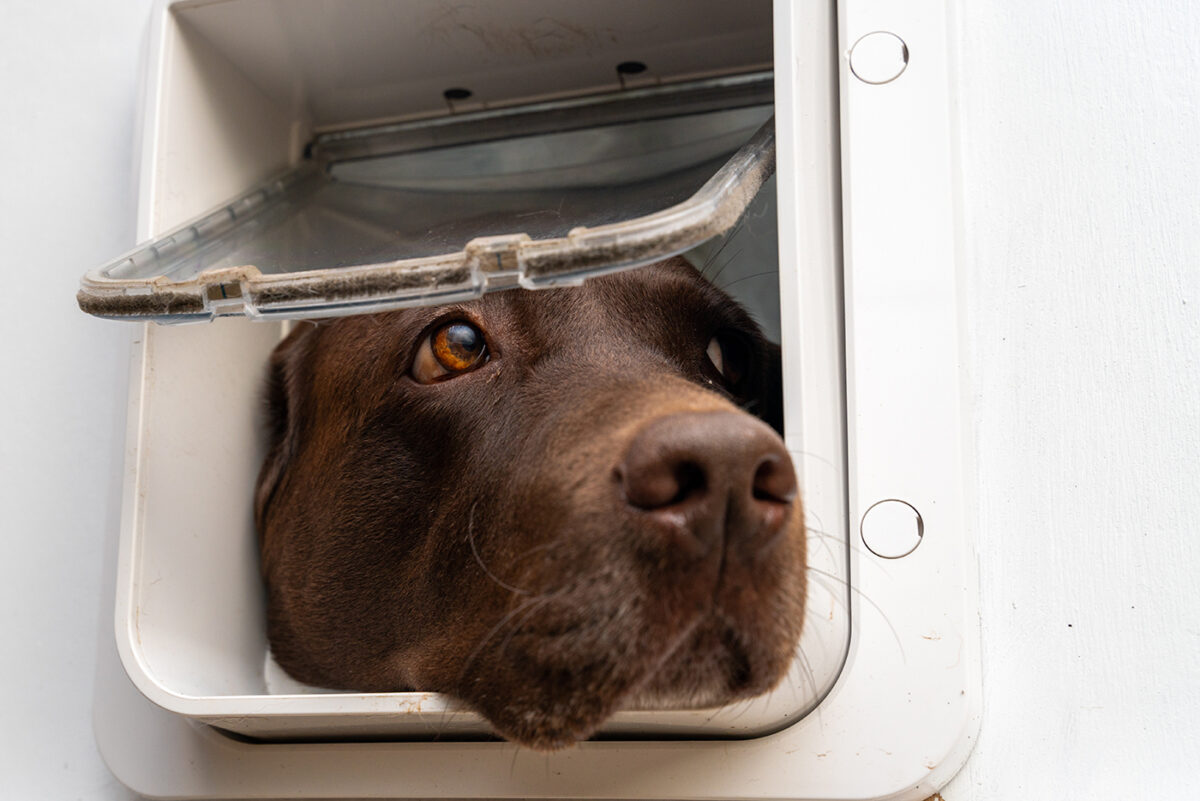
Alright, gather ‘round, you lovely humans who’ve been strong-armed into becoming their own personal doormen/women for a furry overlord. Yes, you, the one who’s been practically chained to the back door, performing emergency pee-mail retrieval missions at all hours. Today, we embark on a quest! A quest for freedom! A quest for… a
First things first, let’s acknowledge the sheer absurdity of the situation. You’ve got this solid, imposing hunk of metal that probably wouldn’t flinch if a meteor hit it, and you’re about to invite a slobbering, tail-wagging creature to create its own personal escape route. It’s like giving a toddler a master key to a nuclear launch facility. Exciting, right? But don't worry, we'll be the responsible ones here. Mostly.
Phase One: The "Am I Really Doing This?" Panic
Before you even think about grabbing a drill, you’re going to experience a fleeting, but intense, moment of self-doubt. You'll stare at your beautiful, unblemished metal door, perhaps a pristine white or a sophisticated brushed nickel, and question your sanity. "Am I going to wreck this expensive door for a dog who probably just wants to chase squirrels?" The answer, my friends, is almost certainly yes. Embrace the chaos!
This is also the perfect time to have a little heart-to-heart with your dog. Explain the concept of the dingle-dangle flap. Show them pictures. Sing them a song about independence. They’ll likely respond with an indifferent sniff and a hopeful glance towards their food bowl, but hey, you tried.
Phase Two: Gathering Your Arsenal (It's Not as Scary as it Sounds)
Now, let’s get down to brass tacks. You’ll need a few things, and don’t worry, you probably won’t need to wrestle a bear for them.
The Doggie Door Itself: The Crown Jewel
You need a doggie door, obviously. And for a metal door, you’re going to want something that’s designed for this kind of bravery. Look for ones with metal framing. These bad boys are built to withstand the enthusiastic battering of a determined terrier or the subtle, yet powerful, nudge of a Great Dane. Trust me, you don’t want a flimsy plastic contraption turning your metal door into a sieve.

Some doors have a built-in flap, others have a telescoping tunnel. Think of the tunnel as the VIP lounge for your dog's comings and goings. Fancy!
The Holy Trinity of Tools: Drill, Jigsaw, and Courage
Your main weapons will be a drill and a jigsaw. Now, if the thought of operating a power tool makes you sweat like you’re about to propose in front of your entire extended family, take a deep breath. You've got this. There are also specialized kits that might come with templates, which are basically like training wheels for your power tool adventure. We love training wheels.
The Supporting Cast: Measuring Tape, Marker, Safety Goggles (Seriously)
You’ll also need a measuring tape – because precision is key, even when you’re carving a hole for a creature who occasionally eats socks. A marker is essential for drawing your cut lines. And for the love of all that is holy and un-chewed, safety goggles. Metal shavings are no joke, and you don't want to end up with a rogue bit of aluminum doing the tango in your eyeball. Ouch.
The Secret Weapon: A Friend (or a Really Understanding Neighbor)
If you’re not exactly Mr./Ms. Tool-Belt, consider enlisting a buddy. Someone who’s actually good with tools, or at least someone who can hold the flashlight and offer moral support (and maybe fetch you snacks). They’re the unsung heroes of DIY disasters.
![Install A Doggie Door In Your Glass Door: A Step-by-Step Guide - [2025]](https://petloverguy.com/wp-content/uploads/2023/05/dog-2618841_1920.jpg)
Phase Three: Operation "Franken-Door" Begins
Alright, you’ve got your gear, your courage is (mostly) intact, and your dog is giving you the wide-eyed "what’s happening?" stare. Time to make some magic. Or, you know, a hole.
Measure Twice, Cut Once (Unless You're My Uncle Dave)
This is where the measuring tape comes in. You need to decide where this portal of freedom will be. Generally, you want it low enough for your dog to easily clear, but not so low that a rogue puddle will become an indoor water feature. Measure your dog. Yes, actually get down on the floor and measure their shoulder height. They might find it a bit odd, but it’s for the greater good.
Transfer these measurements onto the door. Use your marker. Be bold! This is your canvas, your… metal canvas. Most doggie doors come with templates, which are like pre-drawn masterpieces. Use ‘em! They’re your artistic guides through this metal jungle.

Drill Baby, Drill (Carefully!)
Now, for the moment of truth: the drill. You’ll need to drill pilot holes. These are small holes that your jigsaw will use to start its cutting journey. Think of them as tiny breadcrumbs for the saw. Place them in the corners of your marked-out area. If your metal door is particularly thick, you might need a stronger drill bit. Think of it as upgrading from a butter knife to a chef's knife for your metal meal.
The Jigsaw Jive
Here’s where the fun (and potential mild panic) truly begins. Insert the blade of your jigsaw into one of the pilot holes. Now, slowly and steadily, cut along your marked lines. Don’t rush. Metal can be stubborn, and you don’t want to veer off course and end up with a… creatively shaped opening. Imagine you’re carving a very expensive, very flat pumpkin. With power tools.
As you cut, wear your safety goggles. I cannot stress this enough. Tiny metal shrapnel is not a good look for anyone. Keep a vacuum cleaner handy for the metal dust. It’s like glitter, but much less festive and significantly more likely to lodge itself in sensitive places.
Phase Four: The "Is It Supposed to Look Like That?" Assessment
Once you’ve completed your masterpiece (or your metal mangling), you’ll have a rather large hole in your door. Take a moment. Admire your work. It might be a little rough around the edges. That’s okay. Metal can be a bit… feisty. You might need to use a file or some sandpaper to smooth out any sharp edges. We don’t want any accidental doggy paper cuts, do we?
Phase Five: Installation and the Grand Unveiling
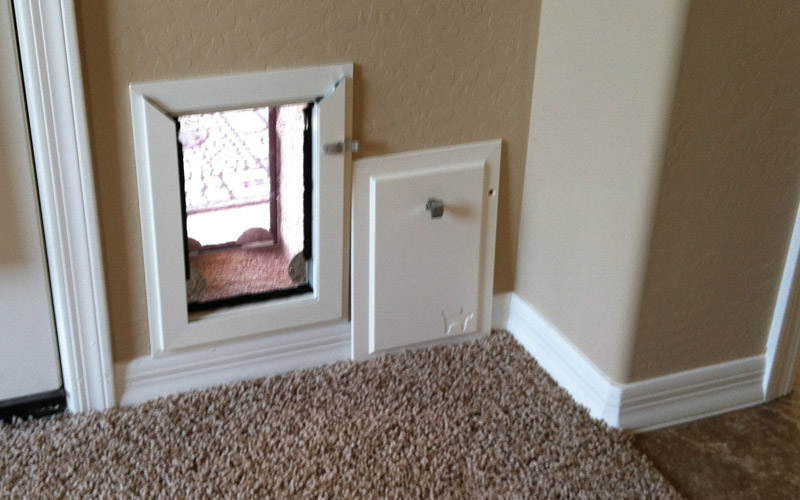
Now comes the exciting part: putting in the actual doggie door. These usually come in two parts, one for each side of the door. They’ll sandwich the metal around the hole you’ve so bravely created. Follow the instructions that came with your doggie door. They are usually quite straightforward, like IKEA furniture instructions, but less likely to result in existential crises.
You’ll likely be screwing the two parts together. Make sure it’s secure and tight. You don’t want your dog’s personal escape hatch to become a security vulnerability. Imagine a squirrel making a daring raid through your doggie door. The indignity!
Phase Six: The First Paws Through the Portal
And there you have it! A doggie door in a metal door! Now, for the grand unveiling. Gently entice your dog to try it out. They might be hesitant at first. They might sniff it suspiciously. They might even try to go back to barking at the door like a medieval guard. But eventually, the allure of freedom (and the promise of a squirrel encounter) will win them over.
Watch them go! It’s a momentous occasion. You’ve not only installed a functional item, but you’ve also fostered independence and potentially saved yourself a thousand trips to the back door. So, raise a glass (of water, probably, you’ve earned it) to your new, slightly more metal, freedom-granting door. And remember, if all else fails, there’s always duct tape. Lots and lots of duct tape.