
How To Install A Fence With Metal Posts

So, you've decided to wrangle your yard. Maybe you want to keep the dog from staging elaborate escape attempts. Or perhaps you're aiming for that picture-perfect privacy. Whatever your fence fantasy, we're here to talk about the unsung heroes: metal fence posts. Forget those rickety wooden things that look like they're about to do the limbo. Metal posts are sturdy. They're sassy. And honestly, installing them can be a surprisingly fun adventure.
Why metal posts, you ask? Well, let me tell you. They're like the superheroes of the fencing world. They don't rot. They don't get munched by termites (take that, wood!). And they can withstand a serious amount of wind. Think of them as your yard's personal bouncers. They're here to keep things in line, literally.
And let's be honest, there's a certain satisfaction in digging a hole and setting something solid in the ground. It feels primal. Like you're conquering a little piece of nature, one post at a time. Plus, you get to wield tools! Who doesn't love a good tool-wielding moment?
The Metal Post Mystique
There are a few types of metal posts out there, but we're mostly talking about those awesome T-posts or U-channel posts. They're usually made of galvanized steel, which means they've been dipped in molten zinc. Sounds dramatic, right? It's basically like giving them a superhero suit for rust-fighting. This coating is what makes them so darn durable. Imagine your fence standing tall and proud for decades. That’s the metal post promise.
And the history! Did you know T-posts were actually invented way back in the 1940s? Yep, they've been keeping things contained for ages. It's like they're steeped in generations of fence-building wisdom. You're not just hammering a post; you're connecting with a legacy of practical ingenuity. Pretty cool, huh?
Getting Your Gear Together
Before you start swinging hammers like a Viking warrior, you need to gather your troops. Your tools, that is. You'll need a post driver. This is your main weapon. You can get manual ones (get ready for a workout!) or even rent a power-driven one if you're feeling fancy (or have a lot of posts). Trust me, manual driving is… an experience. Your arms will thank you later, probably with sore muscles and a newfound appreciation for gravity.
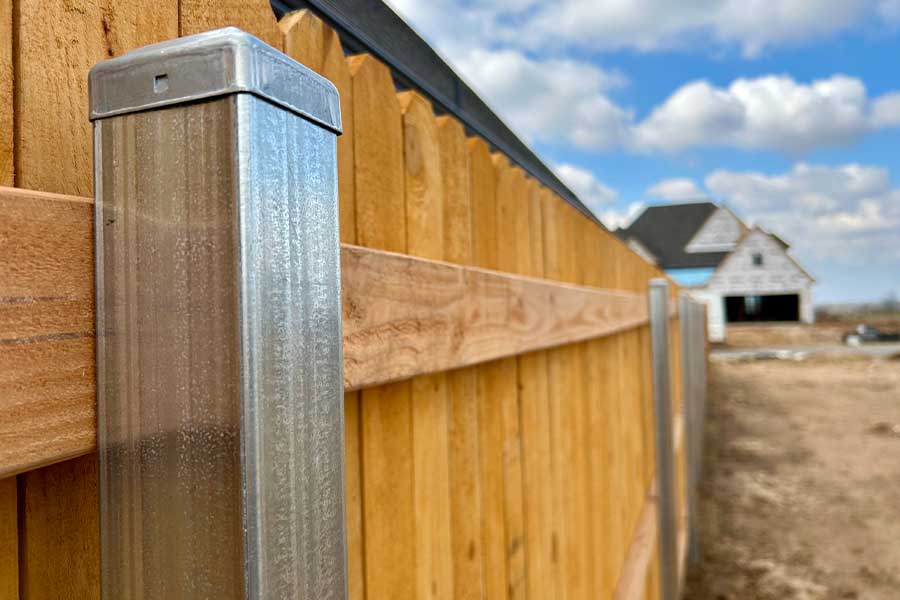
You'll also need a level. Crucial. Nobody wants a fence that looks like it’s had too much to drink. A tape measure is your best friend for spacing. And some sturdy gloves are a must. Those metal edges can be surprisingly sharp. Safety first, then fence-building glory.
The Grand Plan: Layout and Spacing
This is where you channel your inner architect. You need to figure out where your fence is going. Walk the line. Imagine the finished product. This is your moment of vision. Once you've got your route, you need to mark your post locations. This is where the tape measure comes in. Typical spacing for T-posts is usually around 8 to 10 feet apart, but it depends on your fence material. Thicker wire or heavier fencing might need them closer.
Think of each post location as a tiny victory. You're not just marking a spot; you're claiming territory. You're dictating the boundaries of your domain. It's empowering! And if you mess up a mark? No biggie. It's just a little chalk line. Erase and redraw. No one’s judging your chalk art skills here.

Hole-y Moley! The Digging (or Driving) Part
Now for the main event! If you’re using a manual post driver, it’s a bit like a giant hammer on a stick. You’ll place the driver over the post, lift it up, and let gravity do the work. It’s a rhythmic process. Lift, drop. Lift, drop. You’ll get into a groove. It’s surprisingly satisfying to see the post sink into the earth.
Pro tip: Start driving at a slight angle in the direction you want the fence to lean (if you're planning any gentle curves). This helps prevent it from leaning the wrong way later. And if the ground is really tough? A little water can sometimes help soften it up. Or you might need a post hole digger for the first few inches to get it started. Don't be afraid to get a little messy. It’s part of the fun!
If you're renting a power driver, well, that's a whole other level of excitement. Those things can practically hammer a post in with a single, satisfying thump. Just make sure you know how to operate it safely. They pack a punch!

Keeping it Straight: The Level's Best Friend
As you're driving, periodically check your post with the level. You want it perfectly plumb. Vertical. Straight up and down. If it starts leaning too much, you can often nudge it back into place with your driver. It’s a delicate dance between brute force and gentle persuasion. This is where the true fence-whisperer emerges.
Imagine your post as a skyscraper. It needs a solid, straight foundation. A wobbly post is like a skyscraper built on jelly. Not good. So, keep that level handy. It’s your silent guide, your truth-teller in the world of verticality.
The Anchor: Making Sure They Stay Put
Once your posts are in, you might want to add a little extra security, especially if you're expecting rough weather or have energetic pets. For T-posts, you can get little metal clips or star pickets that you hammer into the ground behind the post to act as anchors. Think of them as tiny, metal buttresses. They give your post extra support.
For U-channel posts, you might be setting them in concrete. This is a more involved process, but it creates an incredibly strong anchor. You’d dig a wider hole at the bottom, put the post in, and then fill it with concrete. It’s like giving your post its own personal concrete throne. Very fancy.
The Fun Continues: Attaching Your Fence
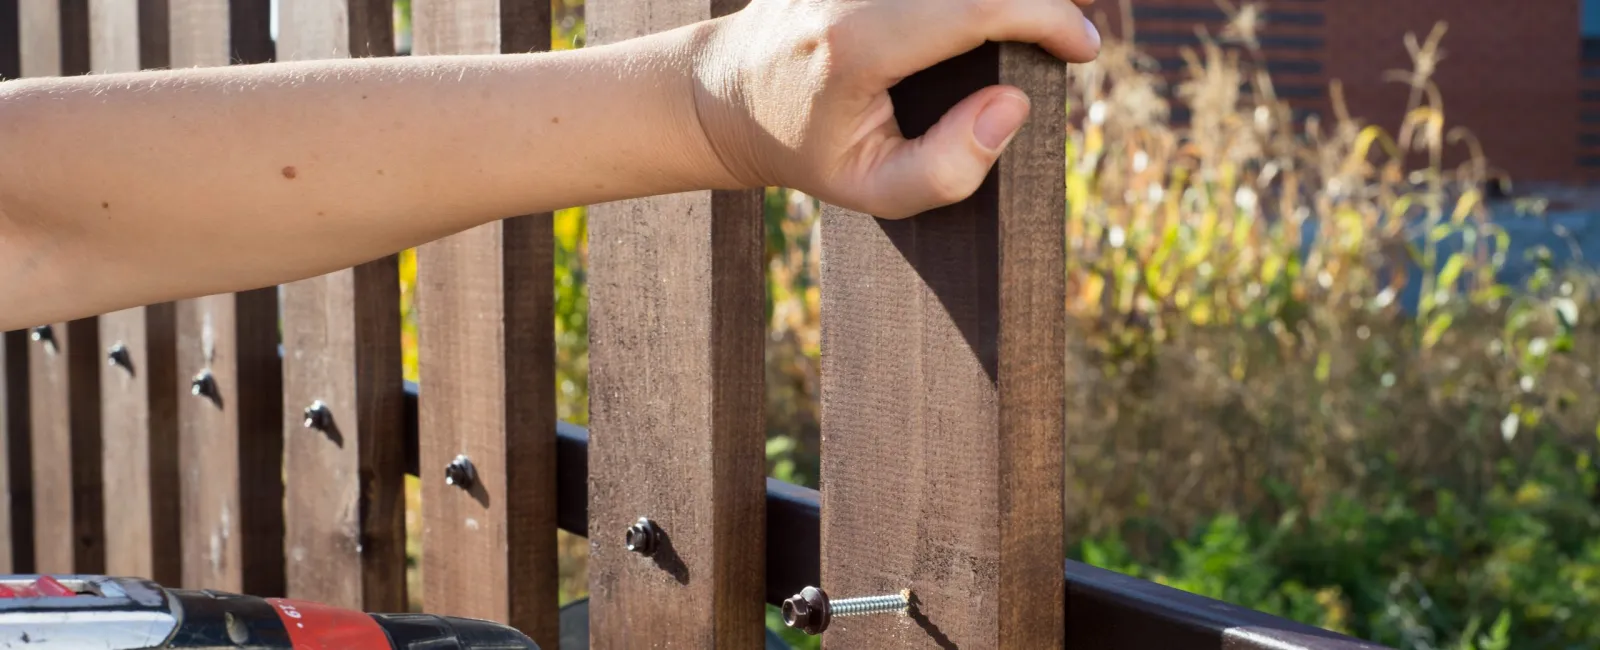
Now that your metal guardians are in place, you can start attaching your actual fence. Whether it's wire mesh, wood panels, or something else entirely, the metal posts are your sturdy foundation. They’re ready to be dressed up and make your yard look amazing.
Installing a fence with metal posts is more than just a DIY project. It's a testament to your ability to build something. It’s a little bit of grit, a little bit of sweat, and a whole lot of satisfaction. So go forth, embrace the metal, and build yourself a fence that will stand tall for years to come. You’ve got this!