
How To Install Metal Fence
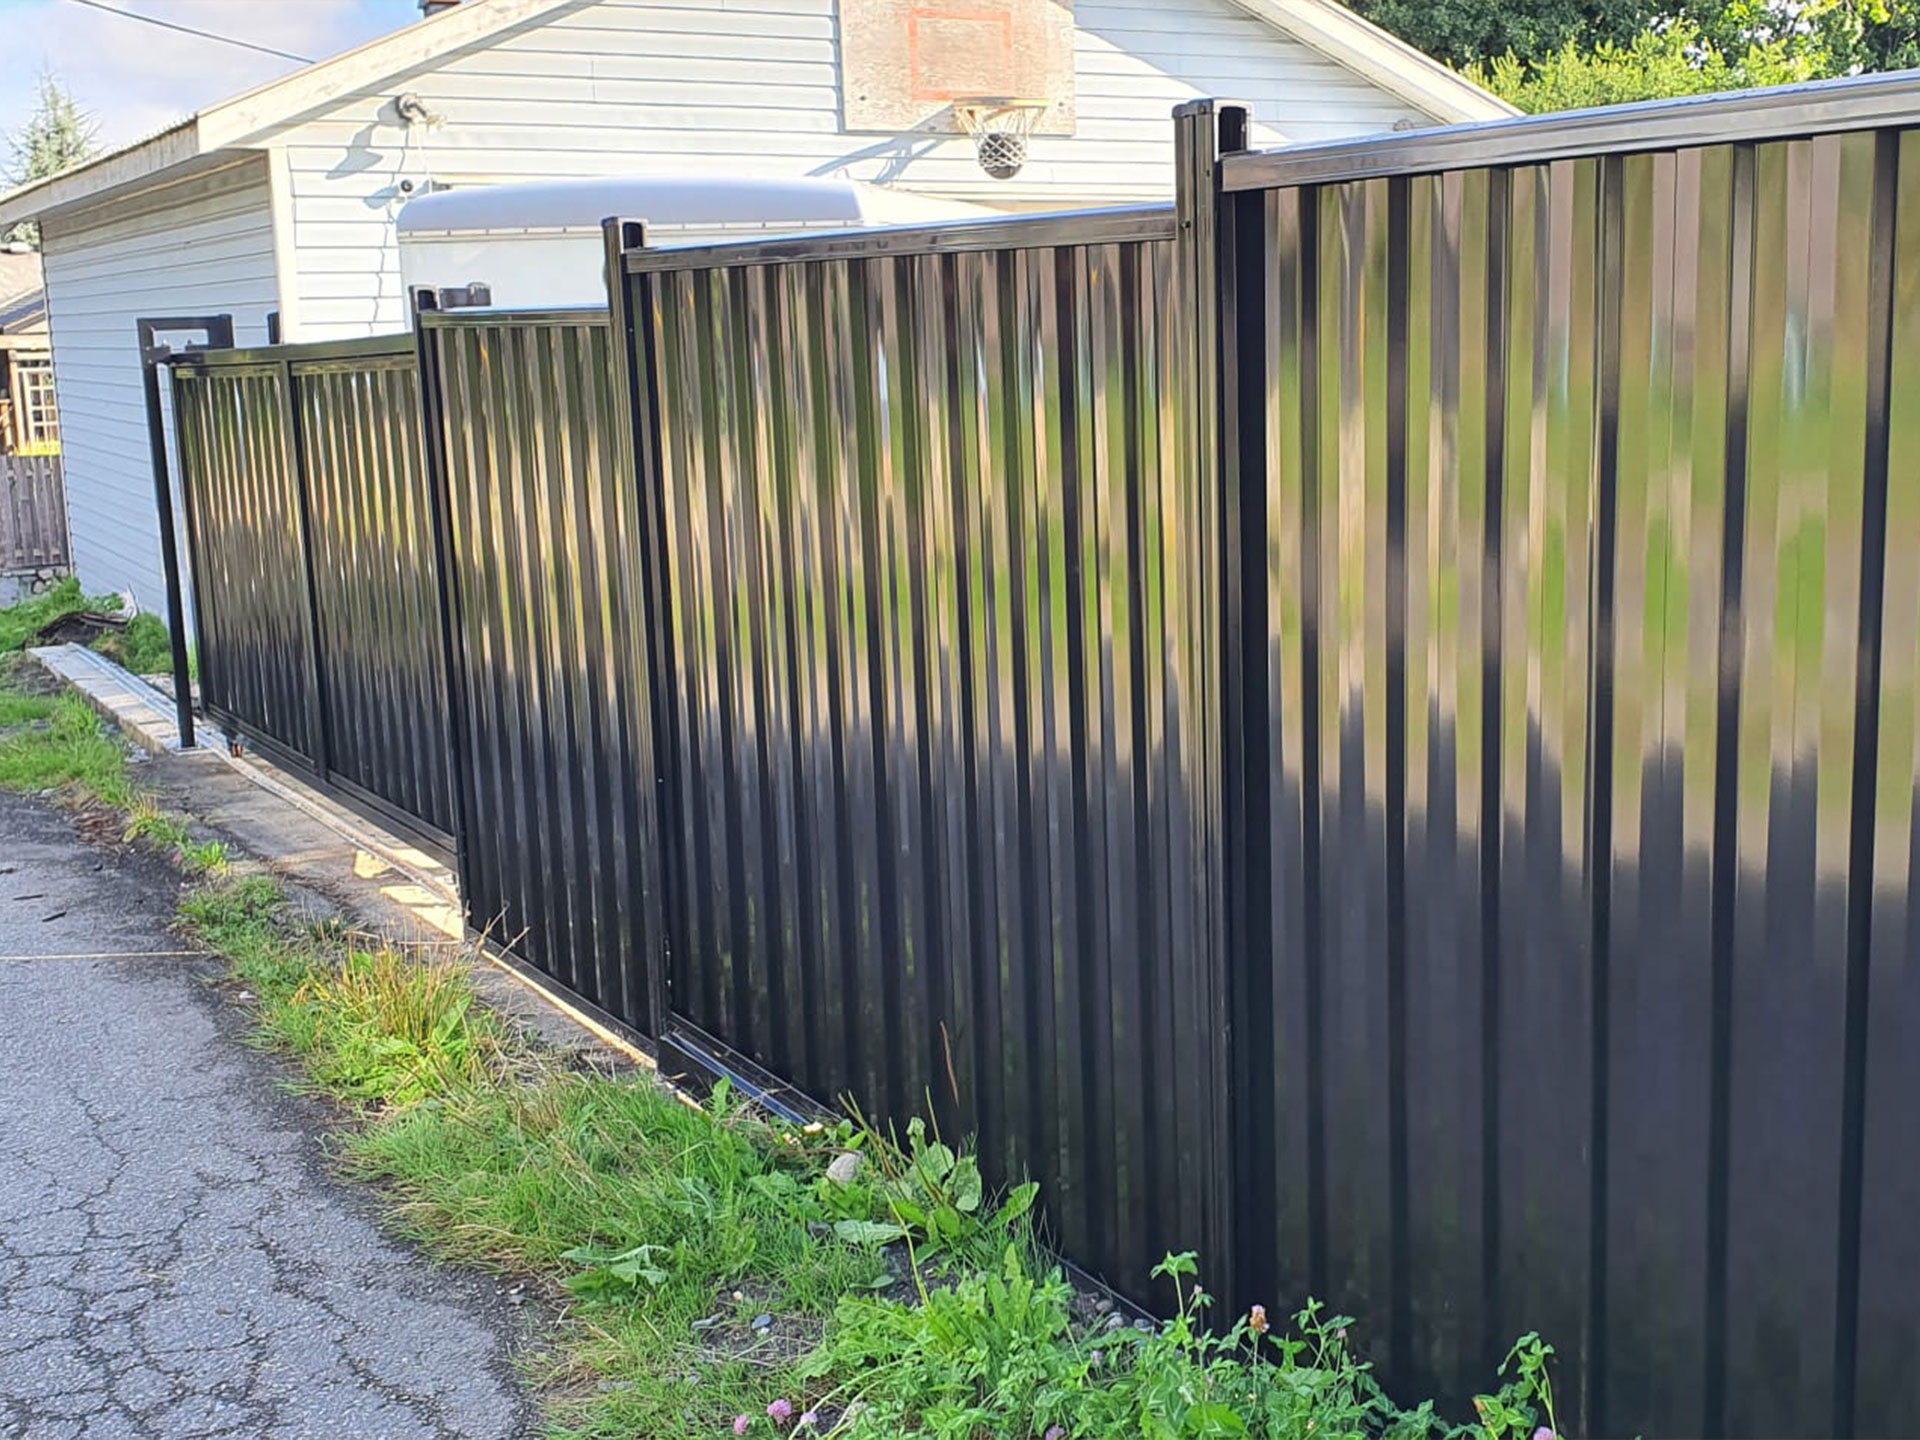
So, you're thinking about upping your fence game? Awesome! Going with metal fencing is a fantastic choice, if I do say so myself. It's tough, it looks super modern, and honestly, it’s way less fuss than wrestling with those wobbly wooden panels. Plus, no more worrying about termites staging a takeover, right? Right! Let's dive into how you can get this done, shall we? Think of this as your friendly chat over a cuppa, minus the actual coffee stain potential on your new fence.
First things first, let's talk about what kind of metal fence you're eyeing. Are we talking sleek aluminum, which is light and won't rust (a major win!), or something a bit more industrial like steel? Chain link is also a classic for a reason, though maybe not the "fancy" vibe you're going for. For this chat, I'm picturing those cool, modern panels. You know, the ones that make your yard look like it’s straight out of a magazine. So, imagine that!
Before we get our hands dirty, there’s a little thing called planning. I know, I know, who likes planning? But trust me, this bit saves you a ton of headaches later. You need to figure out exactly where your fence is going. Mark it out! Grab some spray paint, some stakes, whatever works for you. Walk the perimeter. Pretend you’re a very important surveyor. Consider any gates you might need. Do you want a charming little pedestrian gate for easy access, or a grand driveway gate that screams "welcome, but also, stay out of my perfectly manicured lawn"?
And don't forget to check your local regulations, buddy! Seriously, some places have rules about fence height and placement. You don't want to do all this work only to find out you've built a fence that offends the neighborhood association. That’s a social faux pas of epic proportions! A quick call or a peek at your town’s website should do the trick.
Now, let's get down to the nitty-gritty: the actual installation. This is where the fun (and maybe a little sweat) begins! The most crucial part of any fence, metal or otherwise, is the posts. These guys are the backbone, the unsung heroes of your fencing endeavor. If your posts are wonky, your whole fence will be wonky. And nobody wants a wonky fence, do they?
You’ll need to dig post holes. And yeah, this is the part where you might start questioning your life choices. But think of the reward! A beautiful, sturdy fence. You can rent a post-hole digger if you're feeling fancy, or you can go old school with a shovel and some elbow grease. The general rule of thumb is to dig holes about one-third of the post’s total length deep. So, if your posts are 8 feet tall, aim for about 2.5 to 3 feet down. Deeper is usually better for stability, especially if you live in a windy area. Do you live in a windy area? I feel like you might.
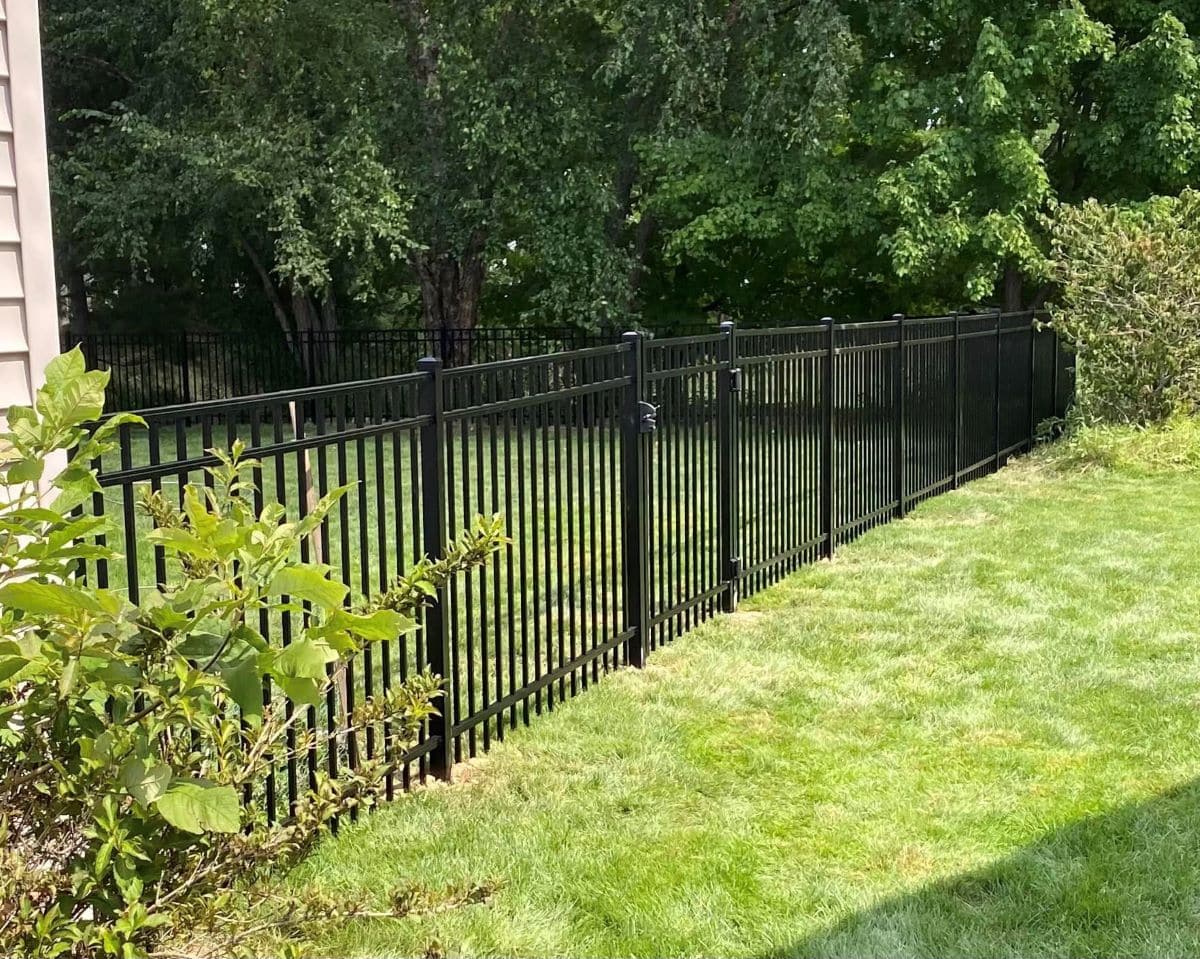
Once those holes are dug, it’s time to set the posts. You'll want to use concrete for this. It’s the strong stuff, the dependable stuff. Place your posts in the holes and then start pouring in the concrete. Make sure the posts are perfectly straight using a level. Like, perfectly. Again, wonky posts = wonky fence. You can buy pre-mixed concrete, which is super convenient. Just add water and mix. Easy peasy, right?
Now, this is important: let the concrete cure. This means letting it sit and harden completely. This can take a day or two, depending on the weather. Patience, grasshopper! You can’t rush this. Trying to attach fence panels to wet concrete is like trying to build a sandcastle in the rain. It’s just not going to end well.
While you're waiting for the concrete to work its magic, you can get your fence panels ready. Most metal fences come in pre-fabricated panels. You’ll also need brackets or clamps to attach these panels to the posts. These are usually sold separately, so don't forget to grab them! They're like the tiny, but mighty, connectors that hold everything together. Think of them as the fence’s best friends.
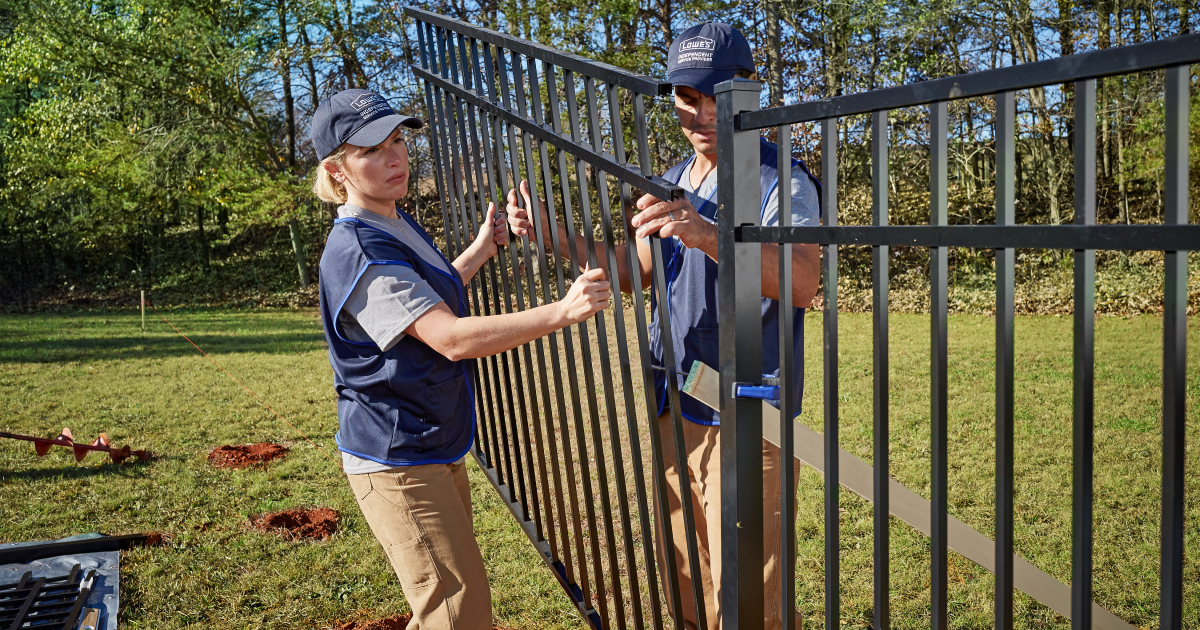
Okay, concrete cured? Posts solid as a rock? Time to attach those panels! This is where you really start to see your fence come to life. Most metal fence systems are pretty intuitive. You’ll typically slide the panels into place and then secure them with those handy brackets or clamps. Make sure each panel is level and aligned with the one next to it. You’re aiming for that seamless, professional look. No one wants gaps where the neighborhood squirrels can stage elaborate escape plans.
A little tip here: start at one end and work your way along. It’s like building a puzzle, but a much more permanent and impactful puzzle. Measure as you go, just to be sure. Double-checking is your friend! It's better to measure twice and cut once, or in this case, attach twice and admire once.
What about gates? Ah, gates! They’re the welcoming committee, but also the security detail. If you’re installing a gate, it usually involves a bit more finesse. You’ll have gate posts, which need to be extra sturdy. You’ll then attach the gate itself to these posts using hinges. Make sure the gate swings smoothly. No one wants to wrestle with a stubborn gate. That’s just… inconvenient.

And if you're feeling really ambitious, you might even be looking at decorative metal fencing. These can be a bit more intricate. Sometimes they involve individual pickets that you attach to top and bottom rails, which are then attached to the posts. It’s a bit more work, but oh boy, the results can be stunning. Imagine intricate scrollwork or elegant finials! It's like jewelry for your yard.
Now, let's talk tools. You'll definitely need a level. I can't stress this enough. A shovel, a post-hole digger (if you’re going that route), a tape measure, a drill (for attaching brackets), and maybe some work gloves to protect those hands. Safety first, always! And perhaps a trusty companion to hand you tools and offer words of encouragement. You know, moral support. Very important!
Weather can be your friend or your arch-nemesis. Try to pick a few consecutive days with decent weather. You don’t want to be wrestling with concrete in a downpour, or trying to attach panels when it’s so windy you feel like you might blow away yourself. Been there, done that, got the soggy T-shirt.

Once everything is up and secured, take a step back and admire your handiwork. You did it! You built a metal fence! Feel that sense of accomplishment wash over you. You’ve not only improved your property value, but you’ve also gained some serious DIY bragging rights. High five!
And the best part? Metal fences are surprisingly low maintenance. A quick wash down now and then is usually all they need. No painting, no staining, no sealing. Just pure, unadulterated fence goodness. You can actually relax in your yard now, knowing your boundaries are strong and stylish.
So, there you have it! A little guide to getting your metal fence installed. It’s not rocket science, but it does require a bit of planning, some elbow grease, and a good dose of patience. But the end result? Chef’s kiss. Your yard will thank you, and you’ll feel like a fencing superstar. Go forth and build, my friend! You’ve got this!