
How To Install Metal Roof Drip Edge

Hey there, DIY champs and aspiring roof whisperers! Today, we're diving headfirst into a topic that might sound a tad… industrial. Metal roof drip edge. I know, I know, it doesn't exactly spark images of cozy evenings by the fireplace. But stick with me, because understanding this little piece of metal is actually your secret weapon against leaky gutters and water woes. And honestly? Installing it can be surprisingly satisfying, a real win for your home and your homeowner pride!
Think of drip edge as the stylish accessory your roof has been missing. It’s that thin strip of metal, usually made of galvanized steel or aluminum, that hangs over the edge of your roof deck. Its job? To gently guide water away from your fascia and gutters, preventing it from creeping where it shouldn’t. Without it, water can get cozy with your wooden trim, leading to rot, mold, and a whole cascade of problems nobody needs. So, while it might not be as glamorous as picking out new paint colors, it’s a foundational step in keeping your home looking fantastic and feeling secure.
Why is this so fun, you ask? Well, for starters, it’s all about empowerment! You’re not just a homeowner; you’re a protector, a problem-solver, a guardian of your domicile. Tackling a project like drip edge installation puts you in the captain’s seat. You’re learning, you’re doing, and you’re building confidence with every nail you drive. Plus, imagine the satisfaction of knowing you took steps to prevent future leaks. That's a pretty awesome feeling, right?
Let’s break down how to get this done. First things first: safety! Roofing projects always come with a healthy dose of “be careful.” Make sure you have sturdy ladders, non-slip shoes, and maybe even a helper. If you’re not comfortable working at heights, this is definitely a project to enlist a friend or a pro. But if you’re feeling adventurous and have a good head for heights, let’s get going!
Gather Your Gear: The Drip Edge Toolkit
Before you start pretending you’re a roof ninja, you’ll need to assemble your crew of tools and materials. It’s like packing for an epic adventure, but instead of a compass and canteen, you’ve got fasteners and a trusty nail gun.
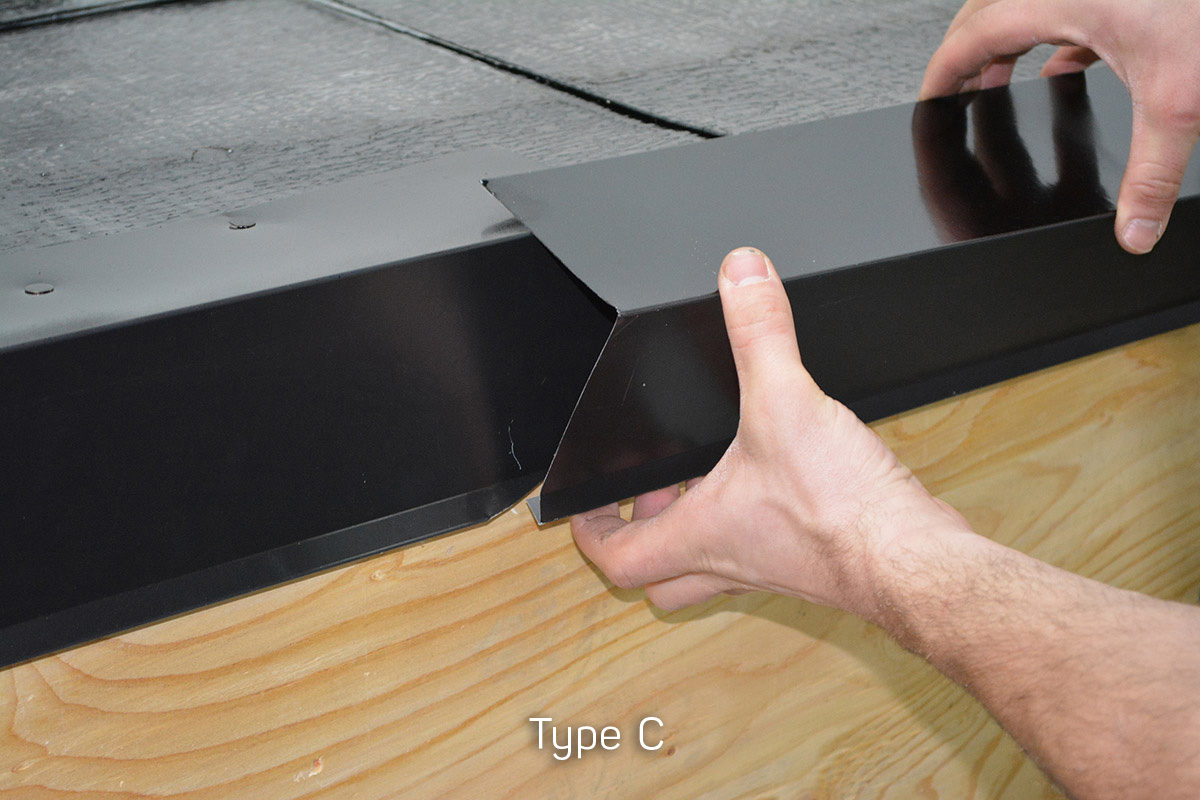
- Metal Drip Edge: You’ll need to measure the perimeter of your roof where the drip edge will go. Typically, drip edge comes in 10-foot sections. So, measure twice, buy once!
- Roofing Nails: These are your best friends. You’ll want galvanized roofing nails, usually around 1 ¼ inches long. They’re designed to hold strong and resist rust.
- Utility Knife: For any minor trimming or adjustments.
- Tin Snips (Optional but Handy): For cutting pieces of drip edge if you need to customize lengths or make cuts around corners.
- Tape Measure: Precision is key, even for a little metal strip.
- Pry Bar (for Overlapping): Sometimes you’ll need to gently lift shingles.
- Safety Gear: Gloves, safety glasses, and non-slip footwear are non-negotiable.
- Caulk Gun and Exterior Caulk: For sealing any gaps.
Having all your supplies ready means less running back and forth and more satisfying progress. It’s all about setting yourself up for success!
The Installation Strategy: Step-by-Step Fun!
Alright, let’s get down to business! We’ll be focusing on the two main spots where drip edge is crucial: the eaves (the lower edges of your roof) and the rake edges (the sloping sides).

Eaves First: The Foundation of Flow
This is where you'll start. The drip edge on the eaves goes under the roofing felt (or underlayment) but over the fascia board. This might sound a bit backwards, but it’s designed so that water hits the drip edge, then flows down the metal and off, rather than getting trapped between the felt and the fascia. Genius, right?
- Lay it Out: Start at one corner of your roof’s eaves. Position the drip edge so the flange (the part that hangs down) is facing outwards, over where your gutters will eventually be.
- Secure it: Using your roofing nails, secure the drip edge to the roof deck. You’ll want to place nails about 12 to 16 inches apart. Make sure the nails go straight down into the roof deck.
- Overlap is Key: When you get to the end of a section of drip edge, or when you start a new piece, you want to overlap them. The second piece should overlap the first by at least 2 inches. This ensures a continuous water barrier. Think of it like a well-designed raincoat – no gaps allowed!
- Smooth Sailing: Continue this process along the entire length of your eaves. Take your time, ensure the drip edge is straight, and keep those nails flush.
Feeling that sense of accomplishment yet? You’ve just tackled the first crucial step!
Rake Edges: The Sloping Sides of Success
Now, let’s move to those sloping sides, the rake edges. This is where the drip edge goes over the roofing felt. This placement helps prevent wind-driven rain from getting under the shingles and into your roof structure.
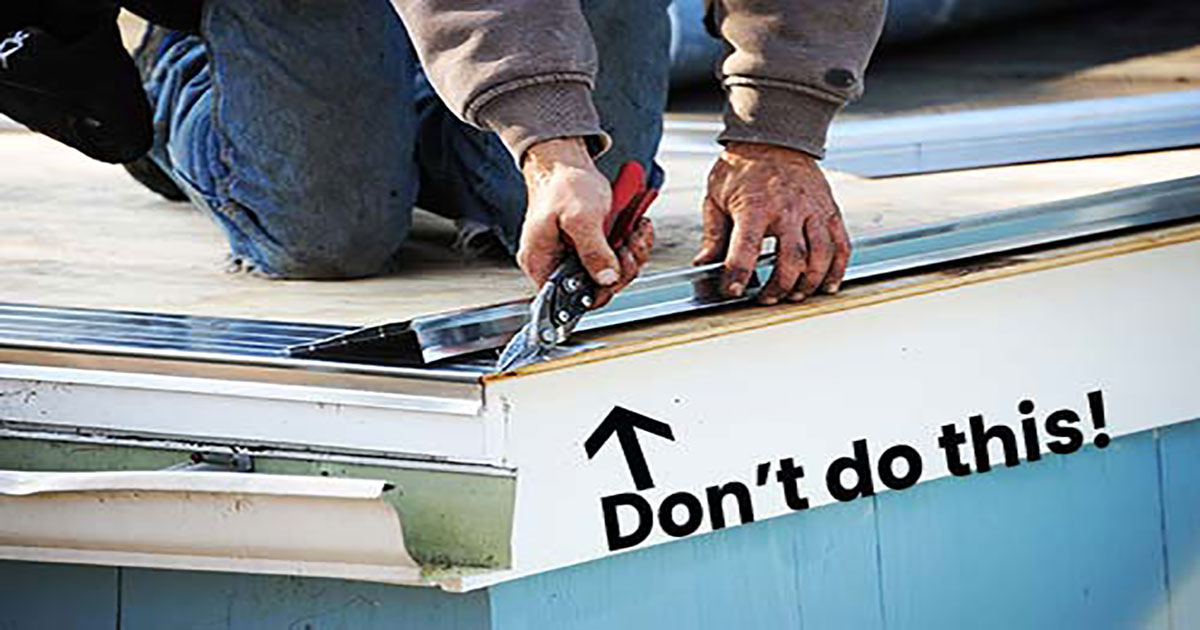
- Positioning is Different: For rake edges, the drip edge is placed on top of the roofing felt. The flange should still be facing outwards, over the edge.
- Nail it Down: Just like with the eaves, secure the drip edge with your roofing nails, spacing them 12 to 16 inches apart. Ensure the nails are driven into the roof deck.
- Corners and Overlaps: When you reach the top of the rake, you’ll need to figure out how to transition. Sometimes you'll cut the drip edge to make a neat corner, or you might overlap it if it meets another section. Again, aim for those secure overlaps!
- The Grand Finale: Continue this process all the way down the rake edges. You’re creating a protective barrier that looks sharp and functions even better.
You're doing great! Imagine your house, now with its little metal guardians in place, ready to fend off any watery invaders. It’s not just about practicality; it’s about peace of mind and adding a layer of resilience to your home.
Why This Little Piece Matters (A Lot!)
So, why all this fuss over a thin strip of metal? Because it’s the unsung hero of your roof system. Without it, water can seep under your shingles, rot your fascia boards (that’s the board where your gutters attach), and even find its way into your attic or walls. That’s a recipe for expensive repairs and a whole lot of headaches. By installing drip edge, you’re:

- Preventing Rot and Decay: Protecting your wooden fascia and soffits from water damage.
- Guiding Water Effectively: Directing rainwater away from your home’s structure and into your gutters.
- Shielding Against Wind-Driven Rain: Providing an extra layer of defense against nasty weather.
- Adding a Professional Finish: It gives your roof a clean, finished look.
See? It’s a small component with a mighty impact. And the satisfaction of knowing you’ve installed it yourself? Priceless!
Embrace the DIY Spirit!
Learning to install metal roof drip edge might seem like a niche skill, but it’s a perfect example of how understanding the fundamentals of your home can empower you. It’s about taking control, gaining knowledge, and feeling good about the work you’ve done. Every project, big or small, is an opportunity to learn something new and build your confidence.
So, the next time you’re looking at your roof, don’t just see shingles. See a system, a protective shell, and imagine the little metal heroes working their magic. And if you’re feeling inspired, why not explore other DIY projects? There’s a whole world of home improvement waiting for you, filled with satisfying tasks and rewarding results. Go forth and conquer, you home-hero!