
How To Install Metal Roofing Screws

So, picture this: I’m staring up at my neighbor’s brand-new metal roof. Gleaming. Perfect. Not a single drip in sight during that last torrential downpour. I’m feeling a pang of… well, let’s just call it roof envy. My own shingles are starting to look like they’ve had one too many bad hair days. And then, I notice it. Little tiny dots of silver, scattered across those glorious metal panels. Screws. Yep, those unassuming little guys are the unsung heroes keeping that roof in place.
It got me thinking. How hard can it really be to put in metal roofing screws? It’s not exactly rocket science, right? Famous last words, I know. But seriously, there’s something oddly satisfying about the idea of tackling a project like this yourself. It’s a bit of DIY bravery, a dash of self-reliance, and a whole lot of potential to save some serious cash. Plus, the sheer satisfaction of looking up and saying, "Yep, I did that" is pretty darn sweet. So, join me on this little adventure as we figure out how to wrangle those metal roofing screws and get our roofs looking less like a relic and more like a fortress against the elements. Don't worry, we'll keep it casual, no fancy jargon, just good ol' fashioned practical advice. Think of me as your slightly-less-experienced-but-equally-determined-to-get-it-done buddy.
The Mighty Screw: More Than Just a Fastener
Let’s be honest, when you think of a roof, you probably imagine shingles, tiles, or maybe even some fancy slate. Metal roofing? It’s a bit more… industrial chic. And at the heart of its industrial chicness, you’ve got these screws. They’re not just holding panels together; they’re the literal anchors that keep your house from becoming a kite in a hurricane. Pretty important stuff, wouldn’t you say?
These aren't your average drywall screws. Oh no. Metal roofing screws are a special breed. They’re designed to penetrate metal without creating a mess, seal themselves against the weather, and generally be tough as nails. Or, well, tough as screws.
Choosing Your Weapon: The Right Screw for the Job
Before we even think about screwing things in, we need to talk about the screws themselves. This is where you don’t want to wing it. Using the wrong screw is like trying to hammer in a nail with a banana – it’s just not going to end well.
First off, you’ll want to consider the type of metal roofing you have. Is it corrugated? Standing seam? Ribbed? Each has its own little quirks and might require slightly different screw specifications. But for the most common exposed fastener metal roofs, you’re typically looking at screws with a few key features.
Self-drilling screws are your best friend here. These little marvels have a drill bit tip that creates its own pilot hole as it spins. This means you don’t have to pre-drill every single hole, saving you a ton of time and effort. Trust me, when you’re up on a roof, every bit of efficiency counts.
Then there’s the washer. This is CRUCIAL. Most metal roofing screws come with a special washer, often made of neoprene or EPDM rubber, bonded to a metal washer. This little beauty creates a watertight seal around the screw hole. It expands and contracts with the metal, preventing leaks. Never, ever use a screw without one of these. It’s a recipe for rust and leaks, and nobody wants that.
Material matters too. You want screws that are resistant to corrosion. Stainless steel or high-quality coated screws are the way to go. Remember, your roof is exposed to the elements 24/7. You don't want your screws to rust out before your roof even hits its stride.

And finally, length. This is super important. The screw needs to be long enough to go through the metal panel, the underlying purlins or battens (those strips of wood or metal that support the roofing panels), and have enough bite to hold securely. Too short, and it’s useless. Too long, and you’re just asking for trouble.
Pro tip: Always buy screws specifically designed for metal roofing. Don't try to get away with regular wood screws. Your future self, dealing with leaks, will thank you.
Tools of the Trade: Gearing Up for Success
Okay, you’ve got your screws. Now, what about the actual screwing part? You're going to need a few essential tools to make this job not just possible, but actually doable. And relatively painless, if we’re being honest with ourselves.
The star of the show, of course, is a good quality drill or impact driver. You want something with enough torque to power through metal, but also variable speed so you can control the process. An impact driver is often preferred because it delivers rotational force and concussive blows simultaneously, making it a beast for driving screws into tough materials. Just be careful not to over-drive them.
You'll also need the right driver bit. Most metal roofing screws have a hex head, so you’ll need a corresponding hex driver bit that fits snugly. A magnetic tip is a lifesaver here. It keeps the screw from falling off the bit when you’re maneuvering around. Imagine trying to line up a screw with a wobbly bit, halfway up a ladder… yeah, not ideal. The magnetic tip saves you a lot of frustration.
Safety gear is non-negotiable. We’re talking safety glasses to protect your eyes from flying metal shavings or debris. Work gloves to prevent blisters and cuts. And if you’re working on a pitched roof, a safety harness and rope are absolutely essential. I know, I know, they can be a pain to set up, but safety first, always. Don't be a hero; be a smart DIYer.
You might also want a tape measure for accurate placement, a chalk line for marking, and maybe even a caulking gun if you’re doing any extra sealing (though good screws with washers usually negate the need for this). Oh, and a ladder that’s sturdy and tall enough, and preferably with someone to spot you. Safety in numbers, and stability!

The Dance of the Screw: Step-by-Step Installation
Alright, the moment of truth! We've got the screws, we've got the tools, we're geared up. Now, how do we actually get these things into the roof panels without causing a catastrophe?
First things first: Preparation is key. If you're replacing old roofing, make sure the surface is clean and free of debris. You don't want to trap dirt and moisture under your new screws.
Next, you need to understand where to screw. For exposed fastener metal roofing, screws are typically driven through the flat of the panel, not the ribs or corrugations. This is because the flat areas are designed to be flatter and less prone to water pooling. The screws go into the underlying purlins or battens, which are the structural supports.
Hold up a second. You’re not just screwing anywhere you feel like it, right? There are specific patterns and spacing for these screws. If you’re installing new panels, follow the manufacturer's instructions religiously. They’ll tell you exactly where to place each screw for maximum strength and watertightness. If you’re doing repairs, try to match the existing screw pattern as closely as possible.
Now, the actual screwing. Place your self-drilling screw through the pre-determined spot in the metal panel. Position your drill bit firmly onto the head of the screw. Start drilling at a slow to medium speed.
As the screw starts to engage, you’ll feel it biting into the metal and then the wood or purlin underneath. Keep a steady pressure. The goal is to drive the screw until the washer is snug against the metal panel, creating that vital seal. You don't want it to be so tight that it warps the metal, but not so loose that there's a gap.
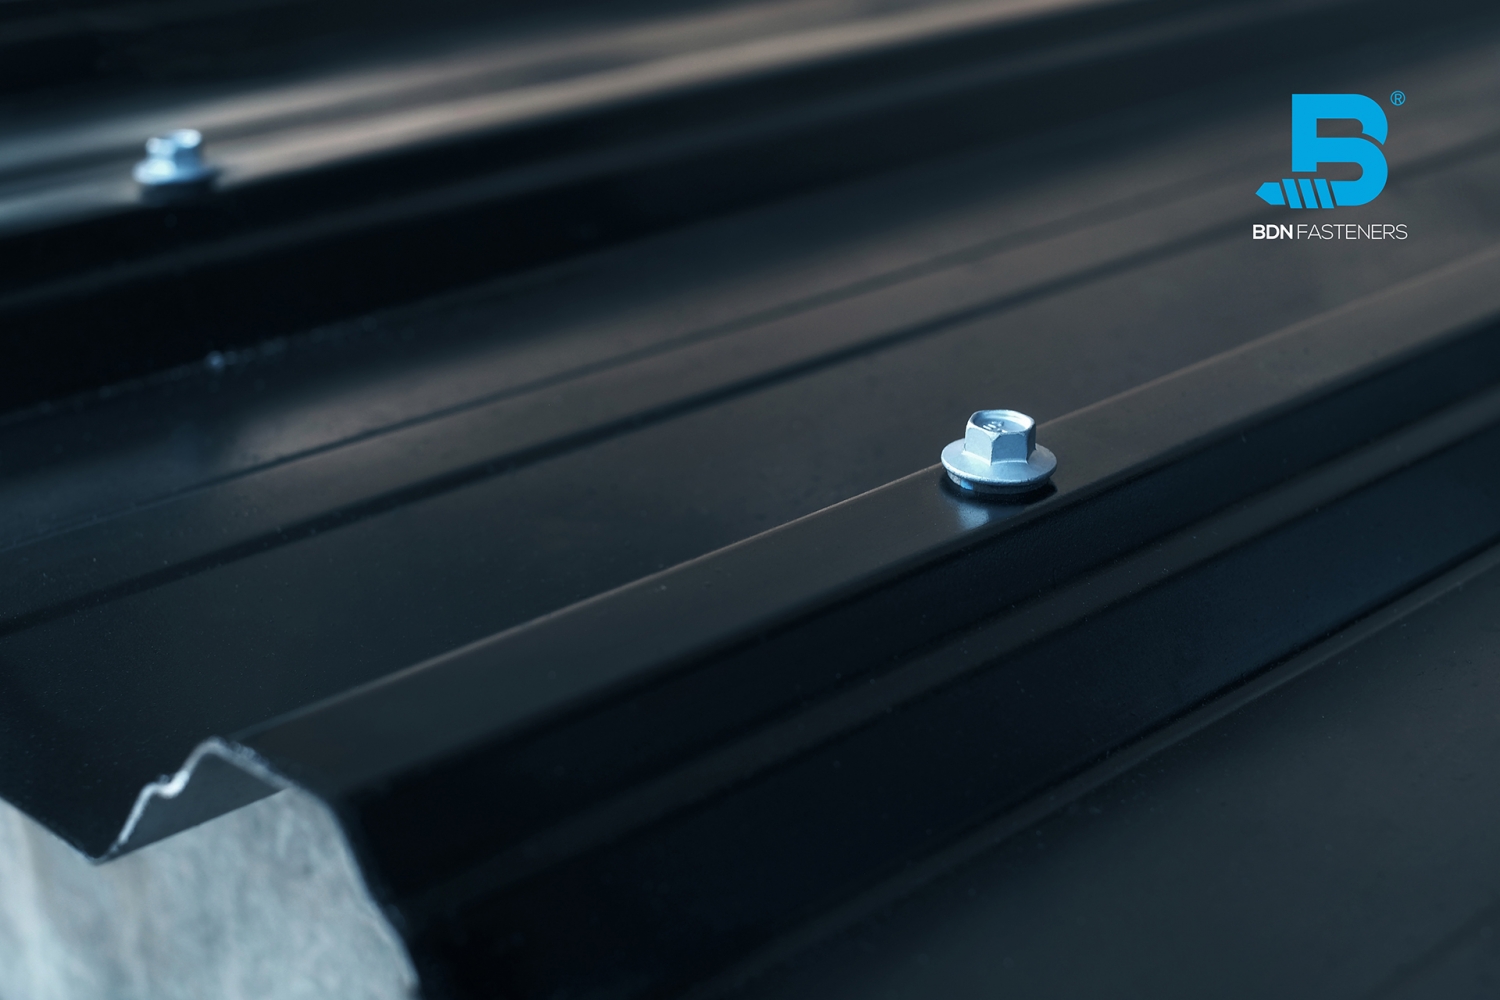
This is where the irony of it all hits me. We’re talking about these tiny screws, and they’re doing such a monumental job. It’s like the little engine that could, but for your roof.
Don't over-drive! This is probably the most common mistake. Over-driving a screw can crack the washer, create a stress point in the metal, or strip the threads in the wood. You want it snug, not crushed. You’ll get a feel for it. Listen to the drill. Feel the resistance. Stop when the washer is flush and the screw feels solid.
Quick tangent: Ever notice how some DIY jobs seem incredibly simple on paper, but then in practice, it's a whole other ballgame? This is one of those. Patience is your best friend. Rushing will lead to mistakes, and mistakes on a roof can be… costly. Or wet.
For vertical seams or overlaps, there are specific screw patterns as well. Again, manufacturer’s guidelines are your bible here. They'll dictate how many screws, how far apart, and where to place them to ensure the panels are sealed and secured against wind and rain.
Common Pitfalls and How to Avoid Them
So, you're well on your way, right? Almost there. But even with the best intentions, a few things can go wrong. Let's talk about the common gremlins that can sabotage your metal roofing screw installation, and how to outsmart them.
1. The Over-Driven Screw Debacle: We’ve touched on this, but it’s worth repeating. That snug-but-not-crushed sweet spot is key. Too much pressure, and you're asking for trouble. Keep that variable speed drill under control.
2. The Under-Driven Screw Fiasco: On the flip side, if the screw isn’t driven in far enough, the washer won't create a proper seal. This leaves a gap, and guess what happens then? Yep, leaks. So, ensure that washer is making solid contact with the metal panel.
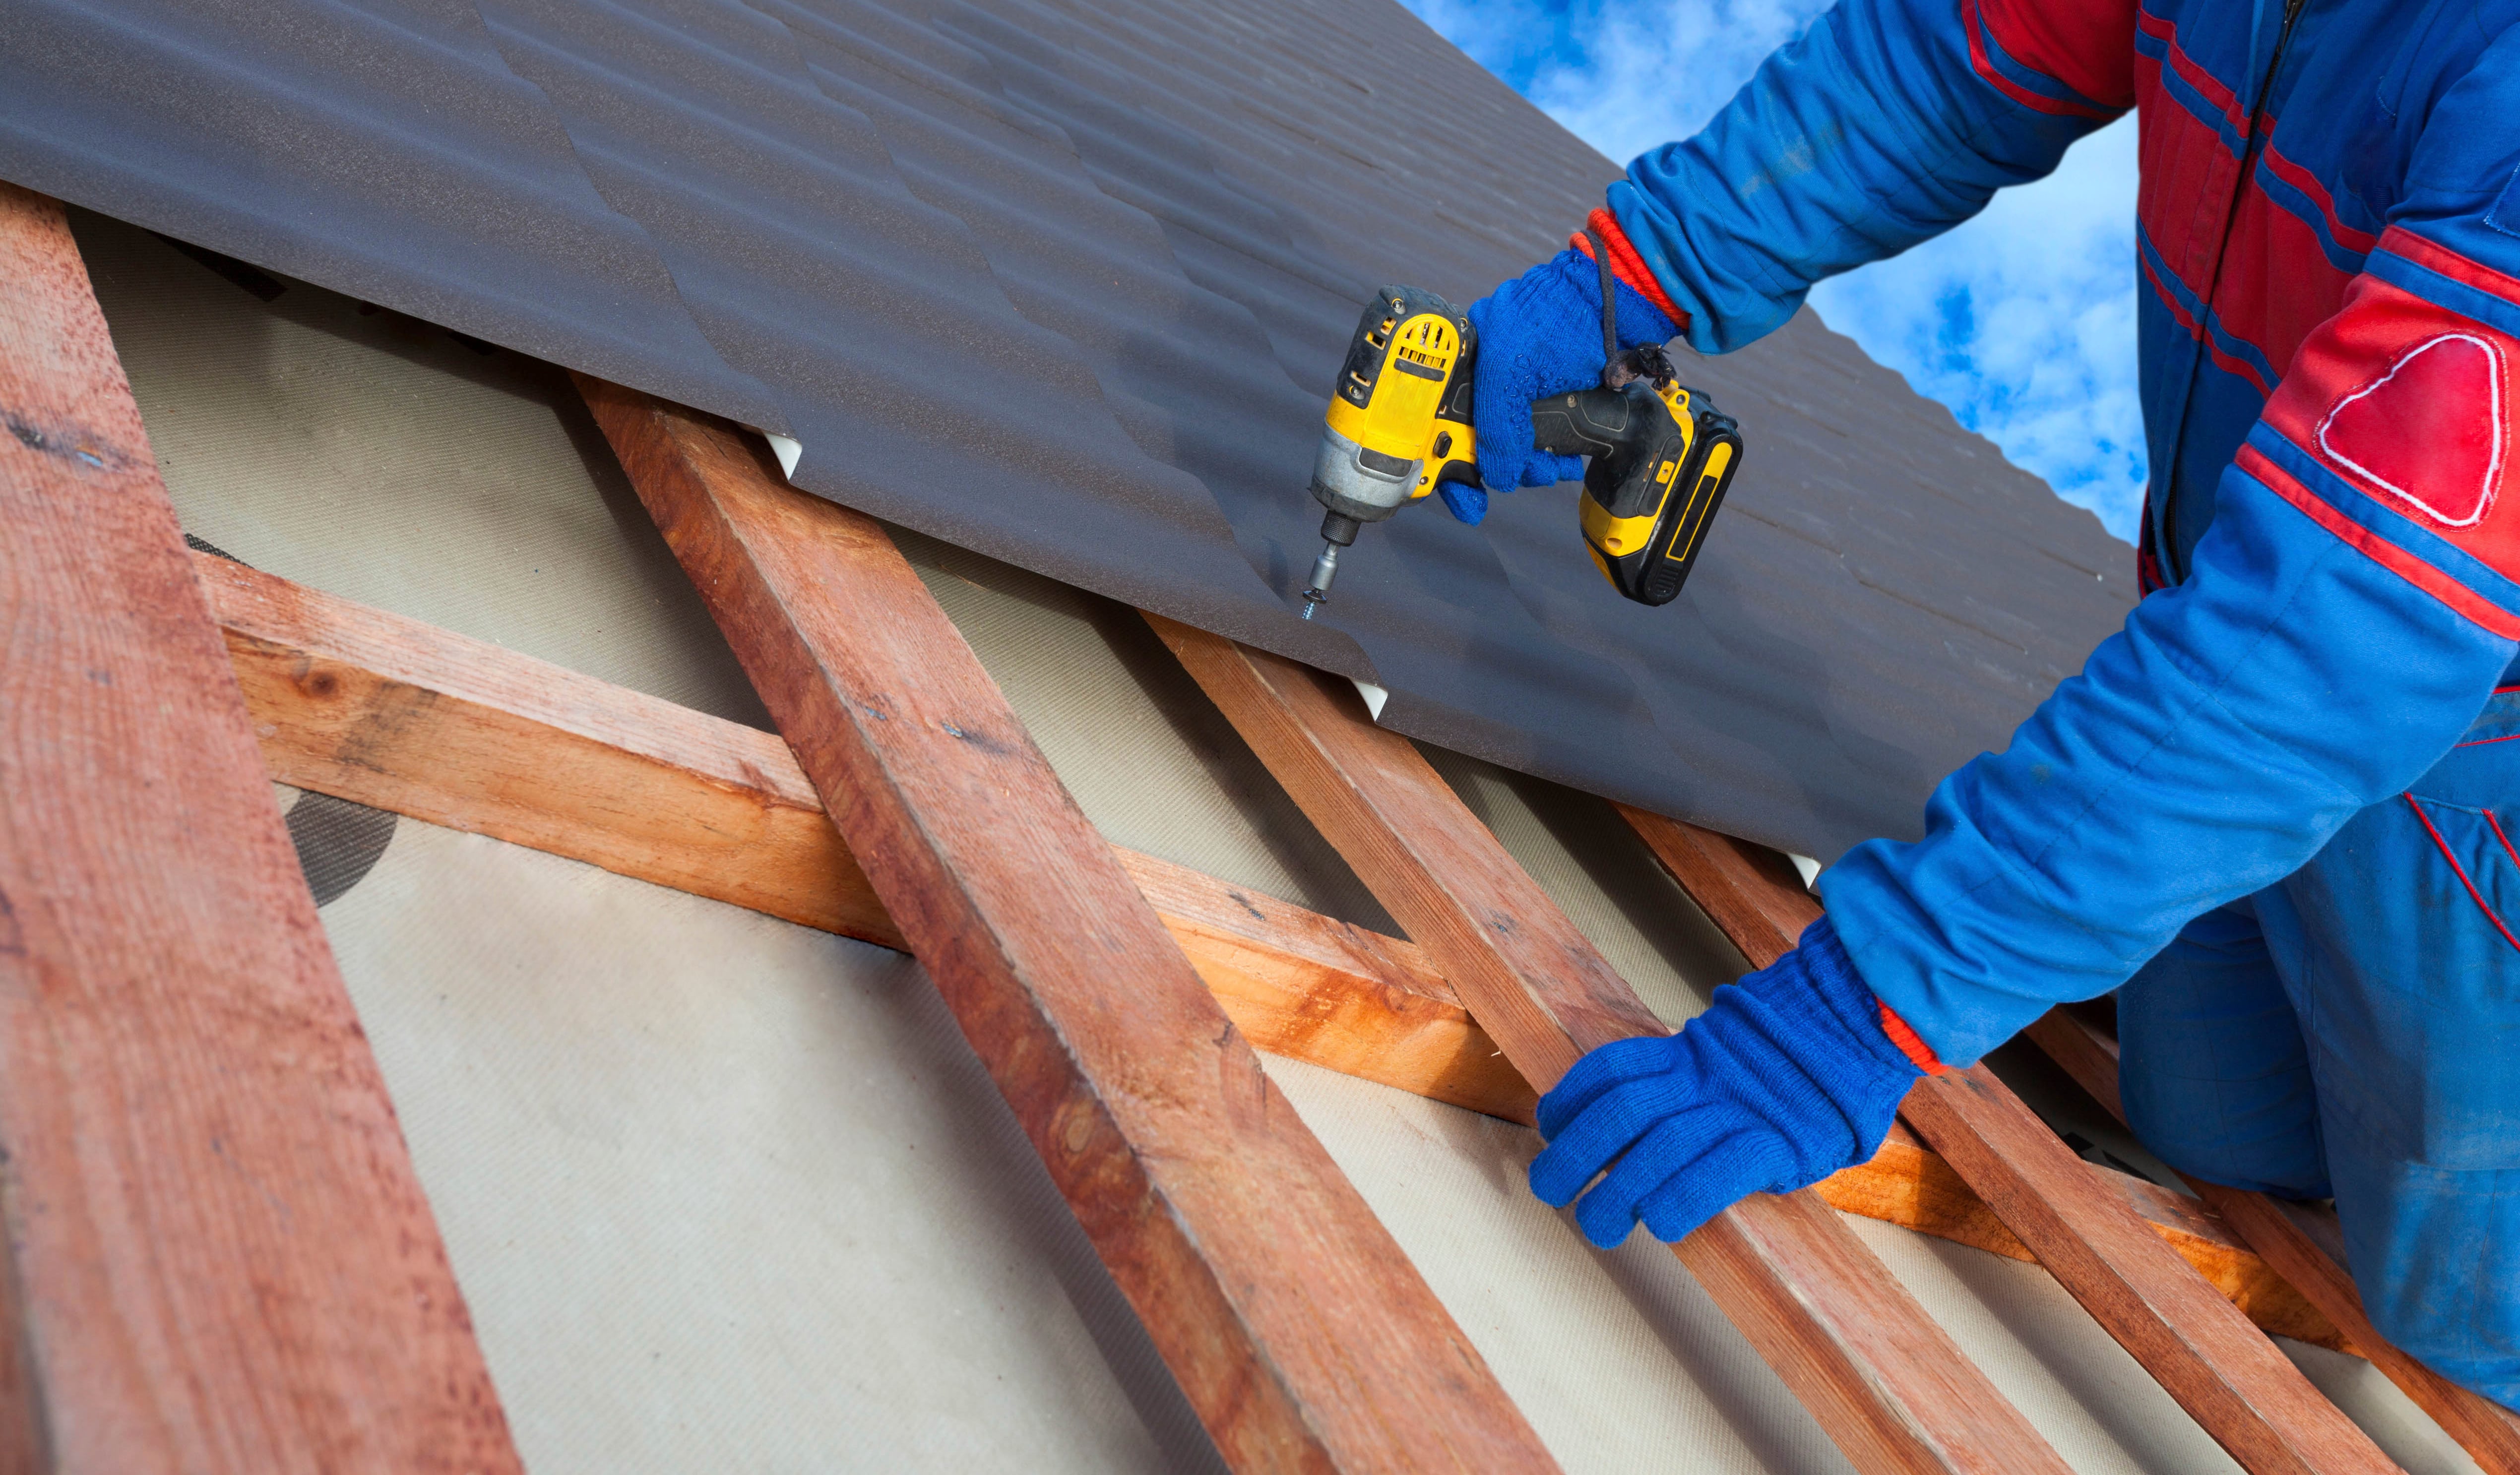
3. The Crooked Screw Calamity: Starting the screw at an angle is a surefire way to end up with a screw that doesn't sit right, doesn't seal properly, and can even damage the panel. Use that magnetic tip, and get a good grip on the screw head to ensure it starts going in straight.
4. The Wrong Screw Choice Catastrophe: I’m harping on this because it’s so important. Using screws that aren't designed for metal roofing, or don't have the proper washers, is a recipe for disaster. Stick to the specialized screws. They’re worth the investment.
5. The Unseen Obstacle Oopsie: Sometimes, you might hit a knot in the wood purlin or a hidden nail. If you encounter significant resistance that feels wrong, stop. Back the screw out and try again nearby. Forcing it can damage your drill bit or the screw itself.
6. The Weather Woes Warning: Don't try to install roofing screws in the pouring rain or high winds. It's dangerous, and the work won't be as effective. Wait for a clear, calm day. Your roof (and your sanity) will thank you.
7. The Manufacturer's Misery: Ignoring the manufacturer's instructions for screw placement and spacing is like playing a game of chance with your roof. They designed it; they know best. Read the manual. Seriously. It's usually not that exciting, but it's vital information.
The Sweet Sound of Success
There you have it. Installing metal roofing screws might seem daunting at first, but with the right approach, the right tools, and a healthy dose of patience, it’s a totally achievable DIY project. It’s about understanding the mechanics, respecting the materials, and prioritizing safety.
Think of those little screws. They’re the unsung heroes holding your shelter together, protecting you from whatever the sky decides to throw your way. And you, my friend, you’ve just learned how to make sure they do their job with flying colors. So, next time you look up at that sleek, modern metal roof, you can point to those little silver dots and say, "Yeah, I know a thing or two about those." And that, in the world of DIY, is a pretty great feeling. Now go forth and screw with confidence!