
How To Install Rain Gutters With Metal Roof
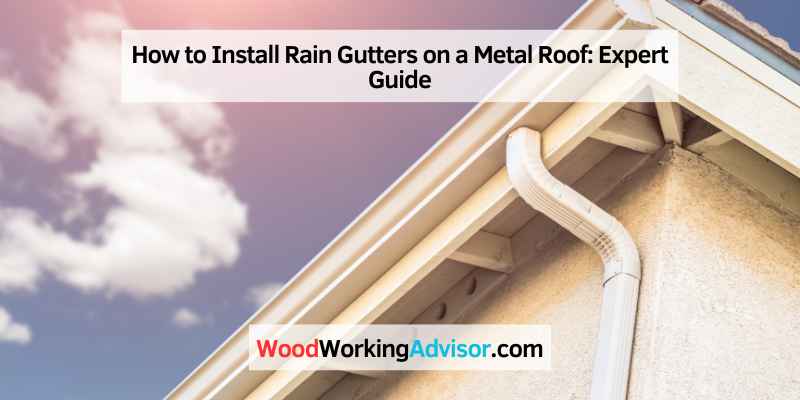
So, you’ve got yourself a snazzy metal roof, haven't you? High five! Metal roofs are pretty awesome – durable, sleek, and let's be honest, they make your house look like it's ready to take on the world. But, as with most things in life, there's a little catch. All that glorious rain sheeting off your metal roof needs somewhere to go, and if you don't guide it, it can do some serious mischief to your foundation. That's where the humble, yet mighty, rain gutter comes in.
Now, you might be thinking, "Gutters on a metal roof? Isn't that, like, a whole different ball game?" And you'd be partly right! It's not exactly like slapping them onto shingles, but don't let that scare you. We’re going to tackle this like seasoned DIY pros, armed with a bit of know-how and a whole lot of positive vibes. Think of me as your friendly neighborhood gutter guru, here to guide you through this metal masterpiece installation.
First things first, let’s get our ducks in a row. Before we even think about drills and screws, we need to do a little bit of planning. This is the "don't be a hero, be a smart cookie" phase. It’s where we gather our supplies and make sure we’re not running to the hardware store mid-project for that one obscure widget. Nobody likes that. Nobody.
Gathering Your Gutter Goodies
Alright, let's talk tools and materials. For a metal roof, you'll need some specific types of brackets, often called "straps" or "hangers," that are designed to work with the metal panels. These are crucial because they'll attach to the fascia board (that's the board at the edge of your roof) and hold your gutters securely. Don’t just grab any old bracket; the wrong ones can scratch your shiny new roof or, worse, create little leak pathways. We don’t want that. Nope.
You'll also need your gutters themselves. These can be vinyl, aluminum, or even copper, depending on your budget and aesthetic preferences. For metal roofs, seamless aluminum is a popular choice because it's durable and lightweight. You'll also need end caps, downspouts, elbows, and all the little screws and connectors. Oh, and a reliable caulk – a good quality sealant that’s made for outdoor use and can handle temperature changes without cracking. Think of it as your gutter’s tiny, waterproof bodyguard.
As for tools, you'll likely need a measuring tape (because math!), a level (to avoid that "drunken sailor" gutter look), a drill with appropriate bits, a hacksaw or metal snips for cutting the gutter sections (depending on your material), a pencil for marking, a ladder (obviously, use it safely!), safety glasses (your eyes will thank you), and work gloves. If you’re feeling particularly fancy, a gutter-cleaning tool can also be a lifesaver down the road. But let’s focus on the installation for now, shall we?

Measuring Twice, Cutting Once (The Golden Rule)
This is where we get a little bit technical, but don't fret. We're just talking about angles and slopes. Gutters need a slight slope, usually about 1/4 inch for every 10 feet, towards the downspout. This ensures that water flows away freely and doesn't just sit there, contemplating its existence. A perfectly flat gutter is a recipe for disaster, or at least for some very unhappy puddles.
So, grab your trusty measuring tape and your level. You’ll want to mark the high point and the low point of your gutter run. The low point will be where your downspout connects. Use your level to draw a straight line indicating the slope. This line is your guiding star. It’s like the North Star for your gutters. Follow it, and you’ll be golden. If you're doing a long run, you might want to enlist a friend to help hold the level and tape measure. Teamwork makes the dream work, especially when gravity is involved.
Attaching the Brackets: The Foundation of Your Gutter System
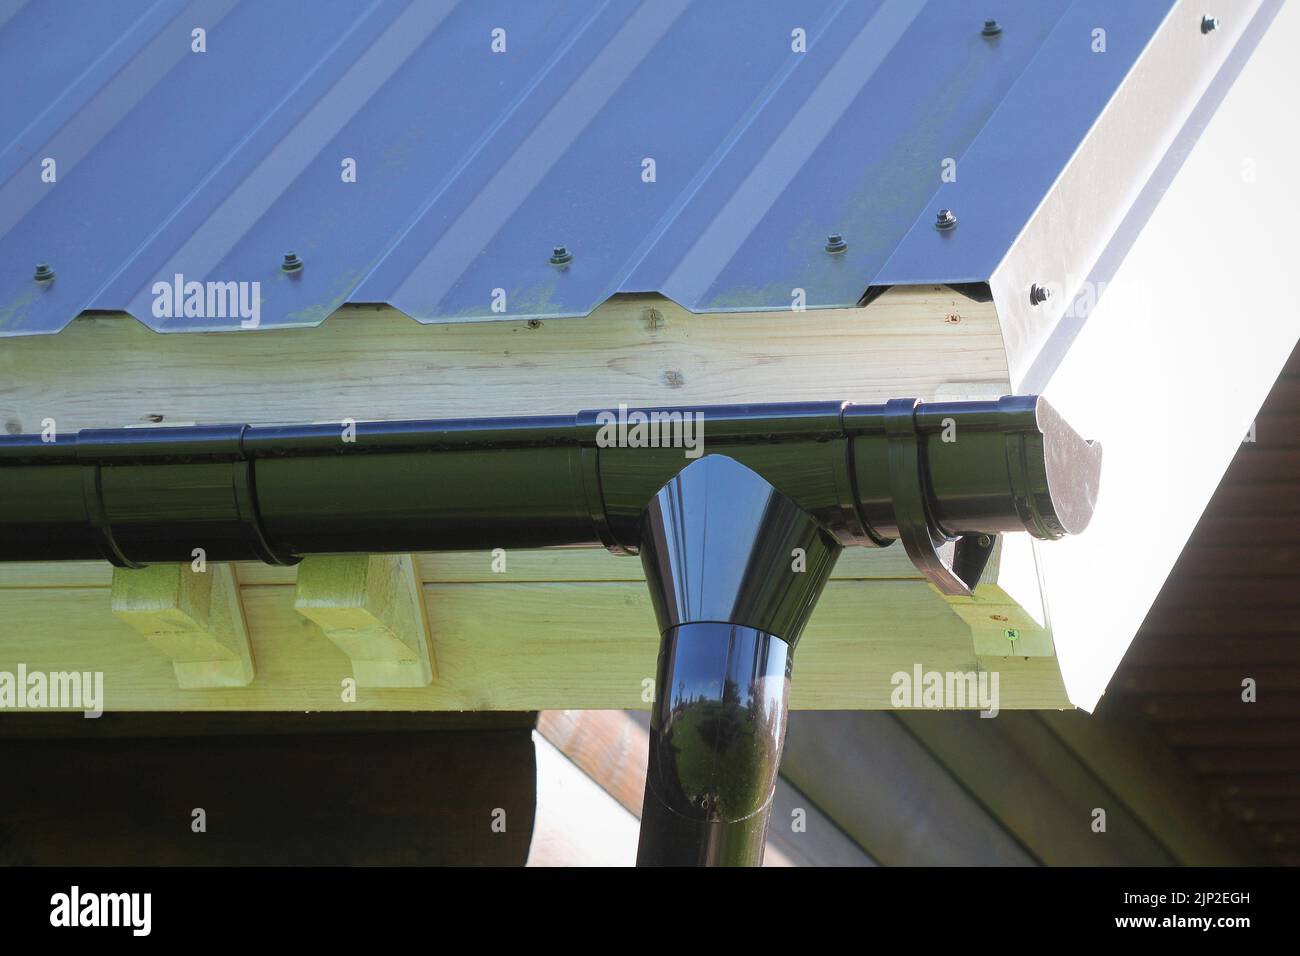
Now we're getting to the nitty-gritty. Attaching the brackets to the fascia board is a pretty straightforward process, but you need to make sure they're spaced correctly and securely fastened. The general rule of thumb is to place a bracket every 2 to 3 feet, but this can vary depending on the type of bracket and the manufacturer’s recommendations. Always check the instructions that come with your brackets!
When you're attaching them, make sure they align with the slope you've marked. You want the tops of the brackets to be in a straight line. This is where your level is your best friend. Hold the bracket against the fascia board, mark your screw holes, and then pre-drill them. Pre-drilling helps prevent the wood from splitting, especially if it's a bit older. Then, screw in the brackets nice and snug. Don't overtighten them, but you want them to feel rock solid. Think of these brackets as the muscles holding up your gutter. They need to be strong!
Positioning for Perfection: The Fascia Board Dance
Now, here's a little nuance when it comes to metal roofs. Some metal roof systems have a raised rib or a specific panel profile that might make direct attachment to the fascia board a bit tricky. In these cases, you might need special adapter plates or mounting brackets that can bridge any gaps or uneven surfaces. These are specifically designed to interface with metal roofing systems without compromising the roof's integrity. It’s all about making sure there’s no direct metal-to-metal contact that could cause issues like galvanic corrosion or create tiny avenues for water ingress. We’re aiming for a smooth, protected installation, not a DIY disaster.
If your metal roof has a very pronounced ribbing, you might even consider using a "gutter apron" or a "gutter drip edge" that extends under the metal roofing panels and over the fascia. This provides an extra layer of protection and a solid surface for attaching your brackets. It adds a bit of complexity, but for peace of mind, it’s totally worth it. Think of it as giving your gutters a luxurious spa treatment before they even start their important work.
Installing the Gutters: The Moment of Truth!
With your brackets in place, it’s time to lay in the actual gutters. You'll usually place the gutter section into the brackets, and then secure it from underneath with screws. Again, follow the manufacturer’s instructions for your specific gutter system. Some systems have a snap-in feature, while others require screws from the underside.
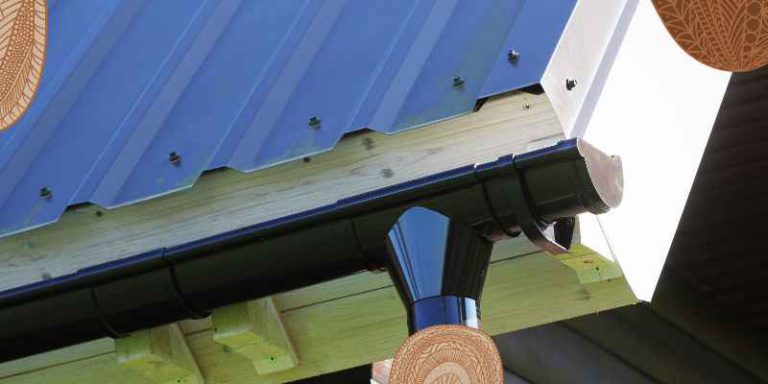
When you're cutting your gutter sections, measure carefully! Measure twice, cut once is not just a saying, it’s a life philosophy for DIYers. If you mess up a cut, you might have to buy a whole new section. And nobody wants to waste money on a do-over. Use a fine-tooth hacksaw or metal snips for a clean cut. Once you’ve got your pieces ready, connect them using the provided connectors and sealant. Apply a generous bead of sealant to the inside of the connector before joining the two gutter sections. This is your watertight seal of approval. Then, make sure the connection is snug.
Connecting the Dots: End Caps and Sealing
At the ends of your gutter runs, you'll attach end caps. These are pretty straightforward. Clean the end of the gutter, apply sealant to the inside edge of the end cap, and then firmly press it into place. Secure it with screws if your system requires it. Again, make sure that sealant is applied liberally. We’re not stingy with the sealant here; we’re being protective.
This is also the time to seal any seams where gutter sections connect. Run a nice, even bead of sealant along the inside seam. Smooth it out with your finger or a caulk tool for a clean finish. Let the sealant cure completely according to the product's instructions before expecting it to hold back a torrential downpour. Patience is a virtue, especially when it comes to waterproofing.
Downspout Dynamics: Guiding the Water Away
Now, for the grand finale: attaching the downspouts. These are the vertical conduits that carry the water from your gutters down to the ground. You’ll typically connect them to the gutter via an outlet that you’ll cut into the bottom of the gutter. Use your outlet piece as a template to mark where to cut. Then, carefully cut out the hole. It’s like giving your gutter a mouth to speak with!
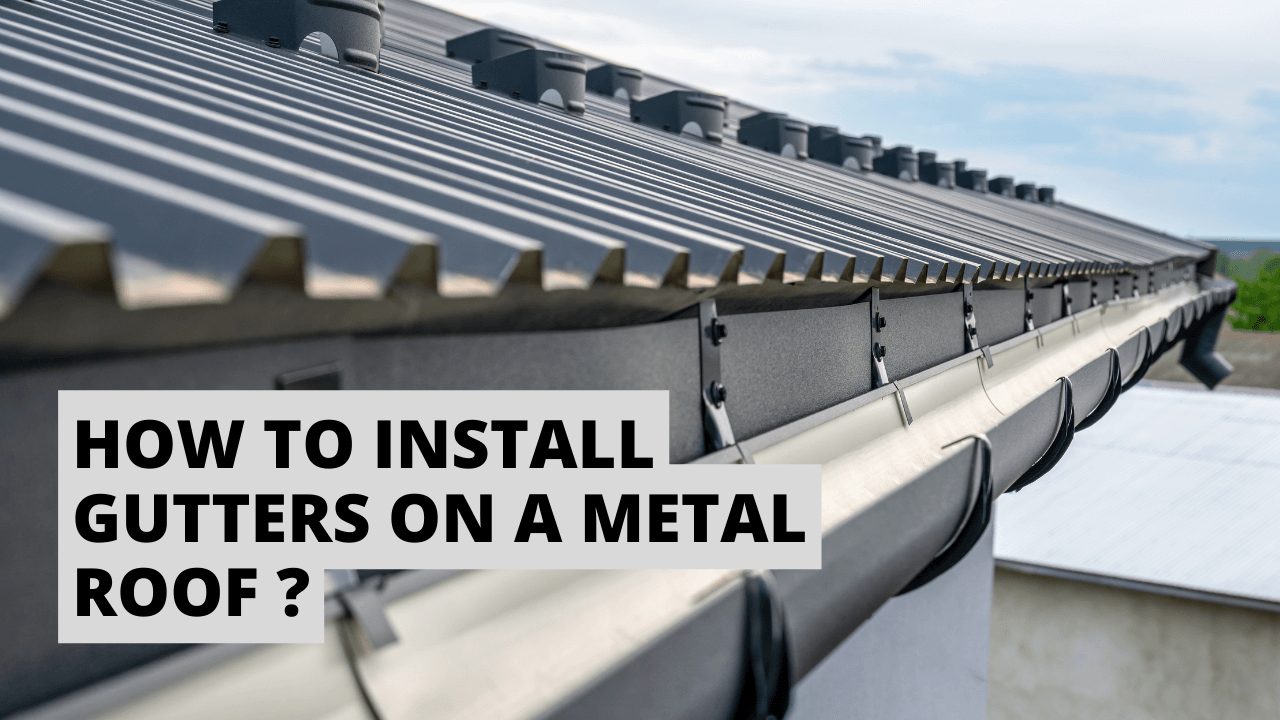
Attach the downspout outlet to the gutter, securing it with screws and sealant. Then, you’ll attach your downspout sections, using elbows to navigate any obstacles like windows or landscaping. Make sure the downspout is securely fastened to the wall of your house using downspout brackets. You don’t want them flapping around in the wind like a forgotten flag. The goal is to direct the water well away from your foundation, so consider where it’s going. You might need to add an extension to the bottom of the downspout if your foundation is particularly sensitive.
The Final Check: Leaks and Laughter
Once everything is installed, and the sealant has had time to work its magic, it's time for the best part: the water test! Grab a hose and let it rain. Seriously, just run water down the gutters. Watch and see how the water flows. Does it go where it's supposed to? Are there any drips or leaks at the seams or end caps? If you find any little troublemakers, don't panic. Just tighten up any loose screws or add a little extra sealant where needed. It's like a mini-surgery for your gutters.
This is also a good time to check for any sagging sections. If a gutter is dipping more than you’d like, you might need to adjust the bracket spacing or add an extra bracket. Remember, those brackets are your support system. Treat them well, and they’ll treat your gutters well.
And there you have it! You've successfully installed rain gutters on your fantastic metal roof. Pat yourself on the back, maybe do a little victory dance. You’ve not only added a functional element to your home but also protected it from the elements. You’ve conquered the metal roof gutter challenge, and you should feel incredibly proud of yourself. Now, the next time it rains, you can sit back, relax, and listen to the gentle symphony of water being channeled away, all thanks to your own hard work and a little bit of know-how. How cool is that?