
How To Install The Ridge Cap On A Metal Roof
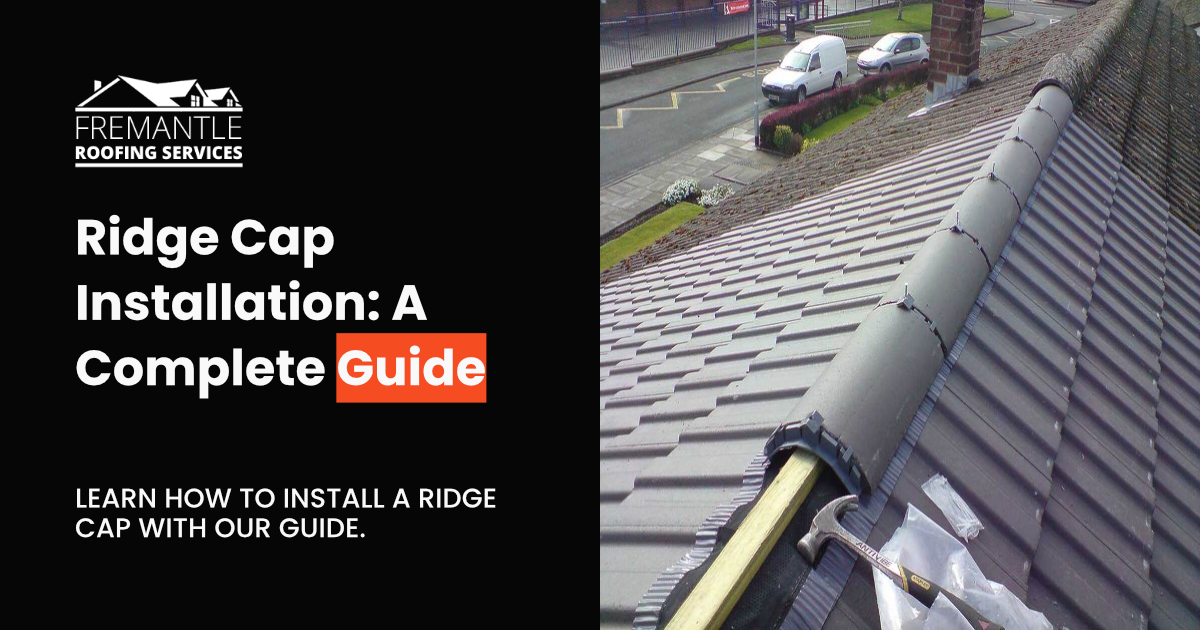
Hey there, DIY enthusiasts and anyone curious about giving their home a little extra flair! Ever looked at a metal roof and thought, "Wow, that looks pretty slick!"? Well, a big part of that polished look, and more importantly, its protective power, comes down to a little component called the ridge cap. Installing one might sound a bit technical, but trust us, it's a surprisingly satisfying project that can save you a pretty penny and give you bragging rights at your next barbecue. Think of it as the crown jewel for your home's metallic mane – both stylish and super functional.
So, why all the fuss about this ridge cap thing? Let's break it down. The ridge cap is essentially the finishing piece that sits right along the very top peak of your roof, where two sloped sides meet. Its main gig is to seal that exposed seam. Imagine if you left a zipper on a jacket half-open in a storm – not ideal, right? The ridge cap does the same for your roof, preventing rain, snow, and wind from sneaking in. This means a drier attic, less chance of leaks, and ultimately, a longer lifespan for your entire roofing system. Pretty neat, huh?
Beyond its crucial protective duties, the ridge cap adds a clean, finished look that really elevates the overall appearance of your metal roof. It’s the detail that says, "This roof was installed with care and precision." Plus, it's a fantastic way to personalize your home. Ridge caps come in a variety of styles and colors, allowing you to match your existing roof panels or create a bold contrast. It's a relatively small addition that makes a significant visual impact.
Now, before we dive into the installation fun, a quick word of caution. Working on a roof can be a bit adventurous, so safety should always be your top priority. Make sure you have a sturdy ladder, wear slip-resistant shoes, and consider using a safety harness if you’re not comfortable working at heights. If you’re ever unsure, it’s always best to consult with or hire a professional roofer. We're all about empowerment, but not at the expense of your well-being!
Ready to get your hands dirty (or should we say, your hands metallic)? Let’s talk about what you’ll need. You’ll want your ridge cap panels, which should ideally be the same material and color as your main roof panels. Then there are the fasteners – typically special self-drilling screws with rubber washers designed to create a watertight seal. You might also need a bit of sealant for extra peace of mind, especially around any pre-drilled holes. Tools-wise, a good cordless drill/driver is your best friend for this job. You'll also want a tape measure, a marker, and possibly some tin snips or a metal shear if you need to trim any pieces to size. And don't forget your safety gear – glasses, gloves, and a positive attitude!

Here's where the magic happens: Installation Time! The first step is to ensure your roof deck is clean and clear. You don't want any debris getting trapped under your new ridge cap. Next, you'll typically start at one end of the roof ridge. You'll align the first ridge cap panel with the peak, ensuring it overlaps the main roof panels correctly. The specific overlap is important and usually dictated by the manufacturer's guidelines, so it's always a good idea to have those handy. Think of it as a gentle hug for your roof edges.
Once everything is nicely positioned, it’s time to secure it. You'll use your self-drilling screws to fasten the ridge cap down. The trick here is to place the screws strategically. They usually go through the top flange of the ridge cap and into the underlying structural elements of the roof. Spacing is key – you don’t want to overdo it, but you also don’t want to skimp. Again, the manufacturer’s recommendations are your best guide. The rubber washers on the screws are superheroes; they compress to create a waterproof barrier, keeping any water that might get past the cap from finding its way into your home. It’s a tiny detail with a huge impact!

As you move along the ridge, you’ll continue installing each subsequent ridge cap panel. Most panels are designed to slightly overlap the previous one, creating a continuous, weather-tight seal. This overlap is critical. Imagine stacking shingles on a traditional roof – the same principle applies here, just with a different, sleeker material. You’re essentially building a protective shield that’s both beautiful and incredibly effective. If you need to cut a piece to fit the end of your ridge, make sure you do it cleanly and carefully. A neat cut ensures a proper seal and a professional look. And for those tricky corners or hips, there are often specialized ridge cap pieces available. Don't be afraid to use them!
After all the panels are in place and secured, take a moment to admire your handiwork. You’ve just added a vital layer of protection and a touch of style to your home! Give everything a final once-over to ensure all screws are snug and there are no gaps. If your manufacturer recommends it, you can even apply a bead of specialized roof sealant along any seams or edges for an extra layer of security. It’s the kind of project that makes you feel accomplished and gives you a real sense of pride in your home. So, there you have it – the fun, functional, and surprisingly accessible world of installing a metal roof ridge cap. Happy building!