How To Install Vent On Metal Roof

Alright, gather 'round, you intrepid DIY warriors and those who just can't stand another whisper of stale air in their abode. Today, we’re talking about tackling a beast that might seem as intimidating as wrestling a greased badger: installing a vent on a metal roof. Now, I know what you’re thinking. "Metal roof? Vent? Isn't that like putting a tiny, leaky hat on a superhero?" Well, sort of, but fear not! With a dash of humor, a pinch of common sense, and perhaps a strategically placed Band-Aid, we’ll navigate this metallic marvel together.
First things first, let's dispel some myths. Installing a vent on a metal roof isn't some arcane ritual performed only by wizards with laser levels and a direct line to the roofing gods. It’s totally doable, even for us mere mortals who occasionally mistake a wrench for a very aggressive spatula. Think of it as giving your house a much-needed sneeze. Nobody likes holding it in, right?
Now, why on earth would you need a vent on a metal roof, anyway? Besides the obvious "my attic smells like a forgotten gym sock" reason, proper ventilation is key to your home's health. It helps prevent moisture buildup, which can lead to the dreaded mold monster throwing a rave in your insulation. It also helps regulate temperature, meaning your attic won't transform into a sauna in the summer and a walk-in freezer in the winter. Your shingles will thank you, your energy bills will do a happy dance, and your home will breathe easier. Seriously, your house deserves to take a deep, satisfying breath!
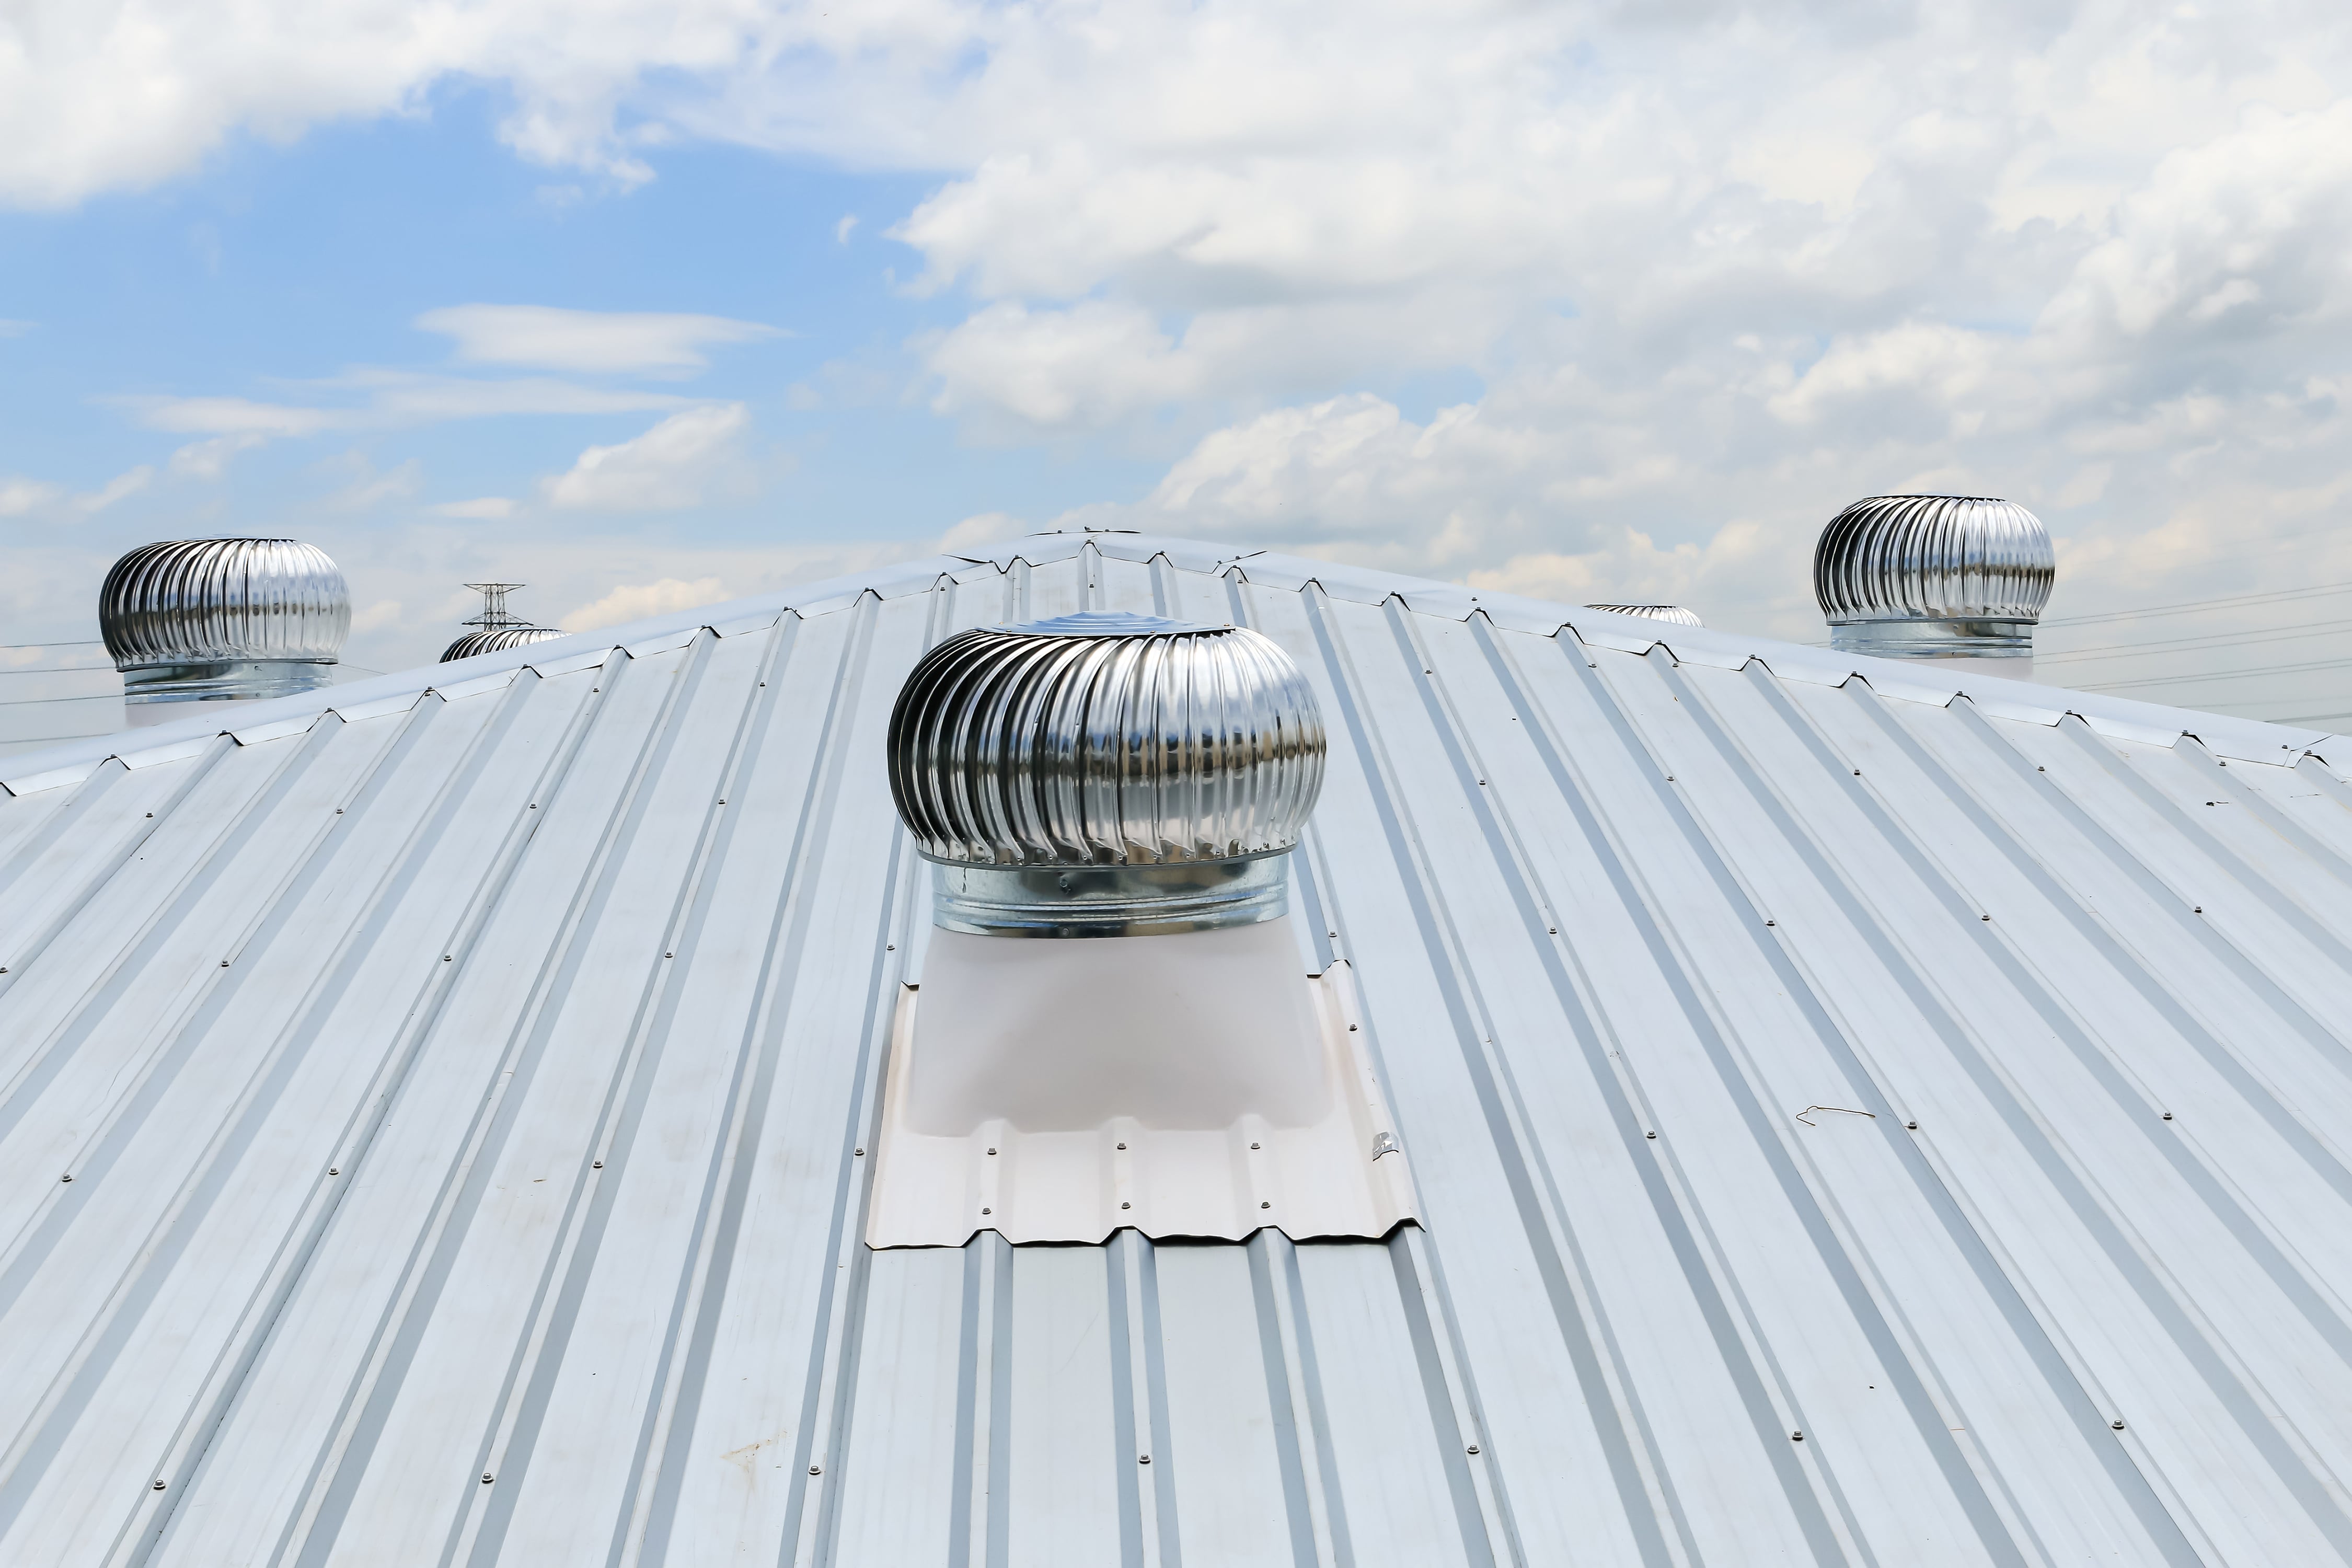
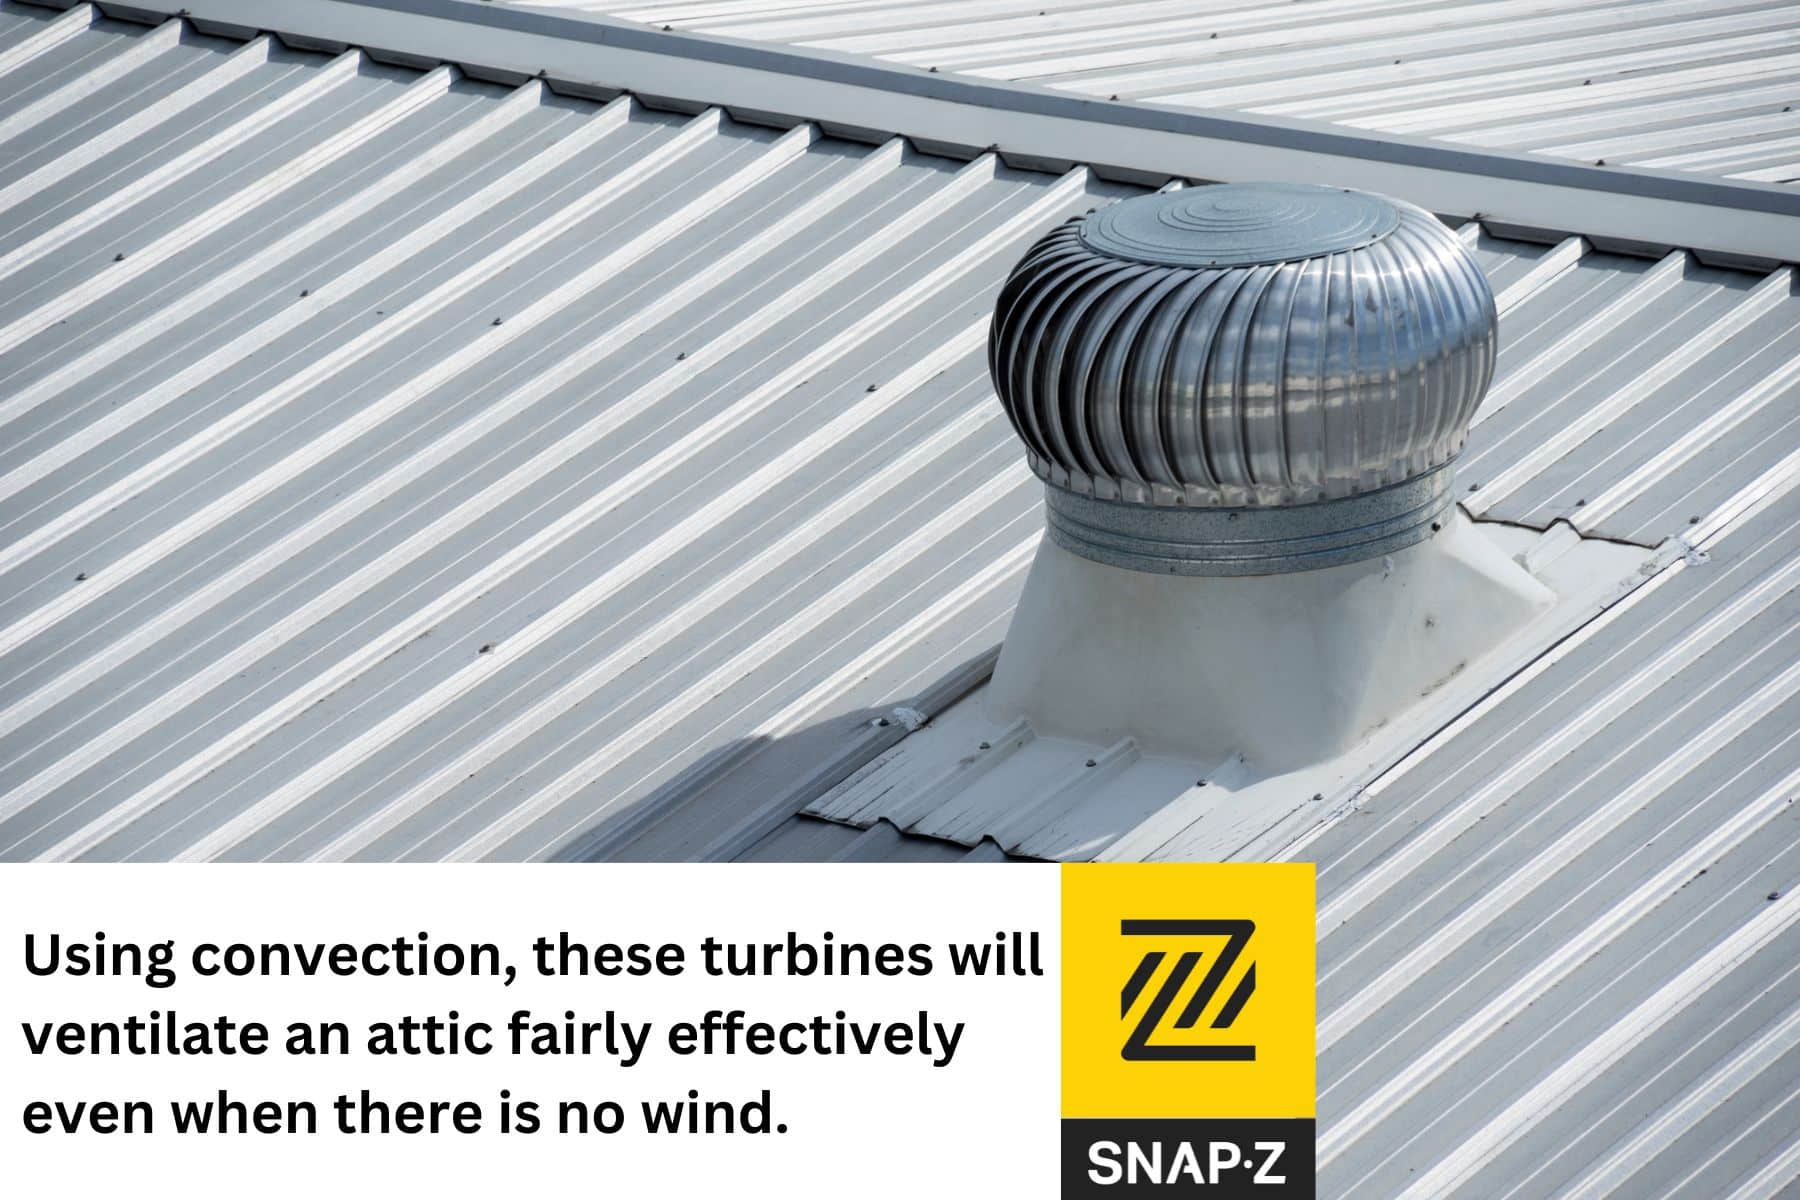
So, where do we start this grand adventure? With a plan, naturally! And by "plan," I mean you need to figure out where you want this magical air-exchanging portal to appear. Most of the time, you’ll be looking at installing a ridge vent, which runs along the very peak of your roof. Think of it as the roof's sophisticated accessory, discreetly allowing air to escape. Alternatively, you might be looking at a roof turbine vent (the spinning kind that looks like it’s perpetually trying to escape to Narnia) or a static vent (the more stoic, non-moving kind). For our purposes today, let’s focus on the ever-popular and relatively straightforward ridge vent, because let’s be honest, we’re aiming for a triumphant finish, not a dramatic rooftop ballet.
Gathering Your Tools: The "What Am I Going to Need?" Section
Before you start envisioning yourself as a one-person roofing demolition crew, you need to assemble your arsenal. This isn't a battlefield, but it does require some serious gear. Here’s what you’ll likely need:
![How To Vent A Metal Roof [Step By Step Guide] - HVACseer.com](https://hvacseer.com/wp-content/uploads/2022/10/typical-static-passive-vent-installation-on-a-residential-roof.jpg)
The Essentials (Don't Leave Home Without Them!)
- A Metal Roof Vent Kit: Duh. This usually includes the vent itself, along with any necessary flashing and fasteners. Make sure it's designed for metal roofs – they're a picky bunch.
- Caulking Gun & High-Quality Exterior Sealant: This is your superhero cape for preventing leaks. Think of it as a liquid Teflon.
- Utility Knife or Tin Snips: For making precise cuts. Imagine you're a surgeon, but for metal.
- Cordless Drill/Driver with Appropriate Bits: For… well, driving. And drilling. Obviously.
- Measuring Tape: Because even roof pirates need to measure.
- Safety Glasses: Metal shards are no joke, folks. They’re like tiny, angry papercuts that can fly.
- Work Gloves: Unless you enjoy the thrill of metal-induced hand origami.
- Ladder: A sturdy one, preferably one that doesn't have a vendetta against gravity.
- Marker: To draw your lines of destiny.
- Optional (But Highly Recommended): A helper! Someone to hold the ladder, pass you tools, and provide moral support. Or just to blame if things go hilariously wrong.
The Grand Unveiling: Cutting into the Metal Beast
Okay, deep breaths. This is where the magic (and maybe a little bit of sweat) happens. First, you need to find the center of your roof ridge. Measure from each end and mark the midpoint. This is where your vent will begin its glorious reign. Now, this is the part that might make your palms a little sweaty. You’re going to need to cut a slot in your metal roofing panels. Follow the instructions that came with your vent kit religiously here. They are your trusty map to the treasure of ventilation.
Typically, you’ll be cutting along the top edge of the existing roof panels, creating a continuous opening for your ridge vent. You’re not cutting through the whole dang roof like you’re trying to find Atlantis. It’s a precise operation. If your metal panels have a distinct rib or profile, you’ll likely be cutting along the top of those ribs. Imagine you’re meticulously slicing a really thin, very shiny loaf of bread. Use your utility knife or tin snips to make a clean cut. Go slow. Patience, grasshopper.
Surprising Fact Alert! Metal roofs, despite their shiny exterior, can expand and contract significantly with temperature changes. This is why using the right fasteners and sealants is crucial. A loose screw can lead to a leaky symphony that would make a drowning cat jealous.
Installing the Vent: Giving Your Roof a Breath Mint
Now that you have your opening, it’s time to introduce your vent to its new home. Your vent kit will likely come with specific flashing designed to integrate seamlessly with your metal roof panels. This flashing is your first line of defense against the elements, acting as a barrier between your new vent and the sky. Lay the flashing down, making sure it overlaps correctly with the existing roof panels. This is where that high-quality sealant comes in. Apply a generous bead of sealant along the edges of the flashing where it meets the metal. Think of it as giving the vent a big, comforting hug.
Next, position the vent itself over the opening. Again, follow your kit’s instructions for how it attaches. This usually involves screws. When screwing into metal, it's vital to use the correct type of screws. These are typically self-drilling and have a rubber washer to create a watertight seal. Don’t over-tighten those screws, or you’ll strip the hole and invite the dreaded drip-drip-drip of doom. Tighten them until they’re snug and secure, like a perfectly fitted pair of gloves.
After the main vent is secured, you'll often have additional flashing pieces to install around the ends of the vent. These are equally important for preventing any sneaky water infiltration. Apply sealant liberally, but not so liberally that it looks like a gratuitous frosting incident. You want it to look professional, not like a toddler’s art project. Seriously, a neat bead is your friend.

The Final Touches: The "Did I Just Conquer Everest?" Moment
Once everything is screwed down and sealed, take a step back and admire your handiwork. Did you do it? Did you just install a vent on a metal roof? Give yourself a pat on the back. You’ve just improved your home’s health and likely saved yourself a pretty penny. Now, for the true test: the rain. If you wake up to a downpour and your attic remains dry, congratulations, you are officially a roofing rockstar!
Playful Exaggeration Alert! Some people say that installing a vent on a metal roof requires the precision of a brain surgeon and the strength of a lumberjack. While it does require care, you don't need a medical degree or a beard that could house a family of squirrels. Just a can-do attitude and the right tools.
Remember, safety is paramount. If at any point you feel unsure, unsafe, or like you're about to become a viral sensation for the wrong reasons, don't hesitate to call a professional. There’s no shame in admitting when a job is a bit beyond your current skill set, especially when it involves heights and sharp metal objects. But for those of you who are ready to tackle it, go forth and ventilate! Your house, and its future occupants (even the dust bunnies), will thank you.