
How To Insulate Metal Roof
So, picture this: I’m at my cousin’s new place, all excited to check out his “modern marvel” of a house. He’s got this sleek, gorgeous metal roof, all clean lines and shiny silver. He’s beaming, showing me the solar panels, the rainwater harvesting… the works. Then, boom, we step inside, and it’s like walking into a sauna. On a crisp autumn afternoon, no less! My forehead started sweating within minutes. He just shrugged, “Oh yeah, the metal roof. It’s… lively in the summer.” Lively? I’d call it a direct pipeline to the sun’s fiery core. And winter? Don’t even get me started. He confessed his heating bills were “energetic.” That’s when it hit me: a fancy metal roof is fantastic, visually, but if you don't deal with its… enthusiasm for temperature transfer, you’re basically living in an oven or a freezer. And that, my friends, is how we get to talking about insulating a metal roof. Because nobody wants to be “lively” with their utility bills, right?
Let’s be real, metal roofs are cool. They’re durable, can last for ages, and honestly, they look pretty darn sharp. Plus, they’re often seen as eco-friendly, especially with those solar panels. But here’s the thing: metal is a super conductor of heat. It’s basically an open invitation for the sun’s rays to blast their way into your attic, or for the winter chill to sneak its way in. So, while you’re admiring that sleek profile, remember it’s also doing a bang-up job of conducting temperature, whether you want it to or not.
Why Bother Insulating That Shiny Thing Anyway?
You might be thinking, “My roof is fine, why mess with it?” Well, let me paint you a slightly less rosy picture. That uninsulated metal roof is basically a thermostat that’s always set to “extreme.” In the summer, it’s absorbing all that glorious sunshine and turning your attic into a convection oven. Your air conditioner is going to be working overtime, chugging electricity like it’s going out of style. And guess who pays for that? You, my friend.
Then comes winter. That lovely metal surface is now a giant heat sink, sucking the warmth right out of your house. Your furnace will be kicking on more frequently, trying its best to keep up. Again, more money flying out the window. Or, more accurately, being leached through your roof. It’s a lose-lose situation, and frankly, a bit of a drag on your wallet. Plus, think about the comfort! Who enjoys sweating buckets or shivering uncontrollably indoors? Not I, said the cat.
And let's not forget condensation. This is a sneaky one. On a cold day, the warm, moist air inside your house can meet the cold metal of the roof deck, creating condensation. This can lead to all sorts of delightful problems like mold, mildew, and even structural damage over time. So, insulating isn't just about saving money; it's about protecting your investment and keeping your home healthy.
The Sunshine Tax and The Winter Chill Drain
Okay, so we’ve established that metal roofs can be a bit… enthusiastic about temperature. Think of it like this: metal is like a superhighway for heat. Hot in the summer, cold in the winter. Your house is trying to maintain a nice, cozy temperature, and your roof is basically saying, “Nope! Here comes the heat/cold!”
It’s like leaving a metal spoon in a hot cup of tea. What happens? The spoon gets hot, right? Fast. Your roof is that spoon, but on a much, much bigger scale. And in the winter, it’s the opposite. Leave that spoon in the freezer, and it’s going to be frigid.
This constant battle between your HVAC system and the extreme temperatures your roof is letting in is what we call the “sunshine tax” and the “winter chill drain.” Sounds dramatic, but it’s a real thing, and it hits your bank account hard. So, insulating is your shield against this relentless thermal onslaught. It’s like putting on a nice, cozy sweater for your house in the winter and a breathable, cool linen shirt in the summer.
So, How Do We Tame This Metal Beast?
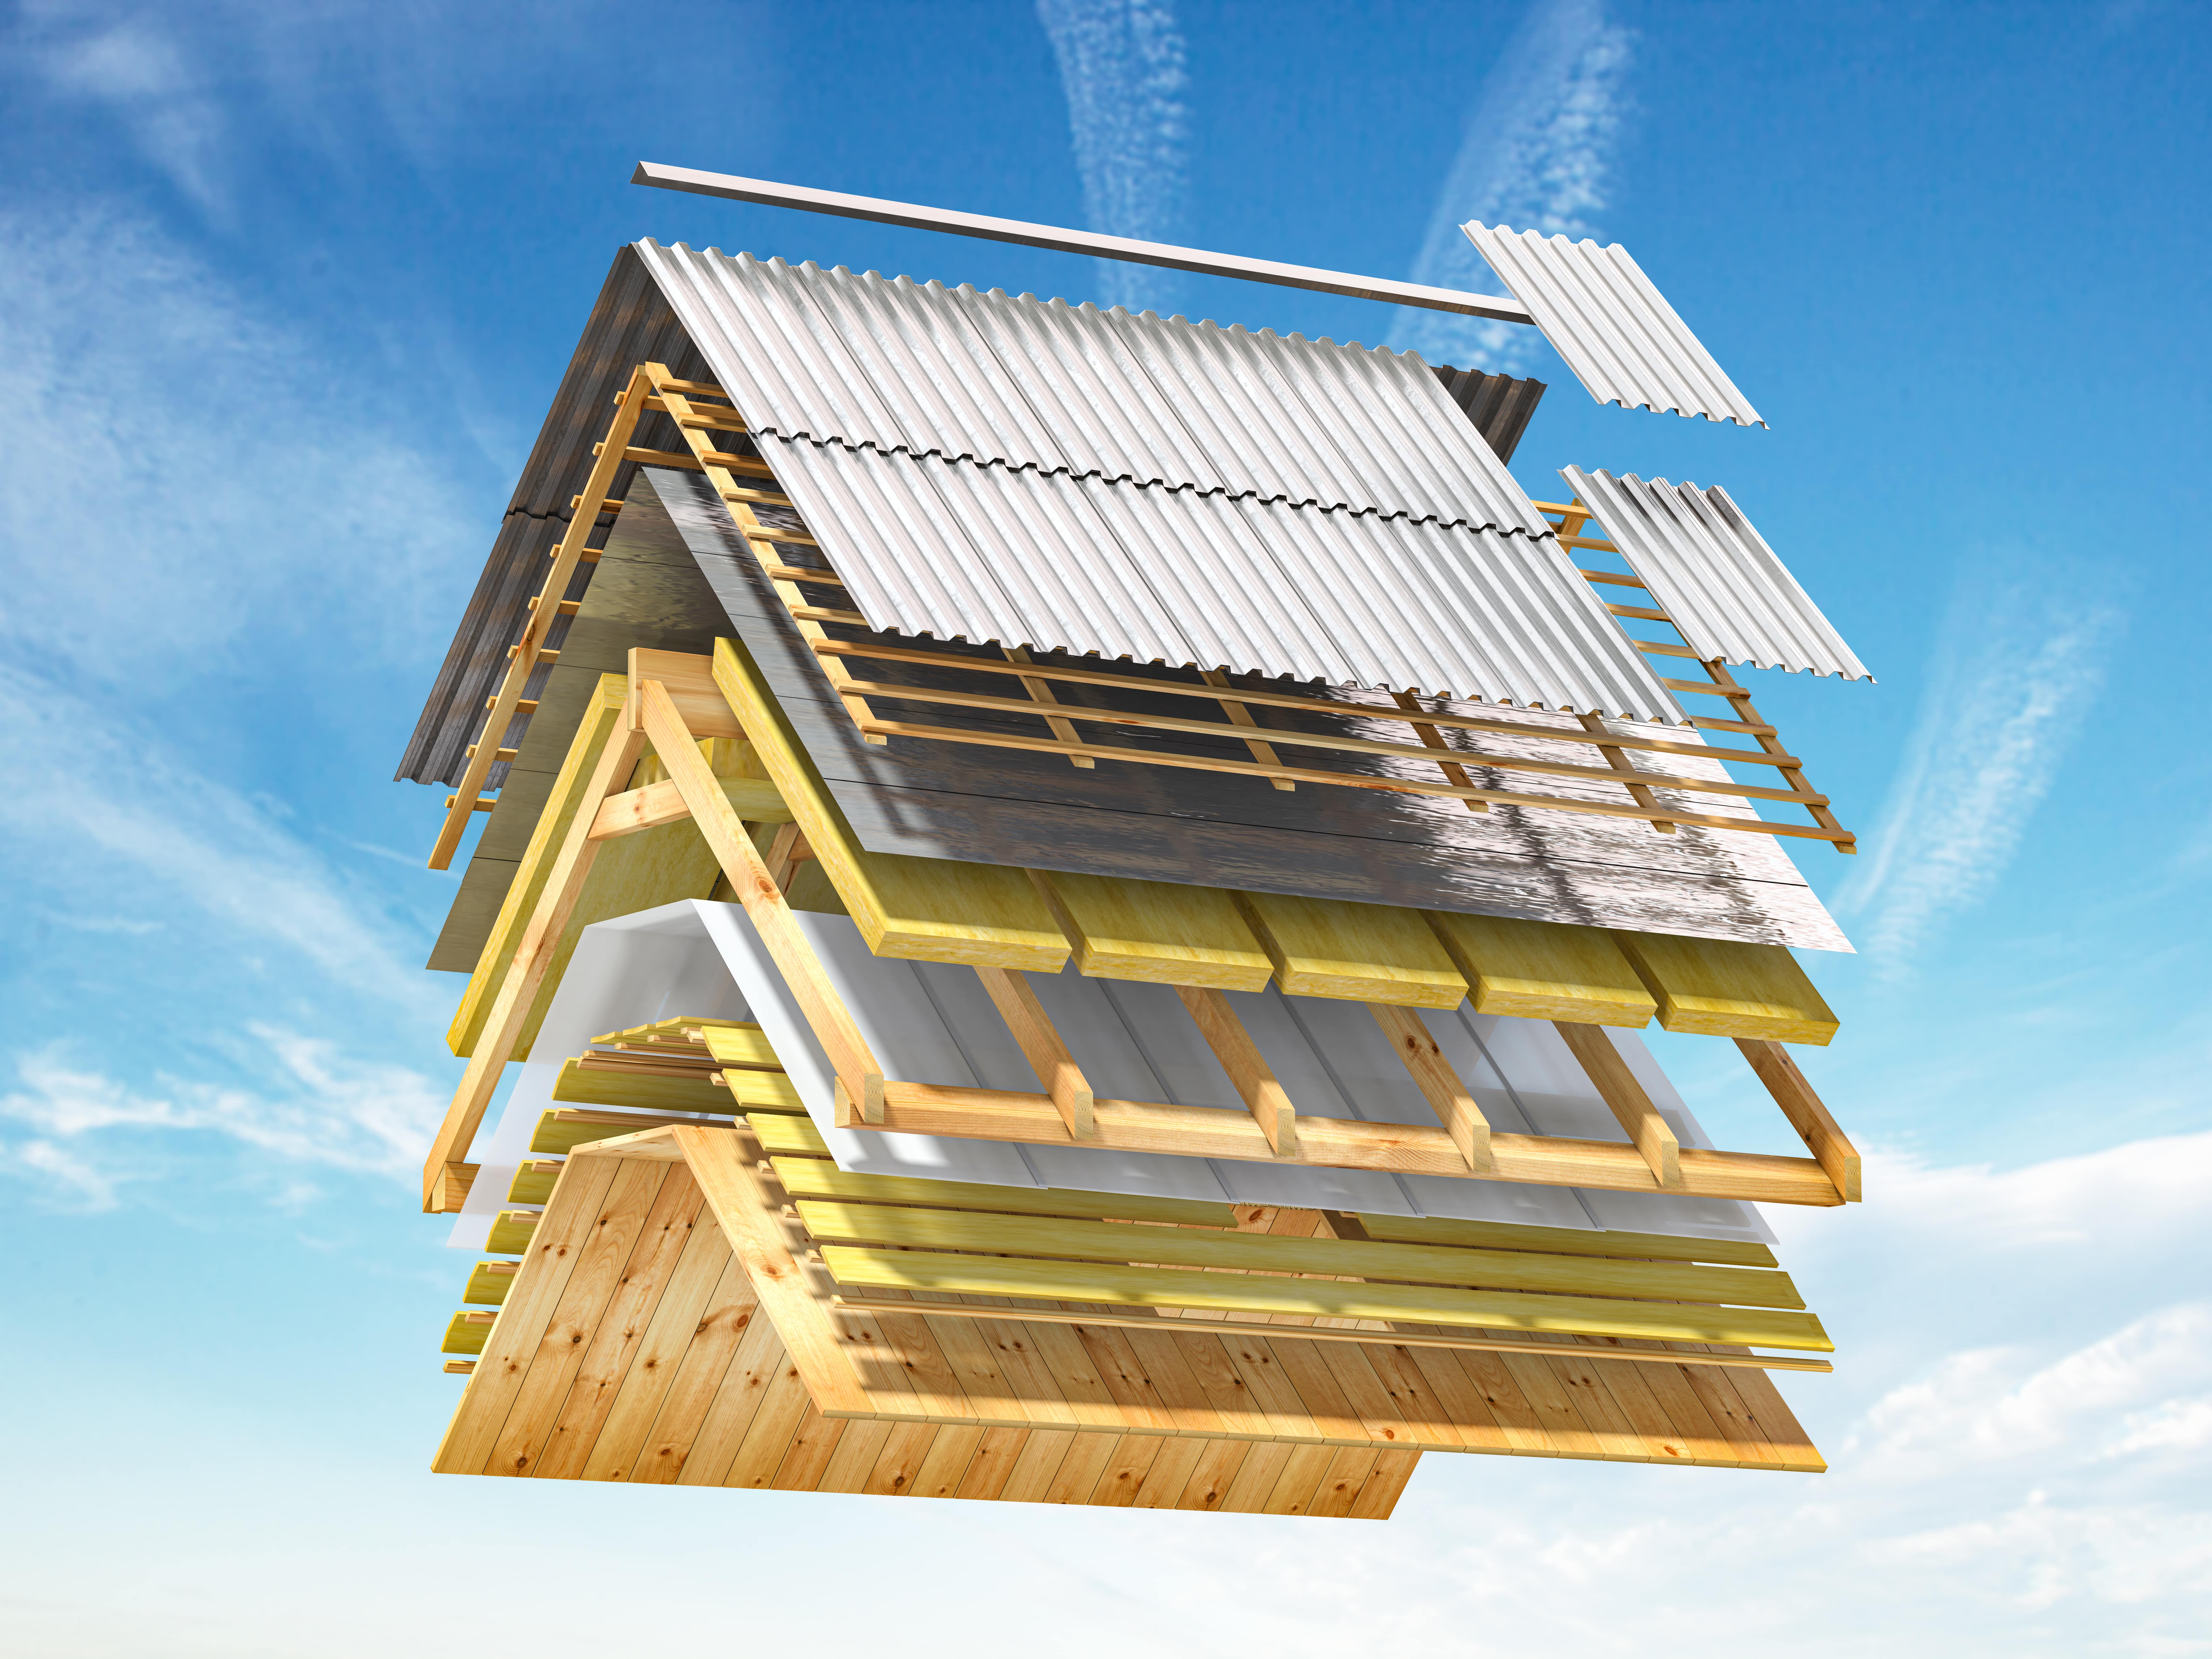
Alright, enough with the woes. Let’s talk solutions! Insulating a metal roof isn’t a one-size-fits-all deal. The best approach often depends on the type of metal roof you have (standing seam, corrugated, etc.) and whether it’s a new installation or an existing one. But the core principle is always the same: create a barrier between the metal and your living space.
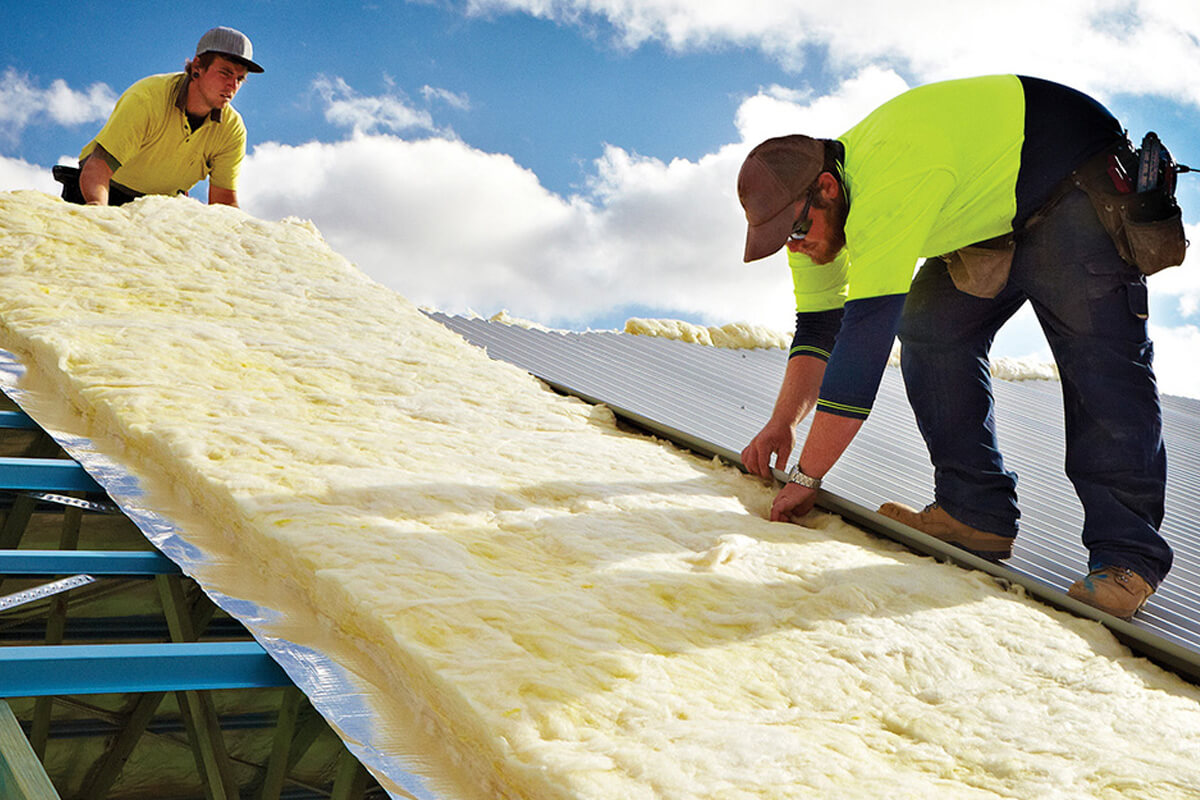
The most common and effective way to insulate a metal roof is to install insulation underneath the metal panels. This is usually done during the initial construction or a major renovation. However, if your roof is already on, there are still plenty of ways to get that insulation game on point.
Option 1: The "Spray Foam Symphony" (For the Bold and the Spray-Happy)
This is where things get a bit more… industrial. Spray foam insulation is a fantastic option, especially for metal roofs. Why? Because it’s a fantastic insulator, it air seals like a dream, and it also acts as a vapor barrier. Double, triple win!
There are two main types: open-cell and closed-cell. Closed-cell is denser, has a higher R-value per inch (meaning it insulates better for its thickness), and is a great vapor retarder. Open-cell is more flexible, less dense, and generally cheaper. For a metal roof, especially if you’re looking to really tackle condensation issues and boost your R-value, closed-cell spray foam is often the preferred choice.
How does it work? Professionals come in with specialized equipment and spray a liquid foam onto the underside of the metal roof deck. This foam expands rapidly, filling every nook and cranny, creating a seamless, insulating blanket. It’s like giving your roof a giant, perfectly fitted thermal hug.
Pros: Incredible insulation and air sealing, creates a vapor barrier, can improve structural integrity, excellent for irregular surfaces.
Cons: Can be expensive, requires professional installation, can be messy if not done correctly, can be difficult to remove if needed later.
A little side note: if you’re considering spray foam, make sure you’re dealing with reputable installers. This isn’t a DIY job for the faint of heart (or the inexperienced). They need to get the chemical mixture just right, and the application needs to be uniform. Trust me, you don't want to end up with a poorly insulated, potentially toxic situation. Get quotes, check references, and ask for details about their process.
Option 2: The "Batt Up Bonanza" (The Classic Comfort Creator)
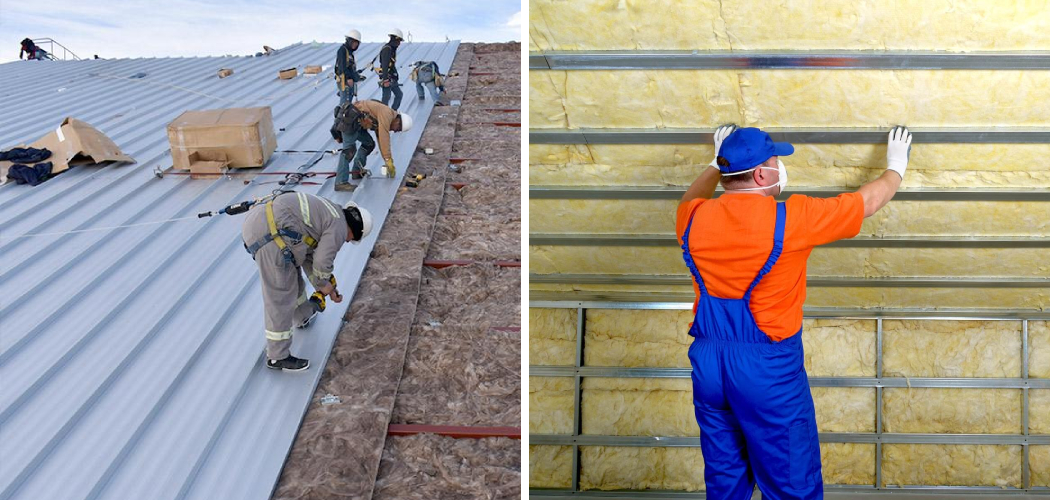
Ah, fiberglass batts. The old faithful of insulation. This is likely what you’re picturing when you think of insulation. Batts are those fluffy rolls or pre-cut pieces of fiberglass, mineral wool, or other fibrous materials.
For a metal roof, you can often install these between the rafters or joists of your attic space, directly below the roof deck. You can also potentially add a layer of rigid foam board insulation against the underside of the metal roof deck before installing the batts. This provides a continuous thermal barrier and helps prevent thermal bridging (where heat travels through the framing members).
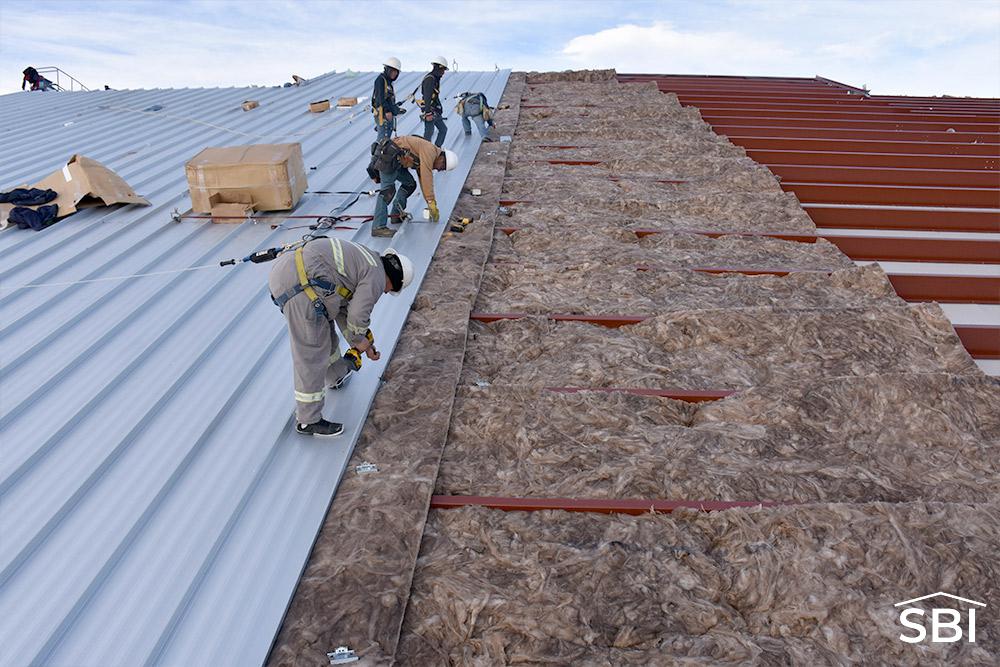
The key here is to ensure a snug fit. Gaps and voids in batt insulation are like little escape routes for your precious heated or cooled air. You want to pack it in there, but not so much that you compress it, as that reduces its effectiveness. And always wear protective gear – fiberglass can be itchy business!
Pros: Relatively affordable, widely available, DIY-friendly (with precautions!), good insulation value when installed correctly.
Cons: Can be messy and itchy to install, can settle over time, not as effective at air sealing as spray foam, susceptible to moisture damage if vapor barrier isn't perfect.
If you’re a hands-on person and want to save some bucks, this might be your jam. Just remember to seal up any gaps around wires, pipes, or framing members before you start laying down those batts. Think of it as preparing the canvas before you paint. And wear your mask and gloves, seriously. Your skin and lungs will thank you.
Option 3: The "Rigid Board Regiment" (The Structured Shield)
Rigid foam boards, like XPS (extruded polystyrene) or polyiso (polyisocyanurate), are another excellent option, often used in conjunction with other methods or as a primary insulation layer.
These boards offer a good R-value per inch and can be installed directly against the underside of the metal roof deck. They create a continuous layer of insulation, which is fantastic for minimizing thermal bridging. You can then cover them with a membrane or even drywall, depending on your desired finish.
For metal roofs, a common approach is to create a “vented” or “unvented” roof assembly. In a vented assembly, you’d have a gap between the insulation (the rigid boards) and the roof deck, allowing for airflow. In an unvented assembly, the rigid boards are directly against the deck, creating a more robust barrier against air and moisture. The latter is often favored for its superior performance.
Pros: High R-value per inch, creates a continuous thermal barrier, good moisture resistance, relatively easy to cut and install.
Cons: Can be more expensive than batts, requires careful sealing of joints, can be susceptible to UV degradation if exposed.

This option is great if you’re looking for a more structured and controlled insulation layer. Imagine building a protective shell around your attic. It’s robust, it’s effective, and it’s got that satisfyingly geometric look when it’s all laid out.
Option 4: The "Reflective Roof Barrier" (The Sun-Buster Strategy)
This is a bit different from traditional insulation, but it’s a very popular and effective method for metal roofs, especially in hotter climates. It’s all about reflecting the sun’s heat away.
You can apply a reflective coating directly to the metal roof surface. This coating has a high solar reflectance index (SRI), meaning it bounces back a significant portion of the sun’s radiation instead of absorbing it. Think of wearing white clothes on a hot day versus black. White reflects, black absorbs. Same principle, but for your roof!
Another approach is to install a radiant barrier. This is typically a thin sheet of reflective material, often aluminum foil, attached to the underside of the roof rafters. In the summer, it reflects heat radiating upwards from the attic floor and even heat that has penetrated the roof deck. In the winter, it can reflect some of your home’s heat back down.
Pros: Excellent for reducing cooling costs, relatively low cost and easy to apply (especially coatings), doesn’t add bulk.
Cons: Less effective at insulating against conducted heat (from extremely cold outside air), effectiveness can be reduced by dust or dirt accumulation on reflective surfaces, not a primary insulation solution for extreme cold.
This is often seen as a great first line of defense, particularly if your main concern is summer heat gain. It’s like giving your roof sunglasses. Simple, effective, and makes a noticeable difference in how hot your attic gets.
Important Considerations Before You Insulate
Before you grab your tools (or your phone to call a contractor), there are a few crucial things to keep in mind:
Ventilation is Your Friend (Usually!)
In many roof systems, proper ventilation is key. This allows moisture to escape and helps regulate attic temperature. With a metal roof, especially a non-vented insulation system, you need to be extra careful about creating an air-tight seal. If you’re unsure about ventilation requirements for your specific roof type and insulation choice, always consult with a professional. A poorly ventilated attic can lead to bigger problems than you started with. Nobody wants that kind of drama.
Vapor Barriers: The Moisture Maestros
Depending on your climate and insulation method, a vapor barrier might be essential. This prevents warm, moist air from your living space from reaching the cold roof deck and condensing. Spray foam often acts as its own vapor barrier, but with batts or rigid boards, you might need to install a separate vapor retarder on the warm side (your living space side) of the insulation. Getting this wrong can lead to mold and rot. Yuck.
Condensation Conundrum
This is worth reiterating because it’s so important with metal roofs. Metal has a low dew point, meaning condensation can form easily. Your insulation strategy must address this. Whether it’s through air sealing, vapor barriers, or proper ventilation, your goal is to keep that moisture away from the cold metal surface.
Professional vs. DIY: Know Your Limits
While some insulation tasks, like adding batts to an attic, can be DIY-friendly, others, like spray foam application, are definitely best left to the pros. Even with batts, proper installation is critical. A poorly installed insulation job can be worse than no insulation at all. If you’re not comfortable, if you’re unsure about building codes, or if the job seems complex, hire a professional. It’s an investment in your home and your peace of mind.
Building Codes and Local Regulations
Don’t forget to check your local building codes! They often have specific requirements for insulation R-values and installation methods. You don’t want to do all this work only to find out it doesn’t meet code. A quick call to your local building department or a chat with your chosen contractor can save you a lot of headaches down the line.
The Bottom Line: A Cozier, Cheaper Home Awaits!
So, there you have it. Insulating a metal roof isn’t just about making your house look good; it’s about making it feel good and perform well. By creating that crucial thermal barrier, you'll be enjoying a more comfortable home year-round, slashing those energy bills, and protecting your house from potential moisture damage.
Whether you go with the high-tech approach of spray foam, the classic comfort of batts, the structured shield of rigid boards, or the sun-busting strategy of reflective barriers, the end result is the same: a happier, healthier, and more economical home. And who doesn't want that? Now go forth and insulate! Your wallet (and your comfort level) will thank you.