
How To Make A Metal Fence
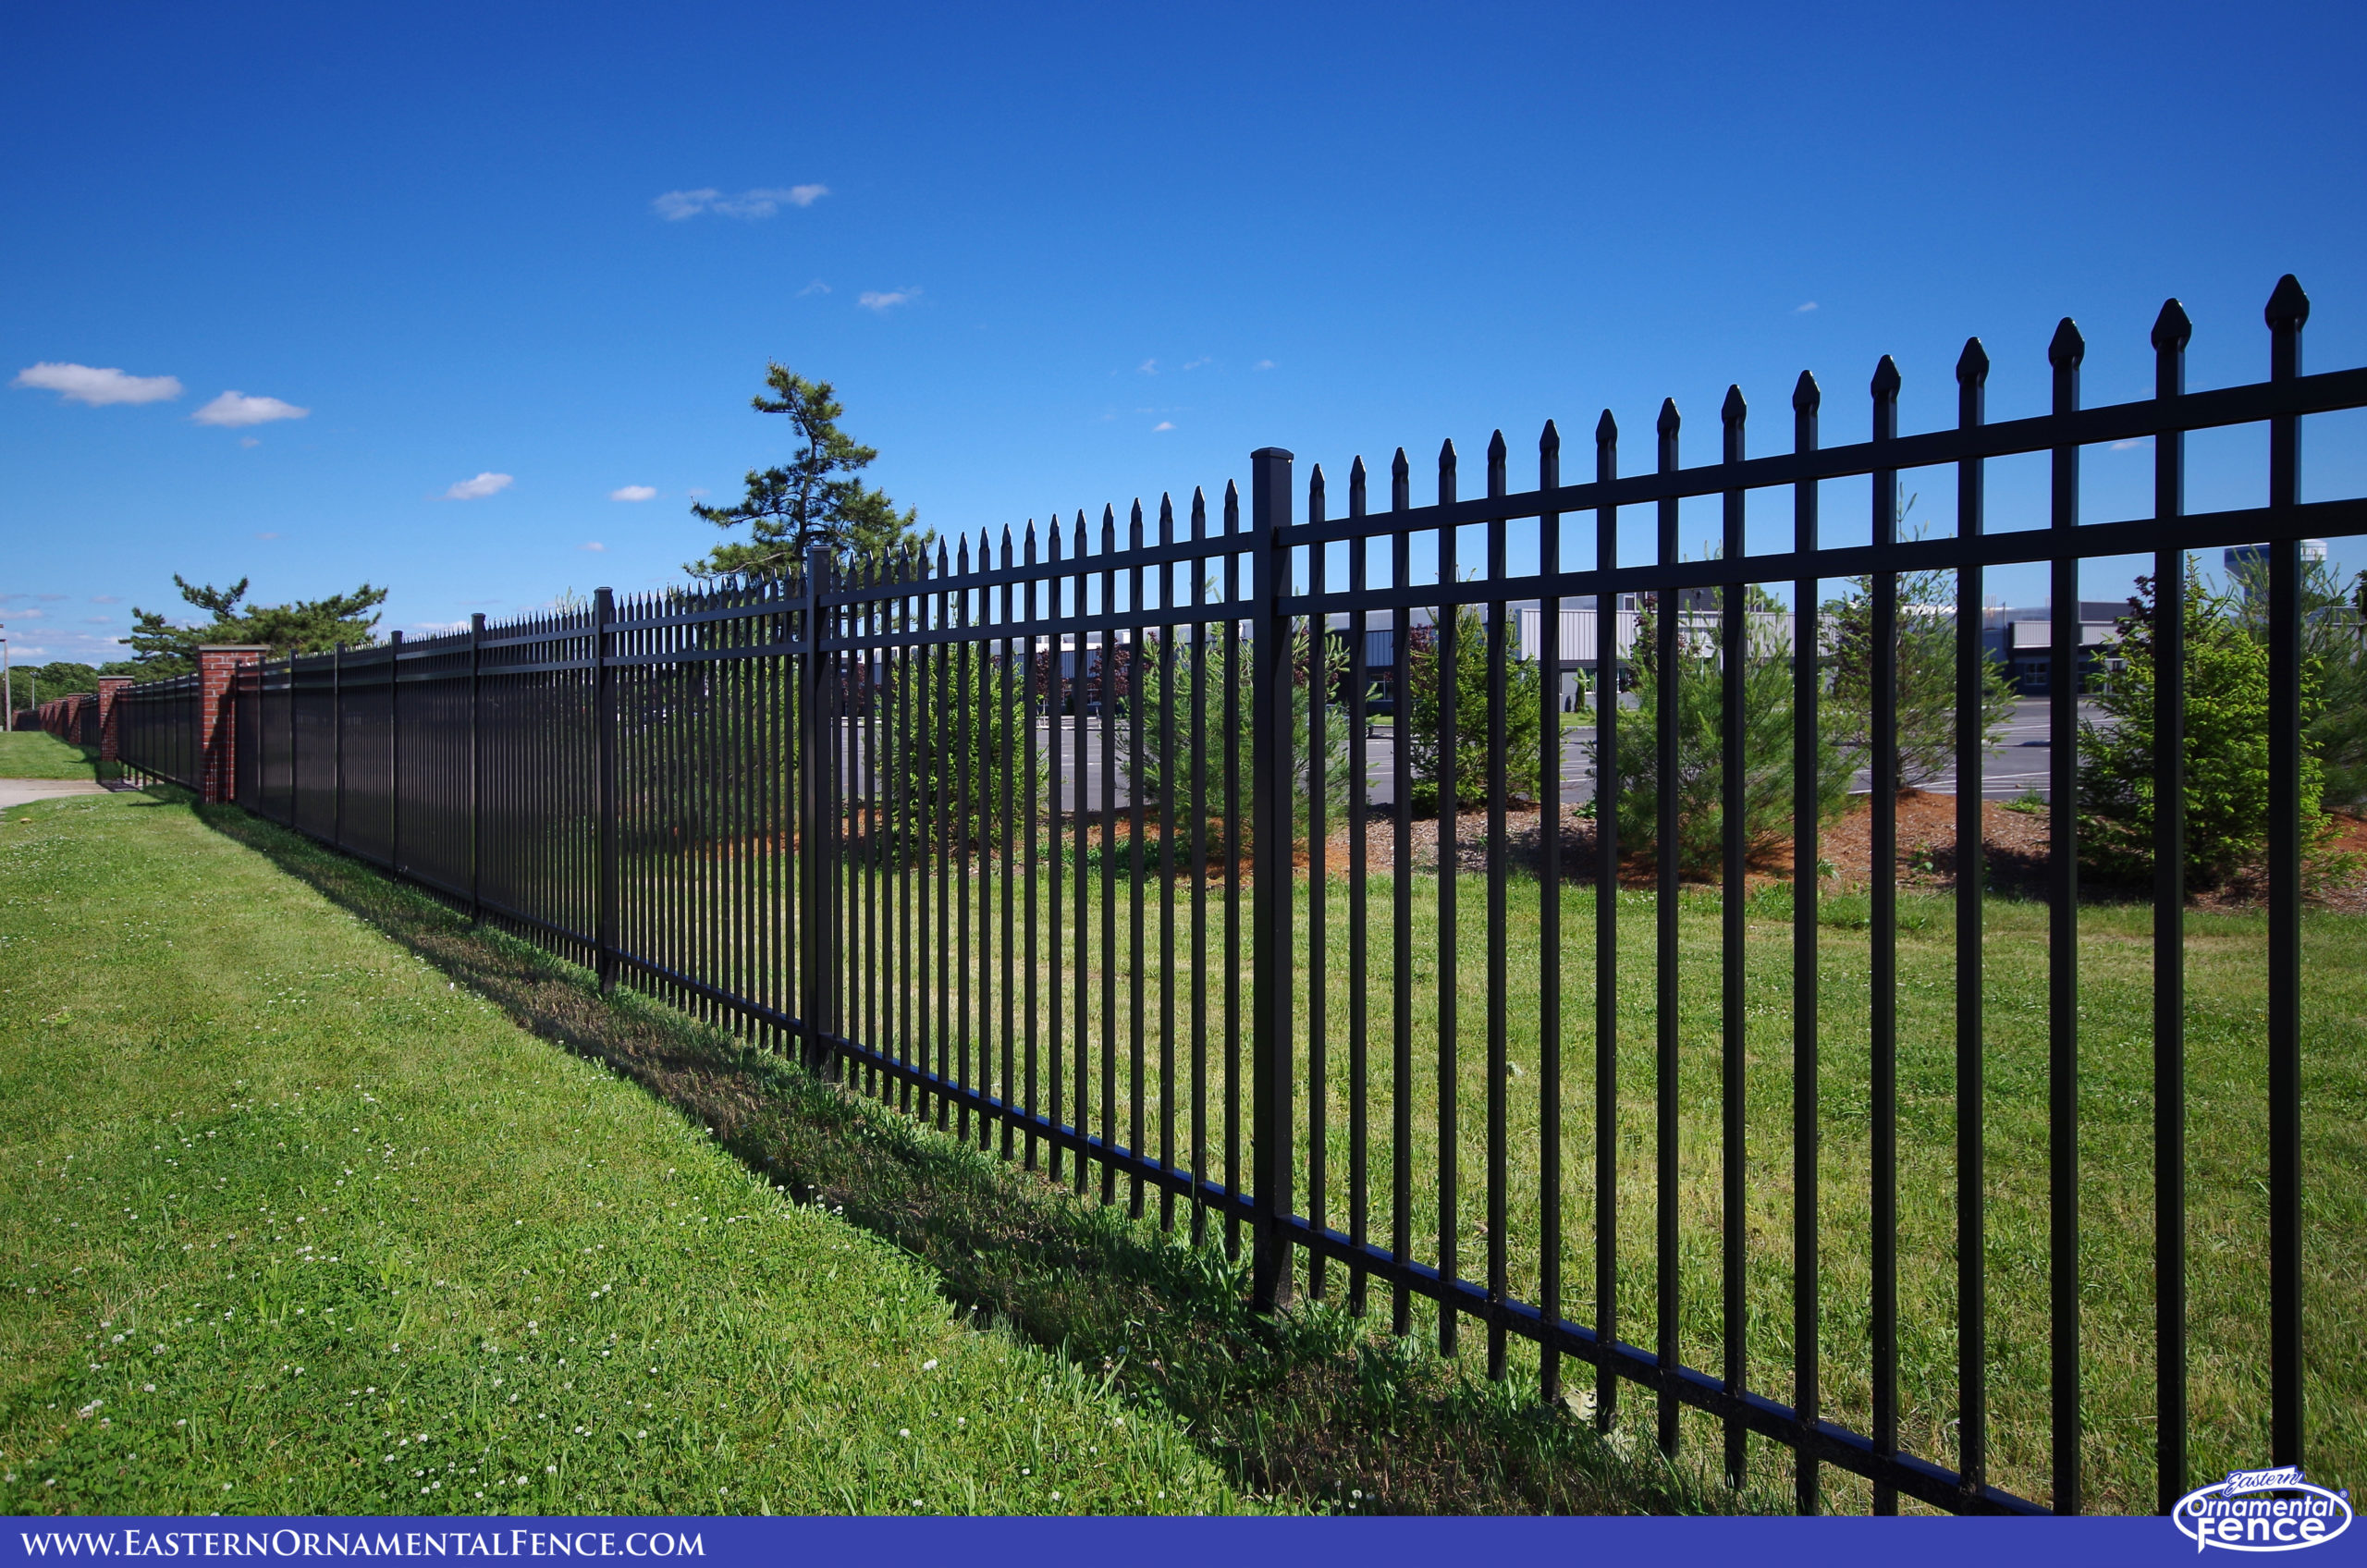
Hey there, fence enthusiasts and DIY dreamers! Ever looked at your yard and thought, "You know what this needs? More metal! And a fence!"? Or maybe you're just tired of Fido making a break for it every time a squirrel dares to exist. Whatever your fence-tastic motivation, you've landed in the right spot. We're about to dive headfirst into the wonderful world of making your very own metal fence. And spoiler alert: it's not as intimidating as it sounds! Think of it as building with grown-up LEGOs, but with a bit more sweat and a lot more "wow, I made that!" factor.
Now, before we get all Rambo with welding torches, let's be real. Making a metal fence isn't exactly whipping up a batch of cookies. It requires some tools, a bit of planning, and a healthy dose of patience. But trust me, the satisfaction of driving by your house and seeing that sturdy, stylish metal fence you built? Priceless. Plus, it's way more impressive than bragging about your sourdough starter, right?
So, grab a cup of your favorite beverage (coffee for power, tea for zen, or maybe something a little stronger if you're feeling brave), and let's get this fence party started!
First Things First: The Grand Plan (aka, Don't Wing It!)
Alright, so you want a metal fence. Awesome! But what kind of metal fence? Are we talking sleek, modern, minimalist vibes? Or are we going for something more ornamental, with fancy scrolls and flourishes that scream "I have excellent taste"? The universe of metal fences is vast and wonderful, and choosing the right one is key. This is where your inner interior designer (or exterior designer, as it were) gets to shine.
Think about your home's style. Does it lean traditional? Modern? Rustic? Your fence should be a harmonious addition, not a jarring outlier. It's like picking an outfit – you want it to complement the rest of the look. So, take a stroll around your property, stare at your house, and let the inspiration flow. Maybe snap a few pictures for reference. Pinterest is your friend here, folks. Embrace the scroll!
Also, consider the purpose of your fence. Is it purely decorative? To keep pets in? To keep things out (like that rogue lawnmower that keeps trying to escape your neighbor's yard)? The height and spacing of your fence panels will depend on this. A low ornamental fence is great for defining a garden bed, but it won't be much good at corralling a Great Dane. Just sayin'.
Materials: The Building Blocks of Awesomeness
Now for the nitty-gritty: what are we actually going to build this marvel out of? For most DIY metal fences, you're going to be looking at steel. It's strong, durable, and can be shaped in a multitude of ways. You can buy pre-made fence panels, which is like the express lane to fence-ville. Or, if you're feeling adventurous (and have the tools), you can fabricate your own panels from raw steel stock like angle iron, flat bar, and tubing.

Let's talk about steel types, briefly. You'll likely encounter mild steel, which is the workhorse of the DIY world. It's relatively easy to work with, whether you're welding, bending, or cutting. Stainless steel is fancier and more corrosion-resistant, but it's also pricier and can be a bit more challenging to work with. For most residential fences, mild steel is your go-to. It’s the reliable friend who's always there for you.
Don't forget about the posts! These are the unsung heroes of your fence. They hold everything up, so they need to be sturdy. Steel posts are common, but you can also use treated wood posts if that's your preference. Just make sure they're sunk deep enough into the ground to withstand wind and whatever else Mother Nature throws at them. Think of them as the foundation of your fence's superhero cape.
And then there are the decorative elements. This is where you can really let your personality shine! Think finials for the tops of your posts, ornamental scrolls, maybe even some fancy-looking pickets. You can buy these pre-made, or if you’re feeling really ambitious and have access to metalworking tools, you could even make your own. Just imagine the bragging rights!
Tools of the Trade: Your Metal-Working Arsenal
Okay, let's talk tools. This is where some of you might start to sweat a little. But fear not! You don't need a whole industrial workshop to build a decent metal fence. Here's a rundown of the essentials:

The Must-Haves (The Staples)
- Measuring Tape: Obvious, right? But seriously, measure twice, cut once. Your fence will thank you.
- Level: Crucial for ensuring your fence isn't leaning like it's had a few too many happy hours.
- Safety Glasses: Non-negotiable. Metal bits flying around are no joke. Protect those peepers!
- Gloves: To protect your hands from sharp edges and hot metal.
- Angle Grinder: This is your workhorse for cutting metal, grinding welds, and generally making things smooth. Get a good one!
- Drill and Drill Bits: For making holes for bolts or rivets.
- Wrenches and Sockets: For tightening those all-important bolts.
The "Nice-to-Have" (But Highly Recommended)
- Welder: If you're fabricating your own panels or doing some serious assembly, a welder is a game-changer. MIG welders are generally the easiest for beginners. Just remember to practice on some scrap metal first – nobody wants a wobbly weld!
- Metal Bender: If you're planning on creating curves or bends in your metal, a bender will make your life a whole lot easier.
- Metal Saw (e.g., Chop Saw or Bandsaw): For cleaner, straighter cuts on thicker metal, a dedicated metal saw is worth its weight in gold.
- Clamps: Various sizes of clamps will be your best friends for holding pieces together while you weld or drill.
Don't feel overwhelmed if you don't have all of these. You can often rent specialized tools for a day or two. And remember, there's always a friend with a bigger garage and more tools, right? (Just be sure to bribe them with pizza.)
The Process: Step-by-Step (ish) Awesomeness
Alright, the plan is set, the materials are gathered, the tools are polished. It's time to get down to business!
Step 1: Marking Your Territory (Literally)
This is where you literally draw a line in the sand. Or, more accurately, with string and stakes. Mark out the exact perimeter of your fence. Make sure it's straight and follows the property lines. You don't want to accidentally annex your neighbor's prize-winning petunias. Use your measuring tape and a level to get this perfect. Accuracy here will save you headaches later.
Step 2: Post Position Power!
Next up are the fence posts. These are the backbone of your fence. The spacing will depend on your fence design, but generally, you'll want them spaced evenly. Dig your post holes – deep enough to be stable. A general rule of thumb is about one-third of the post's length should be underground. Use your level to ensure each post is perfectly vertical as you set them. This is super important. A leaning post will make for a sad, saggy fence.
You can set your posts in concrete for maximum stability, or use gravel. Concrete is generally the preferred method for a fence that's meant to last through blizzards and enthusiastic doggie greetings. Let the concrete cure fully before moving on. Patience, grasshopper!

Step 3: Panel Perfection (Or Pre-Made Power!)
If you're using pre-made fence panels, this step is much simpler. You'll simply attach them to your posts. Measure and mark the attachment points on your posts, then drill holes and secure the panels with bolts or brackets. Easy peasy, lemon squeezy! (Okay, maybe not that easy, but you get the idea.)
If you're fabricating your own panels, this is where your welding skills (or very sturdy bolting skills) come into play. Cut your metal components to size, arrange them according to your design, and then join them together. If you're welding, remember to wear your safety gear and work in a well-ventilated area. Practice makes perfect, and a few ugly welds are better than no fence at all!
Step 4: Attaching the Masterpieces
Once your panels are ready (or you've got your pre-made beauties), it's time to attach them to the posts. Again, measure carefully to ensure your panels are level and evenly spaced. Secure them firmly with bolts, brackets, or welds, depending on your chosen method. This is where your clamps will be super handy for holding things in place while you work.
Take your time here. A few extra minutes spent ensuring everything is perfectly aligned will make a world of difference to the final appearance of your fence. Nobody wants a fence that looks like it's doing the limbo.

Step 5: The Finishing Touches: Beauty and Brains!
Now for the fun part! This is where you add those little details that elevate your fence from functional to fabulous. Attach any decorative finials to the tops of your posts. Paint or seal your fence to protect it from the elements and give it that polished look. Choose a color that complements your house and landscaping. Black is a classic for a reason, but don't be afraid to get creative!
Consider adding a gate! A well-made gate is both practical and stylish. It’s like the red carpet leading into your personal oasis. Make sure it opens smoothly and latches securely. A squeaky gate is the soundtrack of a DIYer's minor regret.
A Note on Safety: Because We All Want to Keep Our Fingers
Seriously, folks, safety is paramount. Working with metal can be dangerous. Always wear your safety glasses, gloves, and appropriate clothing. If you're welding, use a welding helmet and ensure good ventilation. Familiarize yourself with your tools and read the manuals. And if you're ever unsure about something, don't be afraid to ask for help or consult a professional. Your fingers, eyes, and general well-being are worth more than any fence.
The Grand Reveal: You Did It!
And there you have it! You've gone from a vague fence-fancy to a proud owner of a metal fence that you, yes you, built. Take a step back. Admire your handiwork. Imagine the barbeques, the garden parties, the quiet evenings spent gazing at your beautifully crafted boundary. You’ve not only created a barrier, but you’ve also added a piece of art to your home. You’ve conquered the metal, tamed the tools, and emerged victorious!
So go on, give yourself a pat on the back. You've earned it. And who knows, maybe this is just the beginning of your metal-working adventure. Next up? A mailbox? A garden trellis? The possibilities are as endless as your newfound DIY confidence. Go forth and build something amazing!