
How To Make A Piñata Easy And Fast

Hey there, party planning superstar! Got a birthday bash coming up, or maybe just a random Tuesday that needs a serious dose of fun? Well, buckle up, buttercup, because we're about to embark on a glorious quest to create your very own homemade piñata. And guess what? It's not some elaborate, time-sucking ordeal. We're talking easy, we're talking fast, and we're talking ridiculously satisfying. Forget those flimsy store-bought ones that practically disintegrate with a gentle breeze. We're crafting a beast of joy, a harbinger of candy, a champion of fiesta! So, grab your comfiest clothes, maybe a beverage of your choice (you earned it already!), and let's get this party started!
First things first, let's talk about what you'll need. Don't panic, it's not a trip to a specialized craft store that requires a secret handshake. You probably have most of this stuff lurking in your house right now. We're talking about a sturdy balloon – the bigger, the better, but not so giant that it becomes a wrestling match to hang. Think of it as your piñata's bouncy soul. Then, you'll need some newspaper. Yep, good old-fashioned newsprint. The kind that might give you slightly inky fingers, but hey, that's part of the charm, right? It's practically a rite of passage. And for the glue? We're going old school with a simple flour and water paste. It's the OG of sticky stuff, and it's incredibly effective. No fancy, expensive craft glues needed here. We're on a mission for simplicity, remember?
To make our magical sticky potion, it's ridiculously simple. In a bowl, mix about one part flour with two parts water. Whisk it up until it’s smooth and has the consistency of pancake batter. If it’s too thick, add a splash more water. Too thin? A little more flour. Think of yourself as a mad scientist, but instead of creating a monster, you're creating a candy-holding wonder. It should be thick enough to stick to the newspaper but thin enough to spread easily. And a little tip from your friendly neighborhood piñata whisperer: if you want to get fancy (and trust me, "fancy" is a relative term here), you can add a pinch of salt to help prevent mold. But honestly, for a quick party piñata, you'll probably smash it before mold even has a chance to say "boo."
Now for the main event: the papier-mâché. This is where the magic really happens. Tear your newspaper into strips. Don't be neat about it; jagged edges are your friend. They’ll blend together better. Aim for strips that are about an inch or two wide and about six inches long. Think of them as edible confetti, but for your piñata. Now, dip a strip of newspaper into your flour-and-water concoction. Use your fingers to wipe off any excess glue – you want it covered, not drowning. Then, lay that sticky strip onto your inflated balloon. Smooth it down as best you can. It doesn't have to be perfectly smooth; wrinkles add character! This is your chance to embrace the imperfections. They’re like beauty marks for your piñata.
Continue this process, layering the newspaper strips over the entire balloon, overlapping them as you go. You’re essentially giving your balloon a cozy, papery blanket. Make sure you leave an opening at the top, around the knot of the balloon, where you'll eventually fill it with goodies. This is the piñata's mouth, and it needs to be accessible! For the first layer, just cover the whole thing. Don't worry about fancy patterns or colors yet. We're building the foundation, the sturdy skeleton of your party beast.
Once you've got one complete layer of newspaper strips all over your balloon, let it dry. This is the hardest part, I know. Waiting. But patience, my friend, is a virtue, especially when it comes to piñatas. The drying time can vary depending on your humidity and temperature, but aim for at least 24 hours. You can speed things up a bit with a fan, but avoid direct heat, as it can make the balloon pop prematurely (and nobody wants that kind of drama). You want it to be good and hard to the touch before you move on.
Once that first layer is totally dry, it's time for layer number two! Yes, we’re layering up. This is what makes your piñata strong enough to withstand a good whack (or several). Repeat the entire process: dip, wipe, and stick those newspaper strips onto the balloon, overlapping them. This time, try to go in a different direction than your first layer. If your first layer was horizontal, make this one vertical. It adds extra strength, like a cross-hatch pattern. Again, make sure you're not covering that opening you left at the top.

After your second layer is on, it's time for another drying session. Again, at least 24 hours. You’re basically building a super-strong, papery shell. The more layers you add (up to about three or four is usually plenty for a home party), the sturdier your piñata will be. But don't go overboard; we still want it to be breakable! The goal is a satisfying CRACK, not a gentle wobble.
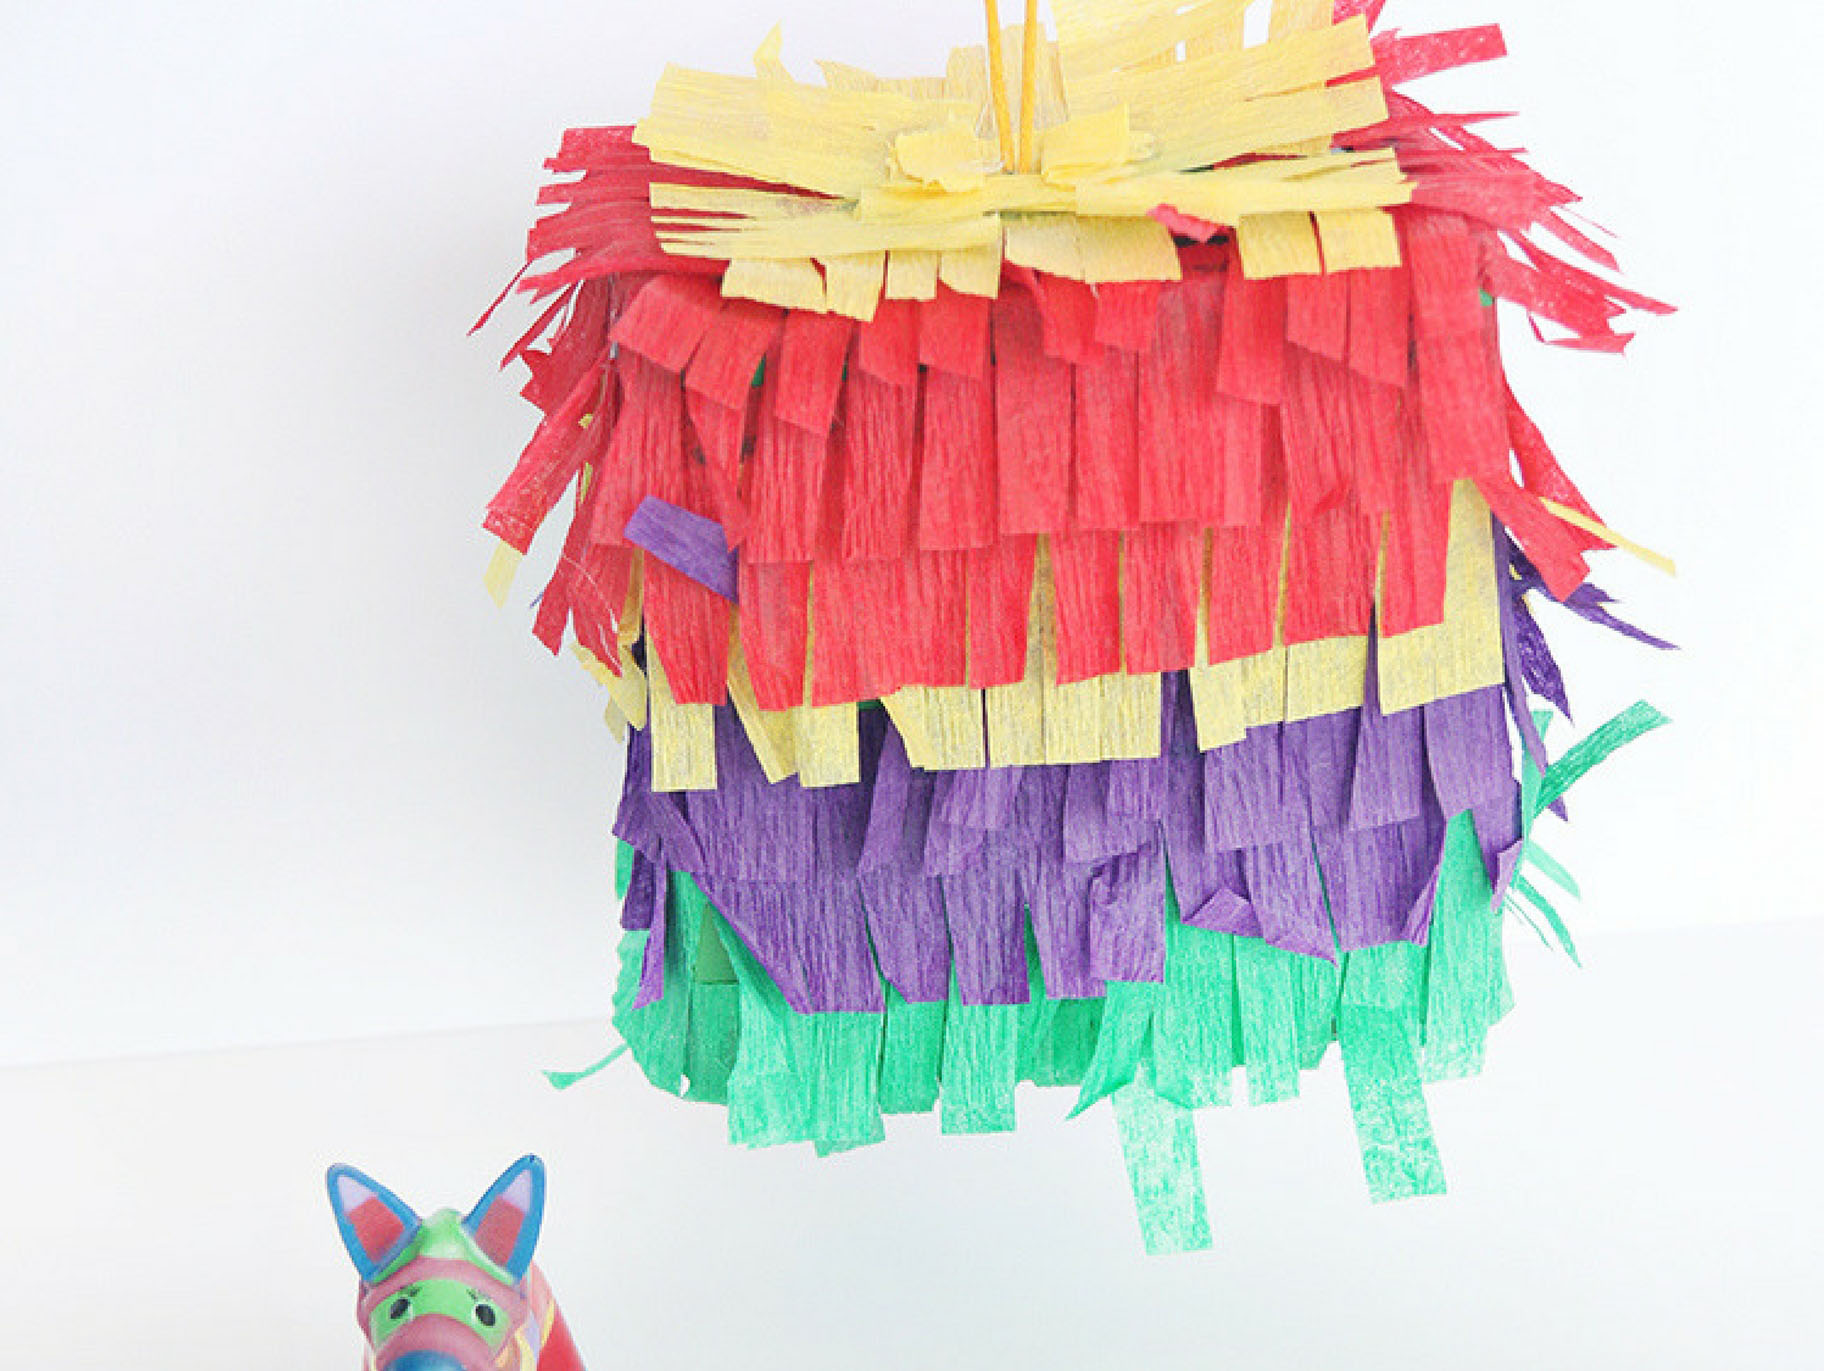
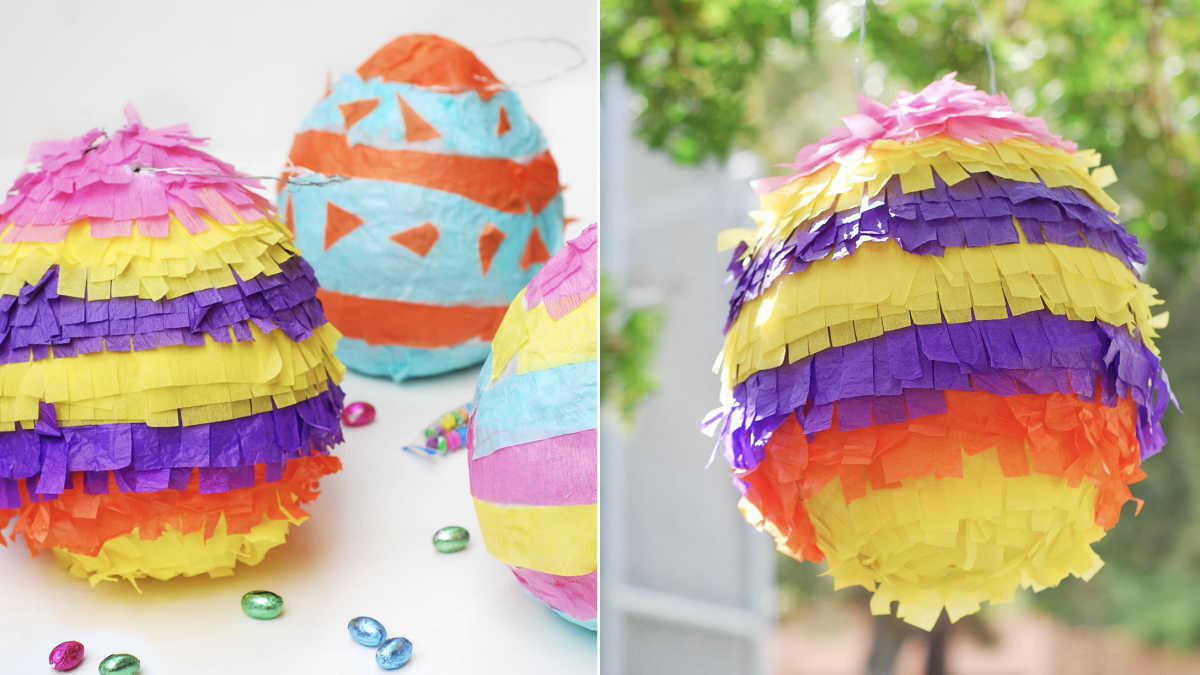
Now comes the fun part: decorating! This is where your inner artist can truly shine. You have a few options here, depending on your energy levels and your definition of "fast." The quickest and easiest way is to grab some colorful tissue paper. Rip it into strips or squares. Then, using your flour-and-water paste (or some craft glue if you’re feeling fancy), attach the tissue paper to your dried papier-mâché shell. You can create a fringe effect by cutting the bottom edge of each strip into little tassels. Or, just cover the whole thing in a riot of color! Think of it as giving your piñata a fabulous outfit for its big day.
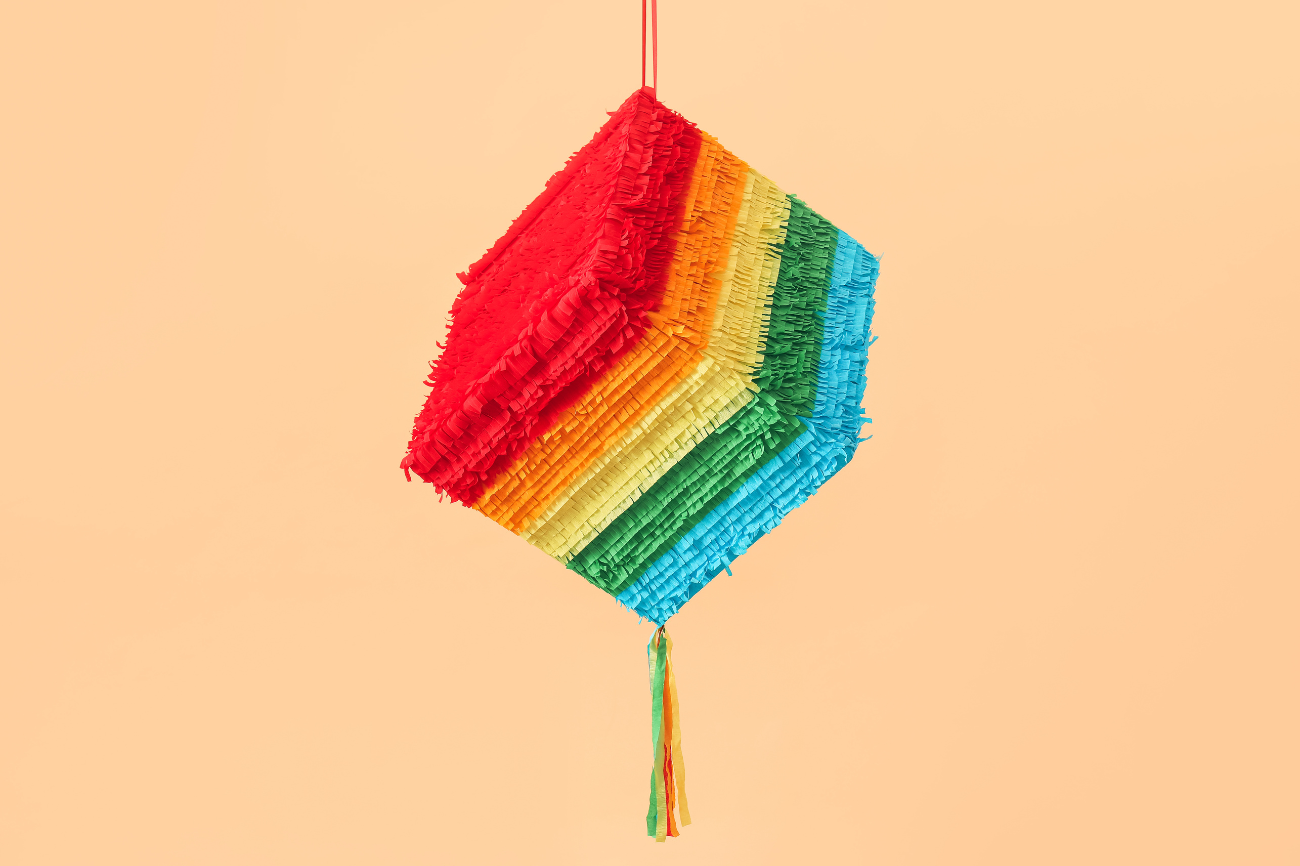
Another super-easy decorating option is to use streamers. Just cut them into lengths and glue them all over the piñata. You can create all sorts of patterns and textures this way. Or, if you’re feeling a bit more ambitious (but still keeping it simple!), you can paint your piñata! Acrylic paints work best. You can go for a solid color, or get creative with stripes, polka dots, or even a face. Just make sure your paint is completely dry before moving on to the next step.
Once your piñata is beautifully decorated and completely dry, it's time for the grand finale: popping the balloon! This is where you gently pull the knot of the balloon and let it deflate. If it’s stuck, you might need to carefully poke a little hole in the balloon near the knot with a skewer or a sharp pencil. The balloon will then shrivel up and can be easily removed from the opening. Voila! You have a hollow, festive sphere. Ta-da! It’s alive! Well, not alive alive, but it’s definitely ready for its close-up.
Now, the most crucial step: filling your piñata! This is where the joy really starts to build. You'll want to fill it with all sorts of goodies. Candy is a must, of course. Think small, individually wrapped candies that are easy to grab. But don't stop there! You can also add small, lightweight toys, stickers, temporary tattoos, or even little notes of encouragement. Just be sure to avoid anything too heavy or sharp, as it could be dangerous when it falls. And a word of caution: don't overstuff it! A little goes a long way, and you don't want it to be so heavy that it’s impossible to hang.
Once your piñata is filled to your heart's content, you need to seal the opening. You can do this by gluing a few extra strips of newspaper over the hole, or by attaching a piece of cardboard that you've decorated to match. This just ensures that all those glorious treasures stay inside until the big moment. And speaking of the big moment, you’ll need a way to hang it! Make a sturdy loop at the top by threading some strong twine or ribbon through a couple of reinforced holes. Make sure it’s securely attached to the strongest part of your piñata, which is usually near the top.
So, there you have it! You've just crafted a magnificent piñata with your own two hands. Isn't that awesome? You took some basic supplies, a bit of patience, and a whole lot of party spirit, and created something truly special. It’s not just a container for candy; it’s a symbol of celebration, of anticipation, and of pure, unadulterated fun. And the best part? You did it yourself! That feeling of accomplishment? It’s almost as sweet as the candy that will soon be raining down. So, go forth, hang your masterpiece high, and get ready for the cheers, the laughter, and the pure, joyful chaos that only a well-whacked piñata can bring. You’re a crafting superhero, and your party is about to be legendary!