
How To Paint Galvanized Sheet Metal

Hey there, fellow DIYer! Got some galvanized sheet metal hanging around? Maybe it's a wobbly old shed roof, some funky planters, or that trellis you've been meaning to spruce up? Well, you've come to the right place. Painting this stuff can feel a little intimidating, right? Like, is it going to peel off in a week? Will it look like a kindergartener did it? Don't you worry your pretty little head about it. We're going to tackle this together, with coffee in hand and a can-do attitude!
So, first things first. What is galvanized metal, anyway? It's basically steel that's been coated in zinc. Think of it like a superhero cape for the metal, protecting it from rust. Pretty neat, huh? But that shiny zinc coat, while awesome for protection, can be a bit of a pain to paint. It’s slippery, like trying to hold onto a greased pig at a county fair. You can't just slap any old paint on there and expect it to stick. Nope. We gotta do a little prep work, a little dance with the surface, if you will.
Getting Your Surface Ready: The Real MVP
This is where the magic happens, or where it doesn't happen if you skip it. Seriously, preparation is key. It’s the foundation of your whole painting project. Imagine building a house on sand – it's just not going to end well. So, let's get down to business.
Step 1: Cleanliness is Next to Godliness (or at Least Paint-liness)
First up, you gotta get that metal clean. We're talking squeaky clean. Grab a good degreaser. Think of all the gunk that might have settled on there over the years – grease, oil, dirt, maybe even some bird… well, you know. A simple dish soap and water might work for a quick wipe-down, but for a proper paint job, you want something more robust. I've heard great things about specific metal cleaners, but a good quality degreaser from your local hardware store will do the trick. Just follow the instructions on the bottle. Scrub it down, and don't be shy. Get into all the nooks and crannies.
Rinse it off thoroughly. You don't want any soapy residue left behind. Residue is the enemy of good adhesion. Seriously, it's like that friend who overstays their welcome and ruins the vibe. Once it’s rinsed, give it a good scrub with a clean rag or a soft brush. You want to remove any loose paint or rust. If you see any flaky bits, gently scrape them off. We want a smooth canvas, not a bumpy disaster.
Step 2: The Power of a Little (Gentle) Abrasion
Okay, so it's clean. Now what? We need to give the paint something to grab onto. That slick zinc surface needs a little texture. Now, before you go reaching for the industrial-strength sandpaper and think you're going to wear through the metal, slow your roll. We're not trying to sandblast this thing into oblivion. A mild abrasive is all you need.
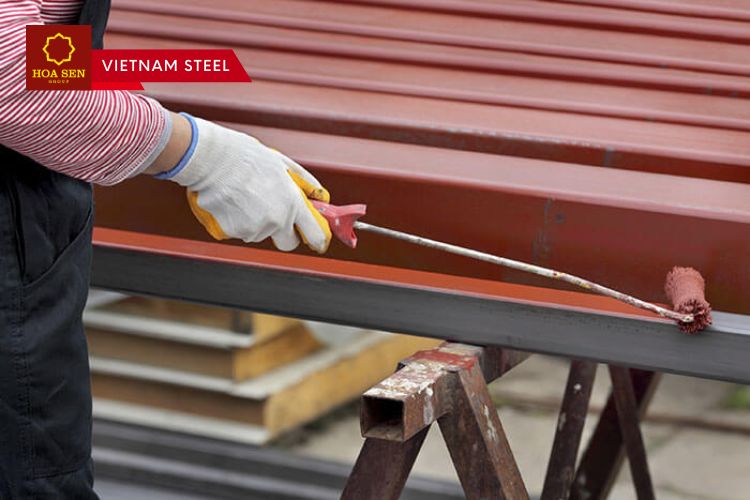
Think of it like giving the metal a gentle exfoliation. A medium-grit sandpaper (around 100-150 grit) will usually do the trick. You don't need to go crazy. Just a light scuffing is enough. You’re not trying to remove the zinc coating, just to roughen it up ever so slightly. Imagine lightly scratching your nail across it. That’s the kind of change we’re looking for.
Alternatively, some folks swear by using a synthetic scouring pad, like the green ones you use for pots and pans. Again, we're just looking for a little bit of "tooth." This is where you can really feel like you’re in the zone. Put on some tunes, get a rhythm going, and just scuff the whole surface. Don't forget any edges or corners! Those are often the first places paint likes to peel, so give them some extra love. After you're done scuffing, wipe it all down again with a clean, damp cloth to remove any dust. Let it dry completely. Patience, my friend, patience.
Step 3: Prime Time – Don't Skip This Crucial Step!
Here's the big one, the absolute non-negotiable. You must use a primer specifically designed for galvanized metal. I cannot stress this enough. Regular primers just won't cut it. They'll be like that awkward date who doesn't know how to talk to your friends – they just don't fit in. A good galvanized metal primer will have excellent adhesion properties, meaning it will stick like glue to that zinc surface and provide a solid base for your topcoat.
There are two main types you'll usually find: etch primers and direct-to-metal (DTM) primers. Etch primers actually create a chemical bond with the metal, giving you super-strong adhesion. DTM primers are more like a tough coating that can handle direct contact with metal and offer good protection. Both are great options, just make sure the can clearly states "for galvanized metal" or "for non-ferrous metals."
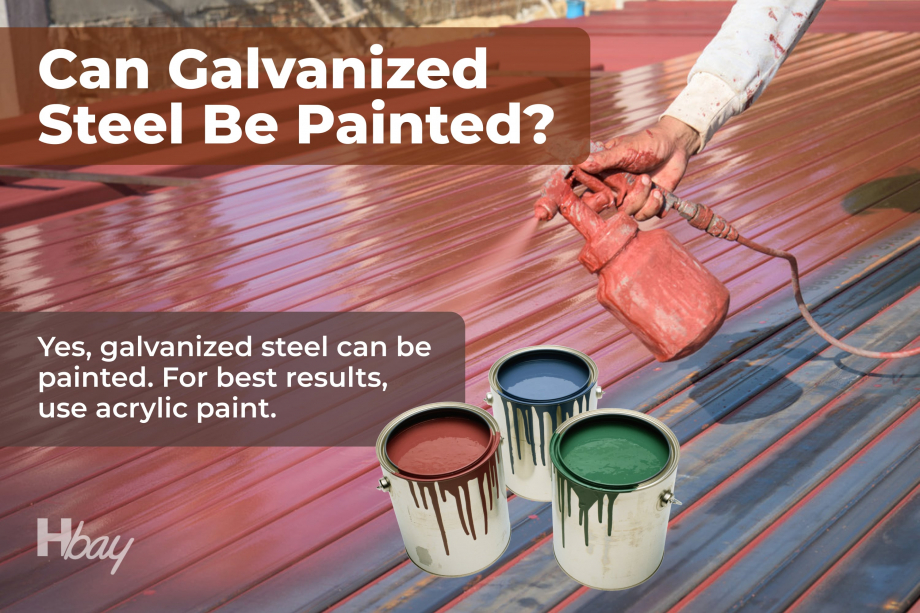
Applying primer is pretty straightforward. You can use a brush, a roller, or even a spray can. For large, flat areas, a roller will be your best friend. For smaller or more intricate parts, a brush or spray might be easier. Whatever you choose, apply it in thin, even coats. Don't glob it on! Thin coats are much more likely to adhere properly and dry evenly. You might need two coats of primer, especially if the metal is particularly slick or you’re going for a drastic color change. Let each coat dry completely according to the manufacturer’s instructions. This is not the time to rush. Rushing the primer is like rushing your skincare routine – you’ll regret it later.
Choosing Your Paint: The Fun Part!
Alright, the surface is prepped, primed, and ready for its makeover! Now, what kind of paint are we going to use? This is where you get to unleash your inner artist! Remember, you want a paint that's durable and suitable for exterior use if your galvanized project is going to live outdoors.
Generally, you'll want to stick with oil-based or alkyd paints for galvanized metal. These paints tend to be tougher and offer better adhesion than latex or acrylic paints when used directly over galvanized metal (though some newer, specialized acrylics are now formulated for this). Oil-based paints are known for their durability and resistance to chipping and cracking. They can be a bit smellier and take longer to dry, but the results are often worth it.
If you're going for a more eco-friendly option, look for water-based DTM (Direct-To-Metal) paints. These have come a long way and are specifically formulated to adhere well to metal surfaces, often without the need for a separate primer (though, as we’ve discussed, priming is generally the safest bet for galvanized surfaces!). Always check the product label to ensure it's suitable for galvanized metal.
Consider the finish you want, too. A glossy finish will be super durable and easy to clean, but it will also show every little imperfection. A satin or semi-gloss finish offers a nice balance of durability and subtlety. A matte finish can be beautiful, but it might be a bit harder to clean if it gets dirty.
Applying Your Topcoat: The Grand Finale
You've prepped, you've primed, you've chosen your color. Now it's time for the main event! Applying the topcoat is the part that really brings your project to life. Again, thin, even coats are your best friends.
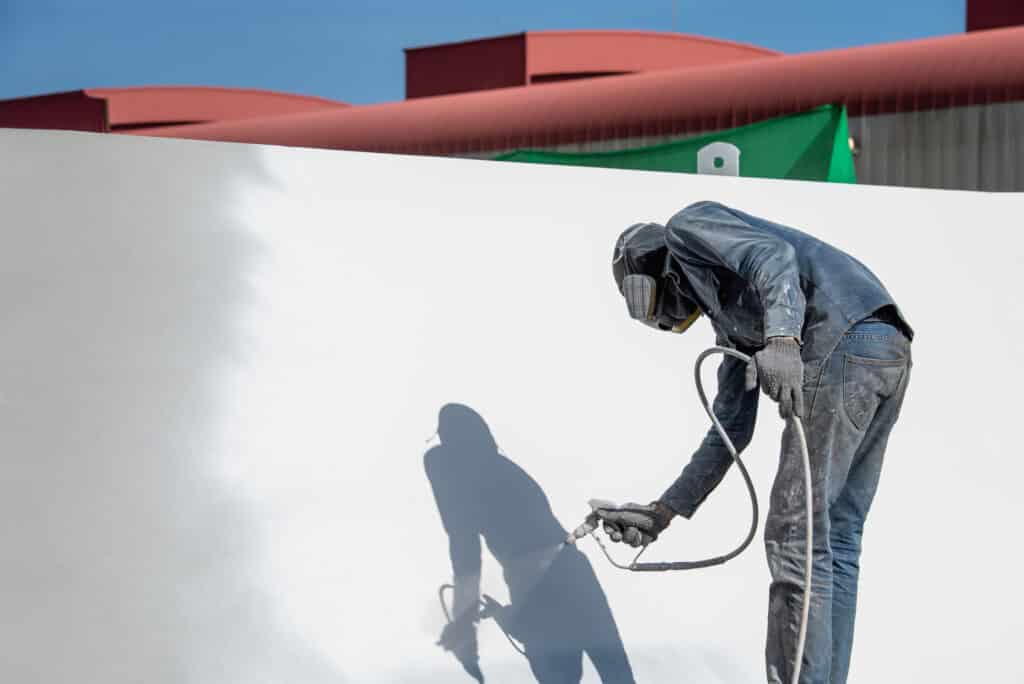
You can use the same tools you used for the primer – brush, roller, or sprayer. For larger areas, a good quality roller will give you a smooth, even finish. For edges and details, a brush will be more precise. If you're using a spray can, make sure you're in a well-ventilated area and use long, sweeping motions to avoid drips and uneven coverage.

Two thin coats are almost always better than one thick coat. Why? Because thick coats are more prone to chipping, cracking, and generally looking sad. They take longer to dry, and you might end up with an uneven, gloopy mess. So, let that first coat dry completely before applying the second. Resist the urge to speed things up with a hairdryer, no matter how tempting.
Work from top to bottom, if applicable. This way, any drips from the upper sections will be covered by the paint you apply below. It’s a little trick, but it makes a big difference.
A Few Extra Tips for Success
Here are some little nuggets of wisdom that might just save your paint job. Think of these as bonus points!
- Weather Matters: Don't paint in direct sunlight or when it's too hot, too cold, or too humid. Extreme temperatures can affect how the paint dries and adheres. Check the weather forecast and aim for a mild, dry day.
- Ventilation is Your Friend: If you're using oil-based paints or spray cans, make sure you're in a well-ventilated area. Open those windows, put on a fan, and maybe even wear a respirator. Your lungs will thank you.
- Read the Labels: I know, I know, reading instructions can be a drag. But seriously, the paint and primer manufacturers know their stuff. Their labels have crucial information about drying times, recoating times, and application tips. Don't ignore them!
- Test it Out: If you're unsure about how a certain paint will perform, try painting a small, inconspicuous area first. It's like a dress rehearsal for your masterpiece.
- Clean Up Promptly: Don't let paint dry on your brushes or rollers. Clean them immediately after you're done. For oil-based paints, you'll need mineral spirits. For water-based, soap and water will do.
- Patience is a Virtue (Especially with Paint): Seriously, don't rush the drying times. If the can says "recoat in 4 hours," wait 4 hours! Forcing it will only lead to frustration and a less-than-perfect finish.
And there you have it! Painting galvanized sheet metal doesn't have to be a daunting task. With a little bit of elbow grease, the right products, and a good dose of patience, you can transform those utilitarian pieces into something beautiful and long-lasting. So go forth, my friend, and paint with confidence! You’ve got this!