How To Paint Metal Building
So, you've got this metal building, huh? Maybe it's a shed, a garage, a barn, or that slightly-too-big playhouse your kid insisted on. Whatever it is, it's probably looking a little… well, industrial. Or maybe the old paint is peeling like a bad sunburn. Don't worry, my friend, we're gonna fix that! It's not rocket science, but it is a bit of elbow grease. Grab your virtual coffee, and let's chat about how to make that metal beauty sing.
First things first, why are we even doing this? Is it purely aesthetic? Because let's be honest, a rusty hulk isn't exactly curb appeal central. Or maybe it's for protection. That metal is just begging for a nice, shiny coat to keep the elements at bay. Think of it like giving your building a superhero cape. No more rust monsters! No more weather woes!
Prep Work is Your Best Friend (Seriously)
Okay, so you're excited. I get it. You want to slap some paint on and be done. Hold your horses, cowboy! This is where the magic really happens. Skimp on prep, and your beautiful paint job will be flaking off faster than you can say "oops."
First, you gotta clean it. Like, really clean it. Think about all the stuff that accumulates on an outdoor building. Dust, dirt, spiderwebs (shudder), maybe even some bird droppings that look suspiciously like abstract art. You need to get all of that off. A good scrub brush and some water should do the trick. For tougher grime, a little bit of dish soap or a dedicated metal cleaner can be your best bud. Just make sure to rinse it all off thoroughly. You don't want soap residue under your pretty paint, do you?
Then there's the rust. Oh, the rust. It's like the bane of every metal surface's existence. If you see any little orange fuzzy bits, you have to deal with it. You can't just paint over rust, hoping it magically disappears. It doesn't work like that, folks. You'll need a wire brush, or even some sandpaper. Get in there and scrub it off until you're down to bare metal. It might feel a little aggressive, but trust me, it's for the greater good of your building.
Once you've banished the rust bunnies, you might have some rough spots or dull areas. A light sanding all over can help. This isn't about making it perfectly smooth like a baby's bottom, but just giving the new paint something to grip onto. Think of it as creating tiny little welcoming hooks for the paint molecules. It's science, probably!
And hey, don't forget to protect yourself. Wear gloves and maybe even a dust mask, especially when you're dealing with rust. Nobody wants rusty lungs or permanently grimy hands. We're aiming for a beautiful building, not a trip to the emergency room.

Primer: The Unsung Hero
Now, some of you might be thinking, "Primer? Do I really need primer?" And to that, I say, "YES! YES, YOU DO!" Look, I know it feels like an extra step, an extra can of paint. But primer is like the super-glue for your paint job. It helps the paint adhere better, it blocks stains (especially those stubborn rust spots), and it can even help with color consistency. It's the foundation, people! You wouldn't build a house without a foundation, would you? Okay, maybe a very, very small, very temporary house. But you get my point.
You'll want a primer specifically for metal. This is important! Not all primers are created equal. Look for one that says it's for exterior metal surfaces. Some are even rust-inhibiting, which is like hitting the jackpot if you had a lot of rust to deal with.
Applying primer is just like painting. You can use a brush, a roller, or even a sprayer. Just make sure you get even coverage. Let it dry completely according to the manufacturer's instructions. Seriously, read the can. They know what they're talking about. Impatience here will come back to haunt you, like that embarrassing photo from your high school prom.
Choosing Your Paint: The Fun Part!
Alright, the prep is done. You've primed. You're feeling accomplished. Now for the really fun part: choosing your color! This is where you can really let your personality shine. Do you want something bold and bright to make a statement? Or a classic, muted tone to blend in? The world is your oyster, or in this case, your metal building.
When you're picking out your paint, make sure it's exterior-grade. You can't use interior paint out there. It just won't hold up to the sun, rain, and whatever else Mother Nature throws at it. Look for paints that are designed for metal. They often have special additives for durability and flexibility.
What kind of finish are you going for? Gloss is super shiny and reflects light, which can make a building look bigger and cleaner. But it also shows every little imperfection. Semi-gloss is a good middle ground, offering some shine without being too revealing. Satin is a bit more subtle, and flat finishes are great for hiding imperfections but can be a bit harder to clean. It's a trade-off, my friends!
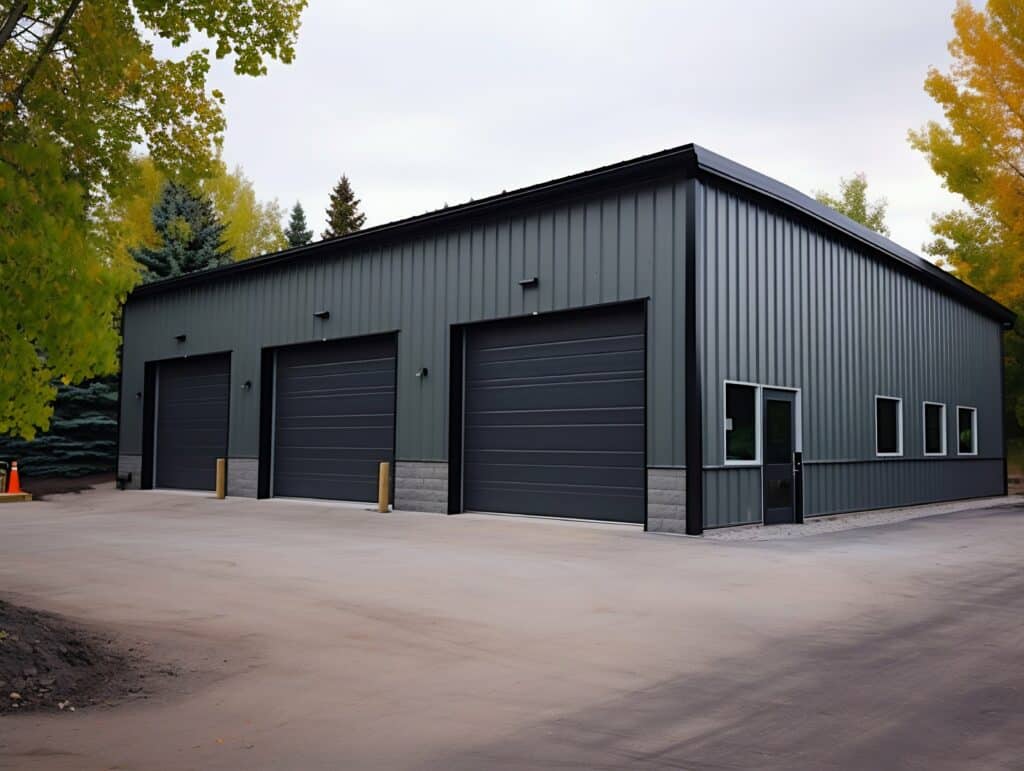
And don't forget the color! Think about the surroundings. Is your building right next to your house? You might want a color that complements your home's exterior. Or are you going for a more whimsical vibe in the backyard? The possibilities are endless!
Application Time! Let's Get Painting!
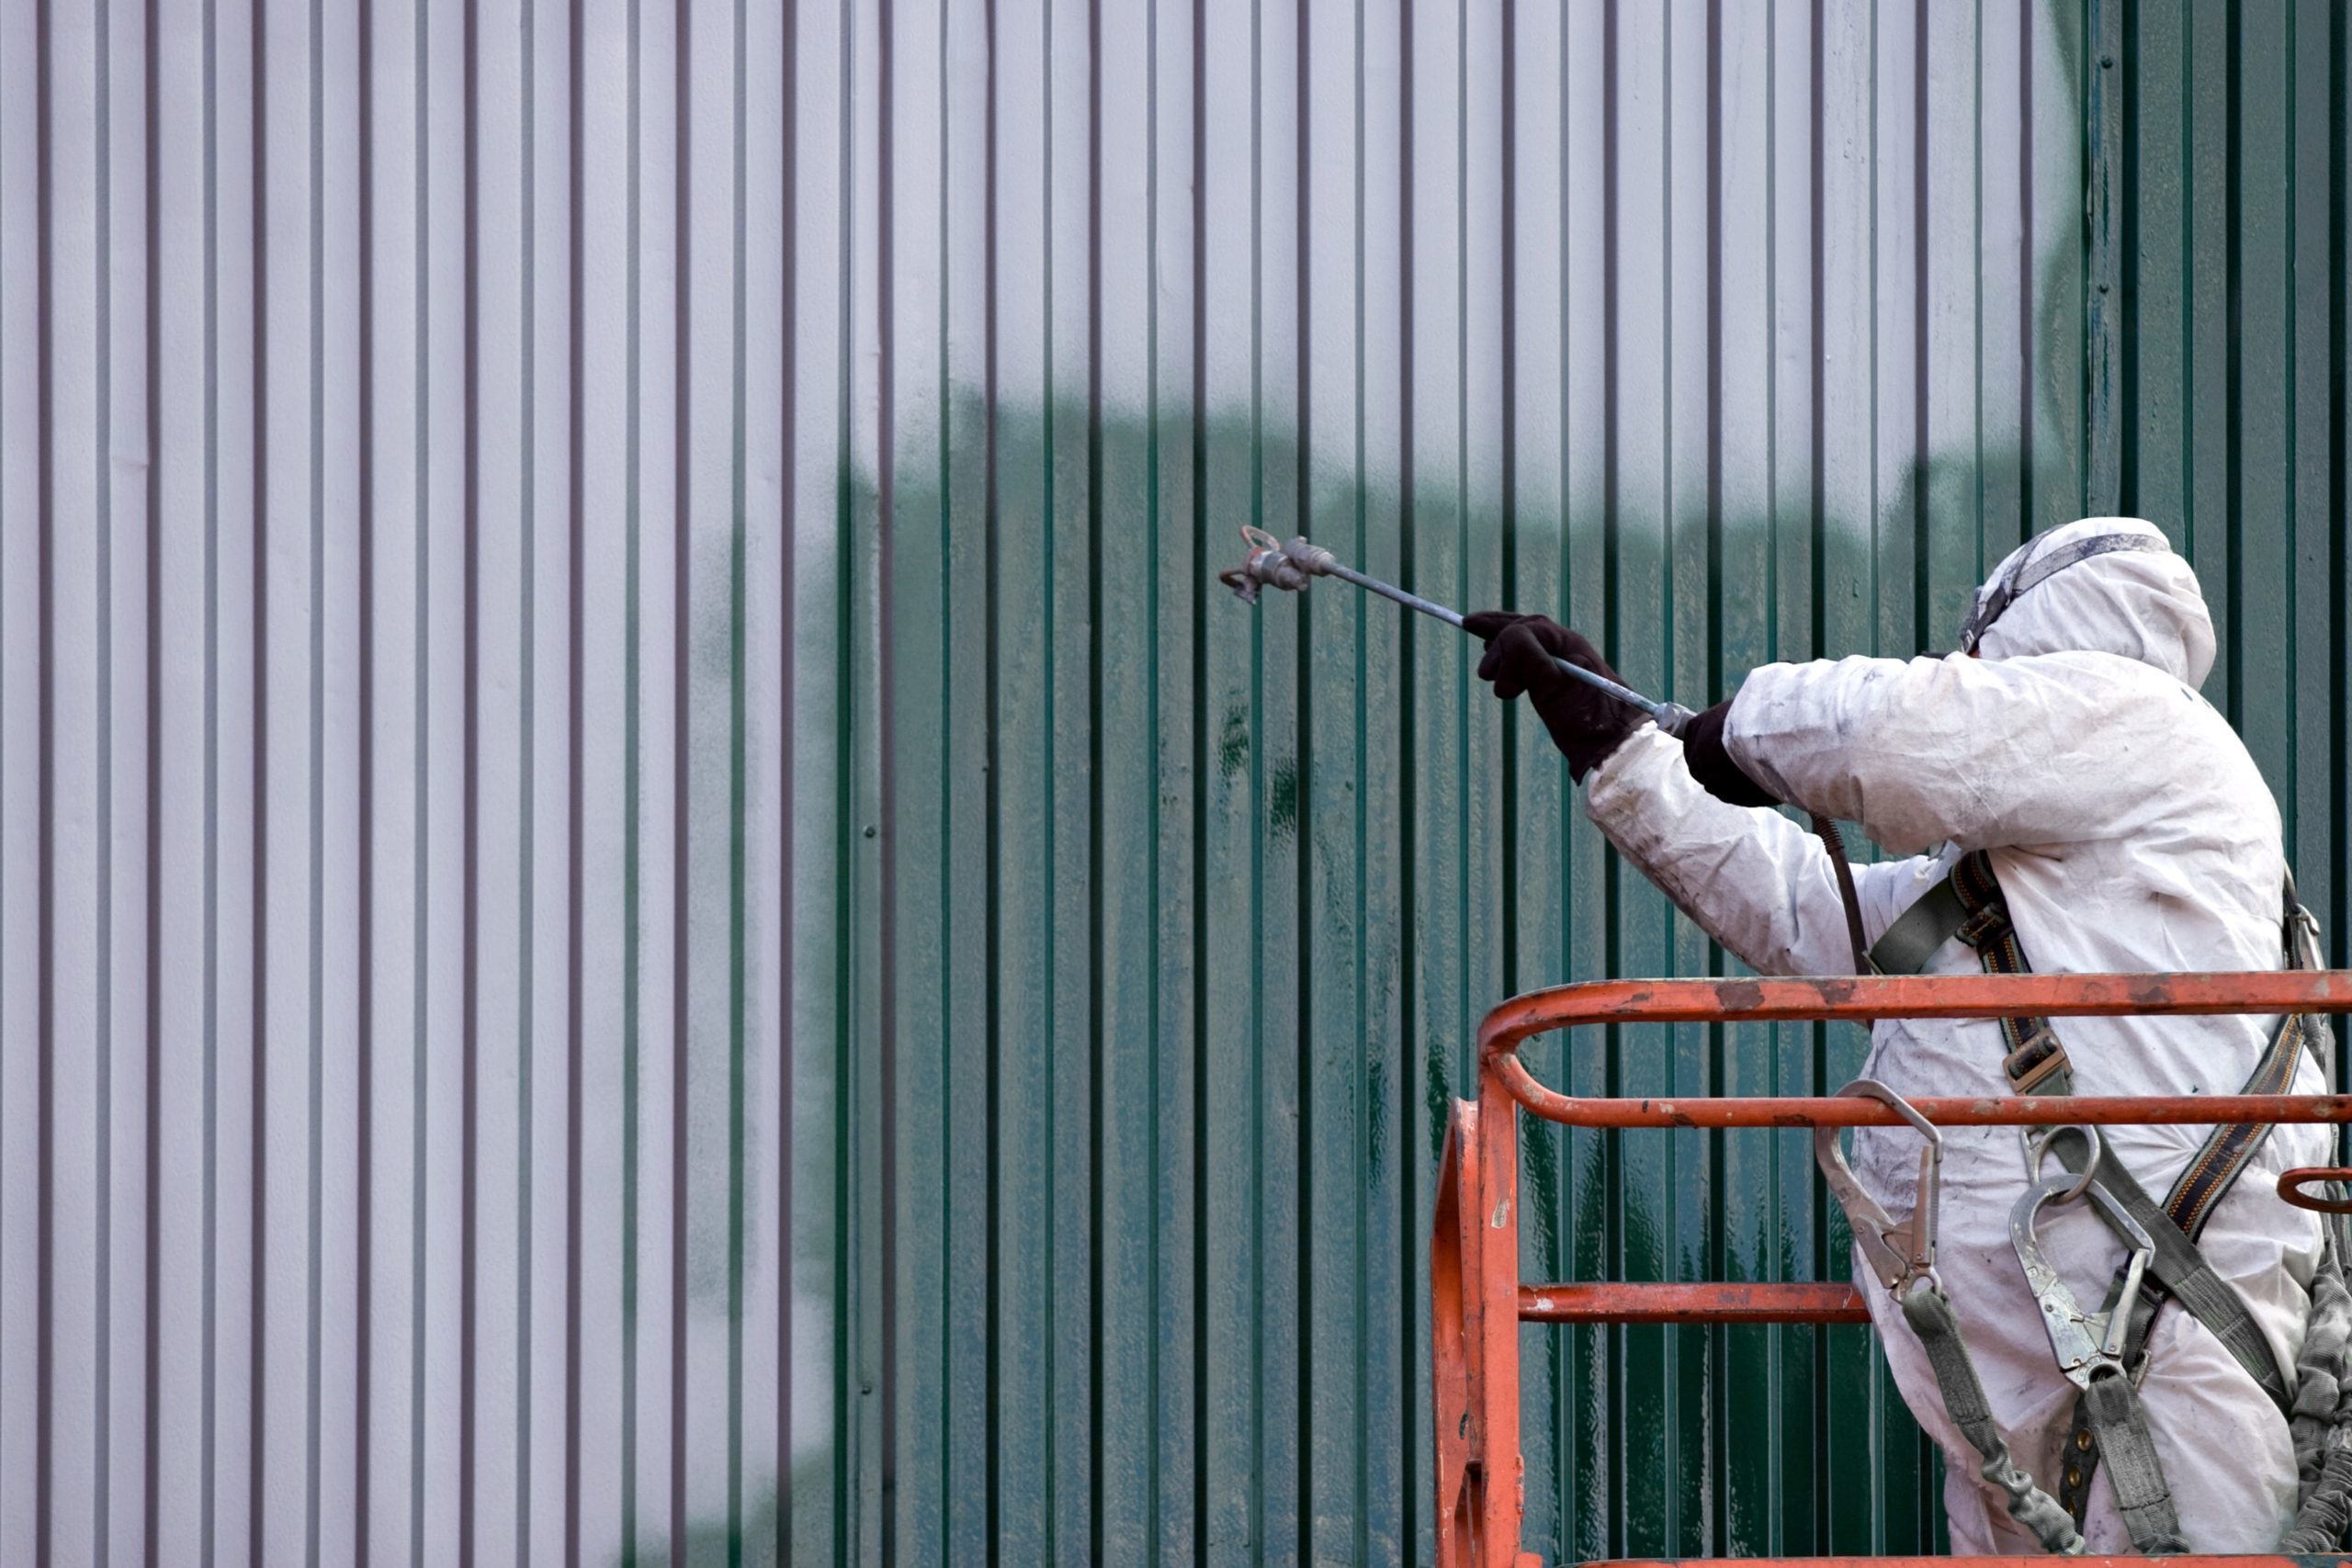
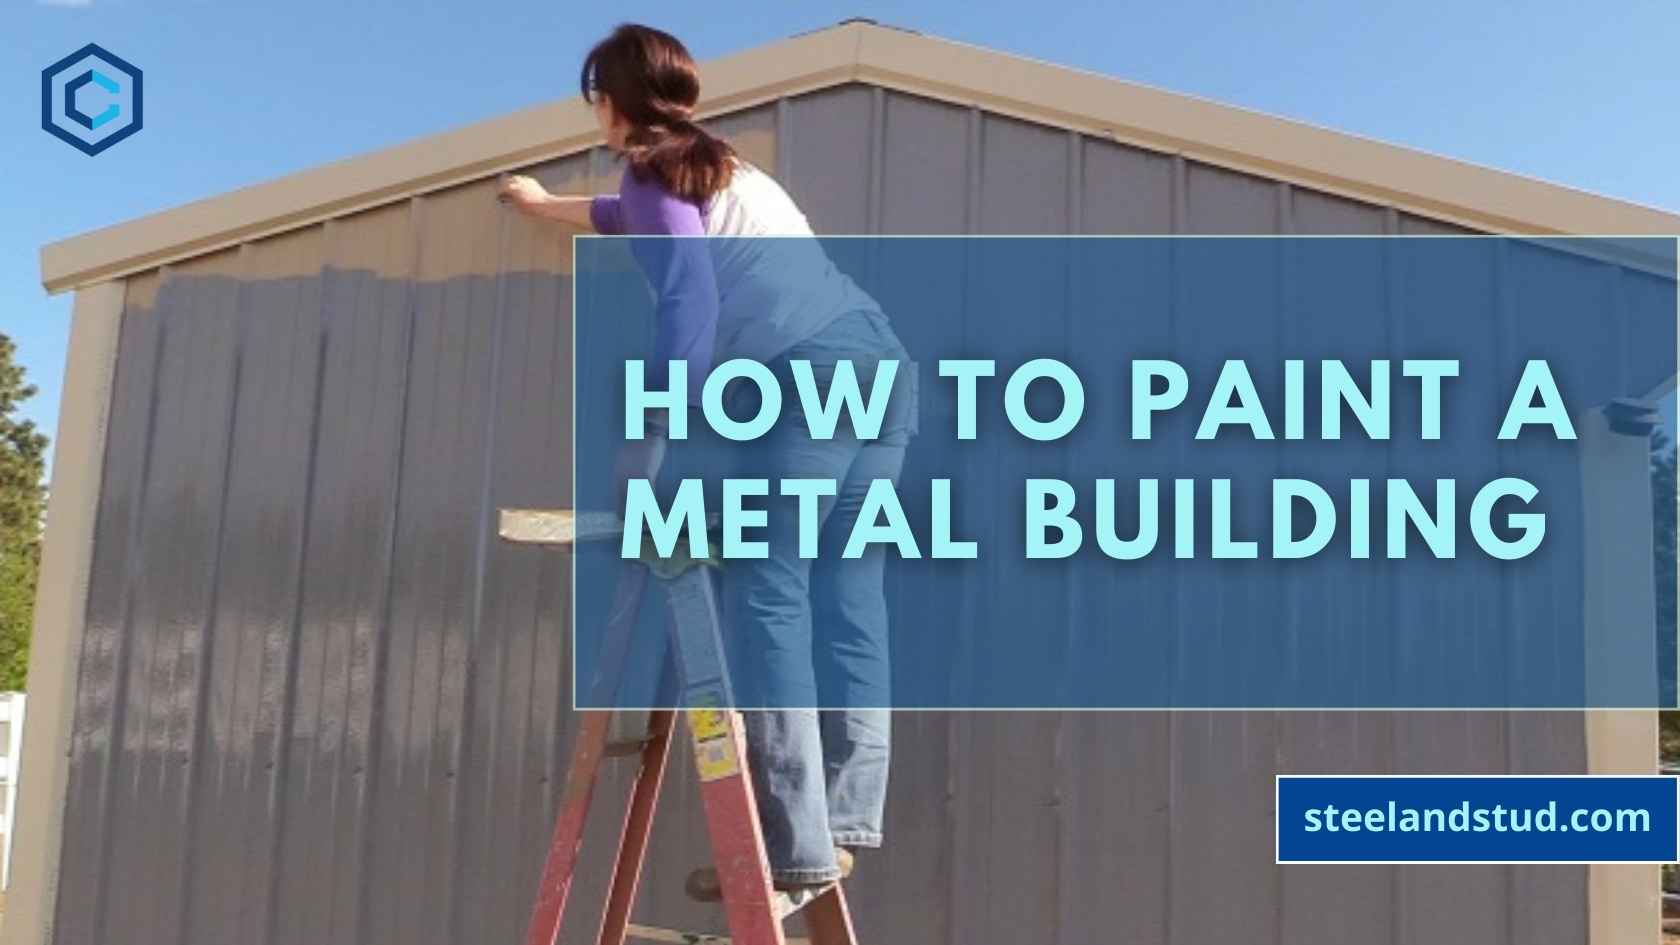
You've got your primer on, it's dry. You've got your beautiful new paint. It's time to make that metal building look its absolute best. You can use a brush for smaller areas, trim, and corners. A roller is great for larger, flat surfaces. And if you're feeling fancy and have a lot of area to cover, a paint sprayer can be a real time-saver, but it requires a bit more practice and masking to get right.
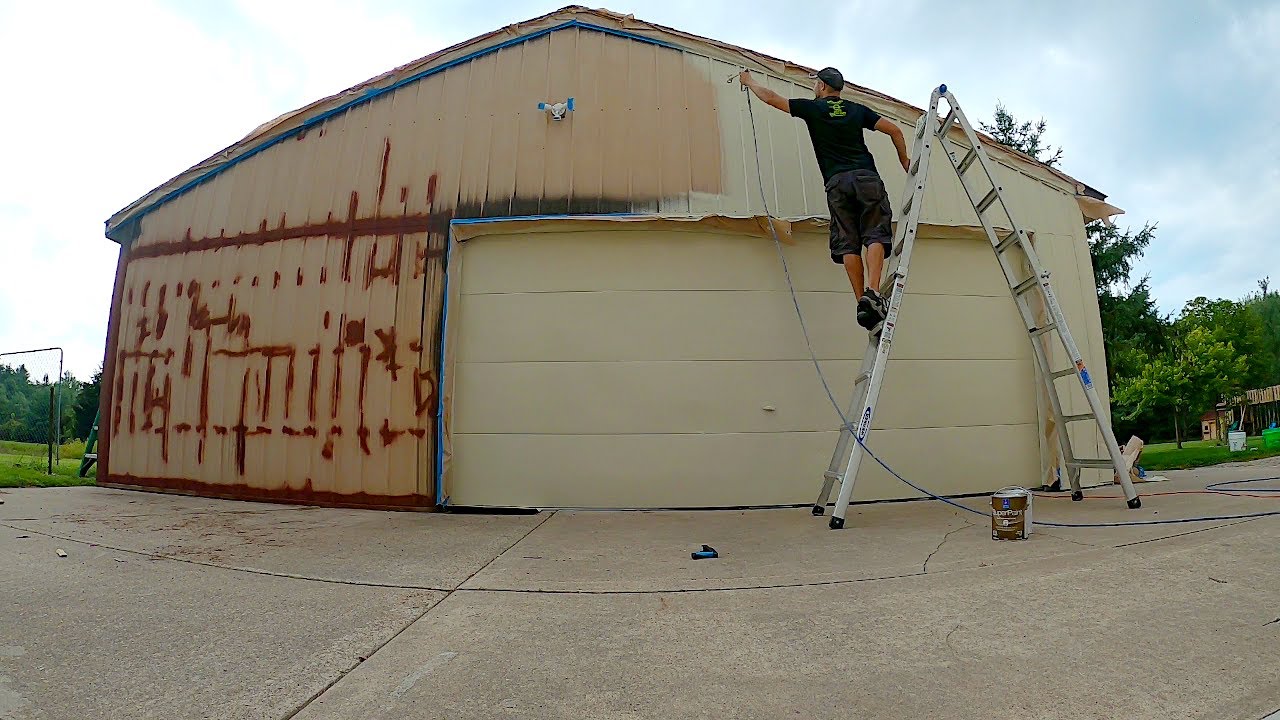
Start with the top of the building and work your way down. This way, if you drip any paint, you won't be ruining a perfectly good lower section. Think of it like a waterfall of awesome color. Ah, poetic!
Apply the paint in thin, even coats. Seriously, resist the urge to slather it on thick. Multiple thin coats are always better than one thick, gloppy coat. It will dry more evenly, and it will be much more durable. You'll probably need at least two coats for good coverage, maybe even three if you're going over a very dark color with a light one, or vice-versa.
When you're using a roller, overlap your strokes slightly. This helps avoid those dreaded "lap marks" where you can see where one stroke ended and another began. Nobody wants those.
And what about the weather? This is crucial! Don't paint when it's too hot, too cold, too humid, or if rain is in the forecast. Check the paint can for recommended temperature ranges. Usually, somewhere between 50 and 85 degrees Fahrenheit is ideal. Too hot, and the paint can dry too quickly, leading to brush marks. Too cold, and it won't cure properly. And definitely no rain! You don't want your beautiful new paint job getting washed away before it even dries. Talk about a buzzkill.
Take your time. This isn't a race. Enjoy the process. Put on some music, maybe a podcast. Think of it as a relaxing, productive afternoon. Or at least try to! If you're getting frustrated, take a break. Come back with fresh eyes.
Don't Forget the Details!
We're almost there! Have you painted the doors? The trim? Any windows? These little details can make a big difference. A contrasting color on the trim can really make your main color pop. And painting the door a different shade can give your building a whole new personality. It’s like giving it a little accessory.
If you have any hardware, like hinges or handles, you might want to remove them before painting. Or, if you can't remove them, carefully tape them off to avoid getting paint on them. Once the paint is dry, you can reattach or touch up any areas.
And what about those gutters? If they're metal, they can be painted too! Just make sure they're clean and rust-free. A fresh coat of paint on them can tie the whole look together.
The Aftermath: Admiring Your Work (and Cleaning Up!)
Once you're done with all the painting, it's time for the best part: admiring your handiwork! Step back, squint a little (to get the full effect, obviously), and feel that sense of accomplishment. You did it! You transformed that drab metal building into something… well, something you’re proud of. High five!
Now, don't forget the cleanup. That's almost as important as the prep work. Clean your brushes, rollers, and any paint trays thoroughly. If you used water-based paint, soap and water are usually your best bet. For oil-based paints, you'll need a solvent like mineral spirits. Dispose of any leftover paint and cleaning materials responsibly. Nobody wants a messy garage filled with half-empty cans of paint.
And there you have it! You've successfully painted your metal building. It looks fantastic, it's protected from the elements, and you can finally stop looking at that peeling paint with a sigh. You've basically become a DIY superhero. Go you!
So, the next time you look at that metal structure, you won't just see a building. You'll see your masterpiece. You'll see the fruits of your labor, your decision-making skills, and your willingness to get a little paint on your hands. And isn't that a beautiful thing? Happy painting!