
How To Paint Metal Lawn Chairs

Hey there, DIY superstar! So, you've got those trusty old metal lawn chairs sitting around, looking a little… well, tired? Maybe they've got a touch of rust that’s giving them that "vintage" vibe, or perhaps the original paint job has decided to take a permanent vacation. Whatever the reason, those chairs are begging for a makeover, and guess what? You're just the person to give it to them! Painting metal lawn chairs is actually a super satisfying and surprisingly easy project. Think of it as giving your outdoor seating a much-needed spa day. You don't need to be Michelangelo or have a fancy art studio for this. Just a little elbow grease, some fun colors, and you’ll be kicking back in style in no time.
Before we dive headfirst into the glorious world of spray paint and metal prep (don't worry, it sounds scarier than it is!), let's talk about why you’d even want to do this. First off, it's way cheaper than buying new chairs. Seriously, a few cans of spray paint can revive a whole set for a fraction of the cost. Plus, you get to choose exactly the color you want! Dreaming of a vibrant turquoise to match your garden flowers? Or a sleek, modern matte black? You're the boss! It's also a fantastic way to reduce waste. Instead of tossing perfectly good (but aesthetically challenged) chairs, you're giving them a new lease on life. So, you’re basically a superhero for your patio and the planet. High five!
First Things First: Gathering Your Goodies
Alright, before we get our hands dirty (or, more accurately, paint our hands), let's make sure you have all your supplies. It’s like packing for a mini-adventure, but instead of a mountain, it’s your backyard. You wouldn't go camping without a tent, right? So, let’s gather our essentials!
What you'll need:
- Drop cloths or old newspapers: You're going to want to protect your grass, patio, or whatever surface you're working on. Think of it as a fancy disposable tablecloth for your paint party.
- Wire brush or sandpaper: This is for tackling any rust or loose paint. We want a smooth canvas, not a textured masterpiece of decay.
- Metal primer: This is your secret weapon against rust and helps the paint stick like a super-glued dream. Don't skip this step! It's the difference between a paint job that lasts and one that flakes off faster than a bad toupee in a hurricane.
- Metal spray paint: Choose a paint specifically designed for metal and outdoor use. They come in a gazillion colors, so have fun with this!
- Gloves: Because nobody likes having paint-stained fingers for a week.
- Mask: Especially if you're sensitive to fumes or if it's a bit breezy. Safety first, looking fabulous second.
- Safety glasses: Protect those precious peepers from any stray paint droplets.
- A clean rag or tack cloth: For wiping away dust and debris after sanding.
Prep Work: The Not-So-Glamorous, But Utterly Crucial Part
Okay, let’s be real. This is the part where you might be tempted to just grab a can of paint and go for it. Resist that urge! Proper prep work is like flossing your teeth – you might not love it, but it’s essential for a healthy, long-lasting outcome. Trust me on this one.
Step 1: The Great Clean-Up
First, give your chairs a good scrub. Use soap and water to get rid of any dirt, grime, cobwebs (eww!), or bird droppings. If they’re really grimy, a little dish soap should do the trick. Rinse them thoroughly and let them dry completely. You don't want to paint over a damp chair; that’s just inviting trouble and potential mildew. Think of it as washing your face before applying makeup – essential for a flawless finish!

Step 2: Rust and Roughness, Begone!
Now for the fun (or not-so-fun, depending on your outlook) part: rust and old paint removal. If you have any rusty spots, grab your wire brush or sandpaper. You want to scrub away all the loose rust and flaking paint. Really get in there! The goal is to get down to bare metal where the rust is. If there’s a lot of rust, sandpaper might be your best friend. For smaller areas, a wire brush is usually sufficient. The smoother you get it, the better the primer and paint will adhere. It’s like preparing a wall for wallpaper – you wouldn't put it over a bumpy, peeling surface, would you?
If you're using sandpaper, start with a medium grit and then maybe move to a finer grit if needed. Once you've got everything smooth, take your clean rag or tack cloth and wipe down the entire chair to remove all the dust. Seriously, get every last speck. Dust is the arch-nemesis of a good paint job. Imagine a tiny little dust bunny deciding to become part of your new paint layer – not exactly the avant-garde look we’re going for.
Step 3: Priming for Perfection
This is where the magic starts to happen, or at least, where the magic gets prepared to happen. Apply a thin, even coat of metal primer to the entire chair. Make sure you’re in a well-ventilated area – outdoors is ideal. If it’s windy, try to find a spot that’s somewhat sheltered, or wait for a calmer day. You don't want your primer looking like a Jackson Pollock painting made by the wind!
Follow the instructions on your primer can for drying times. Most metal primers dry relatively quickly, but it's always best to let them cure properly. This step is super important because primer acts as a barrier, preventing future rust and giving your topcoat something to cling to. It’s like the sturdy foundation of a house – crucial for its longevity!

Time to Unleash the Color!
Now for the exciting part! The reason you came here – to add some serious pizzazz to your patio furniture. This is where you get to let your personality shine through. Ready to paint?
Step 1: Shake, Rattle, and Roll (the Spray Can)
Before you even think about spraying, shake that can like you mean it. Seriously, shake it for at least a minute or two. You’ll hear the little ball inside rattling around. This mixes the pigment and propellant, which is vital for an even spray. If you don’t shake it enough, you’ll get patchy coverage and weird colors. Nobody wants a chair that looks like it’s been tie-dyed by accident.
Step 2: The First Coat – Light and Easy
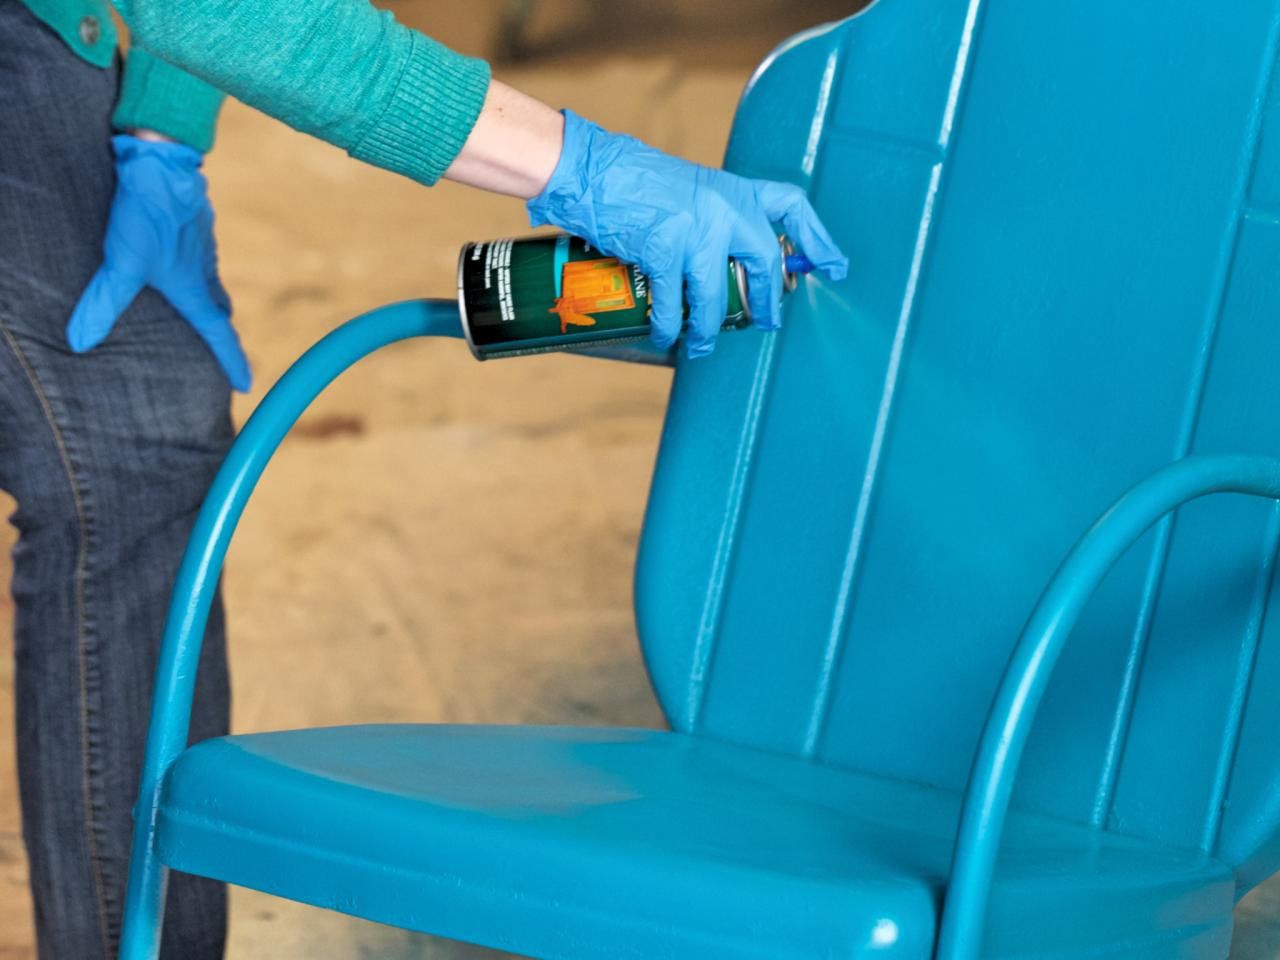
Hold the can about 10-12 inches away from the chair. Start spraying in a smooth, even motion, moving back and forth. Don't try to cover everything in one go! That’s a recipe for drips. Instead, apply several thin coats. Think of it like building up layers of delicious frosting on a cake – you do it gradually for the best result.
Work your way around the chair, making sure to get all the nooks and crannies. If you’re painting a chair with intricate details or a lot of curves, you might need to adjust your angle and distance to ensure even coverage. Keep the can moving at all times while spraying; stopping in one spot will create an unsightly blob. Patience, my friend, is a virtue when it comes to spray painting!
Step 3: Drying Between Coats – The Waiting Game
This is where that “patience” thing really comes into play. Let the first coat dry completely according to the paint can’s instructions. This usually means at least 15-30 minutes, but can be longer depending on humidity and temperature. Trying to apply a second coat over wet paint is like trying to put on a second pair of socks while the first pair is still soggy – it’s just going to make a mess.
Once the first coat is dry to the touch, apply a second thin coat, using the same technique as before. Again, avoid heavy coats. You’re aiming for a smooth, consistent finish. You might need anywhere from two to four coats, depending on the color you’re using and how well it covers. Darker colors often require fewer coats than lighter ones.
Step 4: The Final Flourish
After your final coat has been applied, admire your work from a distance. You've done it! Now, let the chairs dry thoroughly. This might take a few hours, or even overnight, depending on the paint and conditions. Resist the urge to use them too soon; you don’t want to leave permanent fingerprints on your freshly painted masterpieces!
Once they are completely dry and cured (check the paint can for curing times – sometimes it takes a few days for the paint to reach its full hardness), you can move them back to their rightful place on your patio or in your garden. Be gentle with them for the first week or so, just to be safe.
Optional: Adding Some Extra Flair
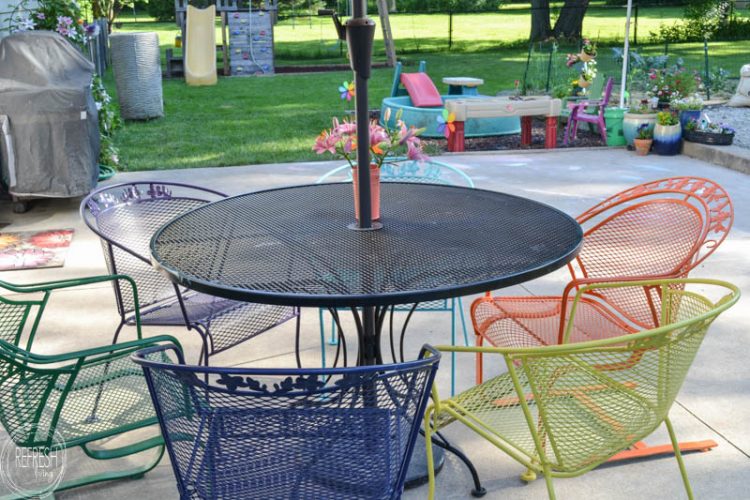
Feeling inspired? You can get even more creative with your lawn chairs! How about painting them in alternating colors for a fun, eclectic look? Or maybe stenciling a pattern onto them after the base coat is dry? You could even add a clear sealant for an extra layer of protection and a glossy finish. The possibilities are truly endless, limited only by your imagination (and maybe how many cans of spray paint you’re willing to buy!).
And hey, if you mess up, don’t sweat it! That’s the beauty of spray paint – you can often just sand down the offending area and reapply. It’s all part of the learning process, and honestly, a little imperfection can add character. Your chairs are going to be so much more interesting than their former selves.
And Voilà! Your Stunning New Chairs!
There you have it! You’ve transformed those tired, old metal lawn chairs into vibrant, stylish pieces of outdoor furniture. Look at you, rocking this DIY project! You’ve saved money, you’ve been creative, and you’ve made your outdoor space a whole lot more inviting. Imagine yourself now, with a cool drink in hand, sinking into your beautifully painted chair, the sun on your face, the gentle breeze… all thanks to your own two hands and a little bit of paint. You’re not just updating your patio; you’re crafting moments of pure relaxation and enjoyment. So go ahead, kick back, and soak in the well-deserved pride. Your chairs are ready for their close-up, and so are you!