
How To Plant Tulips In A Container
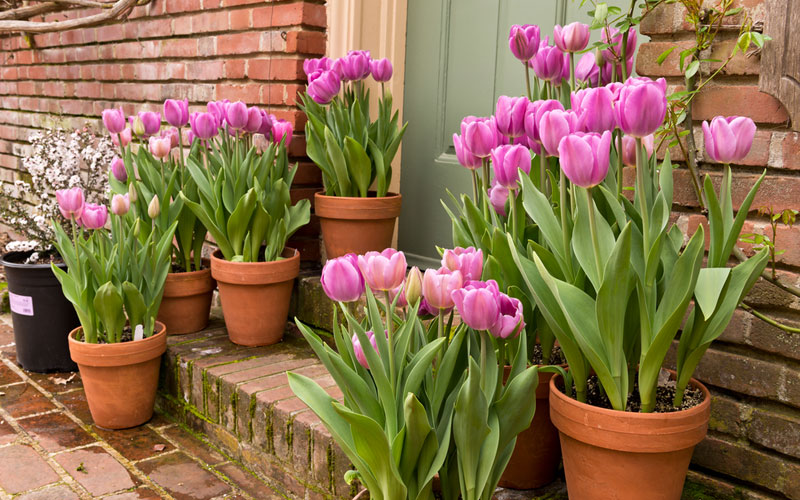
There’s something undeniably joyful about tulips. They’re like little bursts of spring happiness, popping up in vibrant colors after a long, gray winter. And guess what? You don’t need acres of garden to enjoy them. Container planting is your new best friend, bringing that cheerful tulip energy right to your doorstep, balcony, or even a sunny windowsill. Think of it as your personal mini-spring festival, curated by you!
So, how do we go from a humble bulb to a breathtaking display of floral elegance? It's simpler than you might think, and honestly, a whole lot of fun. Let's dive into the world of container tulips, where a little bit of soil, some bulbs, and a dash of patience can create something truly magical.
Your Container Canvas: Choosing the Right Pot
First things first, let's talk about the stage for our tulip stars. Your container is crucial. You want something that’s not too small, allowing those roots to spread and breathe. A general rule of thumb is to go for pots that are at least 6-8 inches deep. This depth is important for insulation, protecting the bulbs from extreme temperature fluctuations, especially when winter's chill really bites.
Material matters too. Terra cotta pots look lovely and are porous, which is great for drainage, but they can dry out quickly. Plastic pots retain moisture better, which can be a plus in drier climates. Metal pots? They can get super hot in the sun, so they’re probably best avoided unless you’re placing them in a very shady spot. And don't forget drainage holes! Seriously, no drainage means soggy bulbs, and soggy bulbs mean sad, rotten tulip dreams.
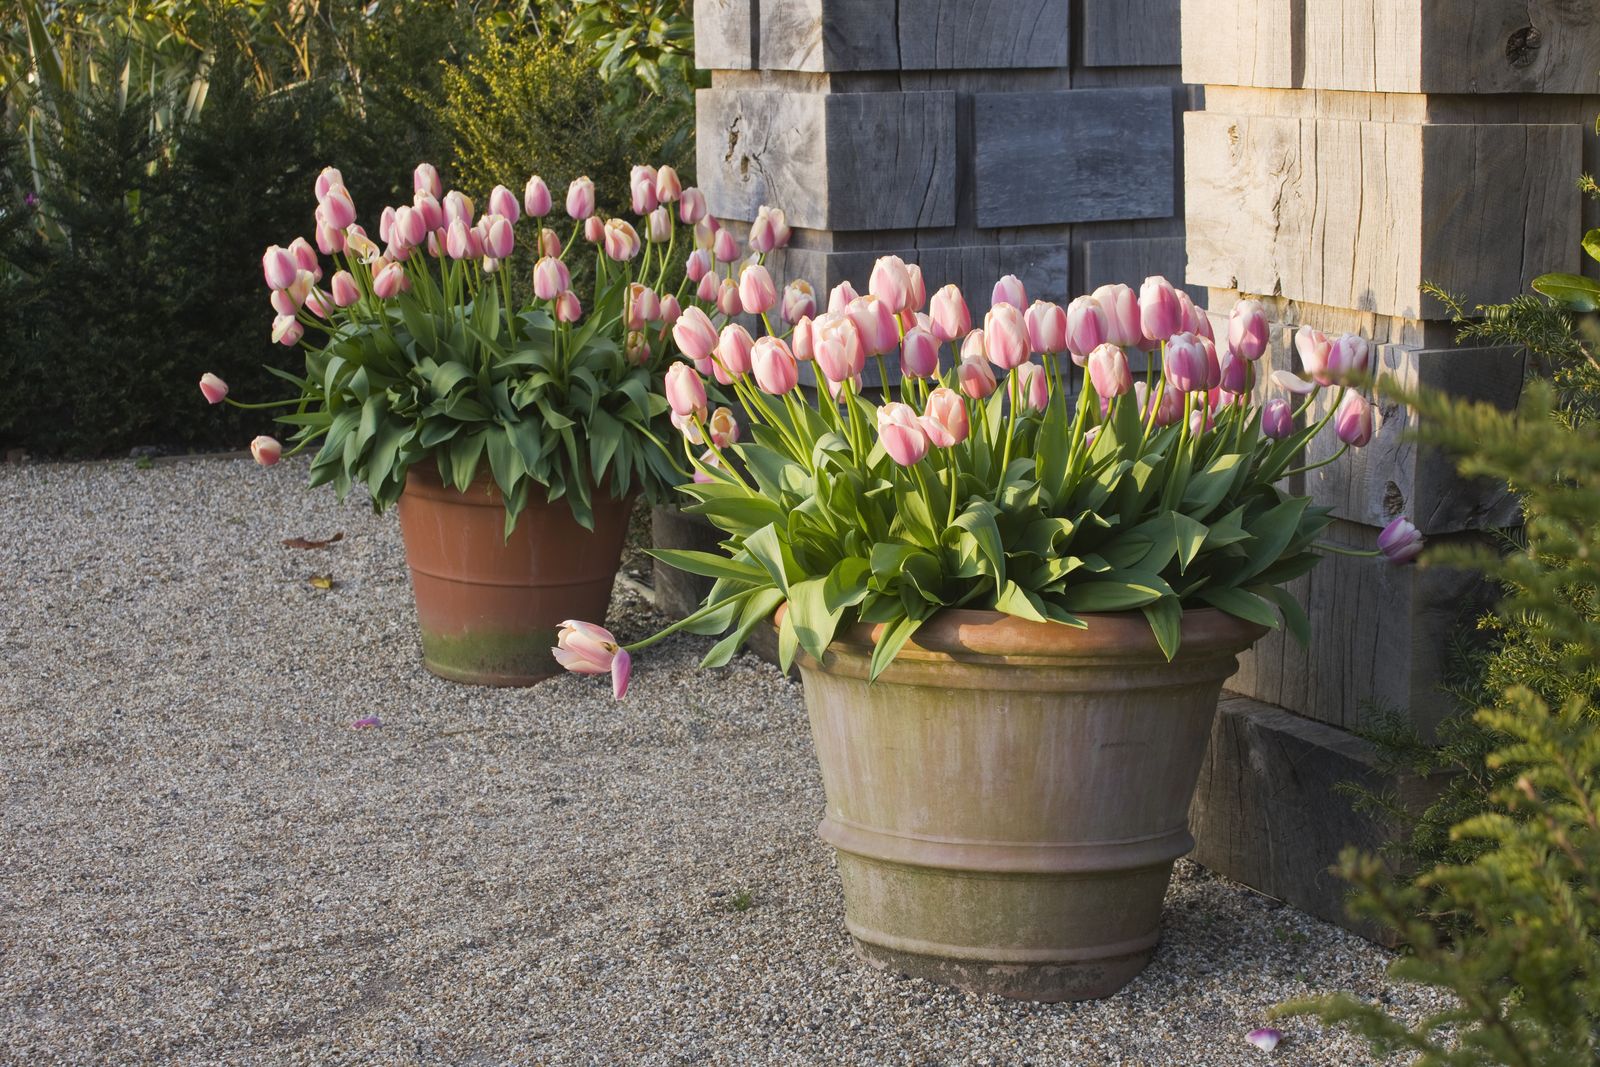
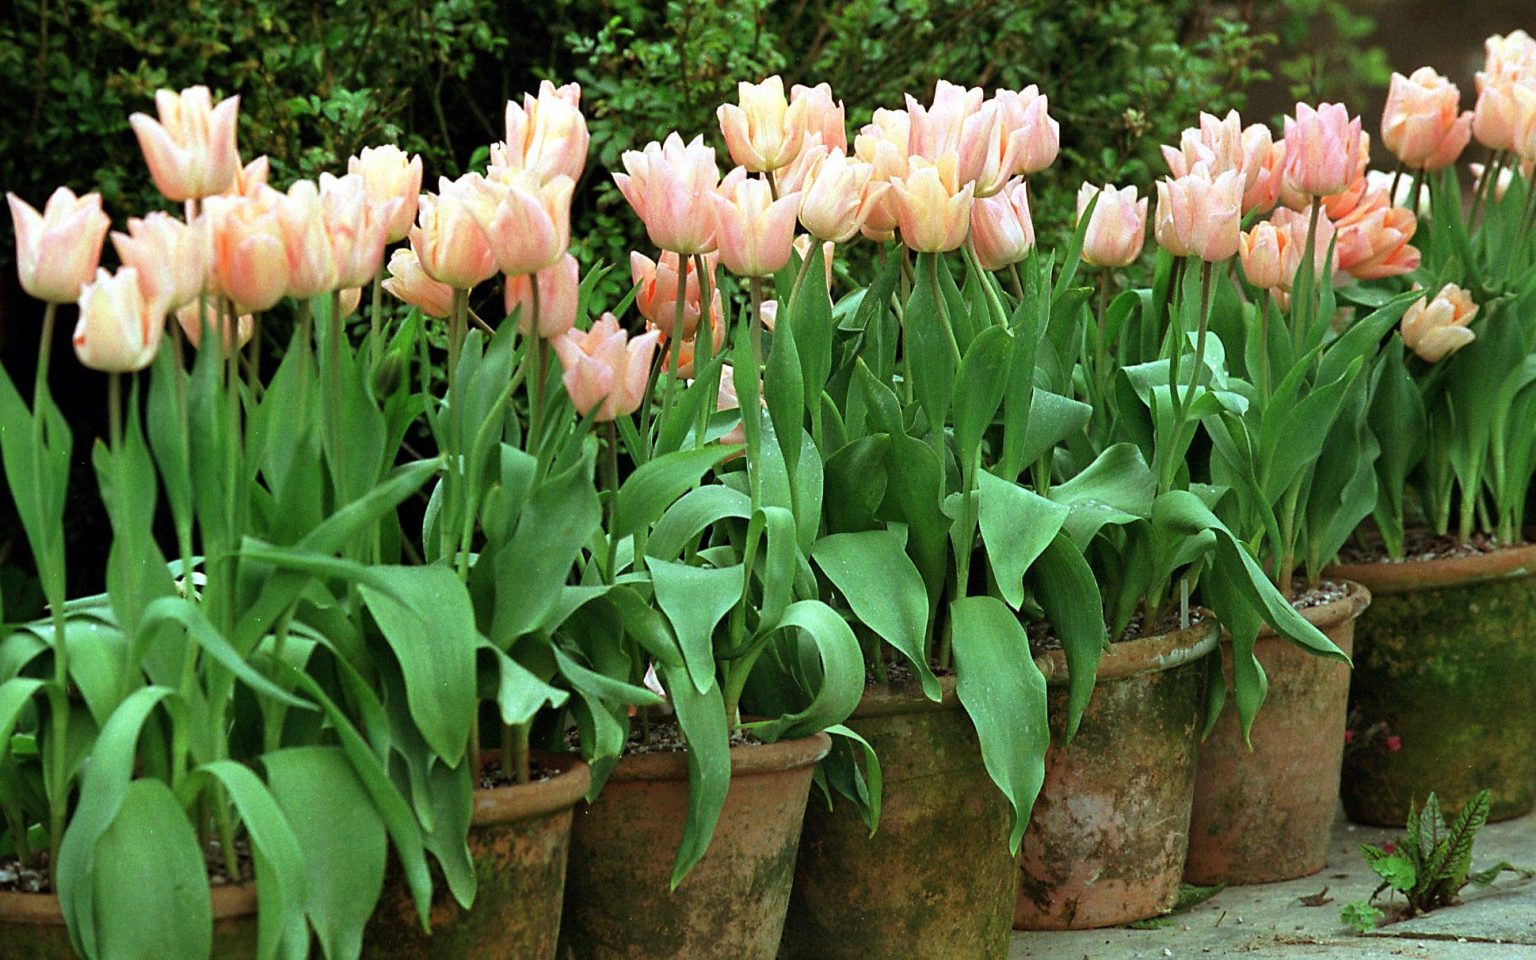
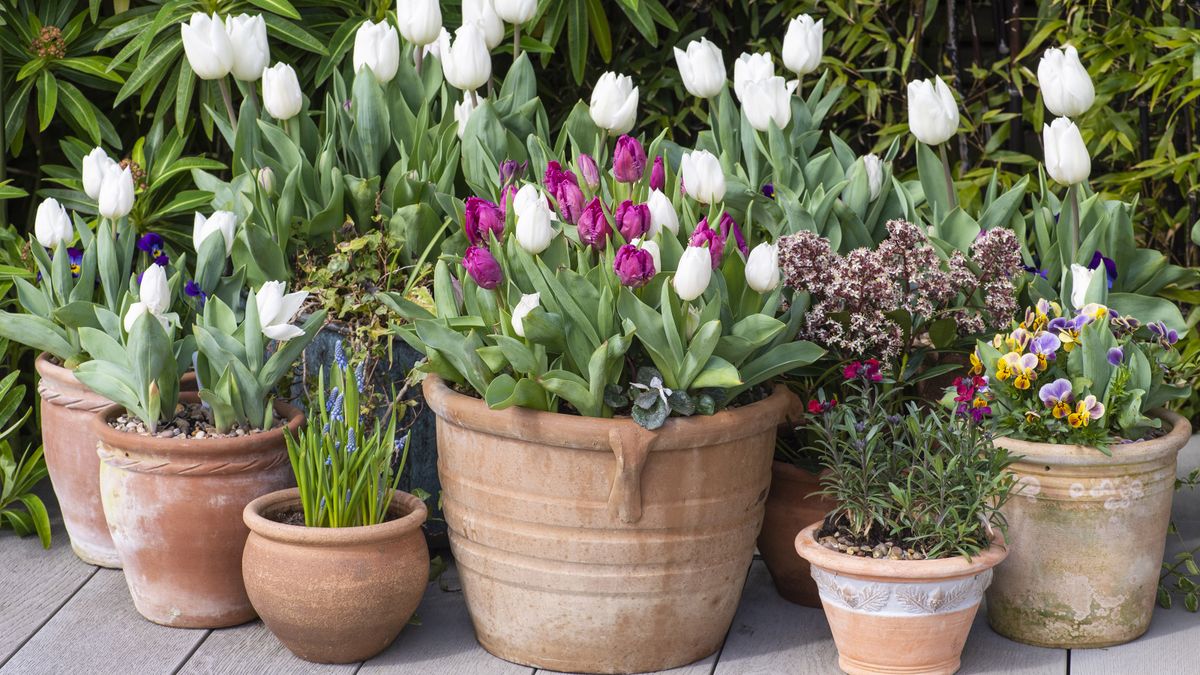
For a real magazine-worthy look, consider grouping a few pots together. This creates a more impactful display. You can also play with different pot sizes and textures. Imagine a rustic wooden planter next to a sleek, modern ceramic pot – it’s all about creating your unique botanical vignette.
The Dirt on Soil: What Your Tulips Crave
Now for the foundation: the soil. Forget that heavy garden dirt. Tulips, like most bulbs, absolutely hate sitting in soggy, compacted soil. They need something that drains well, offering them a cozy, well-aerated environment.
Your best bet is a high-quality potting mix. You can buy this at any garden center. Look for mixes that are lightweight and contain ingredients like perlite or vermiculite, which are specifically designed to improve drainage and aeration. If you’re feeling a bit more adventurous, you can create your own blend. A good starting point is 1 part compost, 1 part peat moss or coco coir, and 1 part perlite or coarse sand.
Mixing your own soil is a bit like whipping up a secret recipe. It gives you control over the quality and ensures your little bulb buddies are getting the best possible start. Plus, the act of getting your hands in the dirt? Pure therapeutic bliss. It’s a moment to disconnect from the digital world and reconnect with something real, something grounding.
Bulb Bonanza: Picking Your Tulip Stars
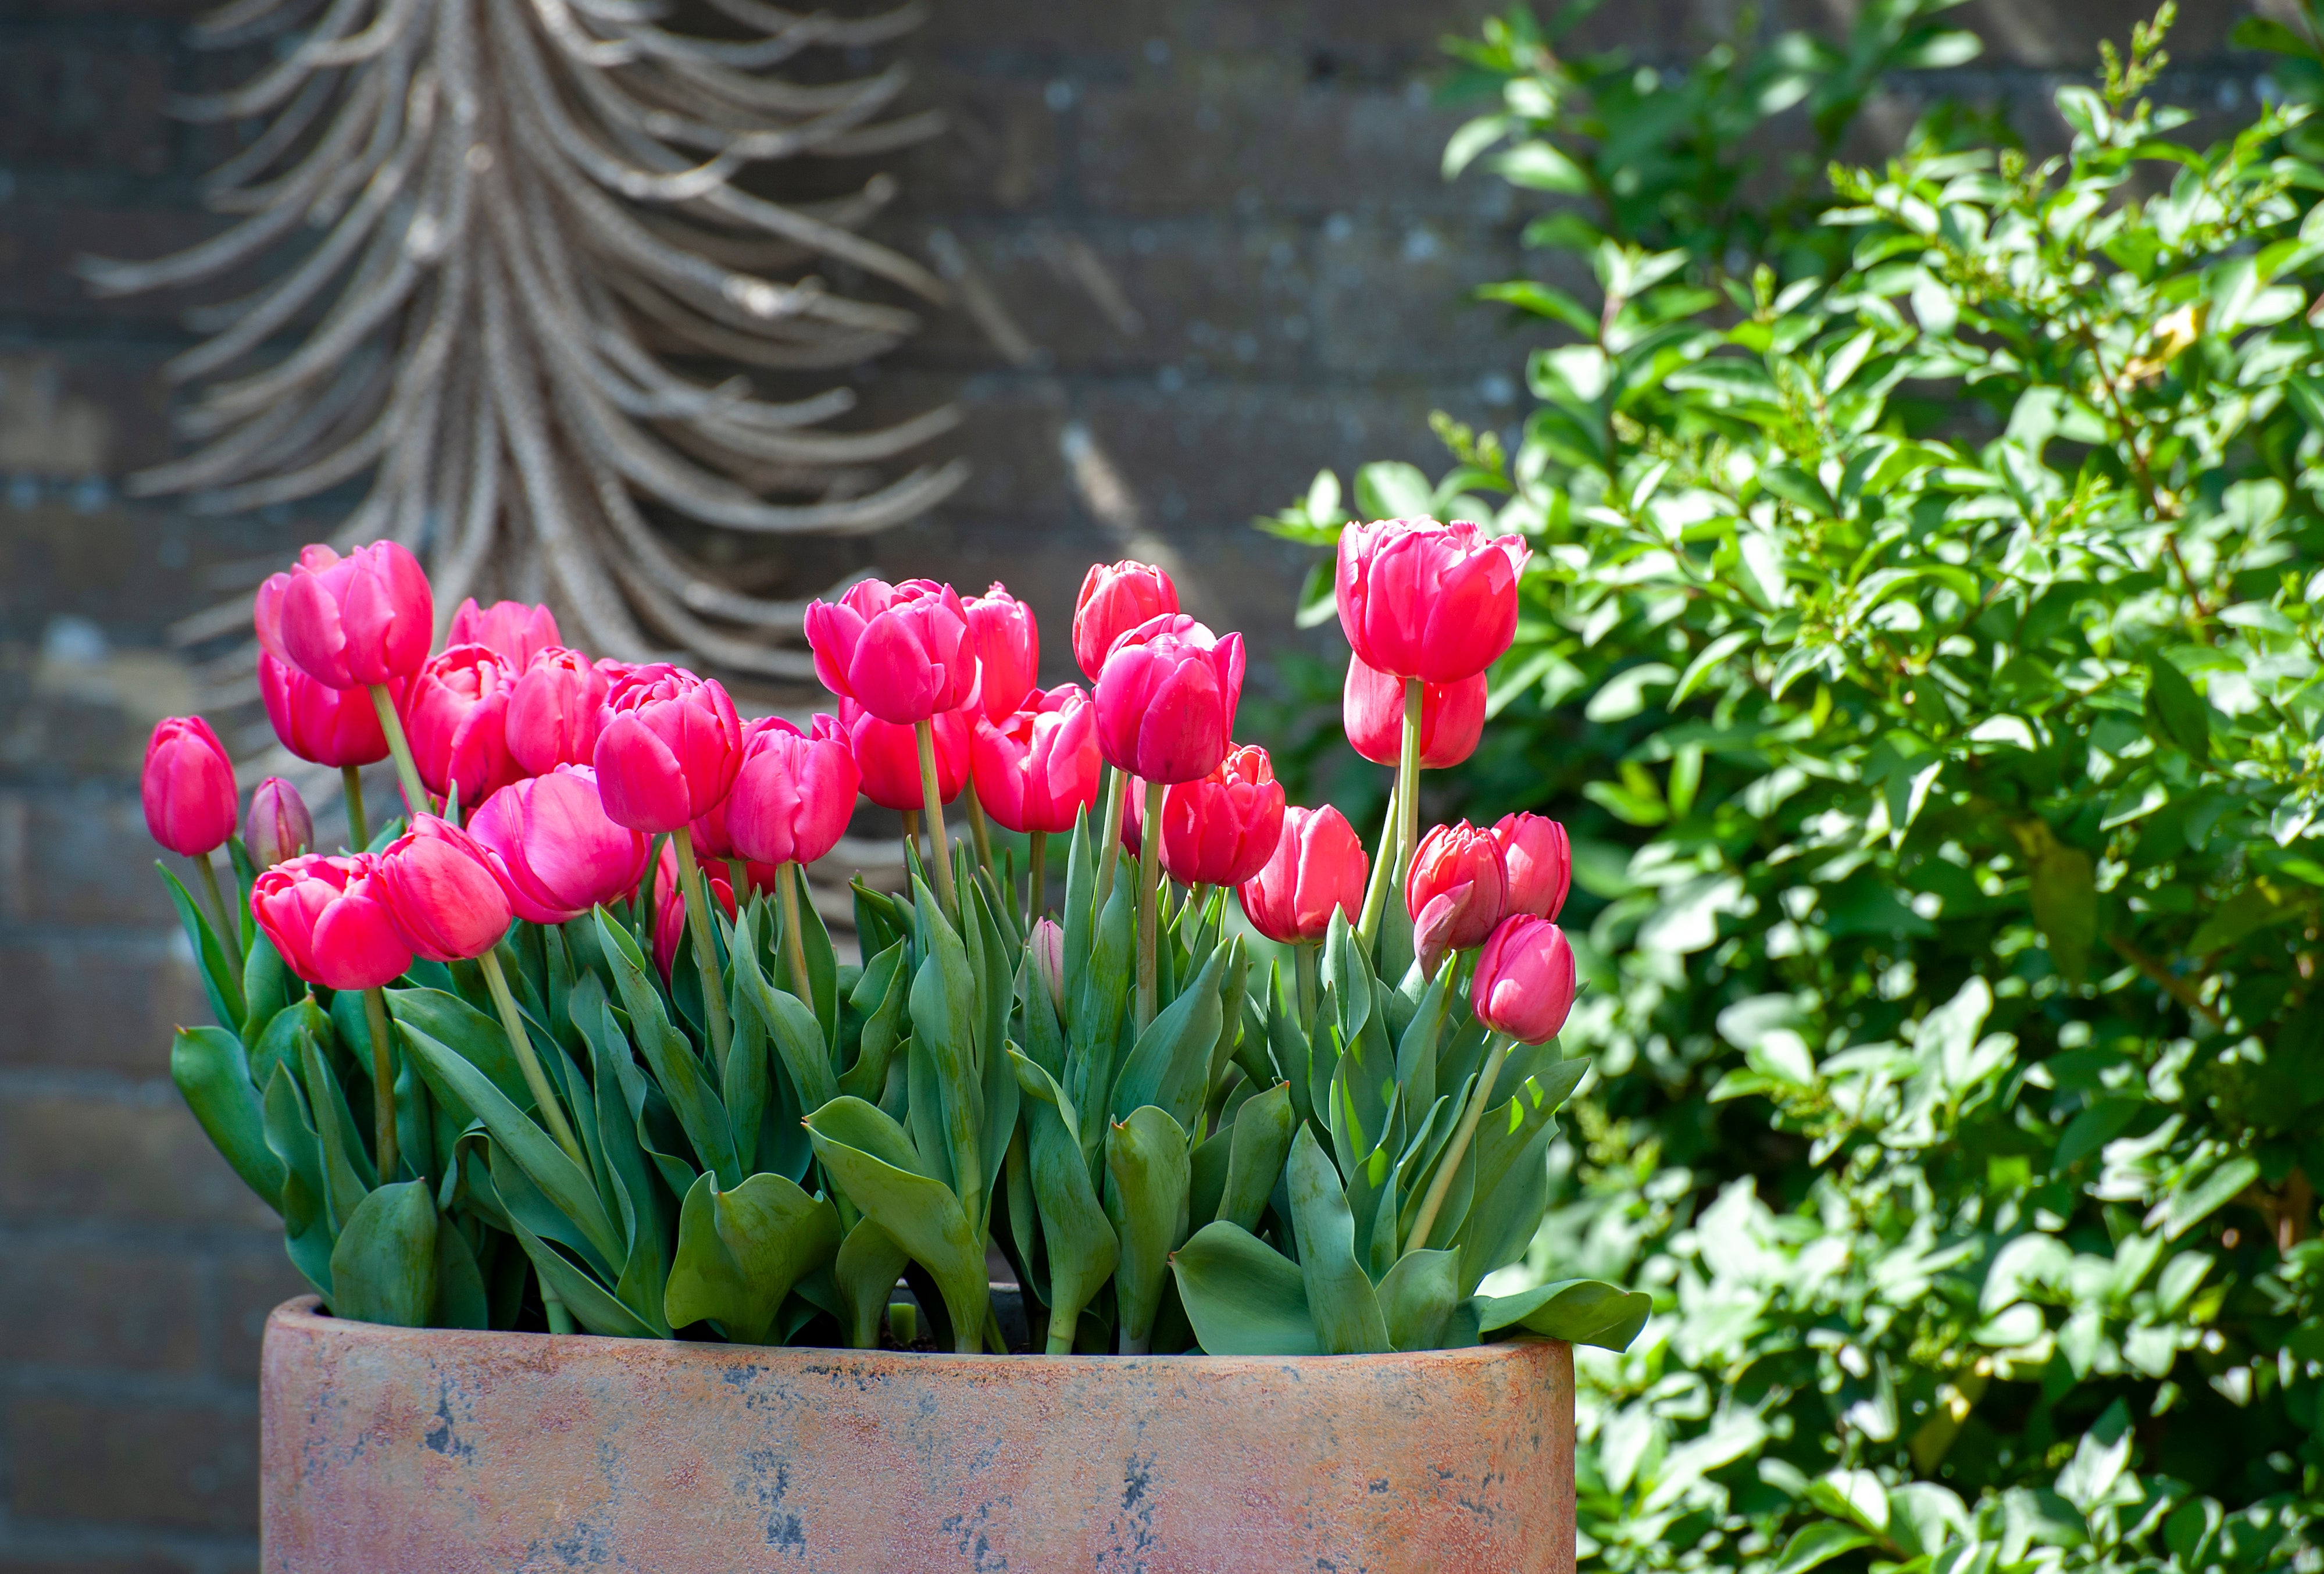
This is where the fun really begins! Choosing your tulip bulbs is like picking out your favorite colors for a masterpiece. There are thousands of varieties, from the classic goblet-shaped Darwin Hybrids to the frilly, exotic Parrot tulips, and the elegant Lily-flowered varieties. Think about the look you want to achieve. Are you going for a bold, vibrant statement with fiery reds and oranges? Or perhaps a sophisticated, romantic vibe with soft pinks and whites?
Consider the bloom times too. Some tulips bloom earlier in spring, while others hold out a bit longer. Planting a mix can extend your blooming season, giving you more bang for your buck – and more floral beauty to admire.
When you’re at the garden center or browsing online, look for firm, plump bulbs. They should feel heavy for their size and have no signs of mold or soft spots. Avoid bulbs that are shriveled or have broken papery skins. These are the ones that have been through too much and are unlikely to put on a good show.
A little pro-tip: Plant in odd numbers. Groups of three, five, or seven bulbs often look more natural and pleasing to the eye than even numbers. It’s a subtle design trick that makes a big difference.
The Layering Technique: More is More (and Better!)
Now, for the secret weapon of container tulip planting: the layering technique. This is particularly useful if you have deeper pots or want to create a stunning, multi-level display. Think of it as a floral lasagna, but much prettier and tastier for the eyes!
Start by filling your container with about a third of your potting mix. Then, place your first layer of bulbs. These should be your earliest blooming varieties, or the largest bulbs. Space them out according to the bulb's packaging instructions, usually about 4-6 inches apart. Make sure the pointy end of the bulb is facing upwards!
Add another layer of soil, enough to cover the first set of bulbs. Then, place your second layer of bulbs. You can use a different variety here, perhaps one that blooms a bit later, or smaller bulbs if you’re using them. Continue layering soil and bulbs until you reach about an inch from the rim of your pot. The general rule is to plant bulbs so that their tips are about 6 inches deep.
Why layer? It’s brilliant for several reasons. Firstly, it maximizes the number of bulbs you can fit into one container, creating a lush, abundant display. Secondly, it helps stagger the bloom times, so you have a succession of flowers rather than one big, short-lived burst. It’s a clever way to extend the visual impact of your efforts.
Planting Day! Getting Your Hands Dirty
This is the moment of truth! Grab your chosen pot, your glorious potting mix, and your beautiful bulbs. It’s a great activity to do on a crisp autumn afternoon, maybe with a warm drink in hand and some upbeat music playing. Embrace the tactile nature of it; it's wonderfully grounding.
Fill your container with your well-draining potting mix, leaving enough space for the bulbs. Remember that pointy end up, flat end down rule – it’s the botanical equivalent of a ‘this way up’ sticker.
Space your bulbs according to the planting recommendations on their packaging. Generally, you want about 4-6 inches between each bulb. Overcrowding can lead to competition for nutrients and water, which isn't ideal. However, for a truly spectacular display in a container, you can plant them a little closer than you would in the ground. Aim for them to be almost touching, as long as they’re not squished!
Once your bulbs are nestled snugly in their earthy beds, fill the rest of the container with potting mix, leaving about an inch of space from the rim. This space is crucial for watering. You don’t want water overflowing and washing away your precious soil.
Give your newly planted bulbs a good, thorough watering. This helps settle the soil and encourages root development. You want the soil to be moist, but not waterlogged. Think of it as giving them a refreshing drink after their journey.
The Autumn Ritual: Watering and Winter Care
After planting, the work isn’t entirely done, but it becomes a much more relaxed affair. Your main job now is to ensure the soil stays consistently moist throughout the autumn and into winter. This is a critical phase for bulb development.
Don’t drown them, but don’t let them dry out completely either. A good rule of thumb is to water when the top inch of soil feels dry to the touch. This might mean watering once a week, or less frequently if you have a lot of rain.
As winter approaches, you’ll want to protect your container. While the soil provides some insulation, extreme cold can still be a problem. If you live in an area with very harsh winters, consider moving your container to a sheltered spot, like against a wall or under an eave. You can also add a layer of mulch, like straw or wood chips, on top of the soil for extra protection.
Some people even wrap their containers in burlap or old blankets during the coldest spells. It might not be the most aesthetically pleasing, but it’s a practical way to keep your bulbs happy and healthy through the frost. Imagine your container cozying up for a long winter’s nap.
Spring Awakening: The Grand Reveal!
And then, the magic happens. As the days lengthen and the earth begins to thaw, you’ll start to see tiny green shoots emerging from the soil. This is your cue! Your tulips are waking up, ready to put on their show.
Continue to water them regularly as they grow, especially during dry spells. Once they start to bud, you can give them a dose of liquid fertilizer formulated for blooming plants. This will give them an extra boost to produce those stunning, vibrant flowers.
Watching those buds unfurl is one of the most satisfying moments in gardening. It’s a reward for your patience and care, a tangible symbol of nature’s resilience and beauty. And because you planted them in a container, you can move them around to catch the best light or to brighten up a particular spot. Imagine bringing a pot of glorious tulips inside to grace your kitchen table or a sunny corner of your living room.
Beyond the Bloom: What Happens Next?
Once your tulips have finished blooming, resist the urge to immediately cut back the foliage. Those green leaves are still working hard, gathering energy to store in the bulb for next year’s spectacular show. Let the foliage yellow and die back naturally.
You can then choose to leave the bulbs in the container, especially if it’s a large one and you’ve got good drainage. Water them occasionally throughout the summer. Alternatively, you can carefully dig them up, let them dry, and store them in a cool, dark, dry place until planting time in the fall.
Leaving them in the pot can be easier, especially if you have limited space. Just make sure the soil is well-drained over the summer to prevent rot. It’s like tucking them away for a summer siesta, ready to be revived when the autumn chill returns.
A Little Bit of Tulip Trivia for Your Inner Geek
Did you know that tulips were once so valuable in the Netherlands that a single bulb could cost as much as a house? This period, in the 17th century, is known as "Tulip Mania" and is considered one of the first recorded speculative bubbles in history. Imagine a world where your flower bulb held more economic power than real estate! It’s a fascinating, albeit slightly bonkers, glimpse into our historical fascination with these beautiful blooms.
Also, the name "tulip" comes from the Turkish word "tulipant," which means turban. When you look at some of the more rounded, slipper-shaped varieties, you can kind of see why!
And for the color enthusiasts: did you know that for a long time, pure yellow tulips were associated with despair, while red ones symbolized eternal love? The symbolism of flowers has always been so rich and layered, adding another dimension to their beauty.
These little nuggets of information make tending to your tulips even more fun. You’re not just planting flowers; you’re connecting with centuries of history, culture, and human fascination.
The Joy of the Small Things
Planting tulips in containers is more than just a gardening task; it’s an invitation to slow down, to engage with nature, and to create beauty in your everyday life. It’s about finding joy in the small things, like the feel of soil between your fingers, the promise held within a humble bulb, and the eventual explosion of color that greets you after a long winter.
In a world that often feels rushed and chaotic, the simple act of nurturing a plant from bulb to bloom is incredibly grounding. It’s a reminder that good things take time, patience, and a little bit of love. And when those first tulip petals unfurl, it’s a small, perfect victory, a splash of vibrant optimism that can brighten even the most ordinary of days. So go ahead, get your hands dirty, and let the tulip magic unfold.