
How To Polish Scratched Stainless Steel
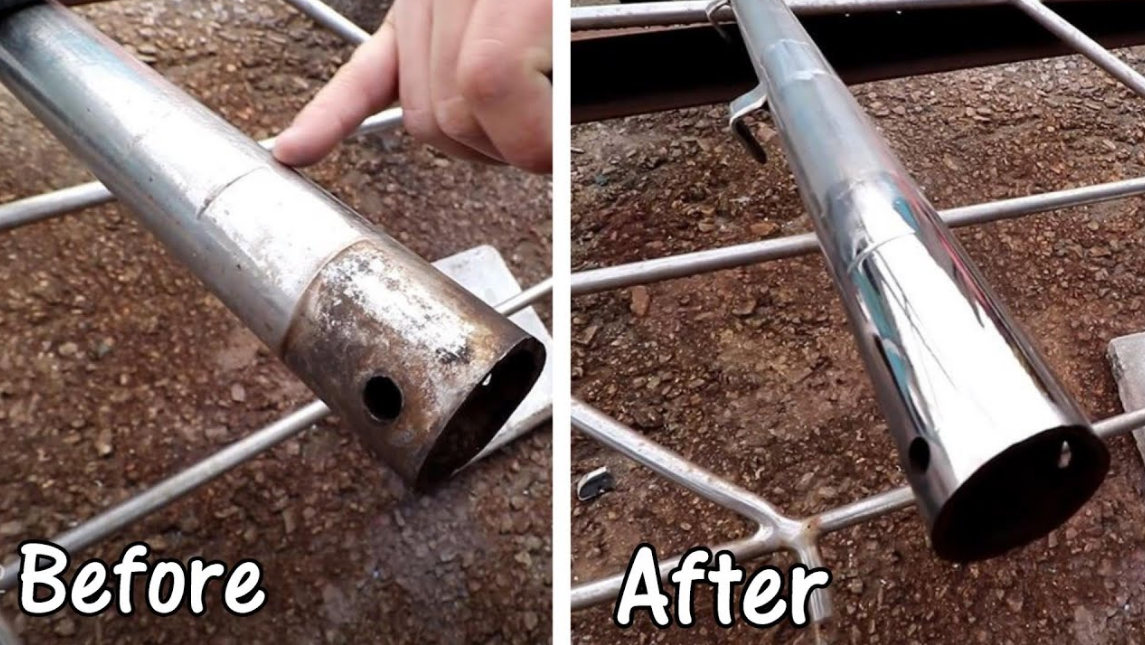
You know that feeling? You've just brought home a beautiful, gleaming stainless steel appliance – maybe a new fridge, a fancy toaster oven, or even just a sleek water bottle. It's practically radiant, reflecting your smiling face back at you. And then, BAM! Life happens. A rogue spoon, a careless scrub pad, a cat with a death wish for shiny things… and suddenly, that perfect surface has a scratch. A tiny, almost imperceptible one, but you know it’s there. And it mocks you. Every. Single. Time. I swear, my new kettle looked like it had survived a bar brawl within 48 hours of purchase. Just a little nick, but suddenly my whole kitchen felt… less than. So, yeah, I get it. The despair. The mild panic. The sudden urge to just cover the whole darn thing with a tea towel. But fear not, fellow lovers of shiny things! Because today, we're diving deep into the surprisingly accessible world of polishing scratched stainless steel.
Let’s be honest, when you think "stainless steel repair," your mind probably goes to some industrial-strength, fume-filled workshop with burly guys wielding power tools. And for some really deep gouges, maybe that’s the route you’ll need to go. But for most of the everyday indignities our stainless steel suffers, there’s a gentler, DIY-friendly approach. It’s not rocket science, and you probably have half the stuff you need already cluttering up your cupboards. We’re talking about bringing back that glorious shine, one scratch at a time.
The Dreaded Scratch: Why It Happens and Why It Matters (To Us, Anyway)
So, why are we so bothered by a little scratch on our stainless steel? Well, it's partly because stainless steel is supposed to be… well, stainless. And also, it’s supposed to be shiny. That’s its whole vibe, right? Its elegant, modern aesthetic is a big selling point. When it gets scratched, it loses that pristine quality. It looks… used. And sometimes, those scratches can catch grime and food particles, which is a whole other nightmare we don’t even want to get into.
From a practical standpoint, the scratch itself isn't usually a functional problem. Your fridge will still keep things cold, your toaster will still toast. But for many of us, the visual appeal is a huge part of the enjoyment of our home and our belongings. Think of it like a tiny wrinkle on your favourite silk shirt – it doesn’t stop it from being a shirt, but it does take away from that perfect drape and sheen.
The good news is that stainless steel is surprisingly resilient. It’s an alloy, remember? That means it’s already pretty tough. And the "stainless" part comes from the chromium content, which forms a protective oxide layer. This layer is what prevents rust and corrosion. When you get a scratch, you’re essentially disrupting this layer. But, thankfully, this layer can often be restored or at least camouflaged.
Understanding the "Grain" – Your New Best Friend
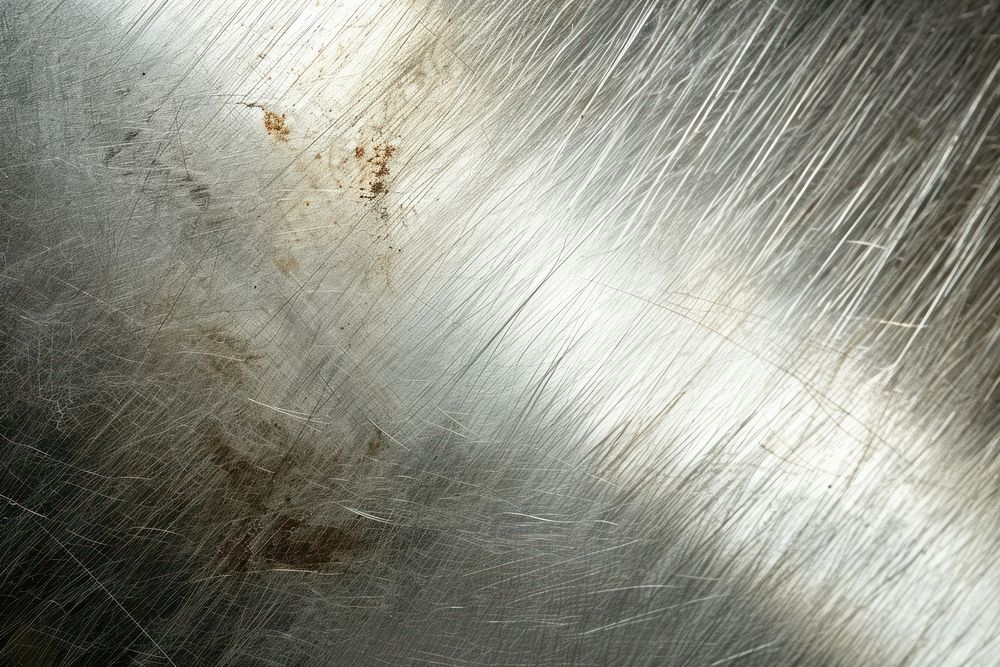
Okay, before we even think about grabbing any polishing compound, we need to talk about something crucial: the grain. Have you ever noticed those faint lines on your stainless steel? Those are the grain. And they are your guiding light in the world of stainless steel polishing. Always polish with the grain, never against it or in circles. This is non-negotiable, folks. Going against the grain is like trying to comb your hair from back to front – it’s just going to look messy and, in this case, make the scratches even more obvious.
How do you find the grain? Just look closely. Most appliances will have a consistent direction of these fine lines. Sometimes they run horizontally, sometimes vertically. You might even find them on a diagonal. If you’re unsure, grab a flashlight and look from different angles. Once you’ve identified the grain, commit it to memory. This is your mantra: With the grain.

The Gentle Approach: When Scratches Are More "Oops" Than "Oh No!"
So, let’s say your scratch is more of a light superficial abrasion. You know, the kind that you can only see when the light hits it just right and you squint really, really hard. Don’t despair! These are often the easiest to fix.
One of the most common and effective methods for light scratches is using a non-abrasive cleaner or a polishing paste. Think of things like:
- Baking Soda Paste: This is your kitchen cupboard hero. Mix a couple of tablespoons of baking soda with a little water to form a thick paste. Apply it to a soft cloth (microfiber is ideal) and gently rub it into the scratch, following the grain.
- Mild Dish Soap: Sometimes, a good scrub with warm water and a few drops of mild dish soap, followed by thorough rinsing and drying, can work wonders for very minor scuffs. The key here is mild and thorough rinsing. We don’t want soap residue clinging around.
- Specialized Stainless Steel Cleaners/Polishes: There are tons of products out there specifically designed for stainless steel. Many of these are formulated to clean, polish, and even add a protective layer. Follow the product instructions carefully, and again, always work with the grain.
When using these methods, the trick is gentle, consistent pressure. You're not trying to scrub the scratch out of existence; you're trying to buff the surrounding area to blend it in. Think of it as coaxing the shine back, not forcing it.
The Microfiber Magic: Your New Favourite Tool
Seriously, if you don’t have a stash of microfiber cloths, go get some. They are the unsung heroes of cleaning and polishing. They’re soft enough not to cause new scratches, and they do a fantastic job of buffing and picking up residue. For any polishing task on stainless steel, a clean, soft microfiber cloth is your best friend. Have a couple handy: one for applying the polish, and another for buffing to a shine.
And when I say "soft cloth," I mean soft. No paper towels here, folks. They can be surprisingly abrasive. And definitely no steel wool or abrasive scrub brushes, unless you’re going for a deliberate brushed metal look (which is a whole other conversation!).

When the Scratch is a Little More… Stubborn
Alright, so your scratch isn’t just a faint whisper. It’s more of a shout. You can feel it with your fingernail. This is where we need to step up our game slightly, but we’re still not talking about industrial-grade stuff. We’re going to introduce some very mild abrasives.
The Power of Toothpaste (Seriously!)
Yes, you read that right. Plain white toothpaste (not the gel kind, and definitely not the whitening kinds with gritty particles) can be surprisingly effective for slightly deeper scratches. The mild abrasives in toothpaste can help to gently buff down the edges of the scratch. Apply a small amount to a soft cloth and rub gently in the direction of the grain. Rinse thoroughly and dry.
It sounds a bit bizarre, I know. My partner looked at me like I’d lost my mind when I pulled out the Colgate for the kettle. But honestly? It worked! It’s the same principle as some of the specialized polishes – a fine abrasive working with the grain. Just remember to test it on an inconspicuous area first, if you’re nervous.
Automotive Rubbing Compound: A Step Up
If baking soda and toothpaste feel a bit too "kitchen sink," and you’re still dealing with a noticeable scratch, you might consider an automotive rubbing compound. These are designed for car paint, which is a delicate surface, so they’re generally safe for stainless steel when used correctly. Again, the key is gentle application and following the grain.
You'll want to use a fine-grit rubbing compound. Apply a small amount to a soft cloth and rub gently in the direction of the grain. You might need to repeat this process a few times, applying very little pressure each time. The goal is to gradually blend the scratch into the surrounding surface. Be patient. This isn’t a quick fix for deep gouges, but for scratches that are bothering you, it can be very effective.
After using a rubbing compound, it’s essential to clean the area thoroughly to remove any residue. Then, you can follow up with a dedicated stainless steel polish to restore the shine and add a protective layer.
The "Wet Sanding" Technique (Use with Caution!)
Now we’re getting into slightly more advanced territory, and this is where you really need to be careful. For scratches that are a bit deeper but still not catastrophic, some people resort to very fine-grit sandpaper. This is often referred to as "wet sanding" because you use water to lubricate the sandpaper, which helps prevent it from creating new scratches and reduces the build-up of dust.
You'll want to start with extremely fine grit sandpaper, like 1000-grit or even higher. You'll need a sandpaper block to ensure even pressure. Dip the sandpaper in water and rub gently in the direction of the grain. You’re essentially trying to lightly abrade the surface around the scratch to make it blend in. It’s a delicate process, and it’s very easy to make things worse if you’re not careful.
After wet sanding, you absolutely must follow up with a polishing compound and then a stainless steel polish to restore the shine. This method is generally best reserved for situations where other methods have failed, and you're willing to accept a small risk of making it worse. Always test in an inconspicuous area first!

The Final Polish: Bringing Back the Gleam
Once you've addressed the scratch itself, the final step is to restore that beautiful, uniform shine. This is where the dedicated stainless steel polishes really shine (pun intended!).
These polishes often contain a fine abrasive that smooths out any remaining microscopic imperfections, and they usually have a conditioning agent that leaves a protective, streak-free finish. Apply a small amount to a clean microfiber cloth and buff the entire surface of the appliance, working with the grain. Don’t just polish the area around the scratch; you want the whole thing to look consistent.
You’ll be amazed at the difference. That dullness will disappear, and your stainless steel will look almost as good as new. It’s like giving your appliance a spa treatment.
Prevention is Key (But We All Slip Up, Right?)
Now that you’ve (hopefully!) resurrected your stainless steel, let’s talk about preventing future battles. While some scratches are inevitable, you can minimize them:
- Use the Right Cleaning Tools: As mentioned, microfiber cloths are your friends. Avoid abrasive sponges, steel wool, and harsh scrubbers.
- Be Mindful of Utensils: When you’re putting dishes in the dishwasher or taking them out, be aware of where your cutlery is. A stray knife can do a surprising amount of damage.
- Read the Labels: For cleaning products, always opt for those specifically designed for stainless steel. Harsh chemicals can damage the protective layer.
- Consider Protective Films: For high-traffic areas or appliances prone to scratches, you can sometimes find protective films. These are less common for major appliances but might be an option for smaller items.
But let's be real. Life happens. We get busy, we have kids, we have pets, we have moments of pure clumsiness. So, even with the best intentions, a scratch might find its way onto your beloved stainless steel. And that’s okay! Because now you know how to deal with it. You’re armed with the knowledge, the tools (most likely already in your home!), and the confidence to tackle those scratches and bring back that glorious shine. So go forth, embrace the shine, and remember: with a little patience and the right technique, those scratches don't have to be forever.