
How To Prepare Galvanized Metal For Painting
So, you've got this cool galvanized metal thingy, right? Maybe it's a mailbox that's seen better days, or a quirky garden sculpture that needs a splash of color. Whatever it is, you're thinking, "Paint me!" And I totally get it. Who doesn't love a good transformation?
But hold your horses there, Picasso! Painting directly onto galvanized metal is kind of like trying to hug a greased pig. It just… doesn't stick. Seriously. It’s a slippery slope, and you’ll end up with paint peeling off faster than a bad toupee in a hurricane. And nobody wants that, do they?
Galvanized metal, bless its zinc-coated heart, is designed to be tough. It’s got this protective layer that’s brilliant for preventing rust, but it's a real pain when it comes to paint adhesion. It's like it's saying, "Nope, not today, buddy!"
So, before you unleash your inner artist, we gotta do a little prep work. Think of it as a spa day for your metal. It’s not the most glamorous part, I know. Nobody’s posting "just prepped my galvanized metal!" selfies on Instagram. But trust me, it's the secret sauce to a paint job that'll last longer than your questionable New Year's resolutions.
Ready to dive in? Grab your metaphorical apron and let’s get this show on the road!
The Nitty-Gritty: What You Actually Need
First things first, let’s talk tools. You don’t need a whole workshop full of fancy gadgets, thank goodness. We’re keeping it simple, just like our coffee order. Most of this stuff you probably already have lying around. If not, a quick trip to the hardware store will sort you out. No sweat!
Here’s your essential toolkit:
- A good degreaser. This is your superhero for tackling grease and grime. More on that in a sec.
- Clean rags. Lots of 'em. You’ll be wiping things down more than you think.
- Steel wool or a scouring pad. We’re talking fine grit here, folks. We don’t want to scratch our metal to bits. Think of it as a gentle exfoliation.
- A bucket of water. For rinsing, obviously.
- A tack cloth. This is your secret weapon for picking up all those pesky dust bits. It’s like a lint roller for metal. Genius, right?
- Primer. This is non-negotiable. Seriously. Don’t even think about skipping this. We need a special kind, though.
- Your chosen paint. Obvs.
See? Not so scary, is it? Just a few bits and bobs and you’re well on your way.
Step 1: The Great Degreasing Expedition
Okay, this is where the real magic (or at least, the real cleaning) begins. Imagine your galvanized metal has been out and about, collecting all sorts of life’s little messes. Oil, dirt, maybe even a bit of bird… well, you get the picture. We need to get all that gunk off.
Grab your degreaser. There are a few options here. You can get specific metal degreasers from the hardware store, which are great. Or, if you’re feeling a bit more DIY, a solution of dish soap and warm water can work wonders. Yes, the same stuff you use to wash your dishes! Who knew?
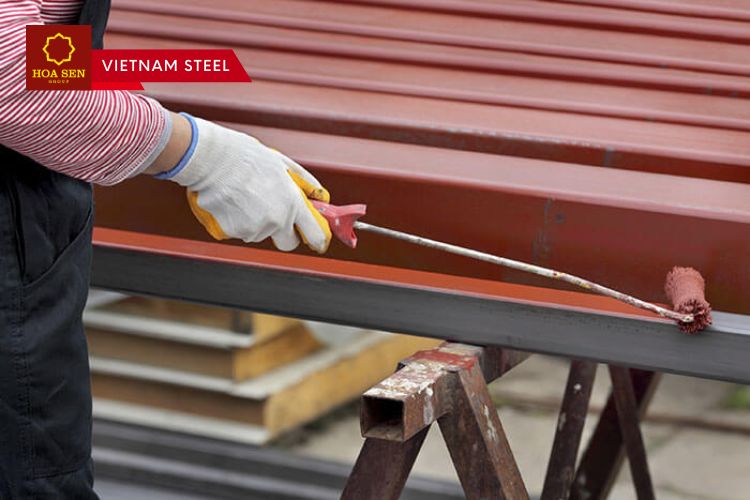
Dip your rag into the degreaser (or soapy water) and get to scrubbing. Really get into all the nooks and crannies. Don’t be shy! Think of it as giving your metal a really thorough bath. You want to make sure it’s squeaky clean. Imagine you’re trying to impress a very particular, metal-loving fairy godmother. That’s the level of clean we’re aiming for.
After you’ve given it a good scrub, it’s time for the rinse. Grab your clean bucket of water and a fresh rag. Rinse off all the soap residue. You don’t want any soapy ghosts hanging around, do you? They’re not good for paint adhesion, and frankly, they’re just a bit creepy.
Once you're done rinsing, give it a good dry. Let it air dry completely. Patience, my friend! Trying to paint on wet metal is like trying to have a serious conversation in a thunderstorm. It's just not going to end well.
Step 2: A Gentle Scrub-Down (Think Spa, Not Sandblast!)
Now that our metal is clean and dry, it’s time for step two. This is where we create a tiny bit of "tooth" for the paint to grab onto. It’s not about roughing it up; it’s about giving it just the slightest bit of texture.
Grab your fine-grit steel wool or your scouring pad. And I mean fine grit. You’re not trying to create a masterpiece of scratches here. Think of it as a very, very gentle buff. You’re just aiming to dull the shine a tiny bit. This helps the primer stick better. It’s like giving the metal a little handshake, saying, "Hey, I'm here to stay!"
Go over the entire surface in a consistent direction. Again, don’t go crazy. A few gentle passes are usually enough. You'll notice the shiny, almost slippery surface will become a little less… well, slippery. It's a subtle change, but it's crucial.
After you’ve given it your gentle scrub, it’s time for another clean-up. Get out those rags again! You need to wipe away any dust or debris that the steel wool might have created. Imagine you’re a meticulous housekeeper dusting a priceless antique. That’s the vibe.
And guess what? Another drying session is in order. Let it dry completely. Seriously, we don't want any moisture lingering. It’s the enemy of good paint jobs, along with dust bunnies and that one friend who always borrows money and never pays it back.
Step 3: The Unsung Hero - Primer!
Alright, we’re entering the home stretch! This is where we introduce our trusty sidekick: the primer. And this isn’t just any old primer, mind you. For galvanized metal, you must use a primer specifically designed for it. They’re usually labeled as "galvanized metal primer" or "direct-to-metal" primers that are suitable for galvanized surfaces.
Why is this so important? Well, remember that zinc coating we talked about? Some primers can react with the zinc and cause problems, like flaking or bubbling. A good galvanized metal primer is formulated to bond well with the zinc, creating a stable base for your paint. It’s like building a solid foundation before you put up the walls of your dream house.
So, grab your specialized primer. Give it a good stir. Sometimes, the magic ingredients like to hang out at the bottom of the can. You want to make sure it’s all mixed up properly. Think of it as giving the primer a pep talk before it goes to work.
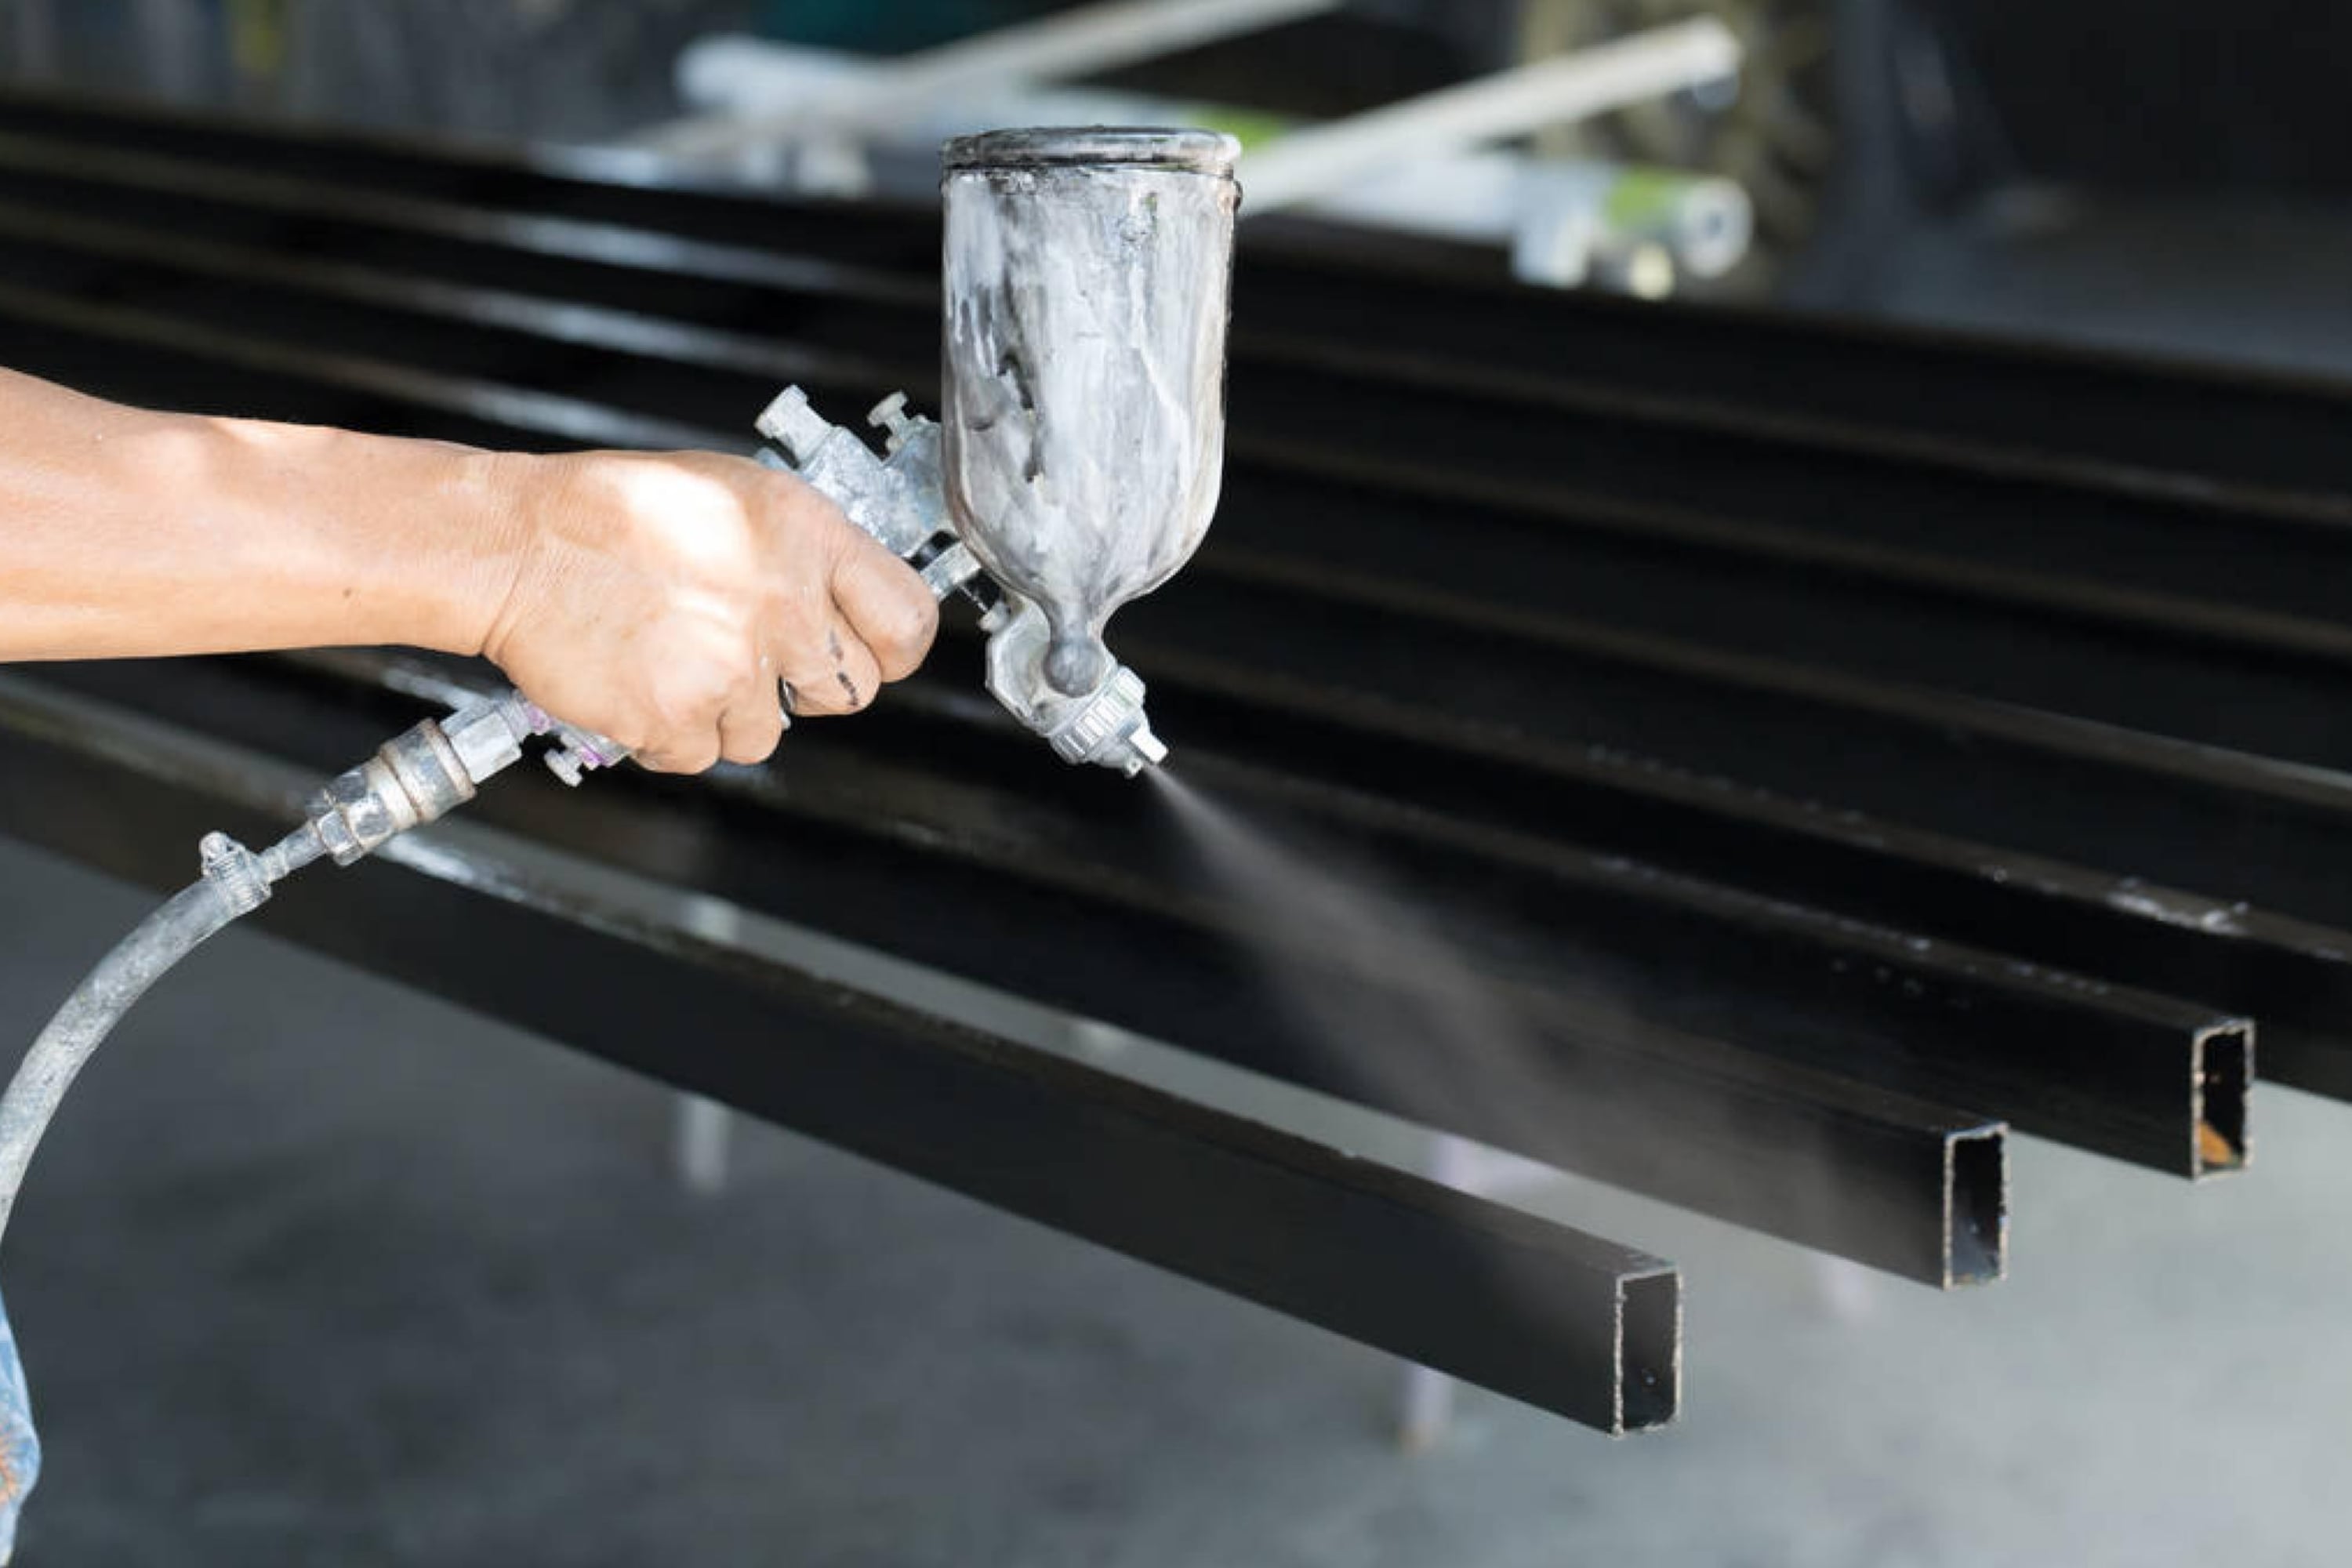
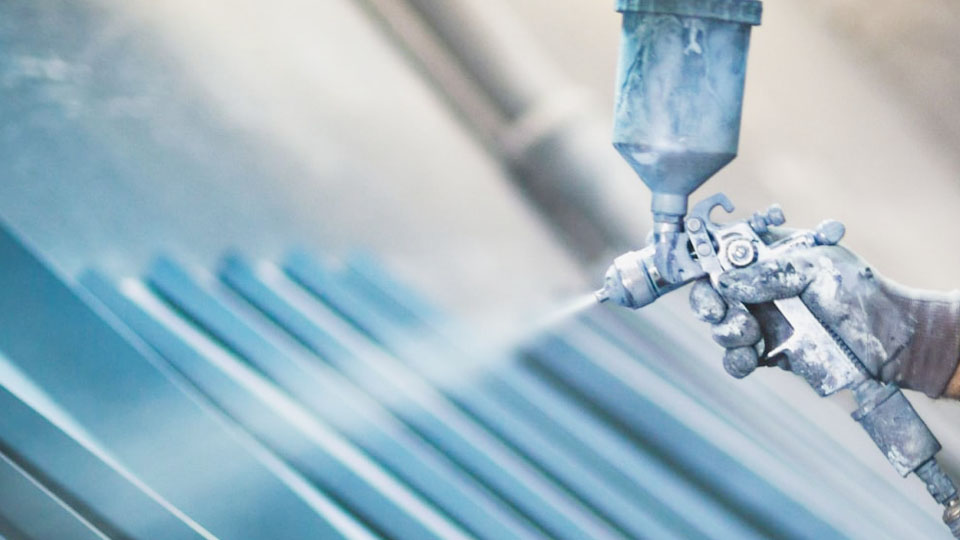
Now, apply a thin, even coat of primer. Don’t glob it on. A thin coat is much better than a thick, drippy one. Use a brush or a roller, whatever works best for your project. If you're using a spray primer, make sure you're in a well-ventilated area and follow the can's instructions. Safety first, always!
Make sure you cover the entire surface. Don’t miss any spots! Every inch of that metal needs its protective primer shield.
Let the primer dry completely according to the manufacturer's instructions. This is usually a few hours, but sometimes longer, depending on humidity and temperature. Don’t rush this part. It's like letting dough rise; you can't rush perfection.

You might even consider a second coat of primer if the can recommends it or if you feel the coverage isn't quite perfect. It never hurts to add an extra layer of defense, right? It’s like wearing a helmet and a seatbelt. Better safe than sorry!
Step 4: The Grand Finale - Paint Time!
Hooray! You’ve made it! The primer is dry, the surface is ready, and now it’s time for the fun part: painting!
Now, before you go slathering on that bright fuchsia or that sophisticated navy, a quick word of caution. Again, make sure your paint is suitable for metal. Most exterior paints will work just fine on top of your galvanized metal primer. But it's always a good idea to check the paint can for compatibility with primers and metal surfaces.
Give your paint a good stir, just like you did with the primer. You want all those lovely pigments evenly distributed. Imagine you’re a chef preparing a gourmet meal; every ingredient needs to be just right.
Apply your first coat of paint. Again, aim for thin, even coats. It’s much better to apply two or three thin coats than one thick, gloopy one that will inevitably end up looking streaky and unprofessional. Think of it as layering. You wouldn’t put on your entire outfit in one go, would you? Nah, you build it up!
Let the first coat dry completely. I know, I know, more waiting. But this is where the magic truly happens. Each dried coat builds up a strong, durable finish.
Once the first coat is dry, you might want to give it a very light sanding with ultra-fine grit sandpaper (like 220 grit or higher). This is an optional step, but it can help with adhesion of subsequent coats and create an even smoother finish. If you do this, be sure to wipe away any dust with your tack cloth! Yep, we’re using it again. It’s that handy.

Apply your second coat of paint, and then your third if needed. Continue until you’ve achieved the coverage and finish you desire. Stand back and admire your work. You’ve conquered the galvanized metal beast!
A Few Extra Tips to Keep You on Track
So, you’ve nailed the basic steps, but here are a few extra nuggets of wisdom to make your project even more successful:
Weather Watch: Try to paint on a day with mild temperatures and low humidity. Extreme heat or cold can affect how the paint dries and cures. And definitely avoid painting when it looks like it might rain. Nobody wants a streaky, water-damaged masterpiece. That’s just sad.
Ventilation is Key: When using primers and paints, especially spray versions, always ensure you’re in a well-ventilated area. Open those windows, or better yet, paint outdoors if the weather permits. Your lungs will thank you. And your neighbors might thank you too, if you’re not filling their house with fumes.
Read the Labels: I can’t stress this enough. Always read the instructions on your primer and paint cans. They’re written by people who know their stuff, and they’ll give you the most accurate drying times, application tips, and safety precautions.
Test Patch: If you’re feeling a bit nervous, or if you’re using a new type of primer or paint, consider doing a small test patch on an inconspicuous area first. It's like a dress rehearsal for your paint job. Better to find out if something’s not working on a tiny spot than on your whole project.
Clean Up Crew: Don’t forget to clean your brushes, rollers, and any other tools immediately after you’re done painting. Dried paint is a nightmare to remove! Water-based paints usually clean up with soap and water, while oil-based paints will need a solvent. Again, check those labels!
And there you have it! You’ve officially transformed that plain old galvanized metal into a vibrant, painted work of art. You’ve wrangled the slippery beast, and you’ve emerged victorious. So go ahead, show it off! You earned it. Now, who’s ready for another coffee?