
How To Put Metal Roofing On A Shed

So, I remember the first time I even thought about putting metal roofing on anything. It was for my dad’s old shed. You know the kind, the one that’s seen better decades, the one where spiders have apparently declared sovereignty? Anyway, this shed’s roof was…let’s just say “character-building.” Think more “rustic charm” and less “water-tight sanctuary.” Every time it rained, I swear I could hear tiny rivers forming inside. It was like living in a very small, very damp Amazon rainforest. So, my dad, bless his resourceful heart, decided it was time for an upgrade. And he pointed at this big, shiny roll of metal and said, “We’re going with this.” My first thought was, “Are we building a spaceship?” Turns out, no. We were just putting a metal roof on a shed. And let me tell you, it was a learning curve.
The whole experience got me thinking about how many of us have these slightly neglected outbuildings. Garden sheds, workshops, even those cute little playhouses for the kids that are slowly morphing into storage units for forgotten lawn gnomes. They’re important, right? They keep our stuff dry, our tools organized, and prevent squirrels from staging elaborate raids on our winter coats. And a good roof is, well, the crown jewel of any structure. So, if you’ve ever looked at your shed’s roof and thought, “That looks like it’s held together with hope and duct tape,” this one’s for you. We’re diving into how to slap a shiny, durable metal roof on that bad boy. No, seriously, it’s not as terrifying as it sounds. Probably.
Why Metal Roofing for Your Humble Abode (of Stored Stuff)?
Before we get our hands dirty, let’s talk brass tacks. Why metal? I mean, you could just slap some more shingles on there, right? Sure, you could. But then you’d be doing this whole dance again in, what, 10-15 years? Metal roofing, on the other hand, is like that one friend who’s always there for you. It’s tough. We’re talking hail, heavy snow, wind – the usual suspects that try to turn your shed into abstract art. And it’s surprisingly lightweight, which is a huge bonus when you’re wrestling sheets of the stuff up a ladder.
Plus, let’s be honest, it looks pretty darn good. That sleek, modern look can really elevate the entire aesthetic of your backyard. No more drab, sagging roofs. Think “chic storage solution,” not just “place I hide the lawnmower.” And the longevity! We’re talking decades. Seriously. Once you’ve got that metal roof on, you can probably forget about roofing concerns for a good 40-70 years. That’s longer than some of my past relationships, I’ll tell you that much.
Getting Ready: The “Is This Even Going to Work?” Phase
Okay, so you’re sold on the metal. Excellent. Now comes the fun part: preparation. This is where you channel your inner organizer and make sure you’re not halfway through the job and realize you’re missing a crucial screw. Been there, done that, bought the souvenir t-shirt.
1. Inspect Your Existing Roof Decking
This is your foundation for the new roof. You can’t put a beautiful new metal skin on a rotten old body, right? So, head up there (safely, please!) and give your current roof decking a good once-over. Look for any signs of rot, water damage, or sagging. If you find any, you’ll need to replace those sections before you even think about the metal. A little bit of proactive repair now saves you a whole lot of headache later. Trust me on this. Nobody wants their shiny new metal roof to be a gateway for termites.
What’s decking, you ask? It’s usually those plywood or OSB sheets that make up the surface of your roof. They’re what the shingles (or in our case, the metal panels) are attached to. If they’re soft, spongy, or falling apart, that’s a red flag. Grab a screwdriver and poke around a bit. If it goes in easily, you’ve got a problem.
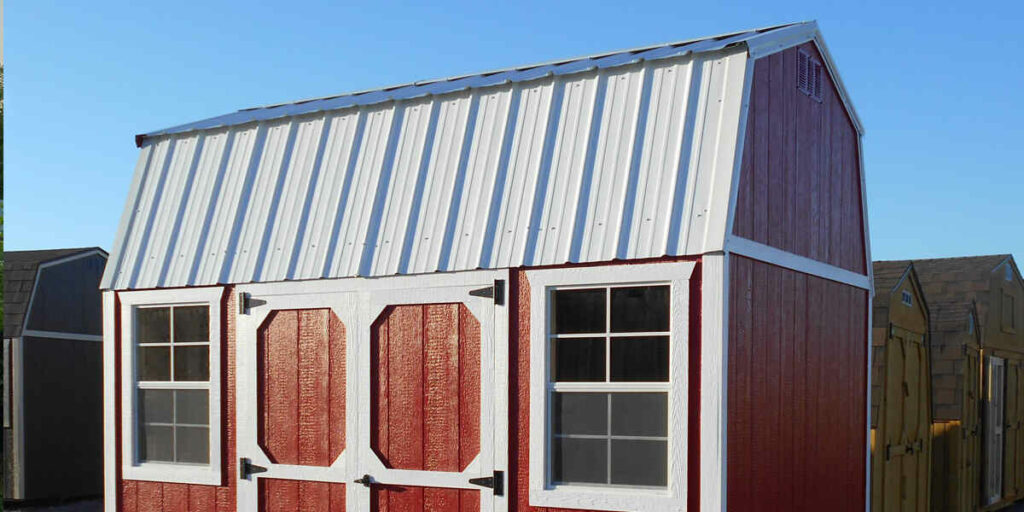
2. Gather Your Tools and Materials
This is where the shopping list gets real. Don’t skimp here. A good set of tools makes a world of difference. You’ll need:
- Metal roofing panels: Obviously! Decide on the style you like. Ribbed, standing seam – there are options. Measure your roof area carefully, and add a little extra for waste and mistakes. Always err on the side of too much.
- Matching trim and flashing: These are the bits that seal up the edges, valleys, and any penetrations (like vents). They’re super important for keeping water out.
- Screws: Specific roofing screws with neoprene washers. These are designed to seal the hole as they go in. Essential!
- A good utility knife: For cutting underlayment and other materials.
- Metal snips: For trimming panels if needed. Aviation snips are your friend here.
- Caulking gun and exterior-grade sealant: For sealing any tricky spots.
- Measuring tape: Because “eyeballing it” is generally a bad idea when water is involved.
- Pencil or chalk line: For marking.
- Safety gear: Gloves, safety glasses, and sturdy shoes are a must. And if you’re not comfortable on a ladder, maybe recruit a friend. Or a small, very well-trained monkey.
- A good ladder: Make sure it’s stable and rated for the weight.
- Underlayment: This is a protective layer that goes between the decking and the metal. It adds an extra layer of waterproofing. Felt or synthetic are common choices.
Seriously, make a list, check it twice, and then go shopping. Nothing kills DIY momentum faster than realizing you need to make another trip to the hardware store when you’re already halfway up a ladder.
3. Safety First, Second, and Always
I cannot stress this enough. Working on a roof, even a small shed roof, can be dangerous. Make sure your ladder is secure. Work on a calm, dry day. Wear your safety gear. If you’re feeling wobbly, take a break. It’s better to have a slightly delayed project than a trip to the emergency room. Your shed can wait. Your kneecaps probably can’t.
The Nitty-Gritty: Installing the Metal Panels
Alright, you’ve got your materials, your tools, and your bravery. Let’s do this thing!
1. Install the Underlayment
First things first, you need to lay down your underlayment. Roll it out over the roof deck, overlapping the seams according to the manufacturer’s instructions. This usually involves a few inches of overlap to prevent water from seeping through. Secure it with cap nails or staples. Think of this as your shed’s first line of defense against water infiltration. It’s like a raincoat for your roof.
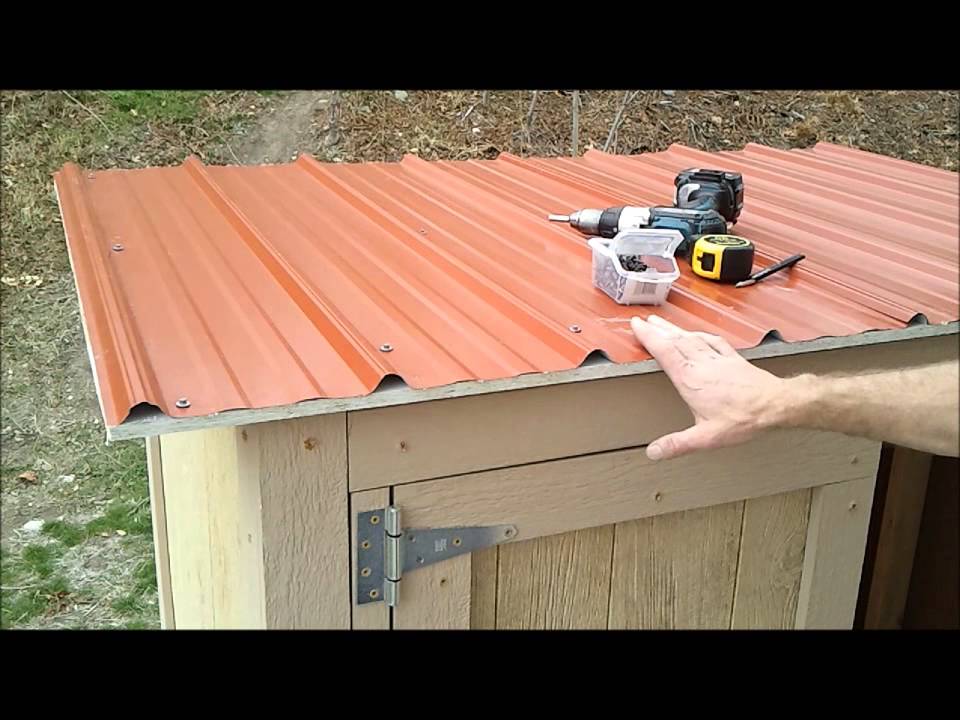
Some people skip this step, but I wouldn’t recommend it. It’s that extra insurance policy that can save you a lot of trouble down the line. It’s not glamorous, but it’s important.
2. Install the Drip Edge
Next up is the drip edge. This is a metal flashing that goes along the eaves (the bottom edges) of your roof and any gable ends (the triangular ends). It helps direct water away from the fascia and into your gutters. Install it so that the bottom edge extends slightly beyond the roof deck, creating that “drip” effect. You’ll typically screw it on top of the underlayment at the eaves, and then underneath the underlayment at the gable ends. The order here is important to ensure water flows correctly.
This might seem like a small detail, but these little pieces of metal are crucial for preventing water from getting behind your siding or into your shed walls. Don’t skip it!
3. Laying the Metal Panels
Now for the star of the show! Start at one end of the roof – usually the side opposite where your prevailing winds come from. You want to overlap the panels correctly. Most metal roofing panels have a specific overlap system, often a male-to-female seam, where one panel’s rib fits into the channel of the next. Carefully position your first panel, making sure it’s plumb and level.
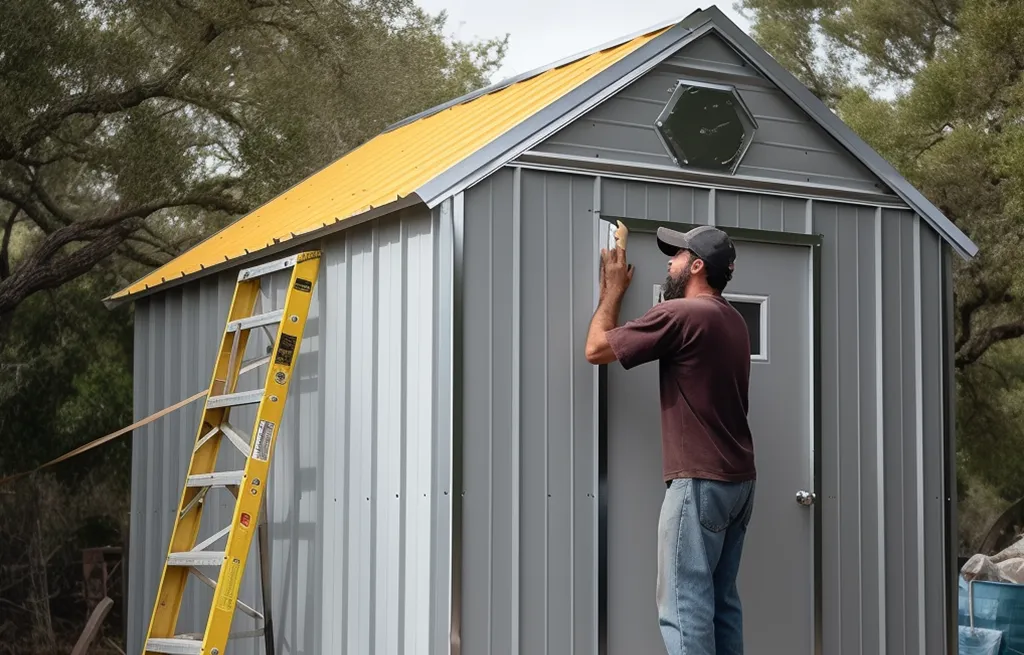
You’ll be screwing the panels down through the ribs (the raised sections) into the roof deck. Use those specialized roofing screws with the neoprene washers. They’re designed to create a waterproof seal. Don’t overtighten them, or you’ll compress the washer and compromise the seal. Just snug is good.
When you get to the end of a row, you’ll likely need to cut a panel to fit. Measure twice, cut once, as they say. Use your metal snips for this. Then, start the next row, overlapping the previous panel correctly.
This is where having a helper is invaluable. One person can hold the panel in place while the other screws it down. Trying to wrestle a long sheet of metal by yourself while balancing on a roof is a recipe for frustration (and possibly a bruised ego).
4. Cutting and Fitting Around Obstacles
If your shed has any vents or other protrusions, this is where things get a little more intricate. You’ll need to cut holes in the metal panels to accommodate them. Again, measure carefully. Use your metal snips and utility knife. Then, you’ll use flashing and sealant to create a watertight seal around these areas. There are specific metal roof flashing kits available for vents that make this much easier.
This is the part that might make you sweat a little. Take your time. If you’re unsure, look up some tutorials online specifically for flashing around vents with metal roofs. A little extra effort here prevents a major leak later.

5. Installing Ridge Cap and Trim
Once all your panels are in place, you’ll need to install the ridge cap. This is the piece that covers the peak of your roof. It overlaps the top edges of the panels on both sides. Secure it with screws, again through the raised ribs, into the decking below. Make sure it’s centered and provides good coverage.
Finally, install any remaining trim pieces – at the gable ends, around any windows or doors that might be on the roof (unlikely for a shed, but you never know!). These pieces not only add a finished look but also help protect the edges of your roof and walls from water.
The “I Can’t Believe I Did That” Moment
And there you have it! You’ve just installed a metal roof on your shed. Step back, admire your handiwork. You’ve gone from a potential water hazard to a sturdy, stylish structure. It might not be the Sistine Chapel, but it’s your shed, and it’s now protected by a roof that’s built to last.
Was it easy? Probably not entirely. Did you discover new and exciting ways to swear in multiple languages? Almost certainly. But did you do it? Yes! And that feeling of accomplishment is pretty darn sweet. Plus, the next time it rains, instead of worrying about drips, you can be smugly listening to the gentle patter of raindrops on your new, super-durable metal roof. It’s the soundtrack of success, folks.
So, go ahead. Tackle that shed. You’ve got this. And if all else fails, at least you’ll have a shiny new piece of metal you can use as a disco ball.