How To Put On A Metal Roof

Ever stare up at your trusty asphalt shingles, feeling a pang of something… less? Perhaps it’s the creeping dread of another storm, the nagging thought of replacement costs, or maybe you’re just yearning for a roof that screams “I’ve arrived!” Well, my friends, let’s talk metal. It’s not just for rock stars anymore; it’s for the savvy homeowner looking for a blend of durability, style, and a certain je ne sais quoi that whispers timeless elegance.
Putting on a metal roof might sound like a Herculean task, reserved for grizzled contractors with biceps forged in the fires of roofing hell. But here’s a little secret: with the right mindset, a bit of preparation, and a healthy dose of enthusiasm, it’s more achievable than you might think. Think of it as your personal Everest, but instead of conquering the peak, you’re adorning your home with a crown of enduring strength. And let’s be honest, who doesn't love a good DIY project that adds serious curb appeal?
The Allure of the Metal Crown
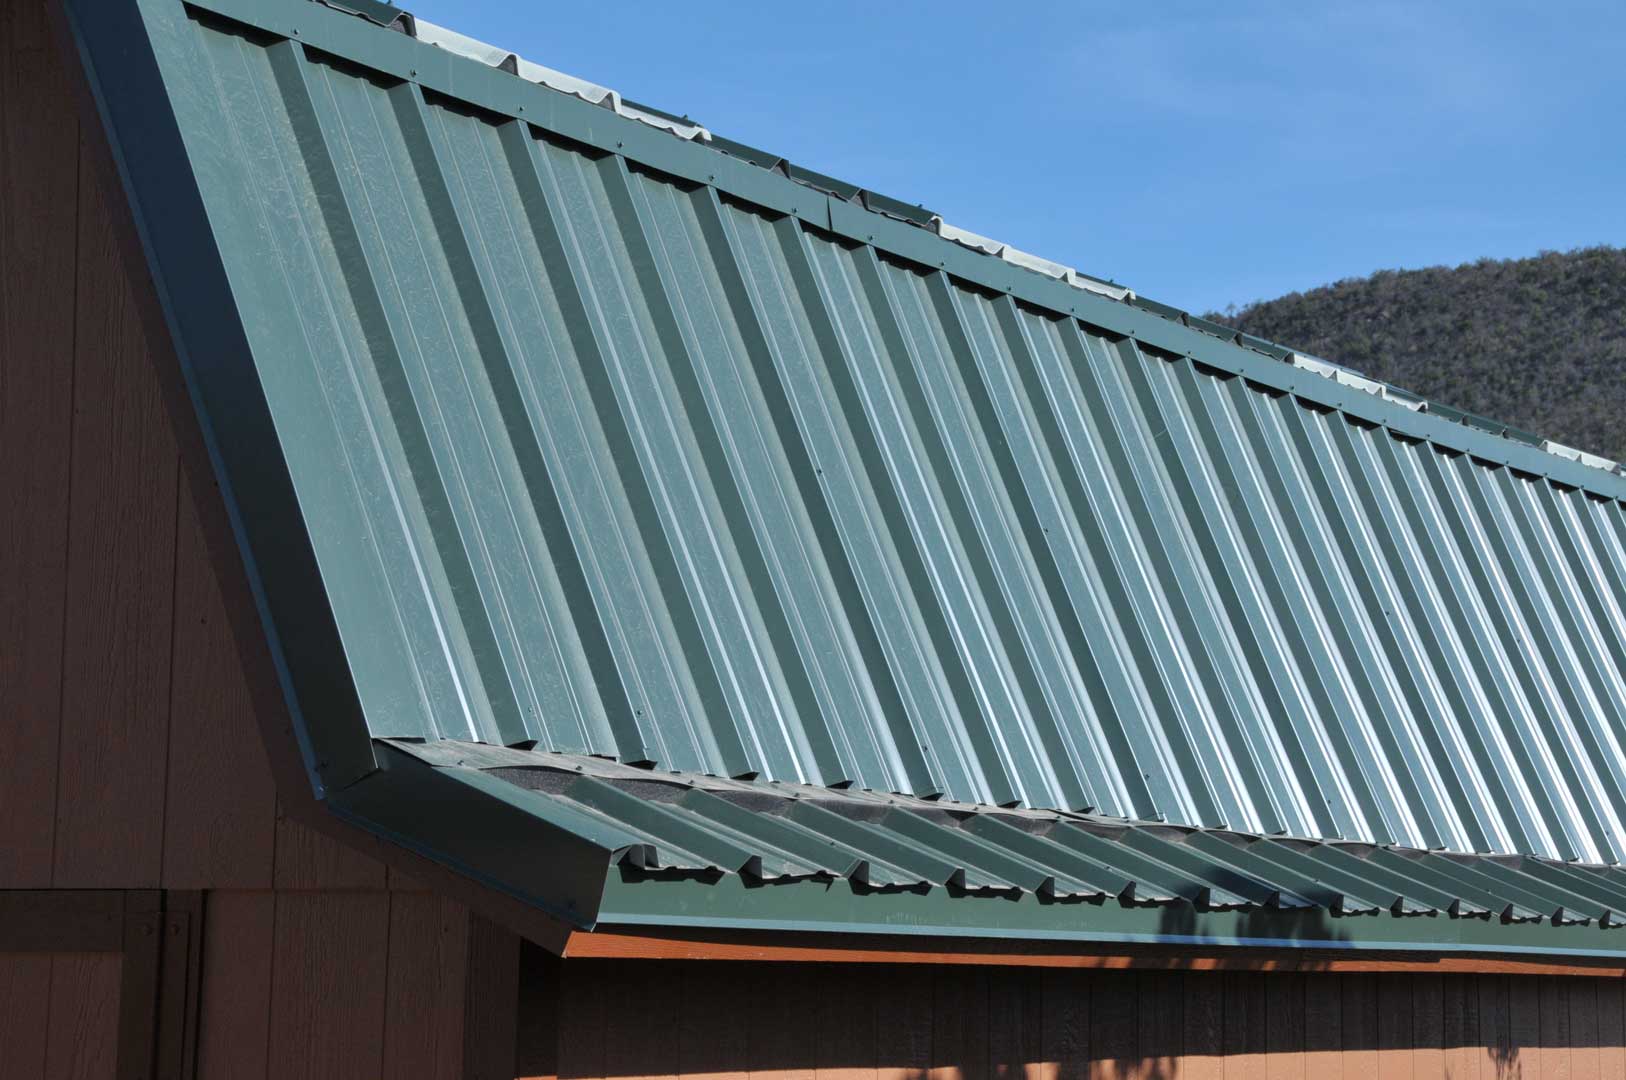
Before we get our hands dirty (or rather, our gloves grimy), let’s appreciate why metal roofs are so darn appealing. Forget those industrial-looking corrugated sheets of yesteryear. Today’s metal roofing comes in an astonishing array of styles, from the classic standing seam that evokes artisanal charm to simulated shingles that mimic the look of traditional materials with a fraction of the upkeep. We’re talking copper that patinas into a glorious verdigris, aluminum that’s light and corrosion-resistant, and steel options coated with advanced finishes that can withstand anything Mother Nature throws at them.
And the benefits? Oh, the benefits! Metal roofs are practically immortal, often outliving their asphalt counterparts by decades. They’re incredibly energy-efficient, reflecting solar radiant heat, which can lead to significant savings on your cooling bills. Plus, they’re a superhero in disguise when it comes to fire resistance and wind uplift. Think of it as investing in peace of mind, wrapped in a sleek, modern package. It’s the architectural equivalent of a power suit – strong, stylish, and built to last.
Pre-Flight Checks: Gearing Up for the Big Install
Alright, enough admiring from afar. Let’s get down to business. The first, and arguably most crucial, step is thorough planning. This isn't a spontaneous jam session; it's a meticulously orchestrated symphony of measurements, materials, and safety protocols. You wouldn’t start a cross-country road trip without a map, would you? Same goes for roofing.
Measure Twice, Cut Once is not just a saying; it's a roofing commandment. Get precise measurements of your roof’s surface area. Account for hips, valleys, ridges, and any dormers. This is where your trusty tape measure becomes your best friend, and perhaps a friendly neighborhood architect or a knowledgeable roofing supplier can offer a second set of eyes (and calculations).
Next, it’s time to talk materials. What kind of metal are you dreaming of? Standing seam is a popular choice for its clean lines and exceptional weather resistance. Metal shingles offer a more traditional aesthetic. Consider the gauge of the metal – thicker is generally sturdier. And don’t forget the accessories: flashing, fasteners, underlayment, and ventilation. These are the unsung heroes that ensure your roof performs its duty flawlessly.

Safety first, always. This is non-negotiable. Roofing is inherently dangerous, and working at heights requires serious respect. Invest in a good safety harness, sturdy non-slip boots, and consider safety ropes. If you’re not comfortable with heights or the physical demands, there’s absolutely no shame in hiring professionals for the heavy lifting. Think of it as outsourcing the most perilous parts, allowing you to focus on the finer details (and the celebratory BBQ afterward).
The Old Roof Out, The New Roof In: A Step-by-Step Serenade
With your plan in hand and your safety gear at the ready, it’s time to say goodbye to the old. Gently, of course. We’re not performing demolition derby here.
Step 1: Demolition (The Gentle Kind)
This usually involves removing your existing roofing material. If you have asphalt shingles, this can be a laborious process. Start by prying up shingles with a roofing shovel, working in manageable sections. For asphalt, you’ll likely be dealing with layers of shingles, underlayment, and possibly even old felt. Be prepared for a significant amount of debris. A dumpster is your friend here. Consider the environmental impact and explore recycling options for old shingles if available in your area. It’s like decluttering your home, but for your entire house!
It's also a good time to inspect the underlying sheathing. Look for any signs of rot or damage. Any compromised wood needs to be replaced before moving on. This is your foundation for the new, glorious metal roof, so you want it to be rock solid.
Step 2: Preparing the Canvas
Once the old roof is gone, you need to create a smooth, stable surface for your new metal panels. This typically involves installing a new underlayment. This layer acts as a secondary barrier against moisture and provides a protective surface for the metal. There are different types of underlayment available, from traditional felt to synthetic membranes. Follow the manufacturer’s recommendations for your chosen metal roofing system. This is like laying down a protective mat before painting a masterpiece.
Drip edge is another crucial element to install around the perimeter of your roof. This metal flashing directs water away from the fascia and into your gutters, preventing rot and water damage. It’s a small detail that makes a huge difference in the longevity of your roof system.
Step 3: The Metal Ballet – Installing the Panels
Now for the main event! Metal roofing panels are typically installed horizontally, starting from the eaves and working your way up to the ridge. For standing seam roofs, the panels interlock, creating a watertight seam. For metal shingles, they are overlapped and fastened according to the manufacturer’s specifications.
Fastening is key. Use the recommended fasteners, which are usually screws with integrated washers to prevent leaks. Be careful not to over-tighten or under-tighten. Each panel needs to be secured properly to withstand wind uplift. Think of it as tucking each panel into its cozy, secure embrace. A pneumatic screw gun can speed things up, but manual fastening is perfectly doable for a DIYer.

Working in sections is essential. Don’t try to lay all the panels at once. Install a few rows, secure them, and then move on. This allows you to manage the weight of the panels and ensure proper alignment. It’s like assembling a giant, beautiful puzzle.
Step 4: Flashing and Finishing Touches – The Artful Details
This is where the artistry truly shines. Flashing is installed around any penetrations in your roof, such as chimneys, vent pipes, and skylights. This ensures that water doesn’t find any sneaky ways to get underneath your metal. Properly installed flashing is critical to the watertight integrity of your roof. It’s the intricate lacework that completes the design.
The ridge cap is the final piece of the puzzle, covering the very top of your roof. This is also typically made of metal and is secured to prevent wind and water from entering. It’s the crowning glory, literally!
Fun Facts & Quirky Tidbits
Did you know that some early metal roofs were made from tin? It’s true! And in historical settings, copper roofs were a sign of wealth and prestige, often seen on grand cathedrals and civic buildings. Imagine the stories those ancient copper roofs could tell!

Also, metal roofs are surprisingly lightweight compared to asphalt shingles. This can actually be beneficial for older homes with structural limitations. It’s like giving your house a facelift without adding extra weight – a true transformation!
And here’s a cool one: In areas prone to wildfires, a metal roof can be a lifesaver. They are highly resistant to ignition from embers, offering a significant layer of protection for your home. It’s like giving your house its own fire extinguisher.
A Moment of Reflection
As you stand back and admire your handiwork, take a moment. You’ve just tackled a significant project, transforming your home’s exterior and investing in its future. It’s a tangible achievement, a testament to your dedication and willingness to learn. But beyond the practical benefits, there’s something deeply satisfying about creating a home that feels both secure and beautiful. It’s about more than just a roof; it’s about building a sanctuary, a place of comfort and pride.
The next time you’re enjoying a quiet evening indoors, listening to the rain drum on your new metal roof, you’ll know that you didn’t just install a covering. You’ve added a layer of resilience, a touch of enduring style, and a quiet confidence that resonates with the very essence of home. It’s a small, metallic whisper of accomplishment, a constant reminder that with a little effort and a lot of heart, you can build something truly remarkable.